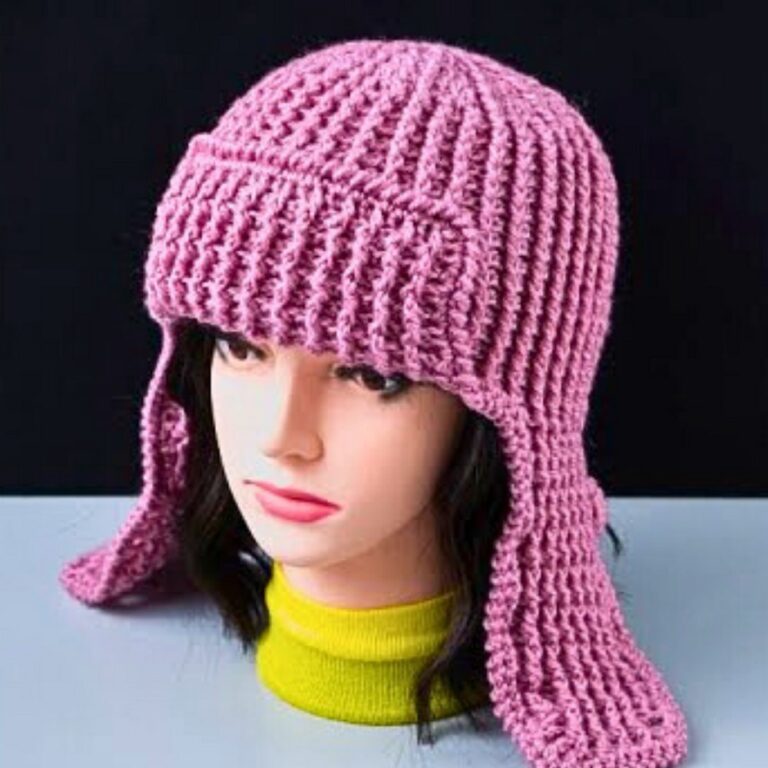
Crochet a Beautiful and Functional Hairband – Step-by-Step
This crochet hairband is a delightful blend of elegance and practicality. Lightweight, stylish, and versatile, it’s perfect for elevating any outfit while keeping your hair in place.
With its intricate pattern and soft texture, this handmade accessory is as beautiful as it is functional.

The crochet hairband offers reliability and charm, making it a must-have accessory. Its sturdy yet flexible design ensures comfort and durability, while the delicate pattern exudes timeless appeal and elegance.
Ideal for daily wear or as a special gift, it suits everyone from beginners to seasoned makers.
Step-by-Step Pattern
Materials
To get started, gather the following materials:
- Yarn: Worsted weight yarn (size 4) works well for a hairband. Cotton yarn is recommended as it is breathable and stretches slightly.
- Hook: Size 4.0 mm (G) crochet hook. Adjust the size if you’re using thicker or thinner yarn.
- Scissors: For cutting yarn.
- Tapestry Needle: Used for weaving in the ends.
- Stitch Markers (Optional): Helpful for marking rounds or repeats.
Stitch Guide
Here’s a quick overview of the basic stitches and techniques used in this project:
- Chain Stitch (ch): Create a foundation chain by making loops and pulling yarn through.
- Slip Stitch (sl st): Insert the hook into the stitch, yarn over, and pull through all loops. This creates a seamless join.
- Single Crochet (sc): Insert the hook into the stitch, yarn over, pull through a loop (2 loops on hook), yarn over again, and pull through both loops.
- Half Double Crochet (hdc): Yarn over, insert the hook into the stitch, yarn over and pull up a loop (3 loops on hook), yarn over again, and pull through all 3 loops.
Tip: If you’re unfamiliar with these stitches, practice on scrap yarn before starting the project.

Notes
- Gauge: While gauge is not critical for this project, it’s important to ensure your finished hairband will fit securely without being too tight. Adjust your hook size or yarn tension to achieve your desired width and elasticity.
- Customization Ideas:
- Add embellishments like flowers or buttons for a decorative touch.
- Experiment with different stitch patterns (e.g., ribbing or bobbles) to create a unique texture.
- Use variegated yarn for a colorful gradient effect.
- Fit Adjustments: Crochet more or fewer rows to adjust the circumference based on your head size.
Pattern Instructions
Follow these step-by-step instructions to create your crochet hairband:
Step 1: Create the foundation chain
- Start with a slip knot and chain 60 (or more, depending on your desired circumference). Make sure the chain fits comfortably around your head without being too tight.
- Join the last chain to the first with a slip stitch to form a loop. Be careful not to twist the chain.

Step 2: Round 1 – Base row
- Chain 1 (does not count as a stitch). Work 1 single crochet (sc) into each chain around.
- When you reach the end, join with a slip stitch to the first sc.
Step 3: Round 2 – Begin ribbing pattern (Optional)
- Chain 1. Work 1 single crochet into the back loop only (BLO) of each stitch around. This creates a ribbed texture.
- Join with a slip stitch at the end of the round.
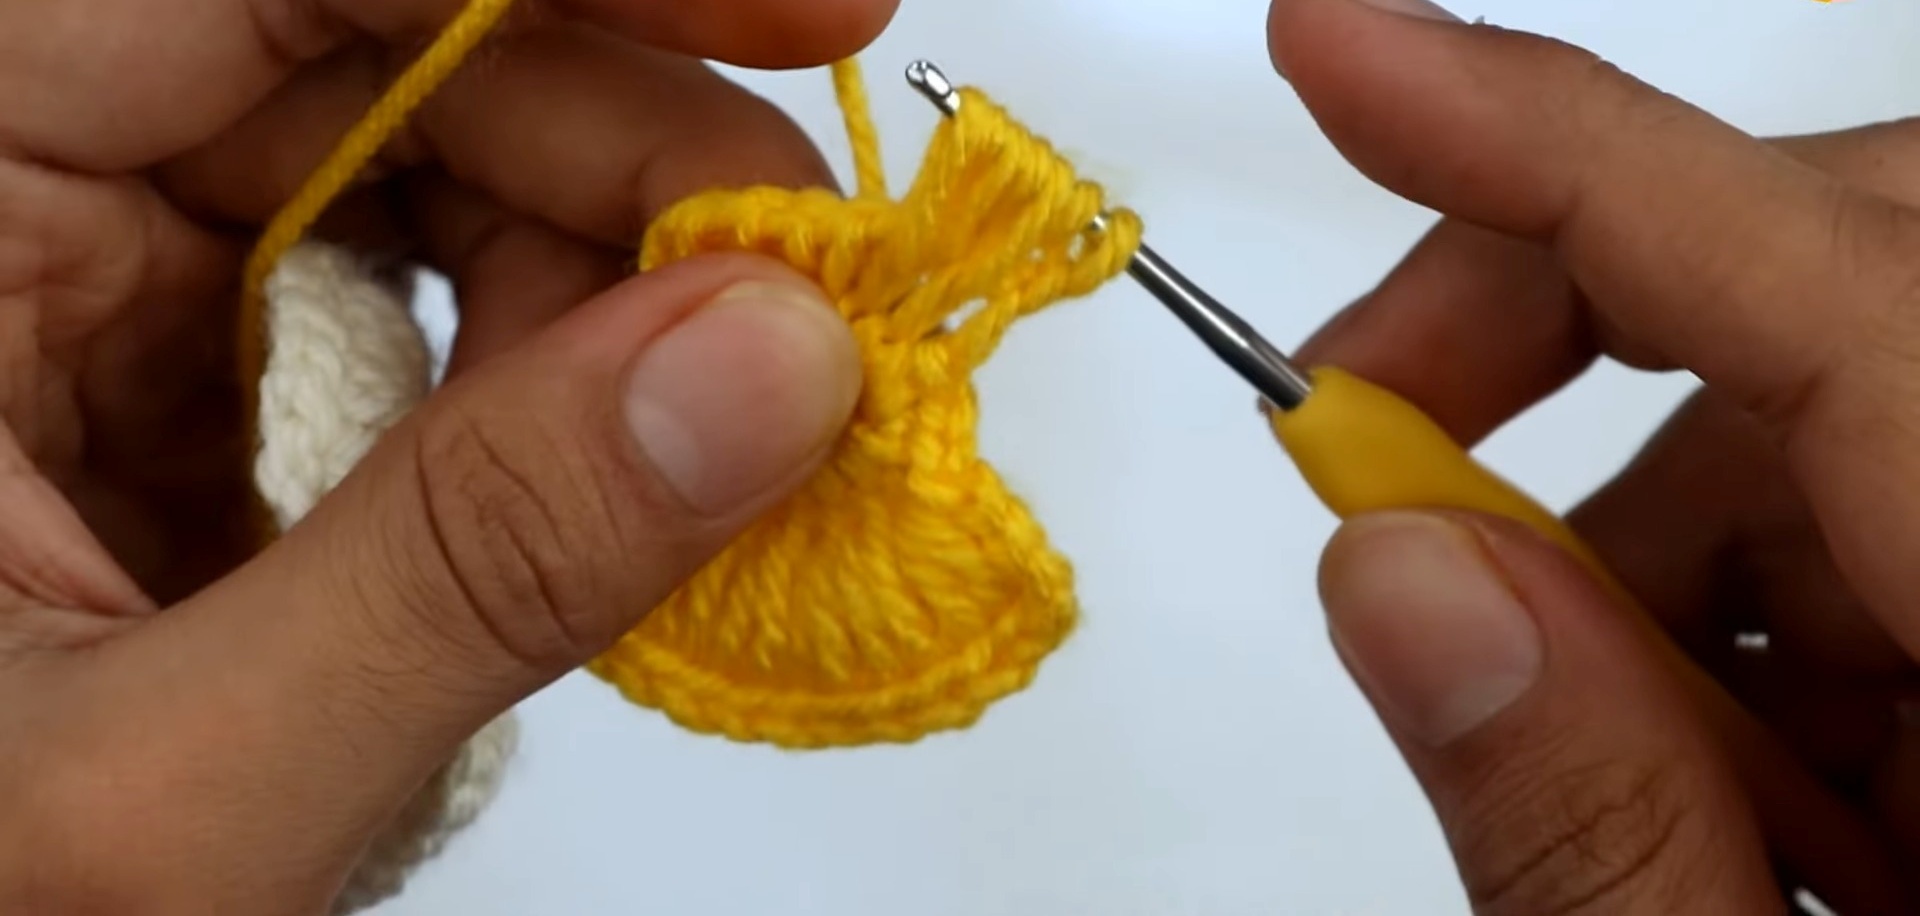
Step 4: Continue rounds
- Repeat the pattern (Round 2) until the hairband reaches your desired width (about 4-6 rounds for a thinner band, or 8-10 rounds for a thicker band).
- For added stretch, you can alternate between BLO single crochet and half-double crochet rows.
Step 5: Finishing
- Fasten off your yarn, leaving a long tail for sewing.
- Use your tapestry needle to weave in the ends for a clean finish.

Step 6: Add decorations (optional)
- Crochet small flowers or bows and attach them to the hairband for a fun, stylish accent.
- You can also sew on beads or buttons if you’d prefer.

Pattern Question
Q: What type of yarn works best for this hairband pattern?
A: A lightweight cotton or acrylic yarn works best for this pattern. It provides the right balance of flexibility and firmness while remaining comfortable and breathable to wear.
Conclusion
This crochet hairband is a joy to make and use, offering endless beauty and practicality. Whether you’re creating it for yourself or as a thoughtful handmade gift, this project is simple, satisfying, and worthwhile. Grab your yarn and hook, and let the creativity begin!