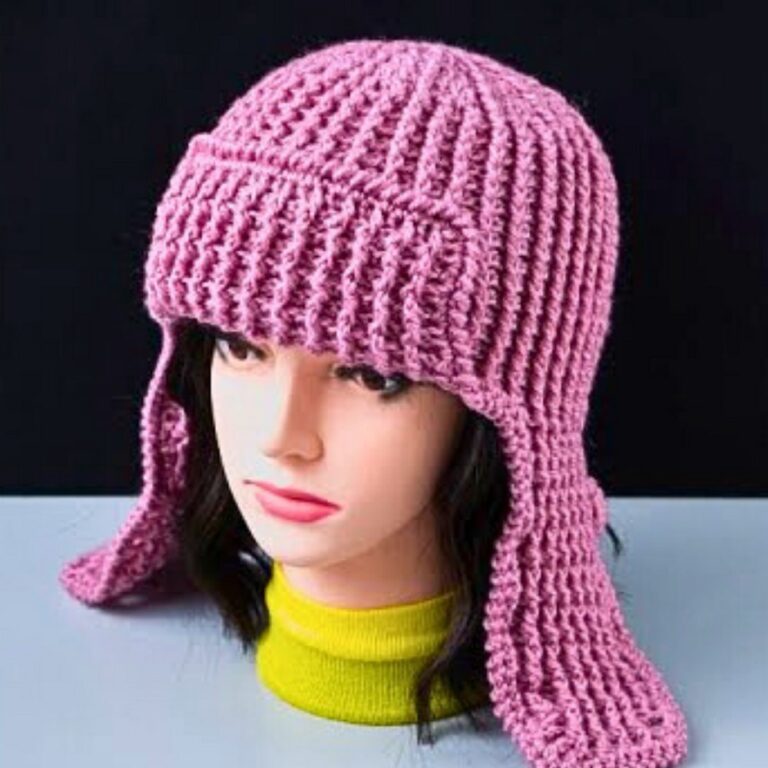
Create a Simple Crochet Headband with a Cute 3D Flower
The sweetest handmade accessories often come from the simplest ideas. This crochet headband combines a soft, comfortable fit with a charming 3D flower that instantly adds a playful touch.
It is a lovely piece for kids, making everyday hairstyles look extra special without feeling overdone. The crochet design is easy to personalize with different yarn colors to match any outfit or occasion.
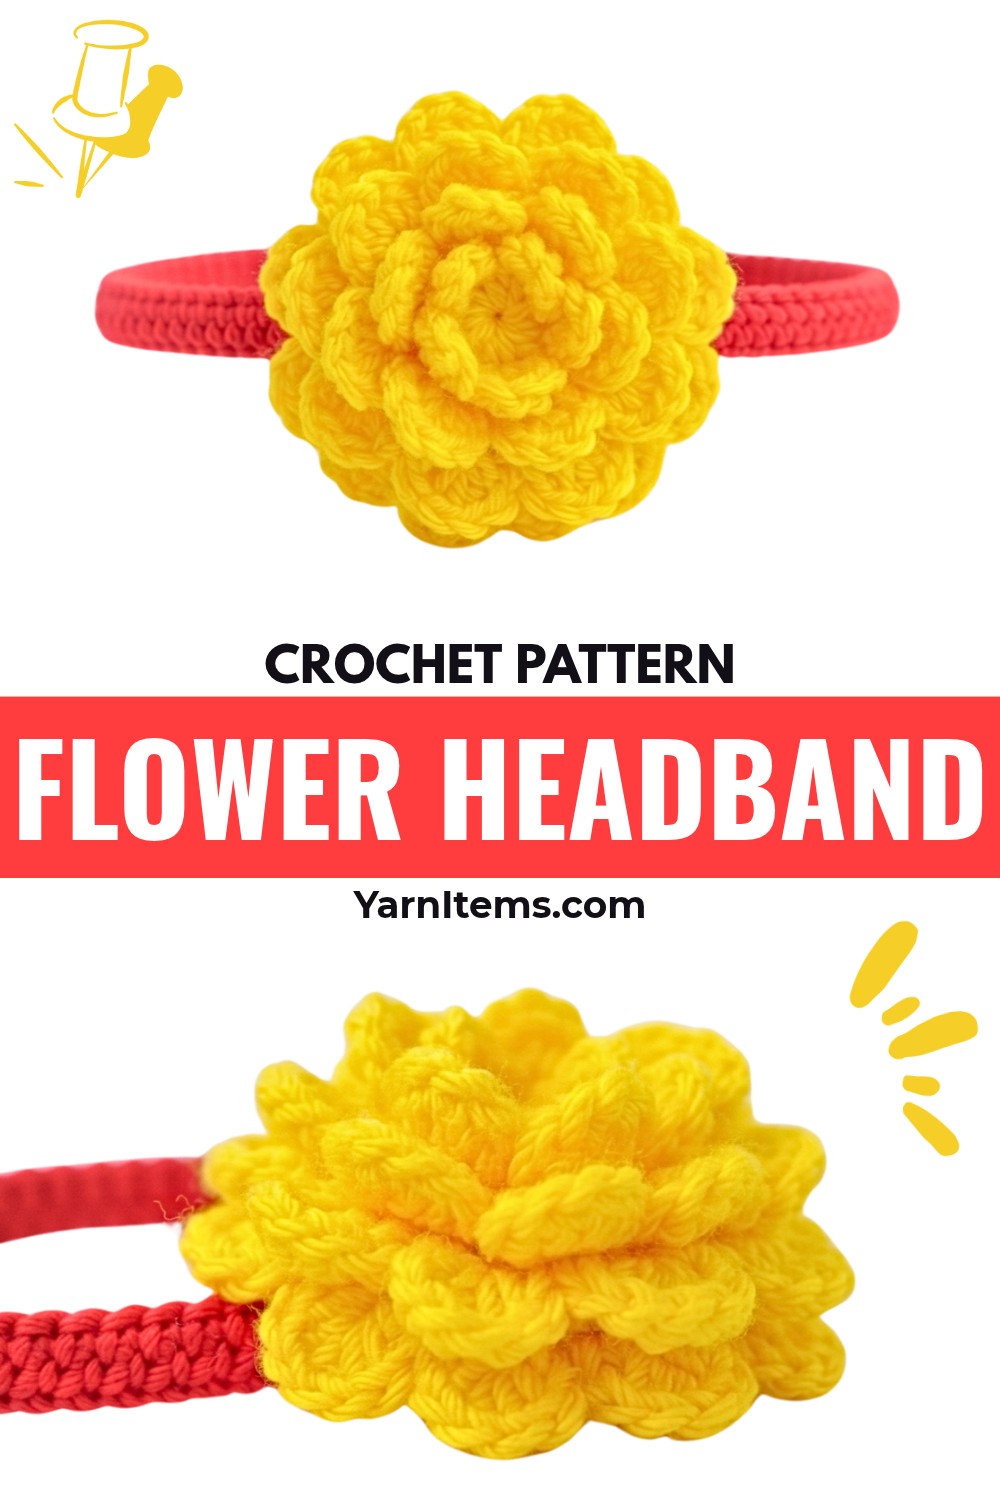
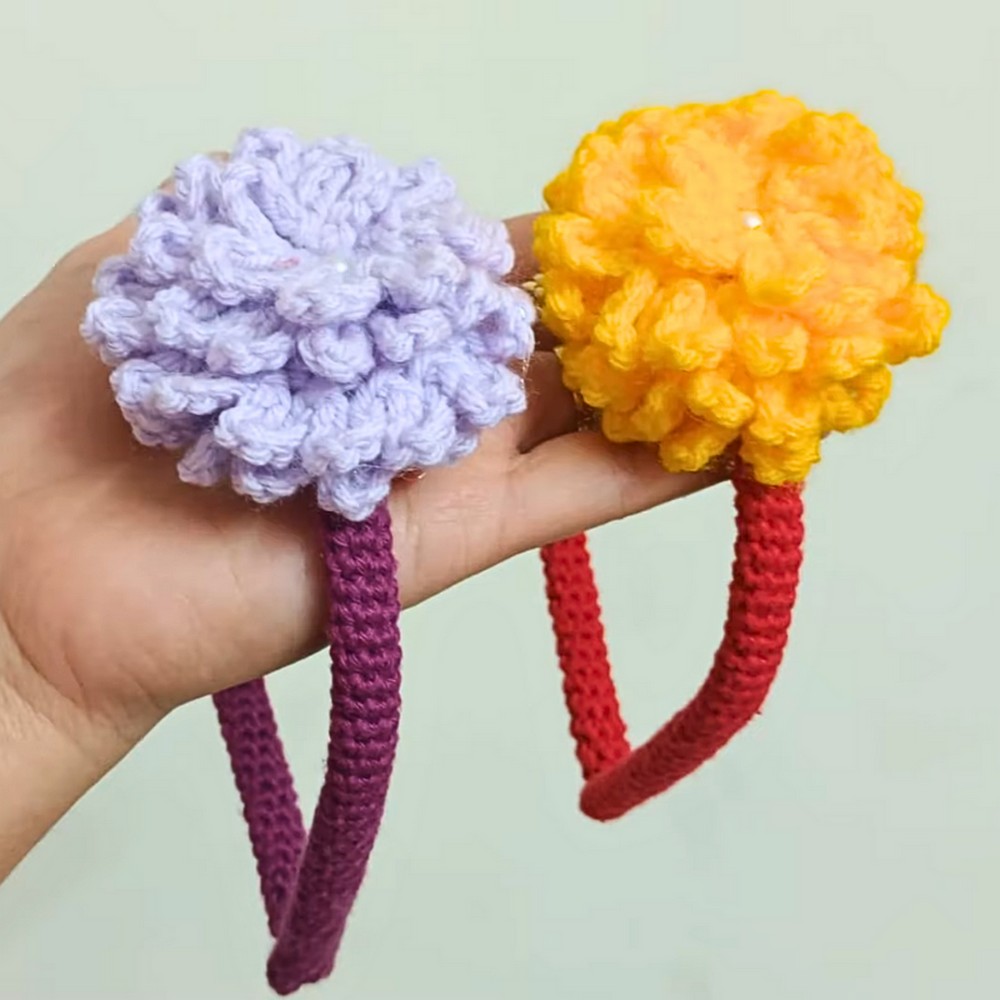
A beautiful finish begins with a clever and uncomplicated crochet design. This headband is created by covering a metal hair band with soft crochet stitches before adding a decorative flower for extra charm.
The simple construction keeps the piece comfortable to wear while giving it a neat and polished look. Whether you’re making it as a thoughtful gift or a colorful everyday item, the result is both practical and delightful.
Credit Dream Weaver Crochet
Materials & Tools Needed
- Yarn: 4-ply cotton yarn in your choice of color
(Light green used in the example) - Crochet Hook: 2.5 mm
- Headband Base: Metal headband with a smooth inner surface (no teeth/combs)
- Notions:
- Tapestry/Darning Needle (for sewing ends closed)
- Scissors
- Stitch Marker (optional, to mark the first stitch of rounds)
- Hot Glue Gun & Glue Sticks (optional, for attaching embellishments)
Finished Size & Customization Ideas
- Size: Custom fit determined by the length and thickness of your headband base.
- Customization Ideas:
- Headband Width: For wider bases, increase the starting round to 7–10 single crochet stitches [07:16].
- Color Variations: Try multi-colored yarn, stripes, or bold contrasting colors.
- Embellishments: Swap 3D flowers with crochet bows, butterflies, or pearls glued along the length.
Pattern Notes:
- Continuous Rounds—The crochet tube is worked in spiral rounds (no slip-stitch joining), preventing visible seams.
- Stitch Count—Count stitches periodically to avoid accidentally dropping or adding stitches.
- Gauge—Maintain consistent tension to ensure smooth coverage over the base.
- Initial Rounds—Rounds 1–3 may feel tight but become easier as the tube lengthens.
Pattern Abbreviations (US Crochet Terms)
- mr: Magic Ring / Magic Circle
- sc: Single Crochet
- st(s): Stitch(es)
- rnd(s): Round(s)
- [ ]: Total stitch count at the end of a round
Step-by-Step Crochet Instructions
Phase 1: Crochet Tube Base
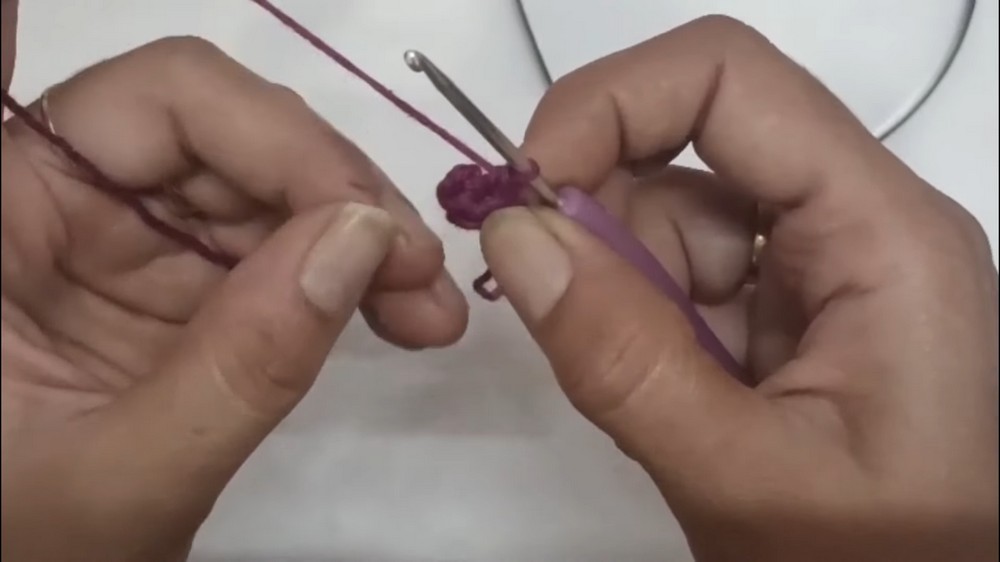
Round 1: Initial Ring
- Create a Magic Circle.
- Work 6 single crochet (sc) into the ring.
- Pull the yarn tail to close the center loop tightly.
(Do NOT slip stitch to join.)
[Total: 6 sc]
Round 2: Establishing the Tube
- Work 1 sc directly into the first stitch of Round 1.
- Work 1 sc into each of the remaining 5 stitches around.
[Total: 6 sc]
Rounds 3 and Onward: Extending the Tube
- Work 1 sc into each stitch continuously around in a spiral.
(Do NOT join at the end of rounds; continue directly into the next stitch.) - Repeat until the crochet tube matches the full length of the metal headband base.
Tip: Always maintain 6 sc per round to retain an even tube diameter. - Once the desired length is reached, cut the yarn, leaving an 8–10 inch tail for finishing.
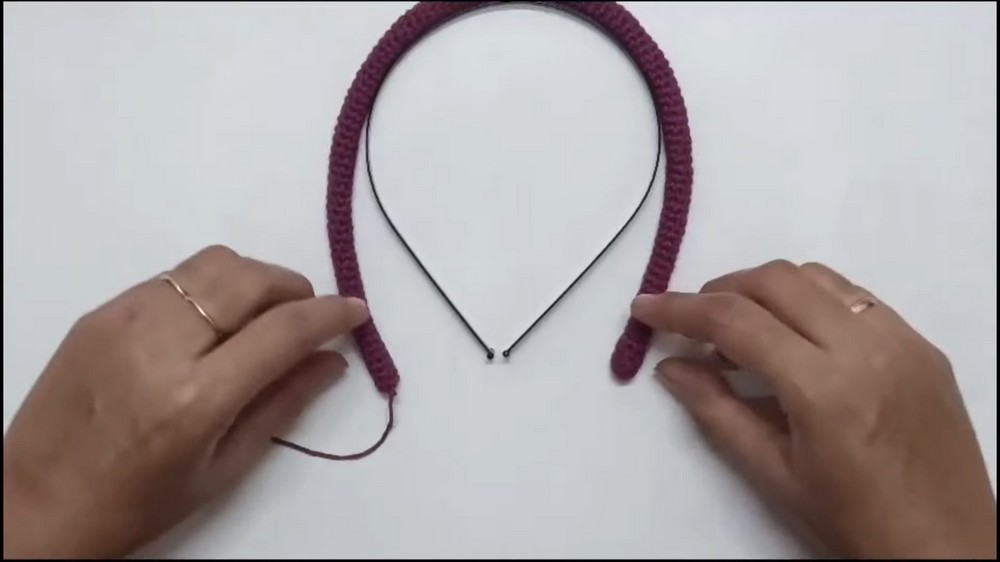
Final Assembly
Step 1: Insert the Metal Band
- Slide the metal headband base into the crochet tube, ensuring both ends are covered evenly.
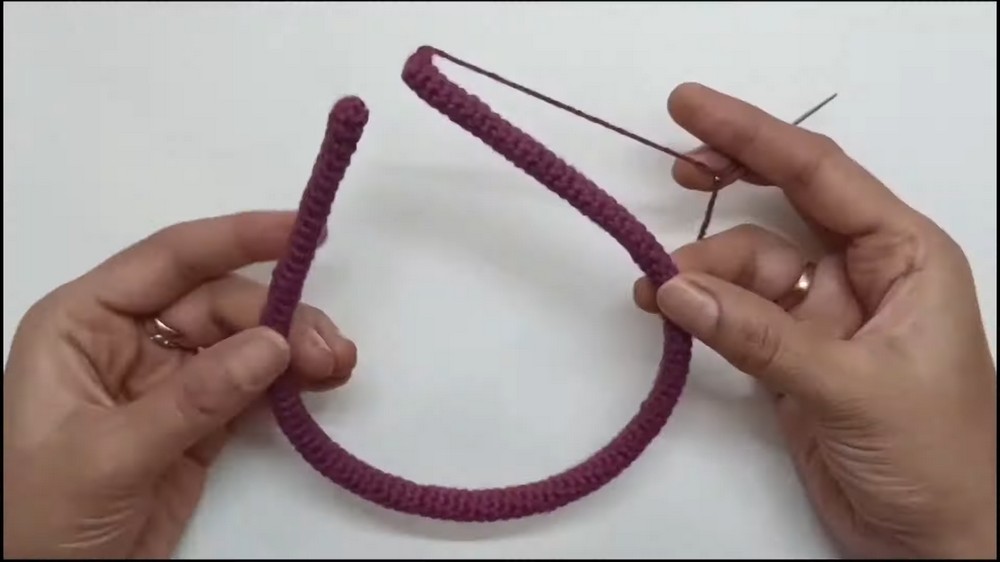
Step 2: Sew and Close Ends
- Thread the yarn tail onto a tapestry needle.
- Weave the needle through the front loops of the 6 end stitches.
- Pull tight to seal the opening over the tip of the metal headband.
- Tie a small knot, weave in the remaining tail, and trim any excess yarn.
(Repeat for the other end if necessary.)
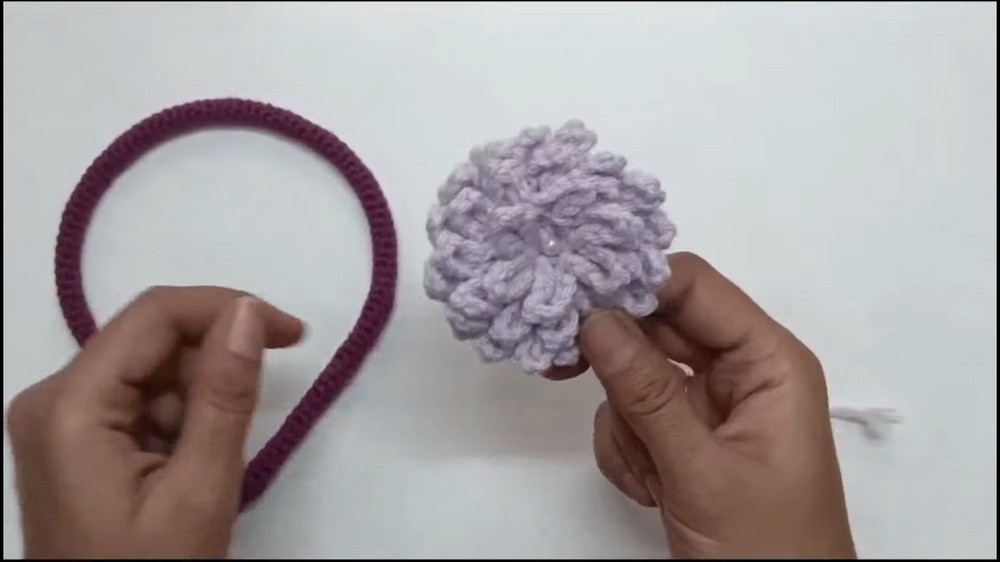
Step 3: Attach Embellishment (Optional)
- Preheat a hot glue gun (~15 minutes).
- Apply hot glue to the back of a 3D flower or other accent piece.
- Press it firmly onto one side of the headband.
(Alternatively, sew the embellishment directly onto the headband using a needle and yarn.)
Conclusion
Your seamless crochet headband is now complete! This cozy, stylish design offers a snug and comfortable fit and is perfect as a quick handmade gift or for craft fairs. Customize with colors and accents to match your unique style!