Stylish Solomon’s Knot Crochet Bandana Pattern
Create a stunning Solomon’s Knot bandana that blends style and practicality. Lightweight and breathable, this crochet project is perfect for every season.
Its eye-catching openwork design makes it an ideal accessory for casual outings, beach days, or even layering with outfits.
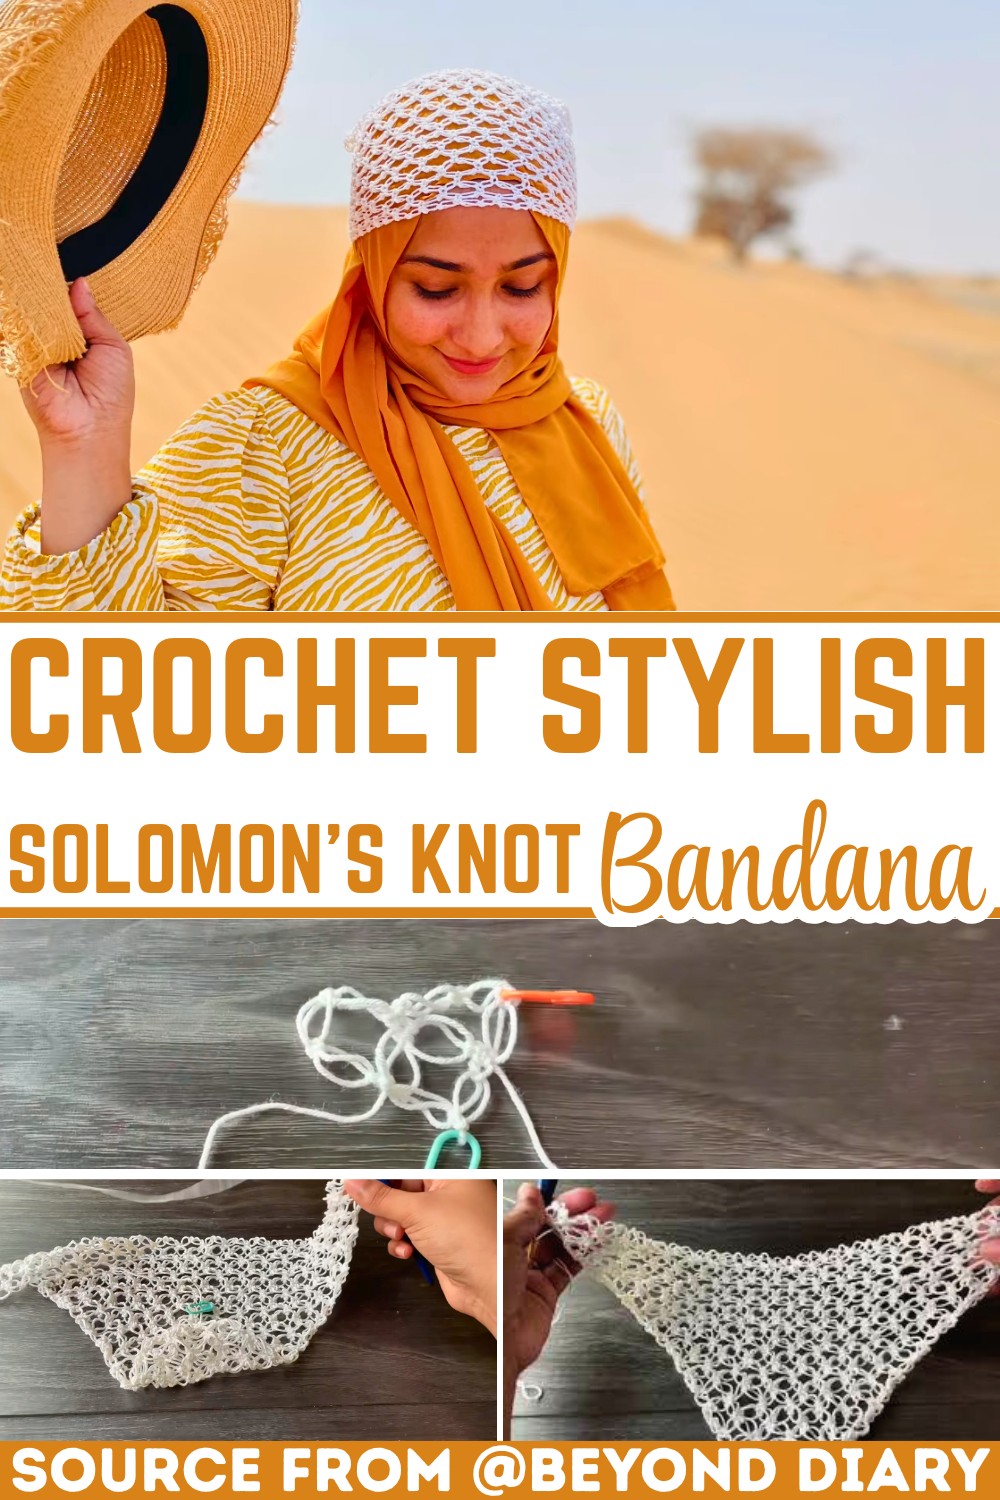
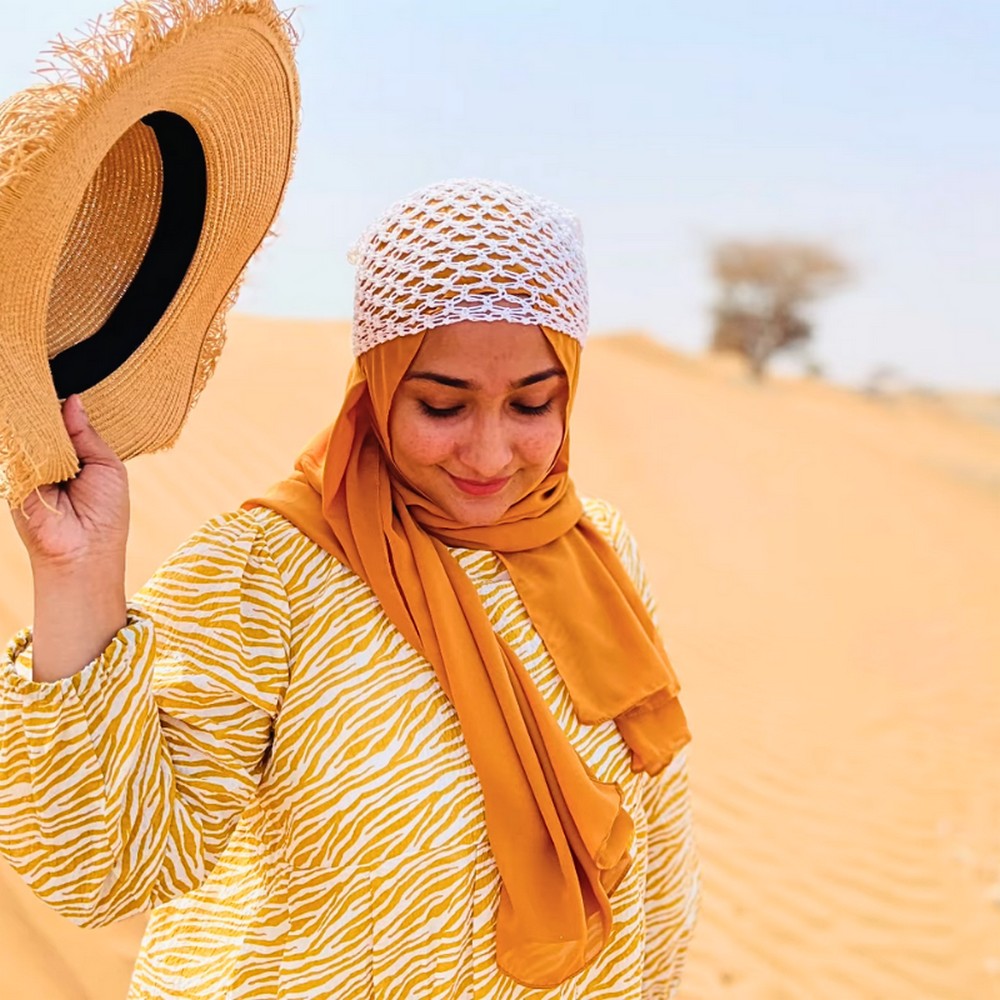
The Solomon’s Knot bandana is not only elegant but also incredibly versatile. Its delicate yet durable stitchwork ensures longevity, even with regular use.
Wear it as a headscarf, a fashionable neck wrap, or a trendy accessory. The finished piece offers beauty, comfort, and ease of customization.
Step By Step Pattern
Materials
To start your Solomon’s Knot Bandana project, gather the following supplies:
- Yarn: Any lightweight yarn or #3 DK weight yarn. Cotton or acrylic works well.
- Crochet Hook: Size 4mm (or a suitable size for your yarn).
- Stitch Markers: To mark corners and keep track of rows.
- Scissors
- Tapestry Needle: For weaving in ends.
Stitch Guide
This bandana primarily uses the Solomon’s Knot stitch along with chain stitches and single crochet (sc). Here’s how to crochet the necessary stitches:
- Solomon’s Knot Stitch (SK):
- Pull the working loop on your hook up to the desired height, around ½ inch (adjust based on your preference).
- Insert your index and thumb to hold the base of the loop, stabilizing the stitch.
- Yarn over (YO) and pull through the long loop. This forms an open knot.
- Insert the hook into the knot’s center, YO, and pull up a loop. YO once more and pull through both loops to complete a single crochet at the base of the knot.
- Chain Stitch (ch): Yarn over, pull through the loop on your hook.
- Single Crochet (sc): Insert your hook into the designated stitch, yarn over, pull up a loop, yarn over again, and pull through both loops.
Notes
- Gauge & Adjustments: The Solomon’s Knot stitch is very stretchy. Aim for even and consistent tension when pulling the loop up. If you want a larger or smaller bandana, you can extend or decrease the triangle’s rows or adjust the knot size.
- Customization Idea: Add crochet beads to the ends of the straps for a decorative touch!
- As a general rule, create three knots in the corners and two knots in the middle sections for the triangle shape.
Pattern Instructions
Step 1: Create the Foundation
- Start with a slip knot and place it on your hook.
- Chain 1.
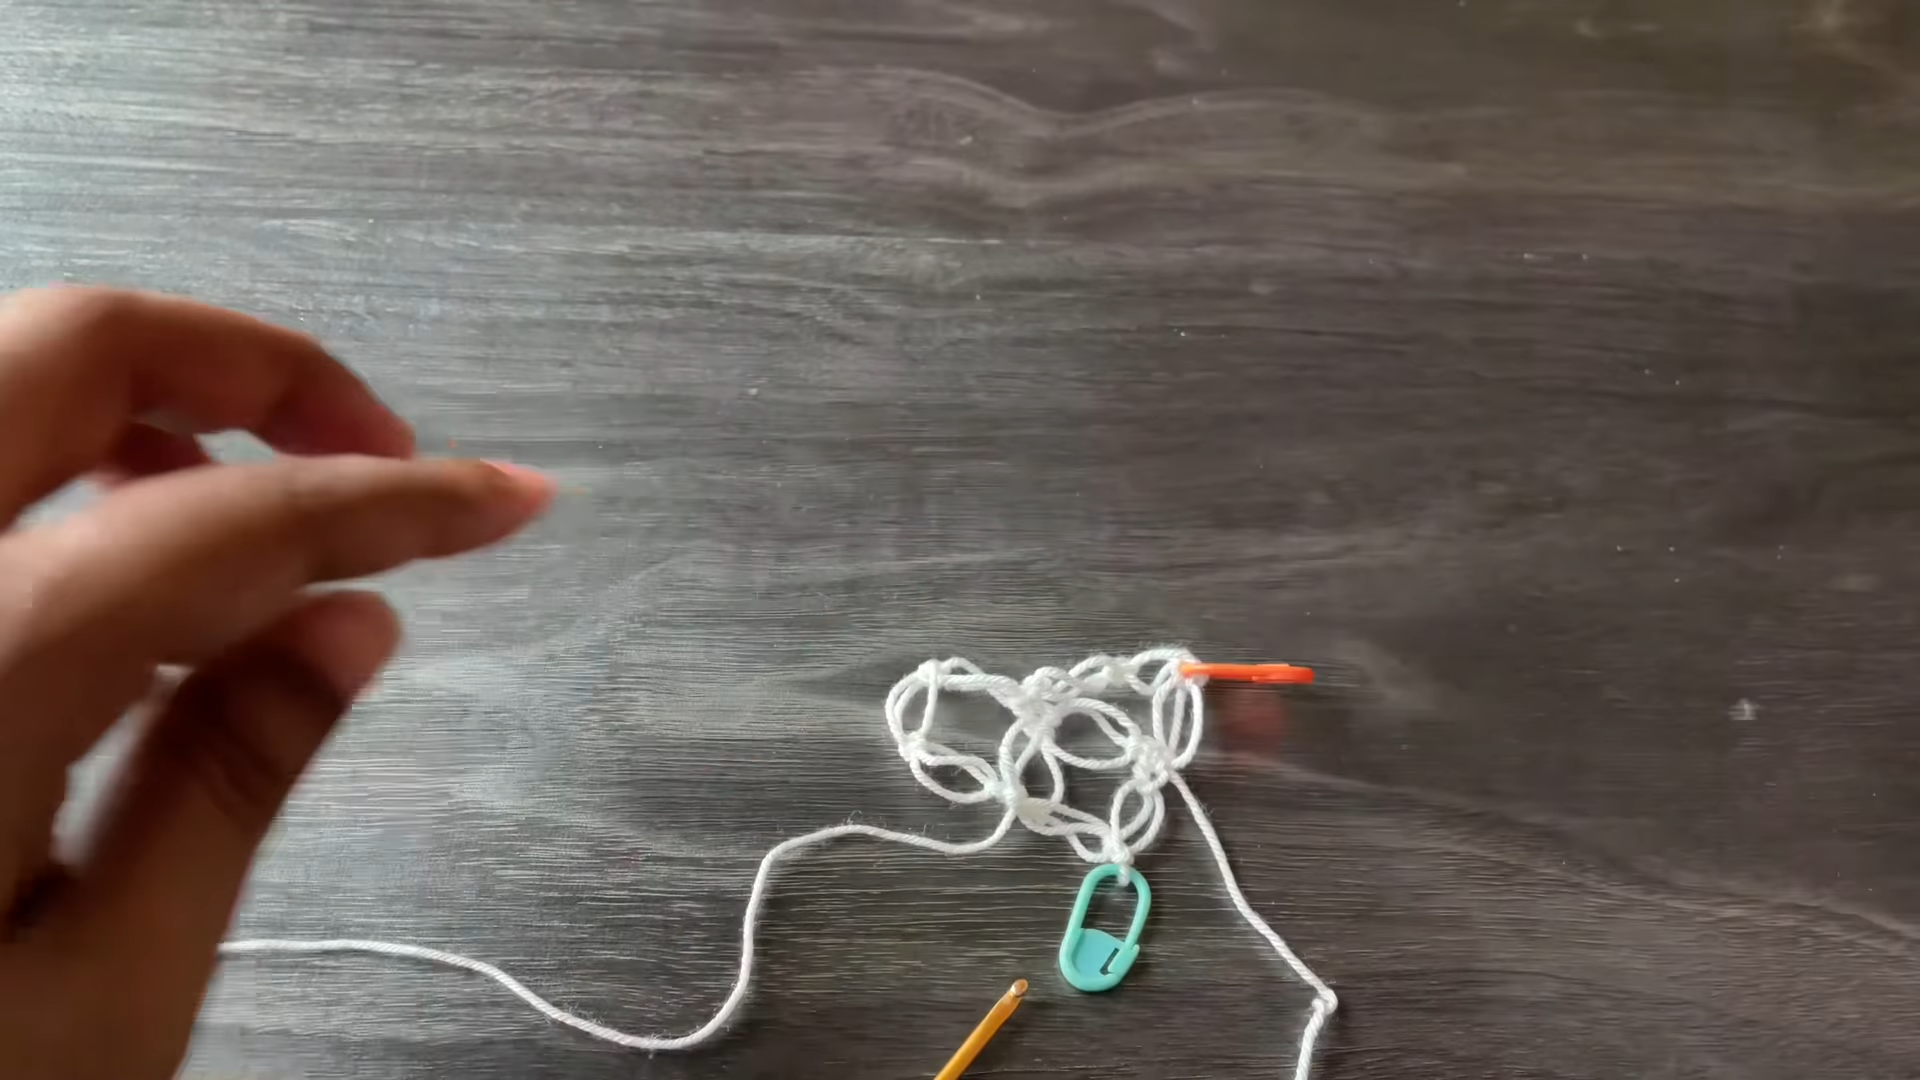
- Pull the loop on your hook upwards (about ½ inch) to create a long loop for the first Solomon’s Knot.
- Stabilize the loop with your fingers, yarn over, and pull through to create an open knot.
- Insert the hook into the knot’s center, yarn over, pull up a second loop, and finish with a single crochet. This completes your first Solomon’s Knot.
Step 2: Form the First Triangle Row (4 Knots)
- Repeat Step 3 from above to create your second knot. Use consistent loop length for symmetry.
- Continue this for a total of 4 Solomon’s Knots.
- To close the row, work a single crochet into the chain space at the start of your foundation. This forms the first row and closes the triangle.
Step 3: Create the Corners
- Use stitch markers to mark the triangle’s top corner. Place a marker in the starting chain space to make tracking easier as you progress.
- For the corners, always work 3 Solomon’s Knots in the same space.
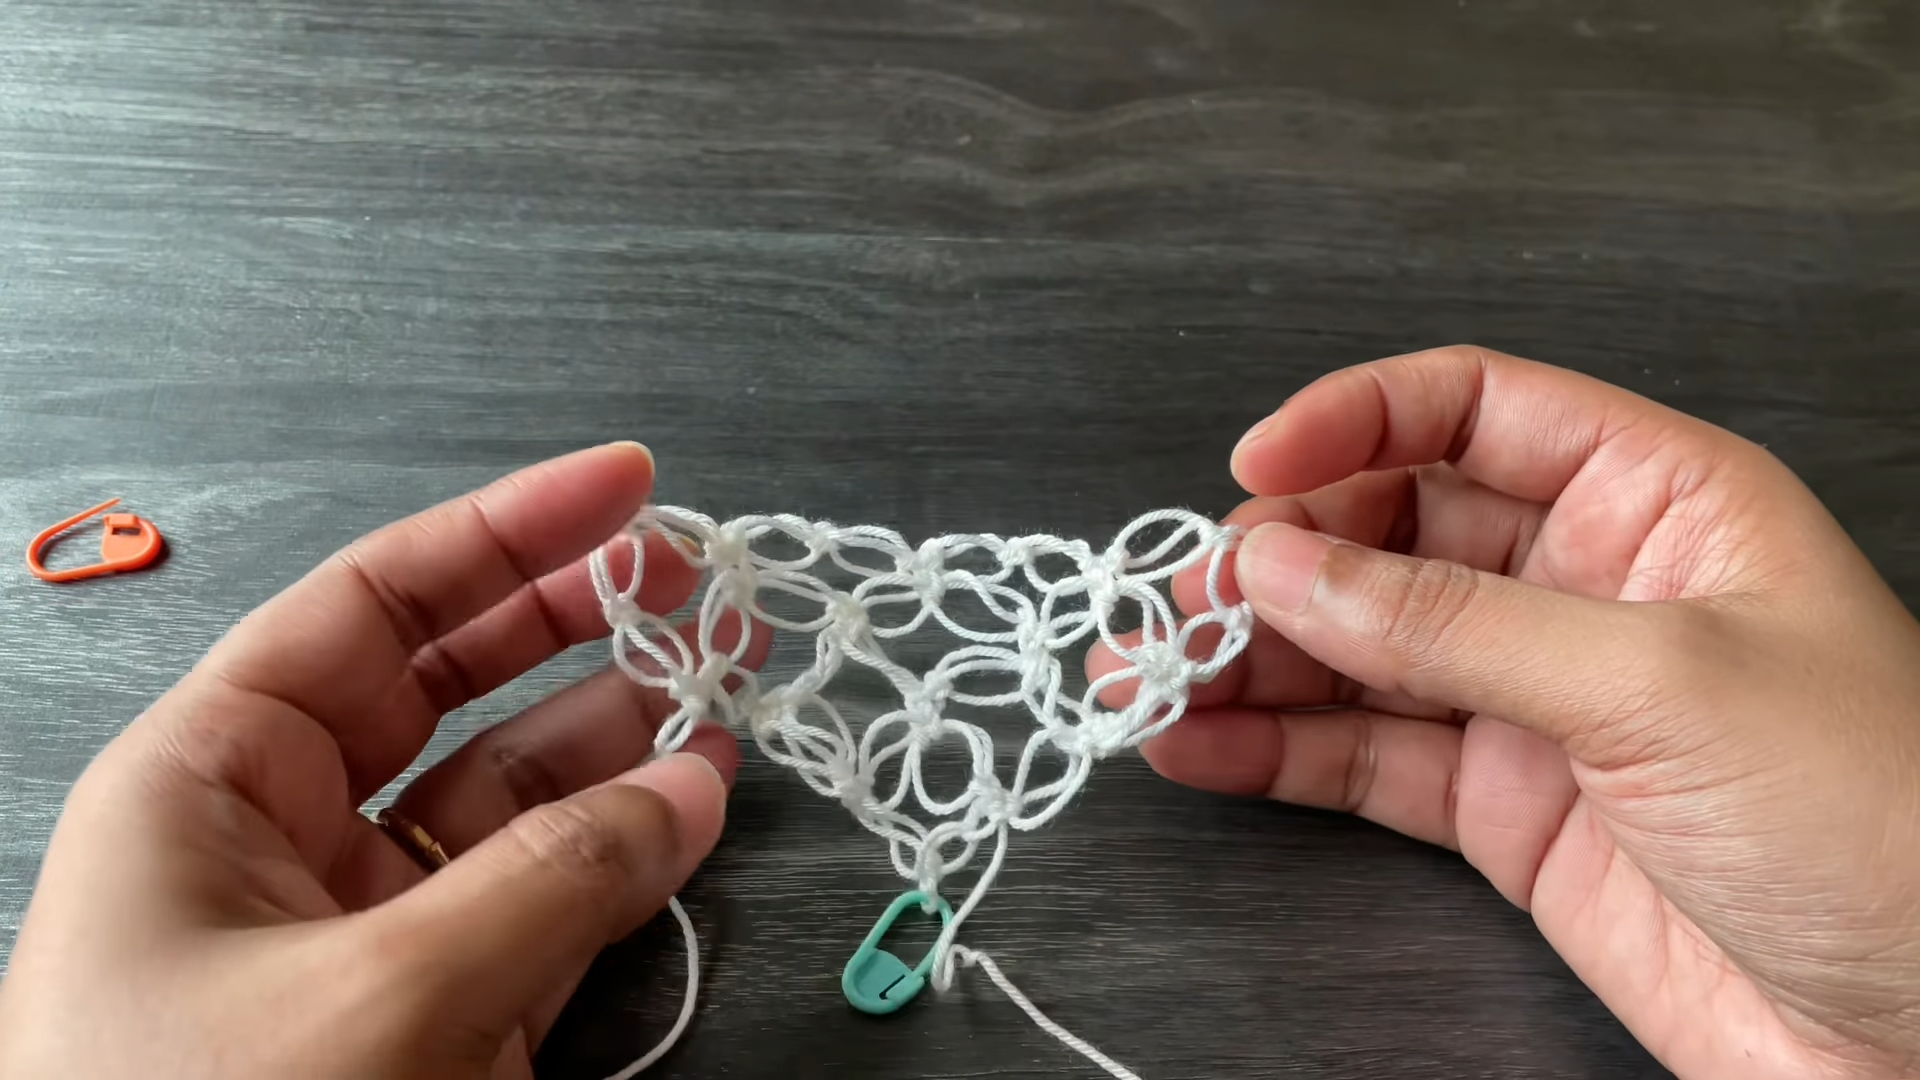
Step 4: Build the Triangle Shape (Rows 2+ onwards)
- As you begin Row 2, pull up the loop and work 3 Solomon’s Knots into the marked corner space. Secure with a single crochet.
- In the middle section: Work 2 Solomon’s Knots between the knots from the previous row. Secure each section with a single crochet in the spaces between knots.
- Last Corner: Work 3 Solomon’s Knots again in the marked space and secure with a single crochet.
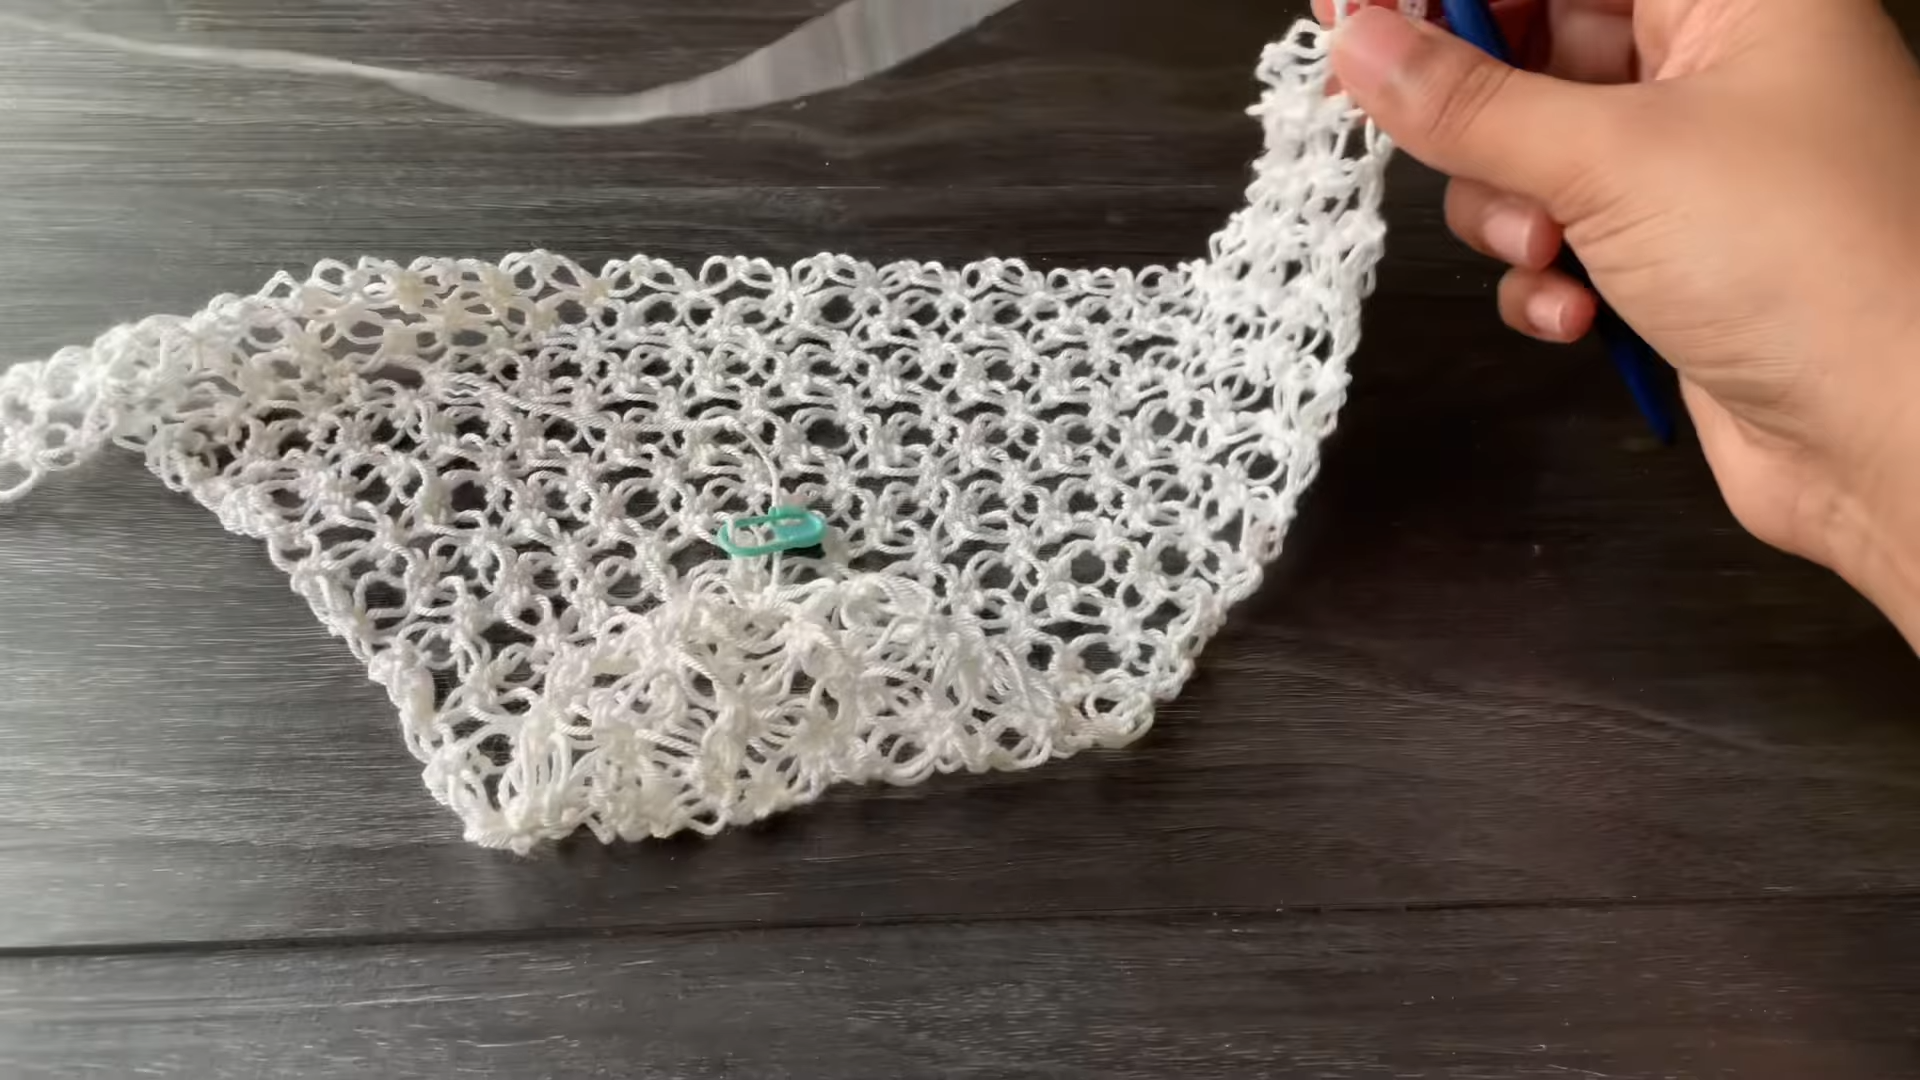
Step 5: Continue the Pattern
- Repeat the corner and middle knot pattern as you build your triangle shape.
- Corners: Always use 3 Solomon’s Knots.
- Middle: Work 2 Solomon’s Knots between the joins of the previous round.
- Use stitch markers to track corners at the start of each row.
Step 6: Shape the Tie Straps
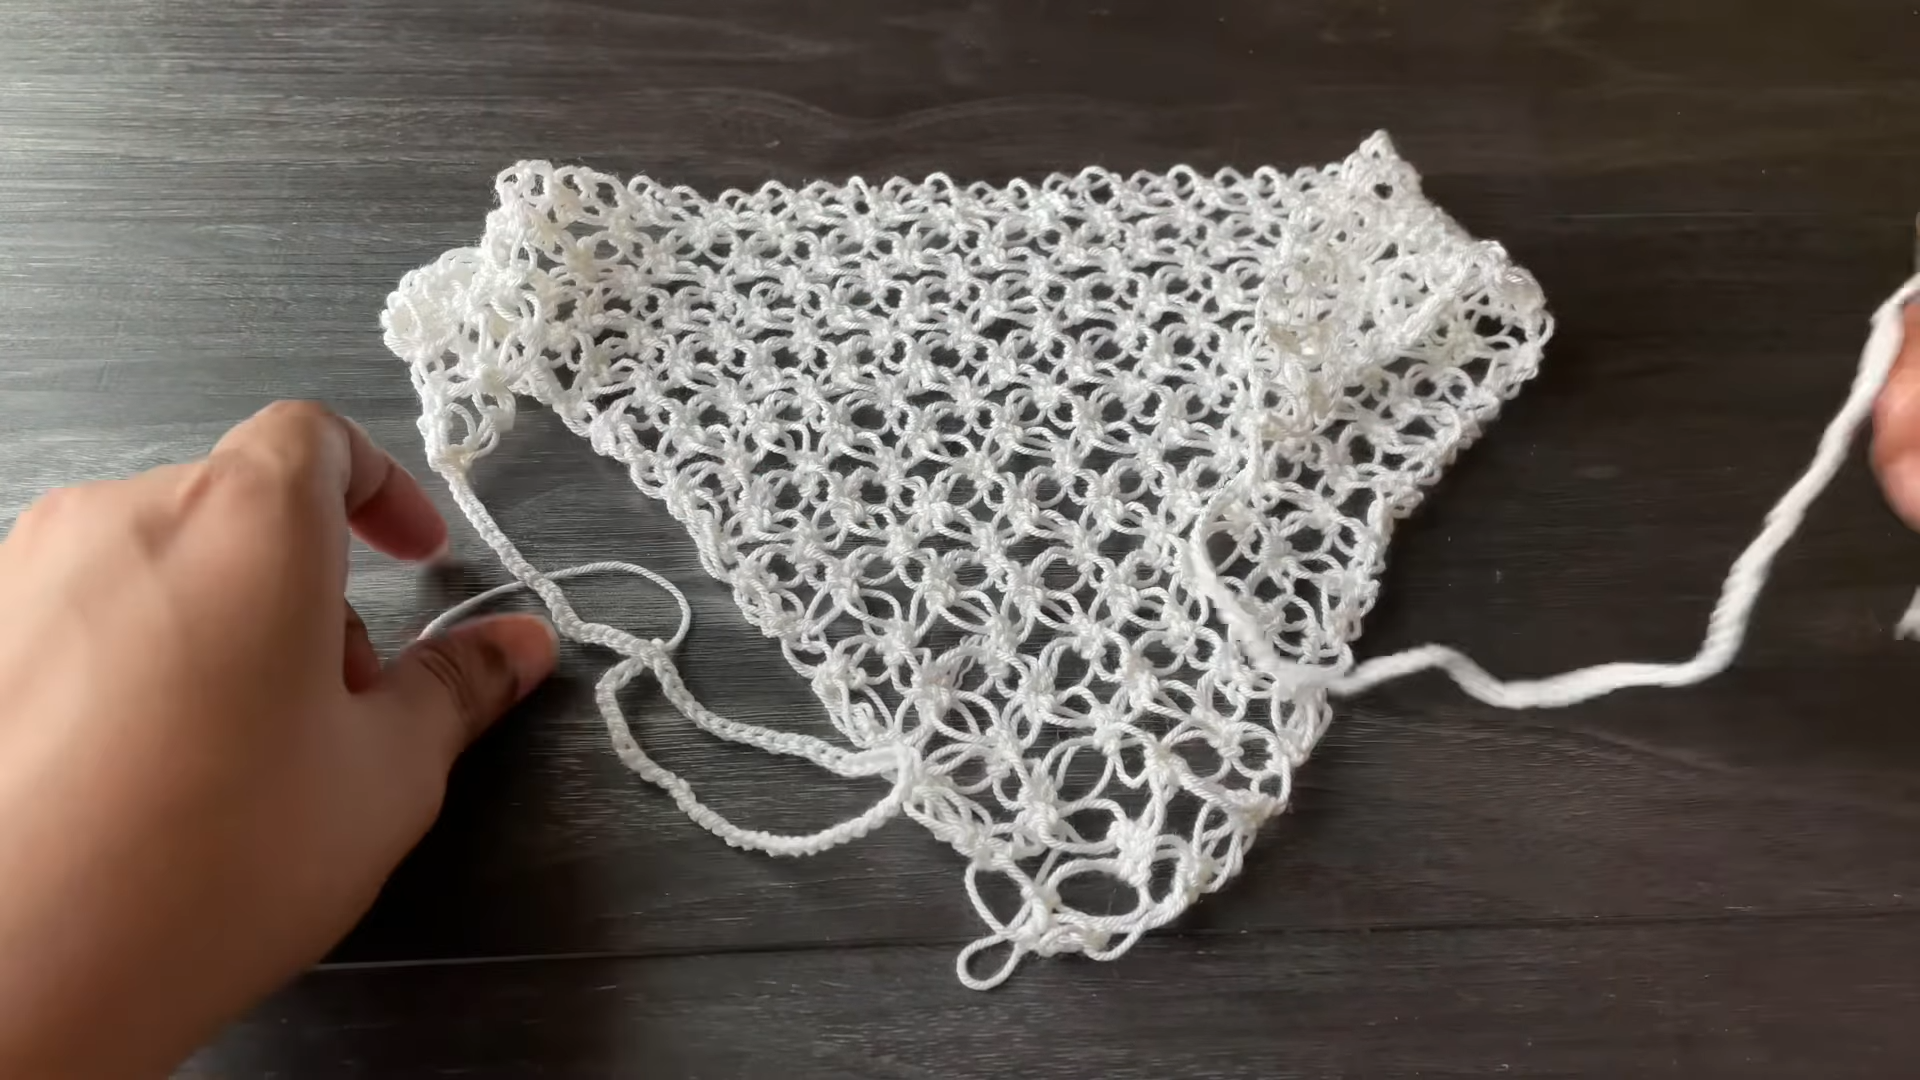
- Once your triangle has reached the desired size (approximately 12 inches on each side), prepare to crochet the straps.
- At one triangle corner, work 80 chain stitches. Fasten off the yarn and weave in the tail using a tapestry needle.
- Repeat on the opposite triangle corner to form the second tie strap.
Finishing Touches
- Weave in any loose ends near the edges of the bandana.
- If desired, block your finished project to ensure the knots maintain an even and consistent appearance.
- Check the strap symmetry and make any adjustments.
Pattern Question:
Question: What type of yarn works best for the Solomon’s Knot bandana?
Answer: A lightweight yarn such as cotton or bamboo is ideal for this pattern. These fibers enhance the bandana’s breathability and drape, making it perfect for year-round use.
Conclusion:
This crochet Solomon’s Knot bandana is both satisfying to create and practical to wear. Its timeless design and versatility make it a fun and worthwhile project for crafters of all skill levels. Add a delicate yet bold statement to your wardrobe with this unique crochet piece.