How to Crochet Shell Lace with Interlaced Patterns for Accessories and Décor
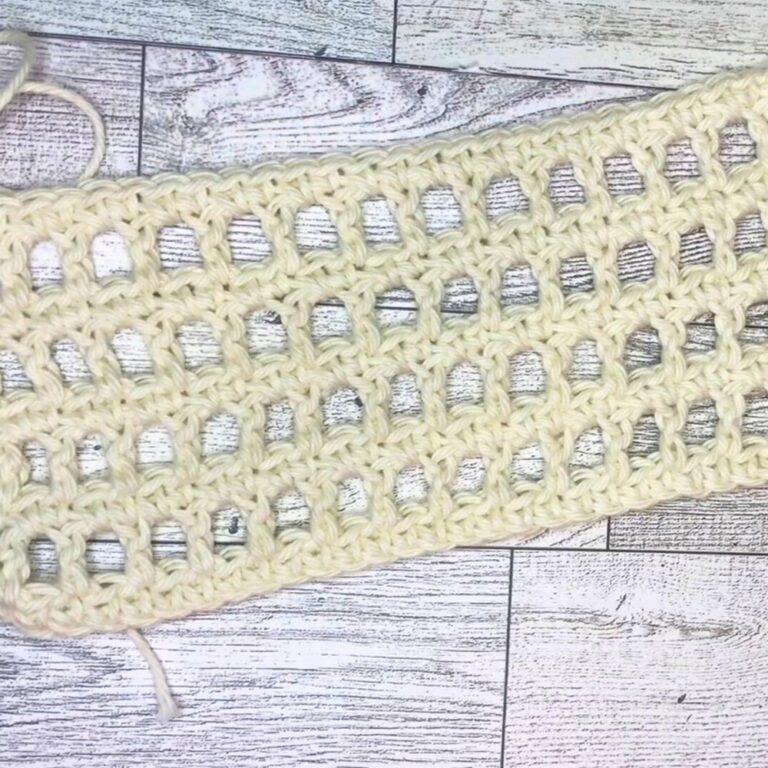
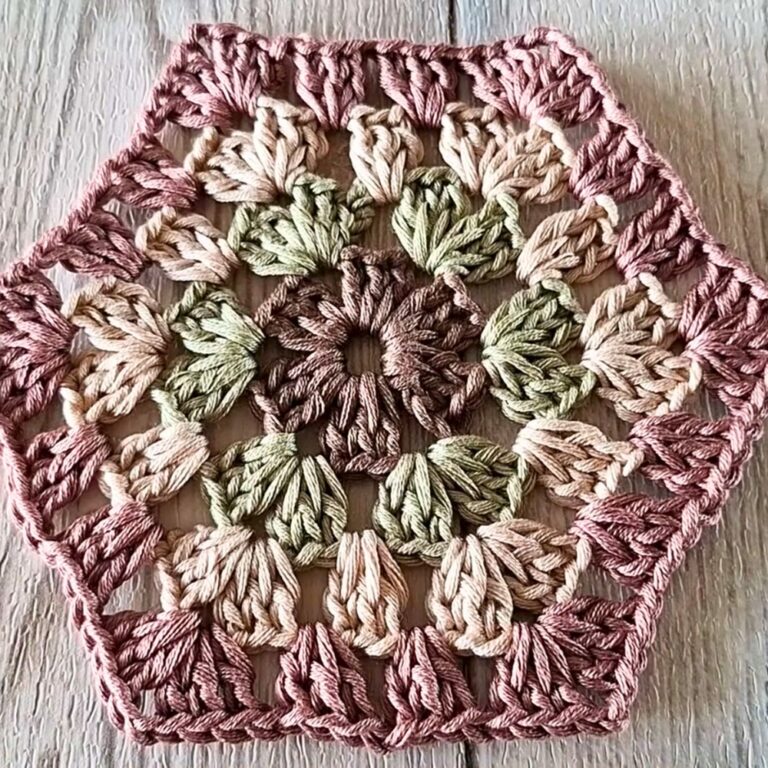
The Crochet Shell Lace pattern combines elegance with practicality, featuring interlaced shells and clusters for a stunning textured design.
This versatile project can be customized for various purposes, such as scarves, blankets, or home décor, making it perfect for both beginners and advanced crocheters.
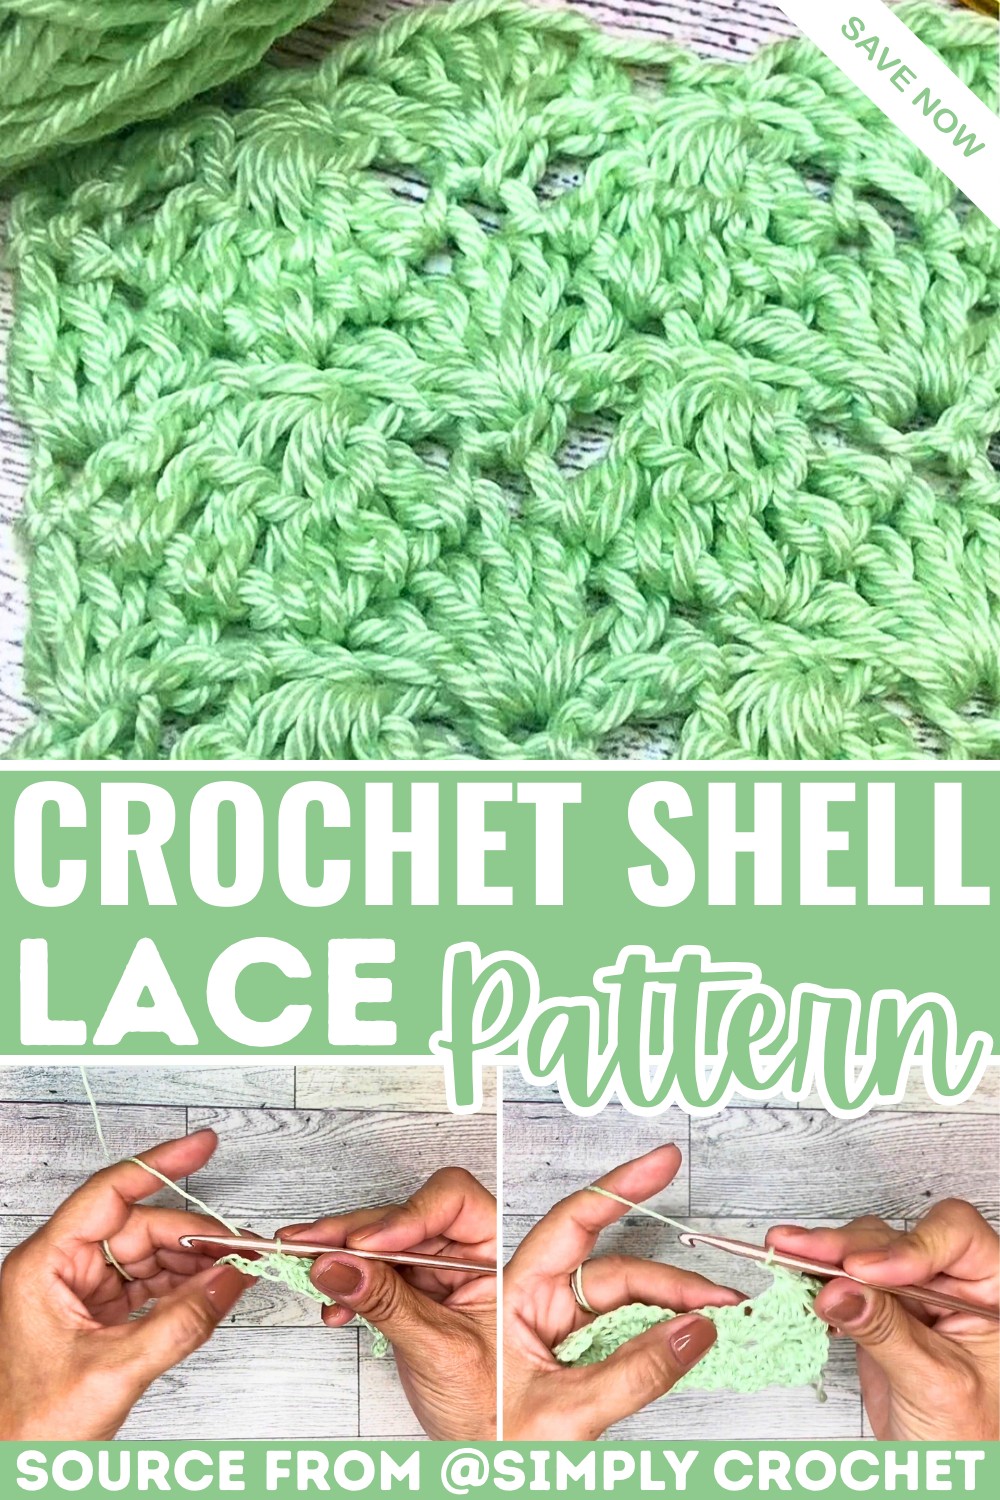
The Shell Lace design is highly durable and visually striking, featuring classic shell stitches with unique clusters for added texture.
Its adaptability allows you to create pieces like table runners, shawls, or cozy throws, while the repeated pattern ensures an easy yet rewarding experience for crocheters.
Credit Simply Crochet
In this article, you’ll discover a detailed step-by-step Crochet Shell Lace pattern accompanied by clear instructions. If you face any challenges or make mistakes while crafting your design, don’t hesitate to check out the video tutorial linked at the end of the blog post.
Step-by-Step Pattern
Materials
To get started, gather the following materials:
- Yarn: Medium-weight (Category 4) yarn works best; adjust depending on your project (e.g., acrylic or cotton for blankets, wool for scarves).
- Hook Size: 5.0mm (H/8) crochet hook.
- Additional Tools:
- Tapestry needle (for weaving in ends).
- Scissors.
- Stitch markers (optional) for keeping track of repeats.
Feel free to experiment with other yarn weights by adjusting your hook size accordingly.
Stitch Guide
Familiarize yourself with the following stitches and techniques used in this pattern:
- Chain (ch): Yarn over, pull through the loop on your hook.
- Single Crochet (sc): Insert hook, yarn over, pull through, yarn over, pull through two loops.
- Double Crochet (dc): Yarn over, insert hook, yarn over, pull through, yarn over, pull through two loops, yarn over, pull through final two loops.
- Shell Stitch: A group of 5 double crochet worked into the same stitch or space.
- Cluster Stitch (used in Row 2):
- Yarn over, insert hook, pull up a loop, yarn over, pull through two loops.
- Repeat the above step (5 times total) until 6 loops are on your hook.
- Yarn over, pull through all 6 loops.

Notes
- Pattern Multiple: The foundation chain is a multiple of 6, plus an additional 4 stitches. For customization, determine your desired width and calculate the number of chains accordingly.
- Gauge Adjustments: While exact gauge isn’t crucial, maintain consistent tension for even stitches.
- Customization Ideas:
- Alternate colors for each row for a striped effect.
- Use a finer yarn for a more delicate lace look.
Pattern Instructions
Follow this step-by-step tutorial to create the Crochet Shell Lace pattern.
Foundation Chain
- Chain a multiple of 6 + 4.
- For this tutorial, use 22 chains (6 × 3 + 4) as an example.
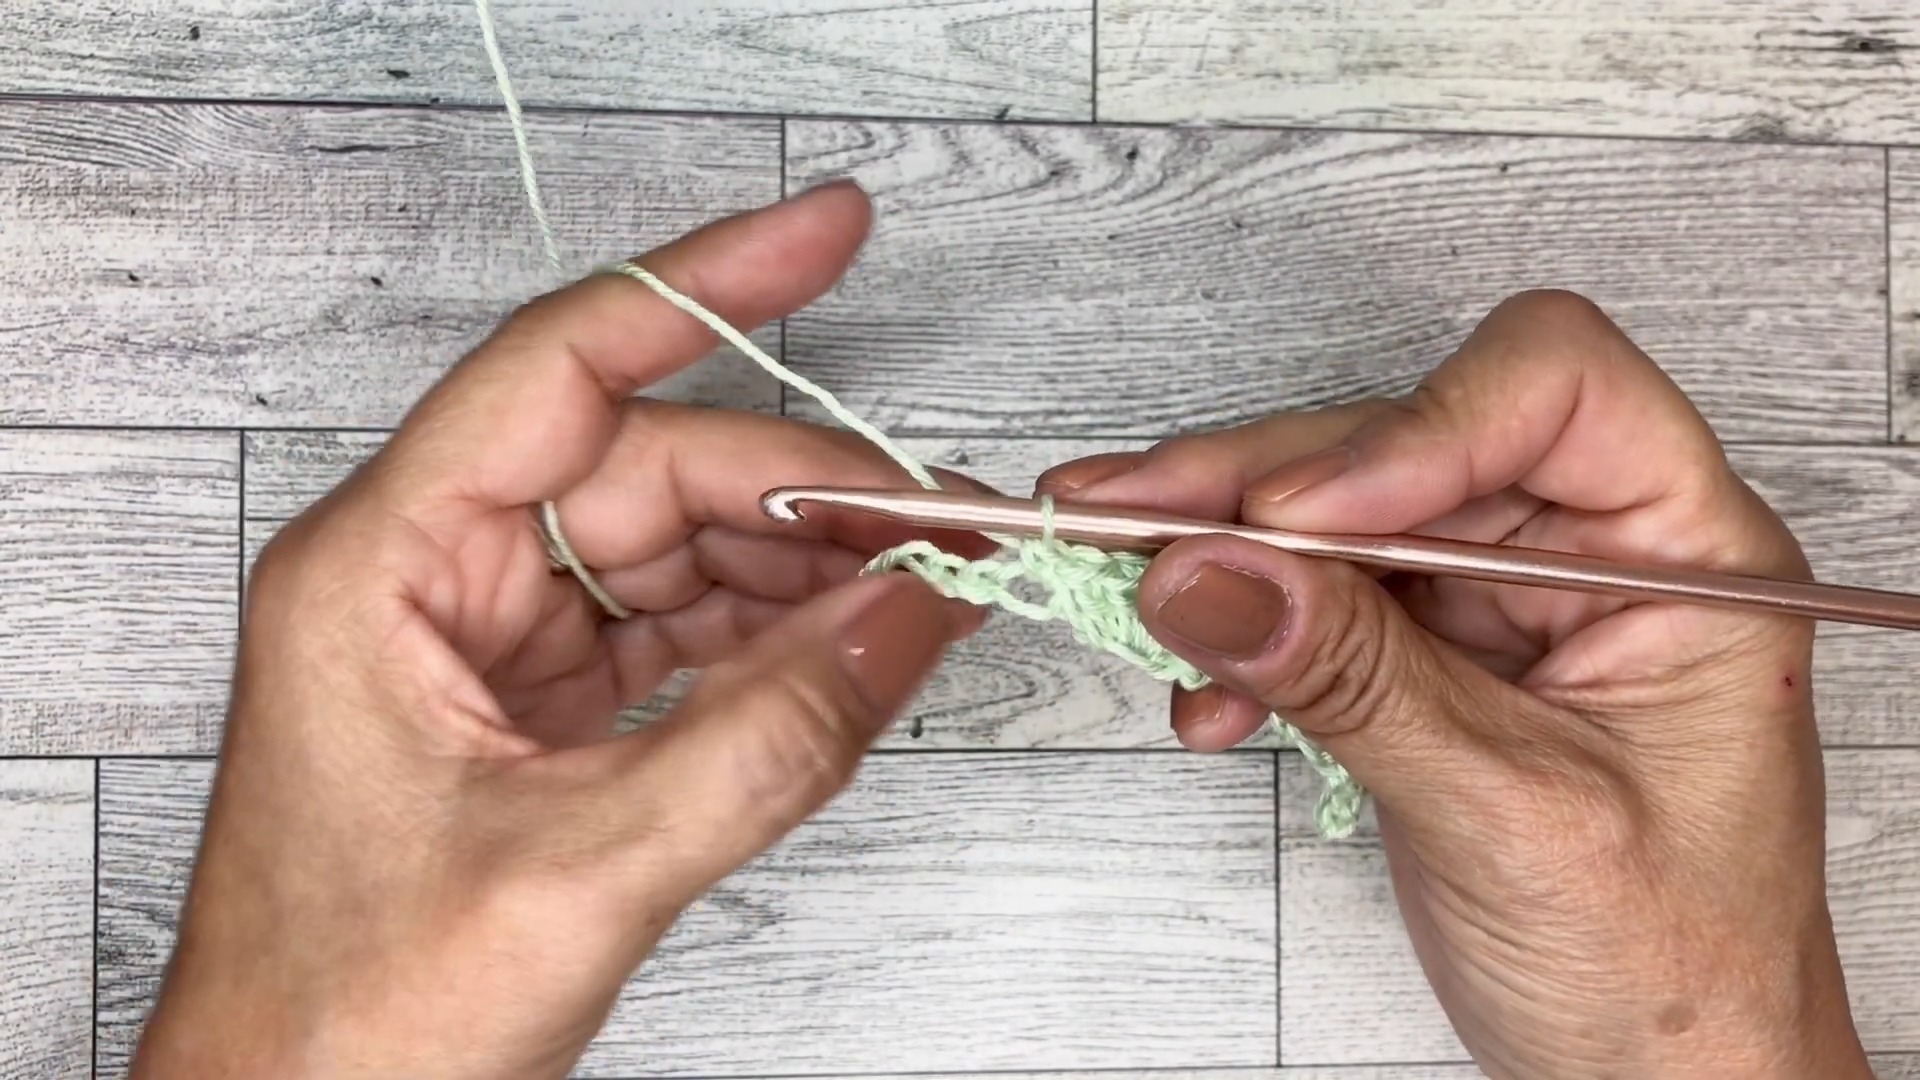
Row 1: Shell Lace Setup
- Begin by working 2 double crochets in the 4th chain from the hook.
- Skip 2 chains, then work 1 single crochet into the next chain.
- Skip 2 chains and create a Shell Stitch:
- Work 5 double crochets into the same chain.
- Repeat:
- Skip 2 chains, work 1 sc.
- Skip 2 chains, work a Shell Stitch.
- At the end of the row:
- You’ll have 3 remaining chains. Skip 2 chains, then work 3 double crochets into the last chain.
- The row should start and end with a group of 3 double crochets.
Row 2: Cluster Stitching
- Turn your work and chain 1.
- Work 1 single crochet in the first stitch below the chain.
- Chain 2, then begin the Cluster Stitch:
- Yarn over, insert hook in the next stitch, pull up a loop, yarn over, pull through two loops. Repeat this 5 times until you have 6 loops on your hook, yarn over and pull through all loops.
- Chain 2 and work 1 single crochet in the very next stitch.
- Repeat across the row:
- Chain 2, Cluster Stitch, chain 2, single crochet in the next stitch.
- Finish the row by working one last single crochet at the top of the turning chain from the previous row.
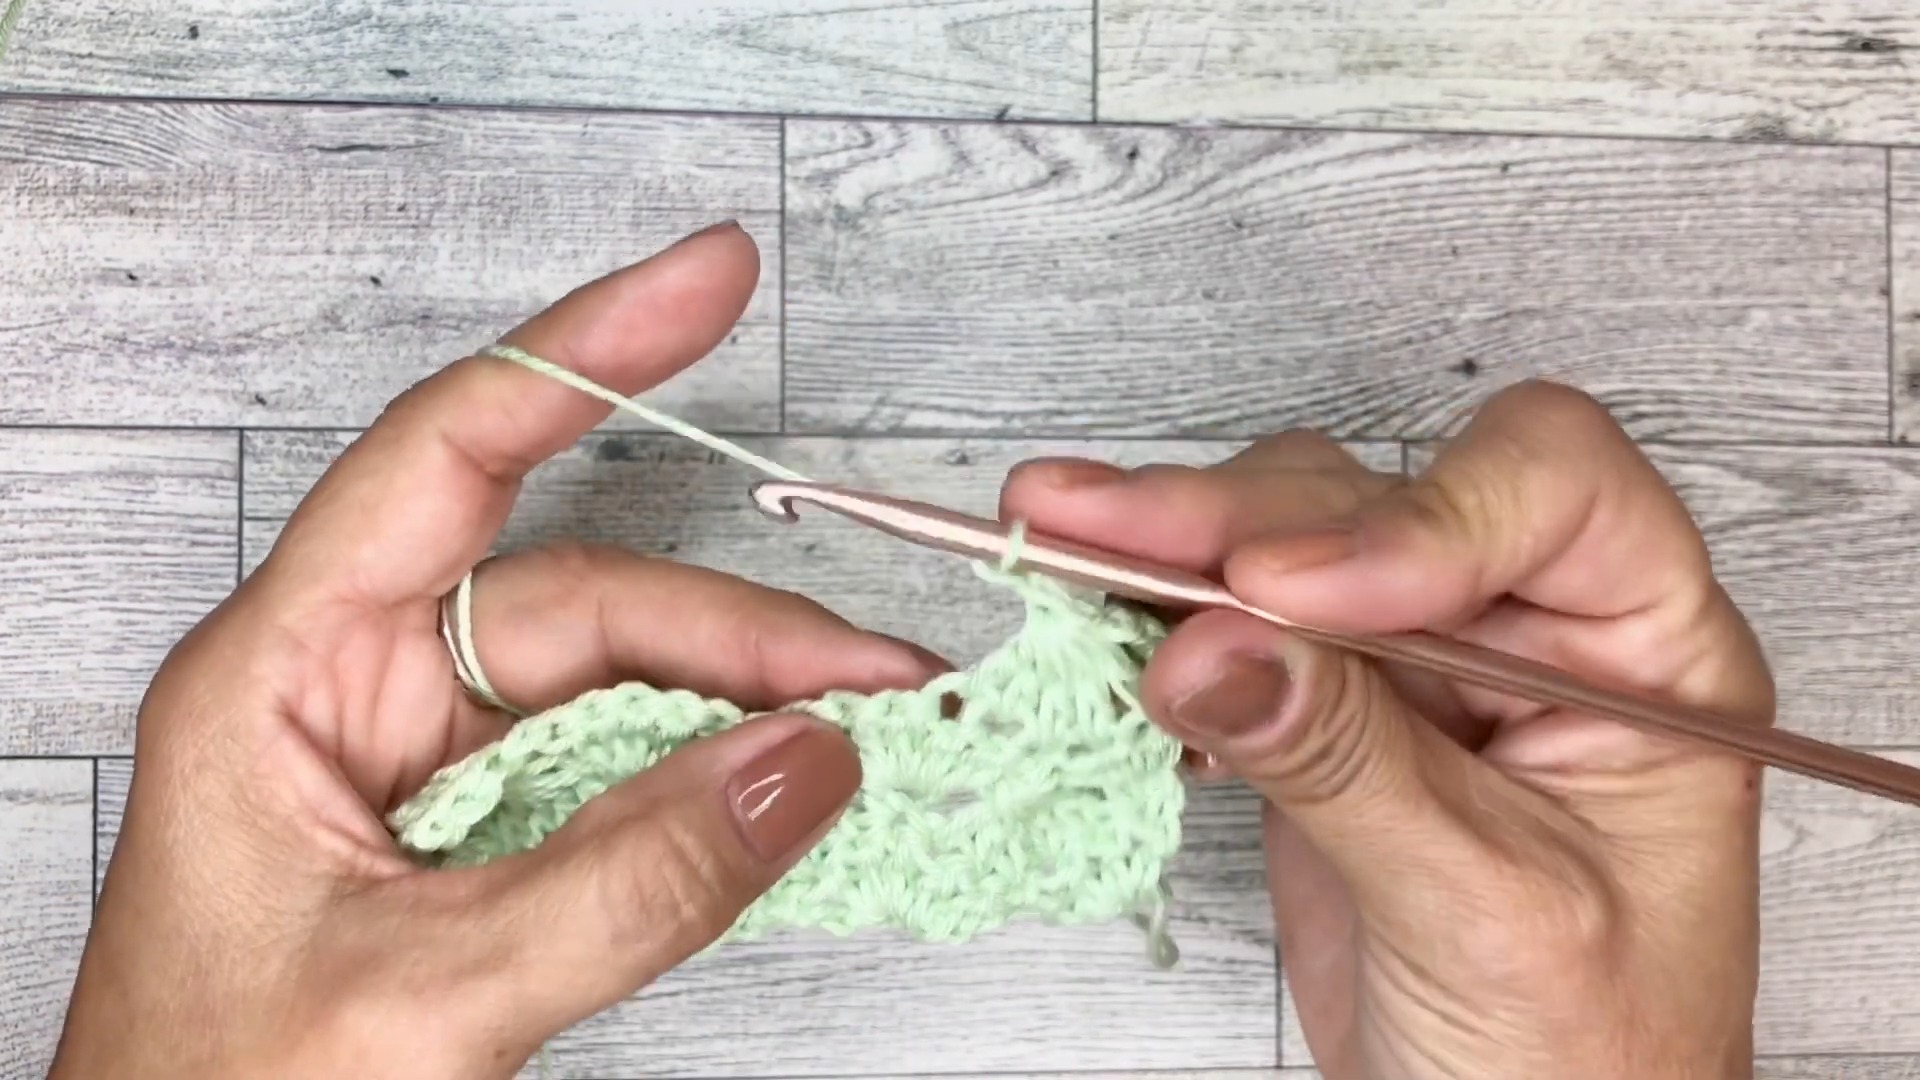
Row 3: Return to Shells
- Turn your work and chain 3 (counts as a dc), then add 2 double crochets in the same stitch below.
- Work 1 single crochet at the top of the previous row’s Cluster Stitch (look for the ‘eye’ at the top of the cluster).
- Skip the next two chains and work 5 double crochets in the next single crochet stitch.
- Repeat:
- Single crochet at the top of the Cluster.
- Skip 2 chains, work a Shell Stitch in the single crochet below.
- To finish this row:
- After your last Shell Stitch, work a single crochet at the top of the final Cluster.
- End with 3 double crochets in the top of the turning chain from the previous row.

Repeat Rows 2 and 3
- Continue alternating Row 2 (Cluster Stitch row) and Row 3 (Shell Stitch row) until your desired length is reached.
Final Touch
- Once you’ve reached the desired length, fasten off your yarn and weave in the ends with a tapestry needle.
- Optional: Lightly block your finished piece for a more polished lace look.

Pattern Question
Question: How many chains should I start with for a wider project?
Answer: Begin with a multiple of six chains plus four. For larger widths, measure your desired size and adjust the starting chain count accordingly to maintain the pattern structure.
Conclusion
The Crochet Shell Lace pattern is a beautiful and fulfilling project, suitable for anything from personal accessories to home décor. With its timeless design and easy-to-follow repeats, this crochet project is both enjoyable and practical, making it a must-try for crochet enthusiasts of all levels.