Crochet Leafy Granny Square with Leaves and Squares
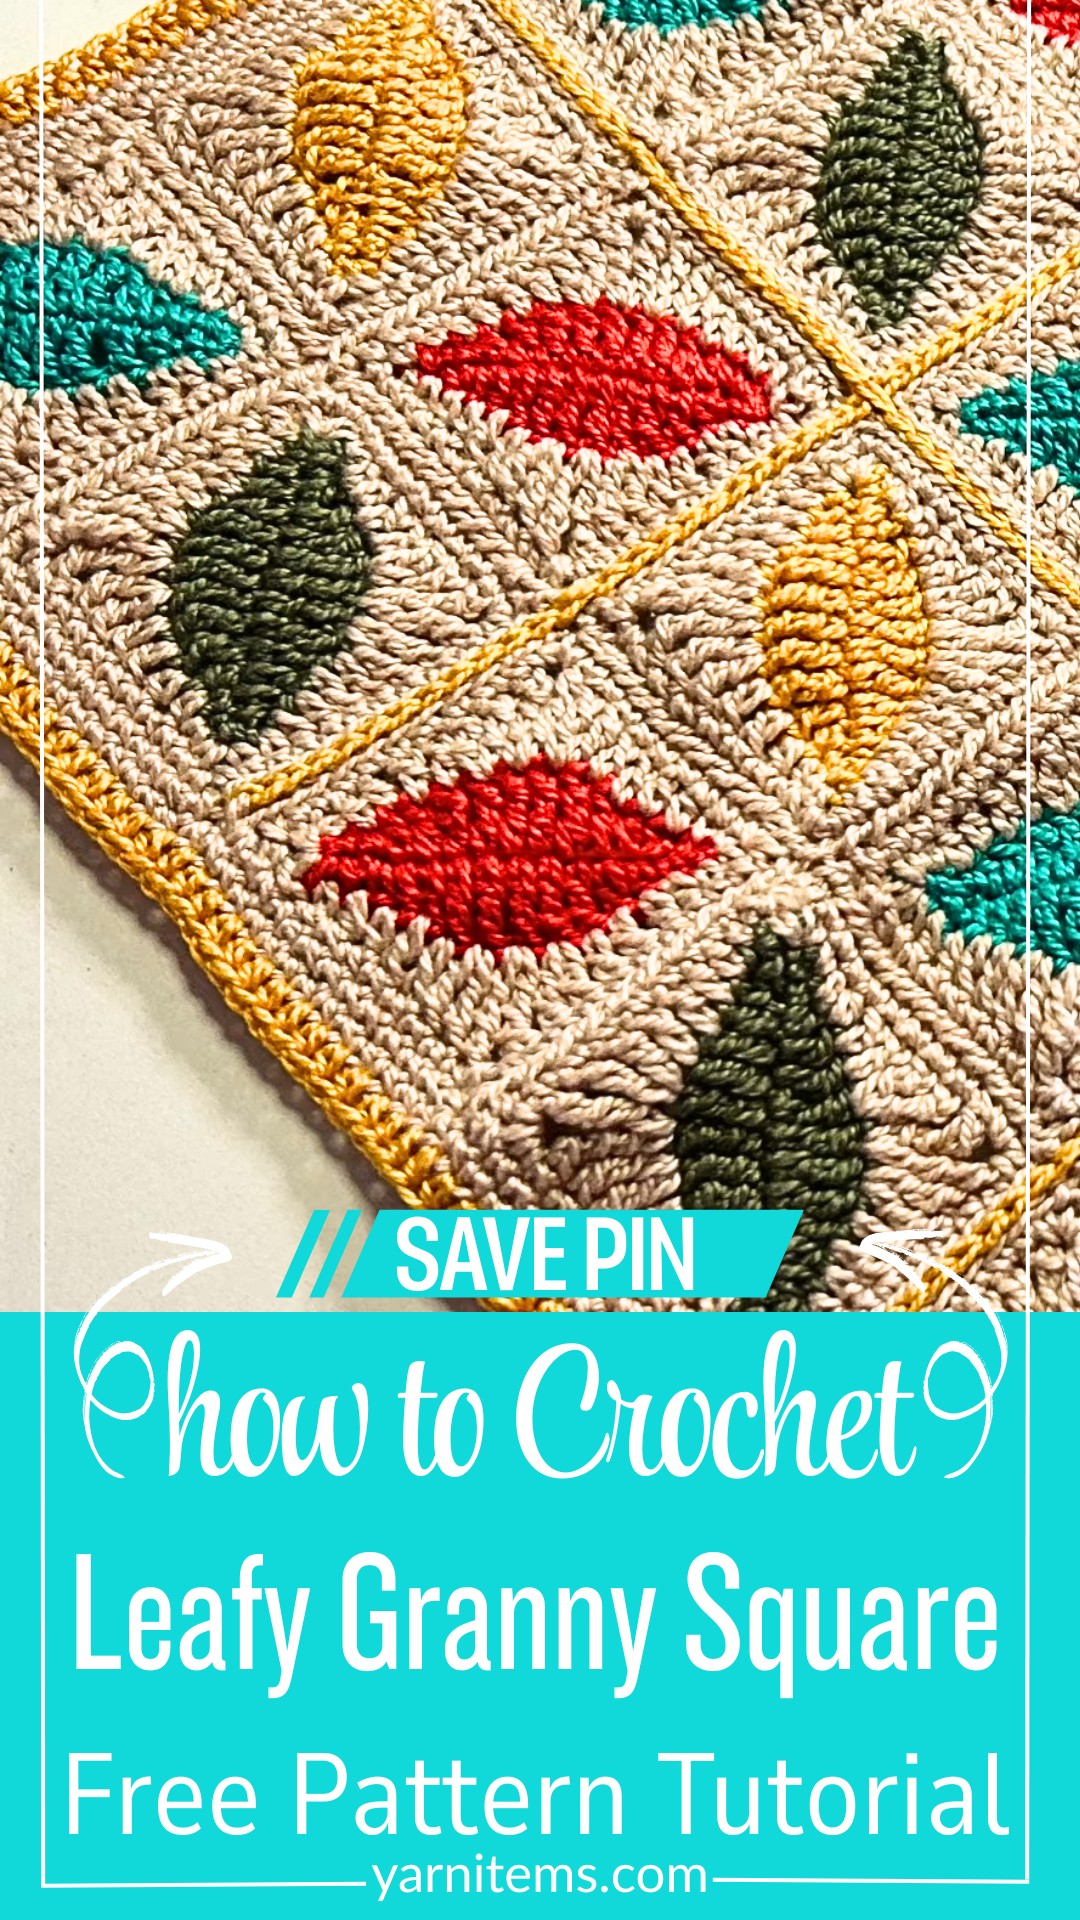
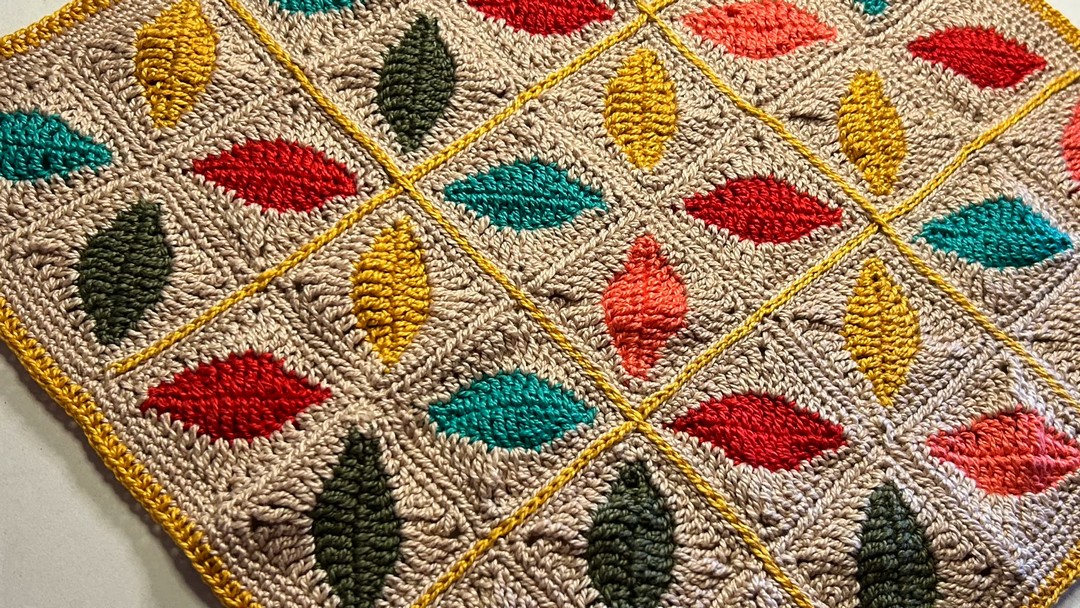
A single leafy detail can completely transform an ordinary granny square into something truly unforgettable. The Crochet Leafy Granny Square blends graceful leaf motifs with classic shapes, creating a piece that feels fresh, colorful, and full of character.
Soft cotton yarn and carefully layered stitches give every section a crisp, textured finish that instantly catches the eye. Its balanced crochet design makes it a beautiful choice for both decorative and practical handmade items.
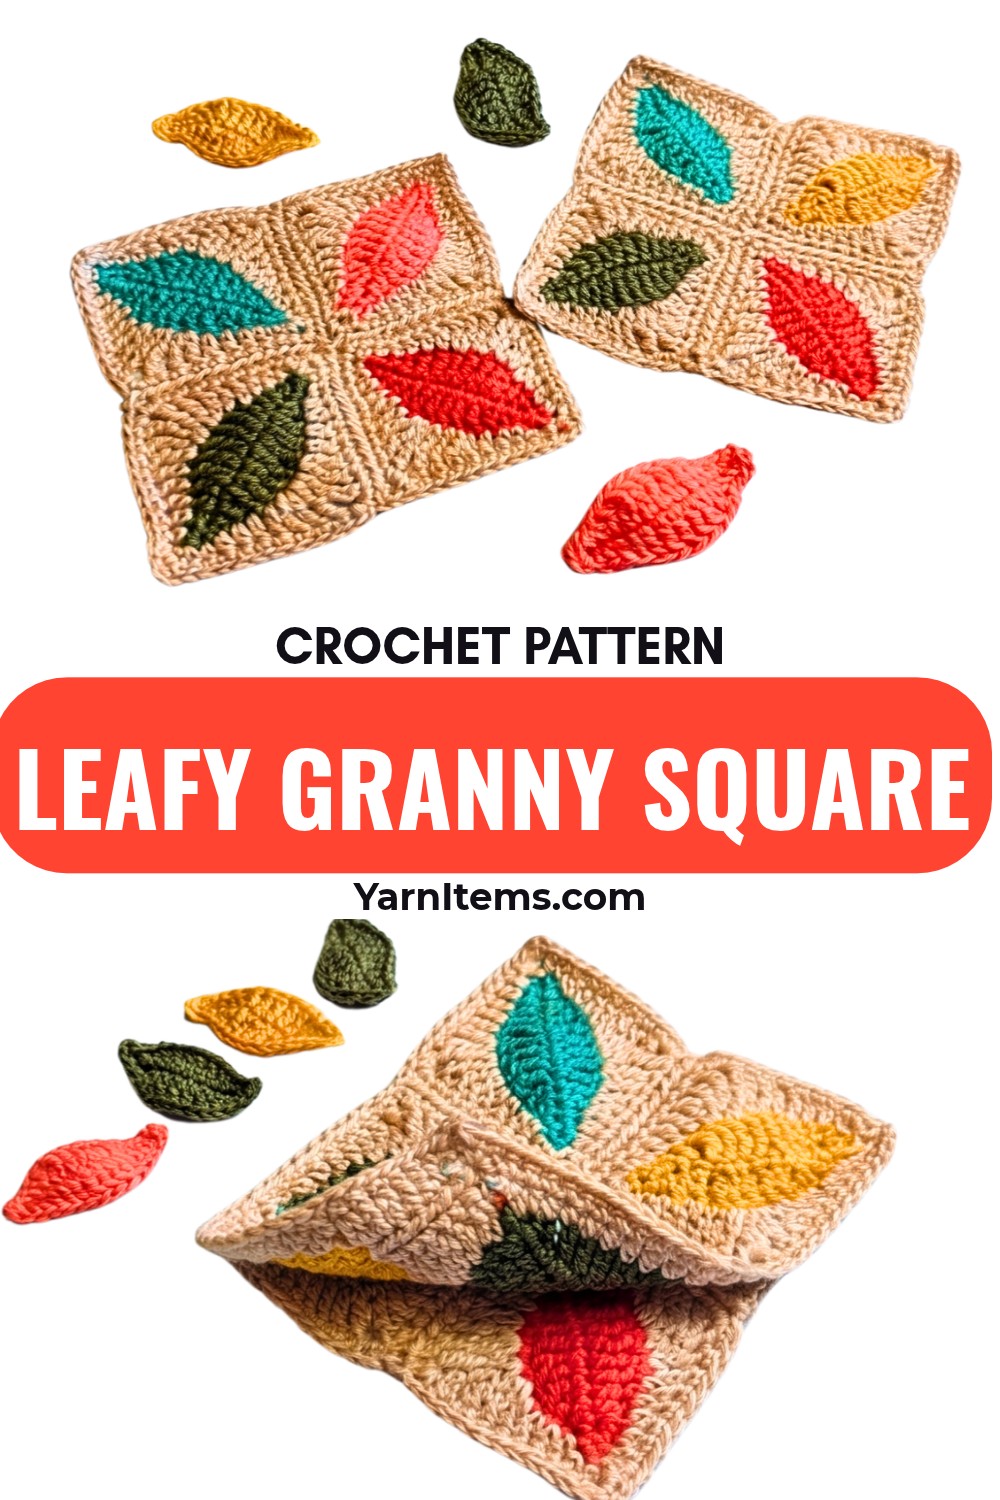
Rich textures and vibrant borders come together to create a design that offers endless styling possibilities. Each crochet round adds depth while highlighting the delicate leaf accents, resulting in a polished and elegant piece from every angle.
The squares can be joined in different layouts, allowing you to personalize blankets, cushion covers, bags, or other creative items with ease. Thoughtful color combinations make every finished piece feel unique and naturally inspired.
Credit Hook & Loop Crochet Tutorials
Materials & Tools Needed
- Yarn: 5 different colors of 100% cotton yarn (or any yarn of your choice depending on your project goal).
- Hook Size: A 2 mm crochet hook (or use the hook size best suited to the yarn weight).
- Other Tools: Scissors, tapestry needle.
- Optional: Stitch markers for corner identification.
Finished Size & Customization Ideas
- Size: Each square will vary based on yarn thickness and hook size. With a 2 mm hook and cotton yarn, your square should be a few inches in diameter.
- Customization Ideas:
- Squares can be arranged together to create items such as cushion covers, blankets, bags, or other creative projects.
- For added variety, alternate the colors of the leaves and backgrounds, or use gradient yarns.
Pattern Note
- Each square has a central leaf motif.
- The pattern is worked in rounds.
- Stitch counts are noted at the end of each round for accuracy.
- The leaves and squares are worked separately, then assembled.
Pattern Abbreviations & Terminology
- ch: Chain
- sc: Single Crochet
- hdc: Half Double Crochet
- dc: Double Crochet
- tr: Treble (Triple) Crochet
- dtr: Double Treble Crochet
- sl st: Slip Stitch
- st: Stitch
- sp: Space
- rep: Repeat
All terminology is in US crochet terms.
Helpful Tips Before You Start
- Know Your Tension:
Use a hook suitable for your tension and yarn weight. Opt for a smaller hook if you want more defined stitches. - Block Your Squares:
After completing your squares, block them to ensure uniformity and a polished appearance. - Tail Management:
Weave in all loose ends as you complete each section. This will save you time and effort during the final assembly.
This One Trick Changes Everything
Tip: Use the “seamless join” method for a smoother and professional finish when joining squares. Instead of slip-stitching traditionally, use a tapestry needle to mimic the stitch and join your squares invisibly. This ensures a flat and tidy look, perfect for gift-worthy patterns.
Step-by-Step Detailed Crochet Instructions
Part 1: The Leaf
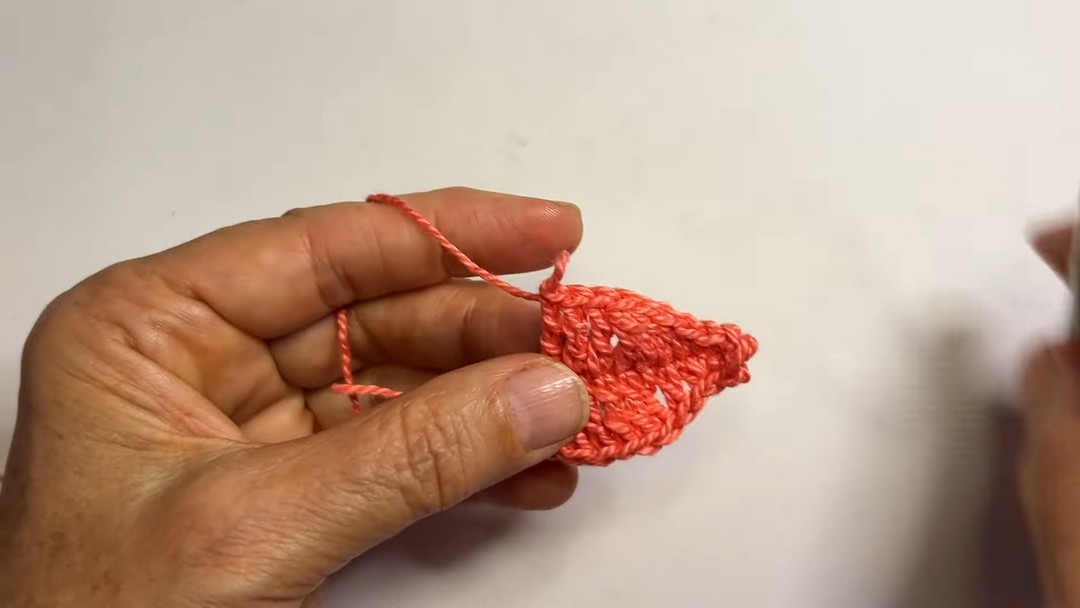
- Make a slipknot and chain 14.
- Work on the first side of the chain as follows:
- 1 sc in the 2nd ch from the hook.
- 1 sc in the next chain.
- 1 hdc in the next chain.
- 1 dc in the next chain.
- 1 tr in each of the next 5 chains.
- 1 dc in the next chain.
- 1 hdc in the next chain.
- 1 sc in each of the final 2 chains.
- In the last chain, work 3 sc to create a rounded tip of the leaf.
- Turn to work on the opposite side of the initial chain as follows:
- 1 sc in the first chain.
- 1 hdc in the next chain.
- 1 dc in the next chain.
- 1 tr in each of the next 5 chains.
- 1 dc in the next chain.
- 1 hdc in the next chain.
- 1 sc in the last two chains.
- Join the round with a sl st, ch 1, pull up a loop, and cut the yarn.
- Weave in the tails to finish the leaf.
Repeat this process to create as many leaves as you need for your project.
Part 2: The Square
Round 1:
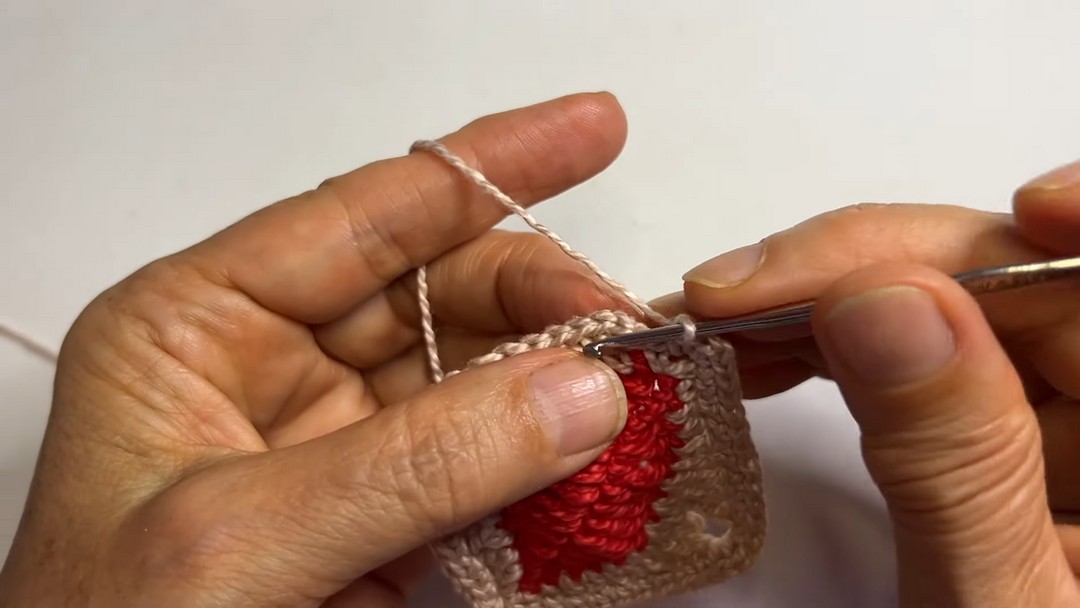
- Attach the background yarn with a standing sc in the first sc of one corner of the leaf.
- Work around the leaf:
- 1 hdc in the next two stitches.
- 1 dc in the next two stitches (the second dc should go on top of the first treble stitch from the previous round).
- 2 tr in the same st.
- In the next stitch, work (1 dtr, ch 1, 1 dtr) to create the corner.
- 2 tr in the next st.
- 1 dc in the next two sts.
- 1 hdc in the next two sts.
- 1 sc in the next st.
- In the last st of the side, work (1 sc, ch 2, 1 sc) to form a corner.
- Repeat the above sequence around all sides to form the square.
- Join with a sl st and cut yarn, leaving a long tail if you want to seam with this color.
Round 2:
- Attach yarn and ch 1.
- Work 1 sc in each stitch across.
- In each corner space (ch-2 space), work (1 sc, ch 2, 1 sc) to maintain the square corners.
- Continue sc evenly across each side, ensuring that each corner receives a (1 sc, ch 2, 1 sc).
- For a neater finish, use a seamless join or simply sl st to finish the round.
Repeat the above process to make as many squares as needed.
Joining the Small Squares:
- Arrange the squares with the leaf points facing each other.
- Using a tapestry needle:
- Insert the needle through the front-facing loops of the corresponding stitches on one square and the adjacent square.
- Pull evenly to secure without puckering the edges.
- Repeat this step until all squares are joined together.
Joining Large Squares:
- If assembling into a larger project (e.g., blanket, cushion cover), repeat the same weaving technique to join larger units.
- If you want a contrasting color for the join, use a crochet hook and a slip stitch to attach squares through the back loops.
The Border
Round 1:
- Attach yarn with a standing sc in any corner ch-2 space.
- Work 2 more sc into the same corner space.
- Work 1 sc into each stitch along the edges.
- At the junctions where squares meet, work 1 hdc to fill the gap.
- Continue around, working 3 sc in all corners and 1 hdc at the junctions.
Round 2:
- Sl st to join and ch 1.
- In the same corner stitch, work 3 sc.
- Work 1 sc into each stitch around, skipping the use of hdc in this round.
- Continue, making 3 sc in all corners and sc evenly across.
Round 3:
- Attach a new color for contrast, if desired.
- Work a corner as follows: (1 hdc, ch 1, 1 hdc) into the same ch-2 space.
- Work 1 hdc evenly across each side, with (1 hdc, ch 1, 1 hdc) in each corner.
Finish with your preferred joining method (seamless join or sl st). Weave in all ends to complete the pattern.
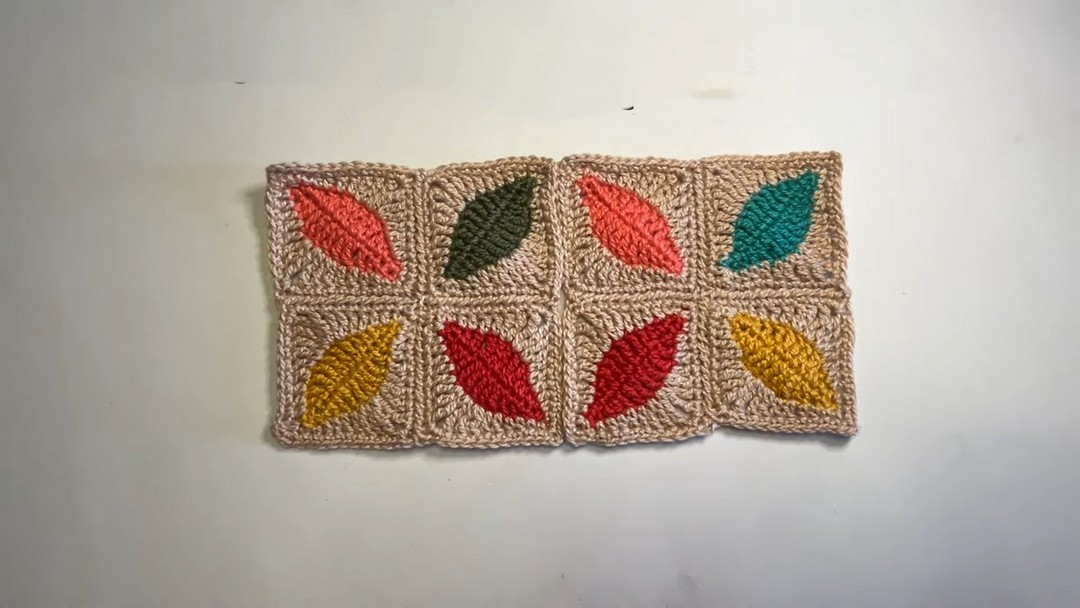
Is Yours Looking Like This Yet?
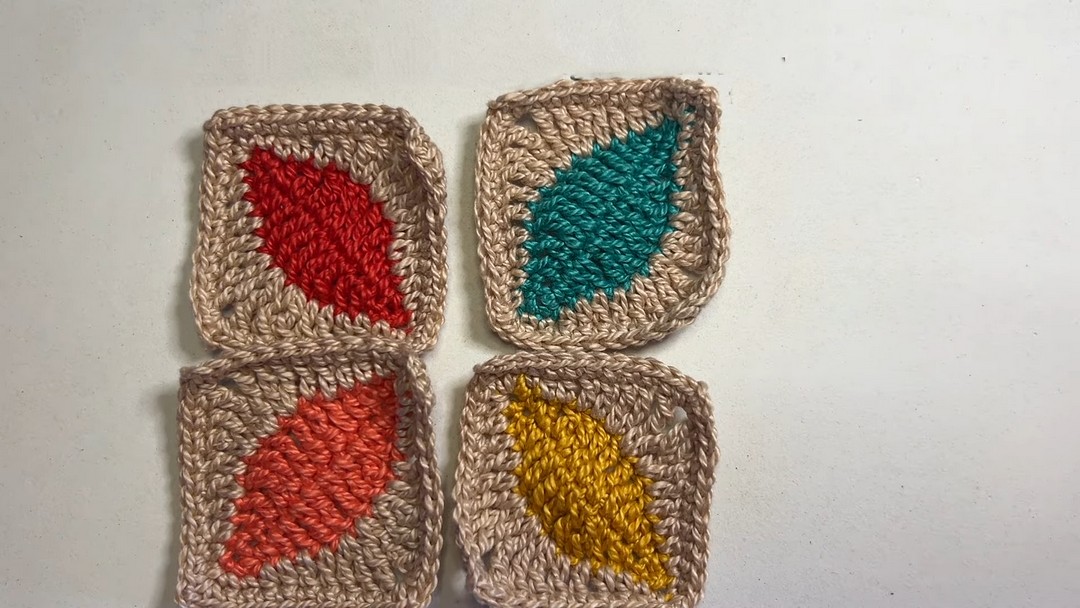
Midway through the tutorial, ensure your leaves are centered within each square, and all joins are neat when assembling 4 smaller squares. Your pattern should resemble a cohesive set with prominent leaf designs.
Turn Your Pattern Into a Gift-Worthy Piece
- Blocking and Finishing: Steam block the finished piece to even up stitches and give it a professional look.
- Embellishments: Add tassels or pom-poms on the corners for playful decor.
- Presentation: Wrap your gift in tissue paper or pair with a handwritten note for a personal touch.
Final Assembly
- Connect large sets of joined squares to complete the cushion cover, blanket, or desired pattern.
- Neatly weave loose ends and check for uniformity in joins.
Conclusion
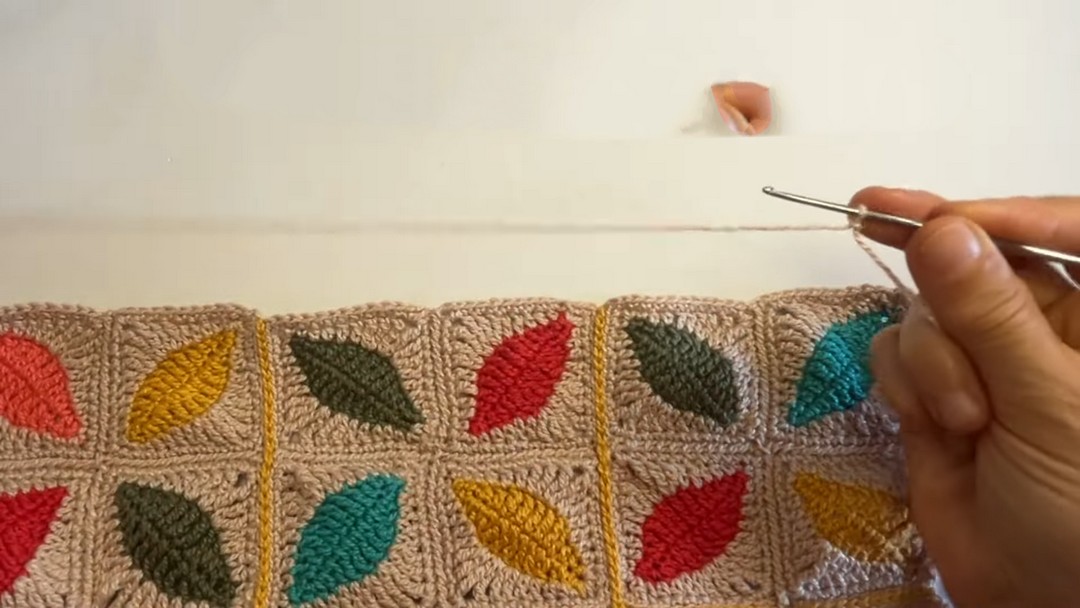
Your Crochet Leafy Granny Square is now complete! With this versatile pattern, you can create anything from a cushion cover to a full-sized blanket. Experiment with different color combinations and enjoy showcasing these beautiful leafy designs.