Free Crochet Spiral Sweater Pattern For Eeryone
Bring a bold spiral crochet design to a cozy handmade sweater with simple panels, easy color changes, and a few fit adjustments along the way.
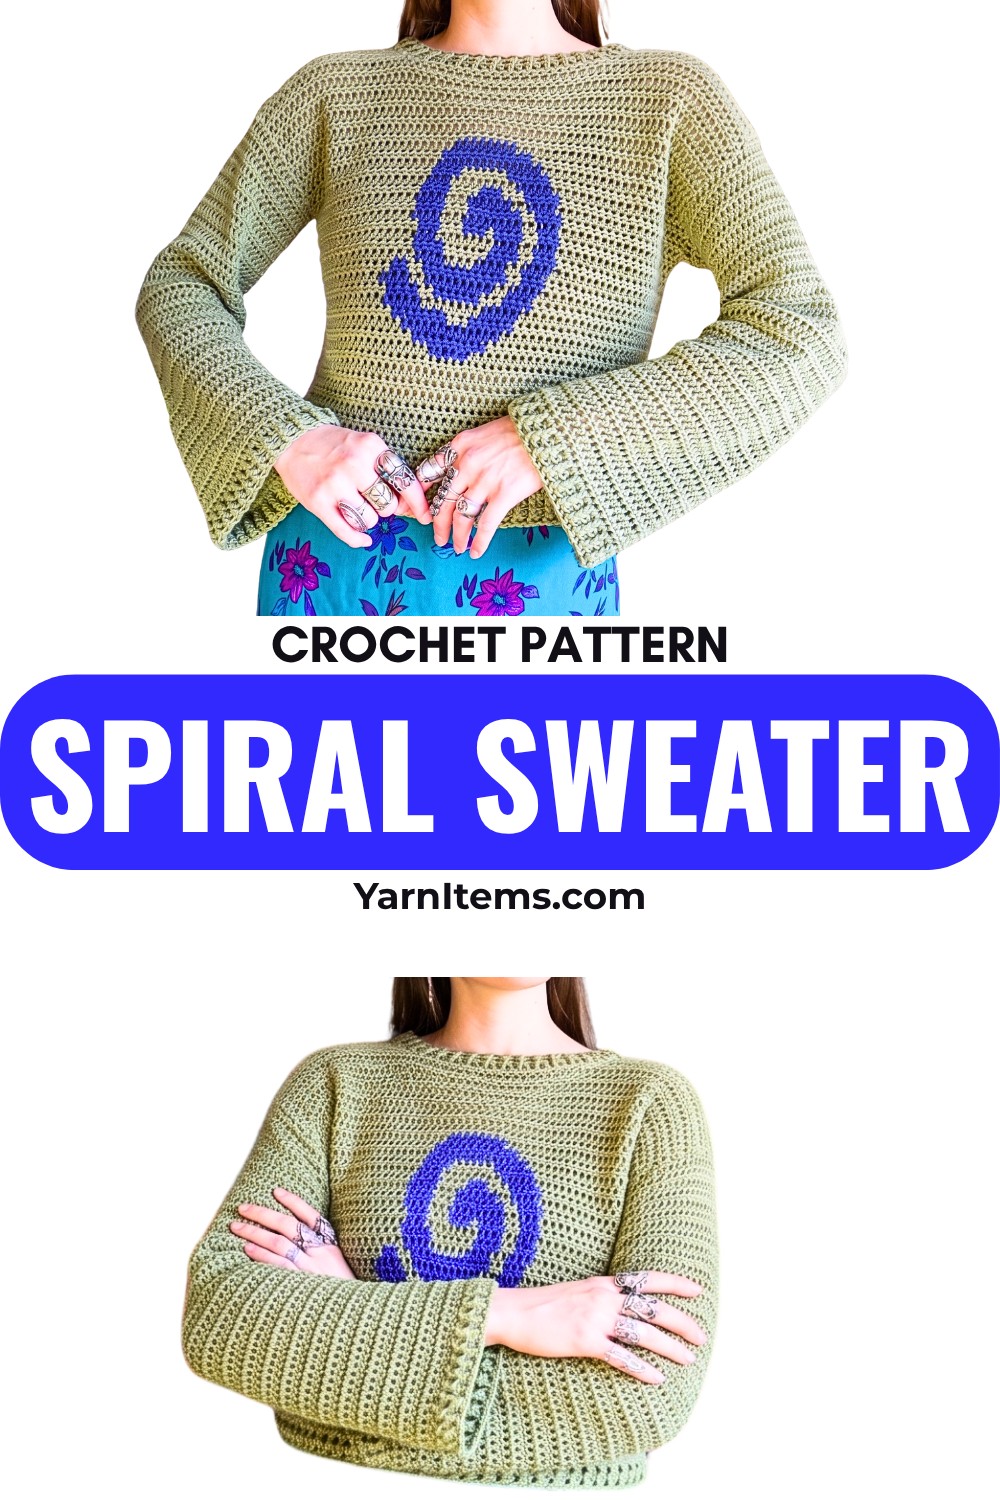
Spiral Crochet Sweater Pattern
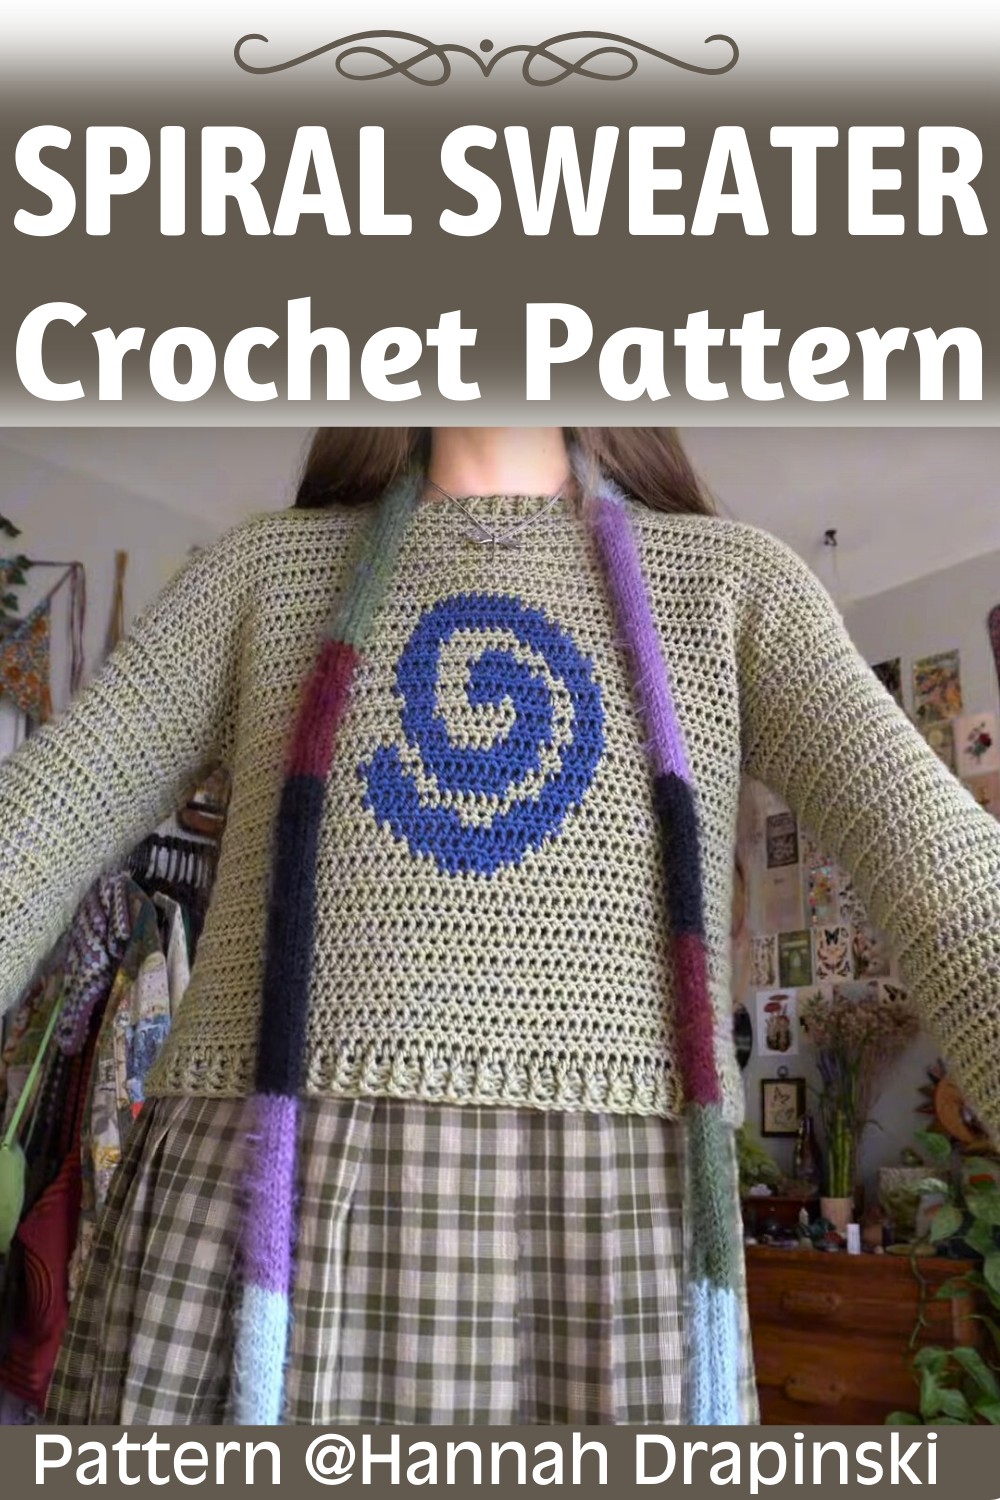
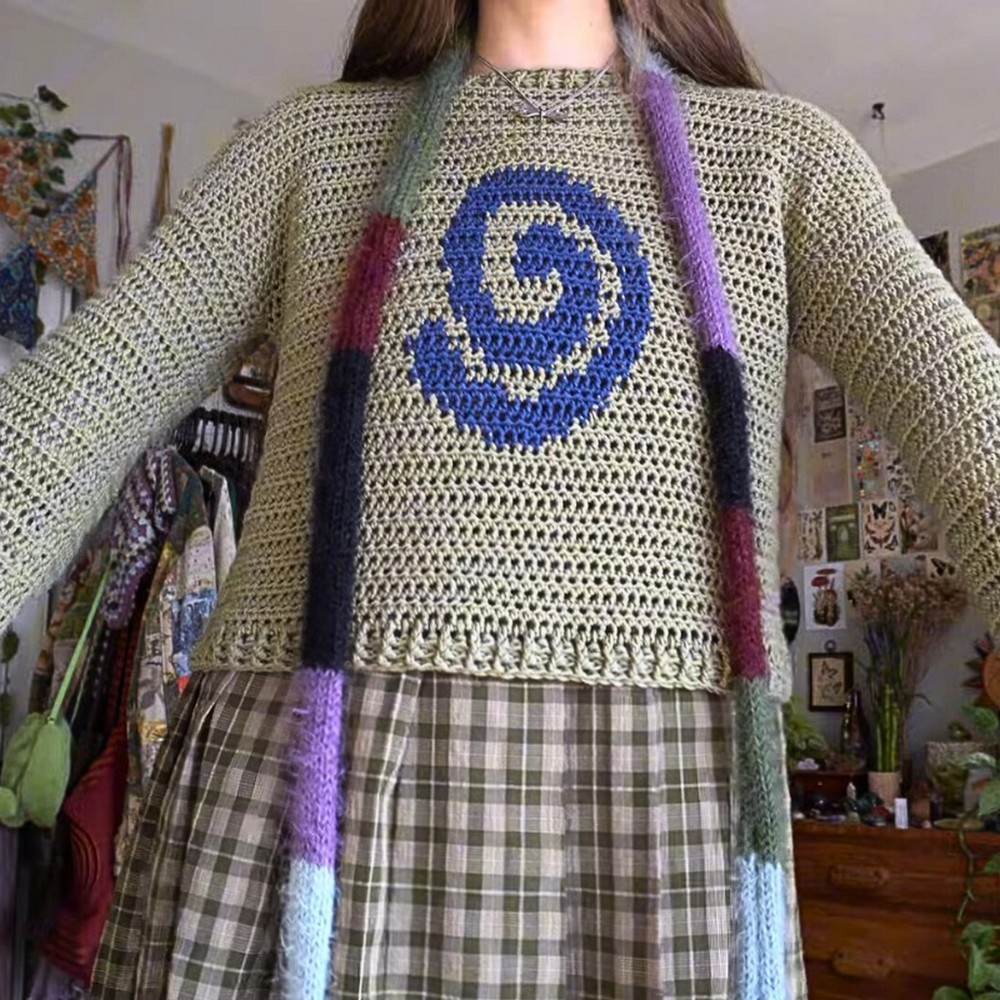
A crochet sweater with a graphic spiral across the front can look much more complicated than it actually is. Here, the body is built with straightforward half double crochet rows, while the spiral comes from following a 26-stitch colorwork graph. Once the graph is positioned correctly, the rest of the design is mostly simple rows and careful assembly.
The part that deserves the most attention is the colorwork. Keeping the two yarn colors untangled, changing colors at the correct point, and tracking each graph row will help the spiral stay clean and recognizable. After the front panel is finished, the back, shoulders, sleeves, and ribbed edges bring the crochet sweater together into a wearable shape.
Credit Hannah Drapinski
Materials & Tools Needed
- Yarn: Hobbii Twister Solid XL, worsted-weight yarn
- Green for the sweater base
- Blue for the spiral design
- Crochet Hook: 6.5 mm for the sweater
- Crochet Hook: 5.5 mm for ribbing
- Stitch Markers: For marking the neckline and armholes
- Tapestry Needle: For seaming and weaving in ends
- Measuring Tape: For checking dimensions and making adjustments
- Scissors
- Spiral Graph: The front design uses a 26-stitch graph
Finished Size & Customization
The tutorial uses a 66-stitch front panel, made up of:
- 20 stitches for the left drop shoulder
- 26 stitches for the spiral graph
- 20 stitches for the right drop shoulder
You can adjust the sweater by changing:
- The number of plain rows for overall length
- The extra stitches beside the graph for a wider or narrower drop shoulder
- The neckline opening
- Sleeve length
- Sleeve width
- Yarn colors
The tutorial originally planned a longer body but shortened the lower section to approximately 16 inches, so measuring the sweater as you work is more useful than relying on row numbers alone.
Pattern Abbreviations
This pattern uses US crochet terminology.
- HDC: Half double crochet
- DC: Double crochet
- FPDC: Front post double crochet
- BPDC: Back post double crochet
- CH: Chain
- ST: Stitch
- SL ST: Slip stitch
Before Starting the Spiral
The spiral is worked over 26 stitches, with 20 plain HDC stitches on either side. Before beginning the colorwork, it helps to identify these three sections clearly.
Think of the front as: 20 plain stitches + 26 graph stitches + 20 plain stitches
Keeping this division consistent will make the graph much easier to follow.
Step-by-Step Pattern
Front Panel
Bottom Rows
- Make a slip knot.
- Chain 66 stitches, then add 2 chains for turning.
- Turn your work.
- Work 1 HDC in the third chain from the hook.
- Continue with 1 HDC in every stitch across.
- You should have 66 HDC stitches.
- Chain 2 and turn.
- Work 1 HDC in every stitch across.
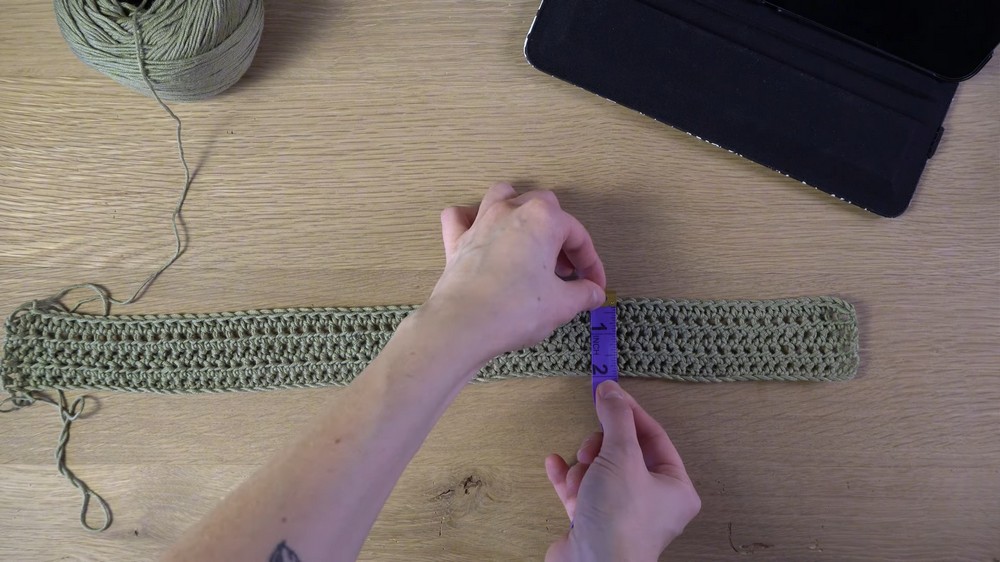
- Continue working plain HDC rows for approximately 30 rows, or until the lower section reaches your desired length.
Stitch Count Check
The 66-stitch count is important because the spiral occupies the center 26 stitches. Before starting the graph, count your row carefully.
If the stitch count is off, the spiral will not sit in its intended position.
Work the Spiral Graph
Once the plain bottom section is complete, divide the row into:
20 HDC + 26 graph stitches + 20 HDC
Follow the graph one row at a time through the center 26 stitches.
Changing Colors
Color changes are the most important part of this section.
When the graph tells you to change color:
- Work the HDC until you reach the final step of the stitch before the color change.
- Drop the current yarn.
- Use the new color to complete the final step of the HDC.
- Continue working with the new color according to the graph.
- Carry the unused color loosely so it can be picked up again when needed.
Avoid pulling the unused yarn tightly across the back. Too much tension can draw the fabric inward and make the front panel narrower around the spiral.
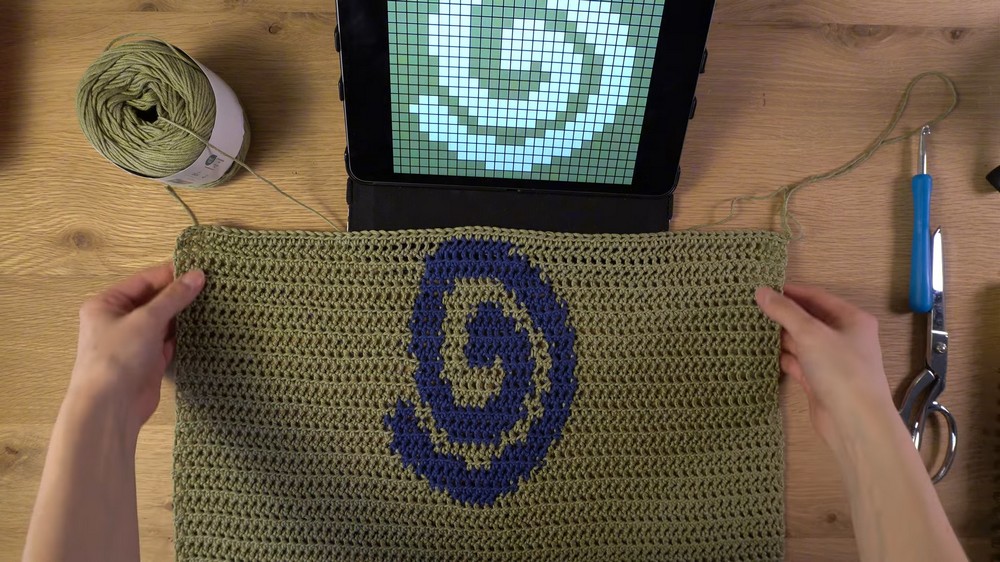
Keep the Graph Organized
Work through the graph one row at a time.
- Odd-numbered rows are read from left to right.
- Even-numbered rows are read from right to left.
- Mark each completed graph row.
This simple tracking step can save you from having to unravel several rows if you lose your place.
Continue until all 26 graph rows are complete.
Top Section of the Front
After finishing the spiral:
- Continue with 1 HDC in every stitch across.
- Work approximately 10 additional rows.
- Measure the panel before beginning the neckline.
The plain rows above the spiral give the design some breathing room and bring the front to its full length.
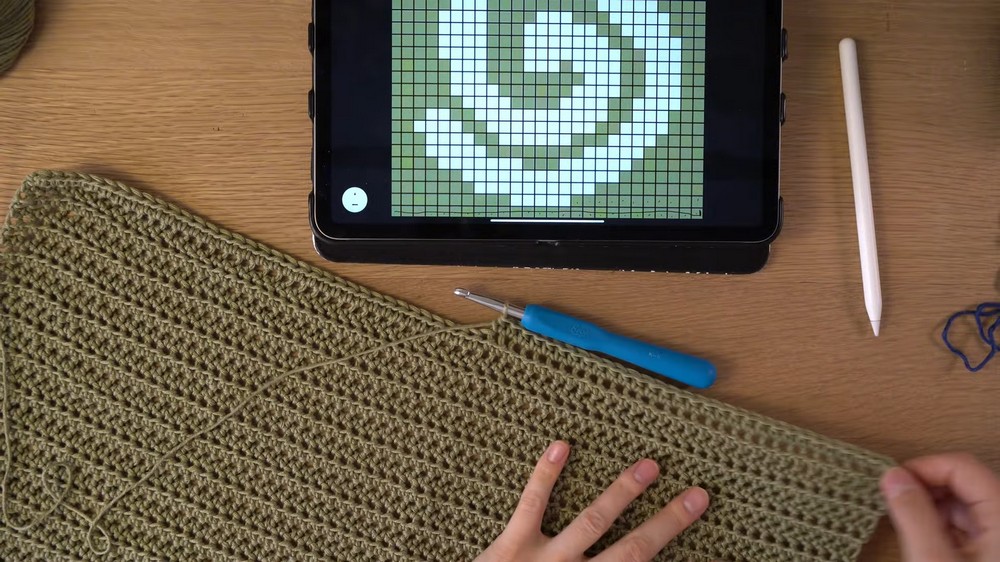
Shape the Neckline and Shoulders
For the tutorial version, the neckline opening is approximately 22 stitches, or about 6 inches.
- Place stitch markers to identify the 22-stitch neckline.
- Work the first shoulder separately.
- Attach or rejoin the yarn at the stitch next to the neckline marker.
- Work 22 HDC across the shoulder section.
- Continue for approximately 4 rows.
- Fasten off.
- Repeat the same process for the opposite shoulder.
Neckline Check
Before moving on, lay the front panel flat and check that the neckline is centered.
Because the spiral is positioned in the middle of the panel, an uneven neckline can make the entire front design appear off-center even when the graph itself was crocheted correctly.
Back Panel
The back is much simpler because it does not contain the spiral.
- Chain 66 stitches, plus 2 turning chains.
- Work HDC across the row.
- Chain 2 and turn.
- Continue working 1 HDC in every stitch.
- Work approximately 63 rows, or adjust the number of rows to match your desired sweater length.
- Create the shoulder sections using the same approach as the front.
- Fasten off.
The exact row count can change with your tension, so compare the back against the completed front before assembly.
Join the Shoulders
Place the front and back panels together with the corresponding edges aligned.
- Match the shoulder stitches.
- Use a tapestry needle and yarn to whip stitch the first shoulder together.
- Secure the seam neatly.
- Repeat for the opposite shoulder.
- Check that the neckline remains centered and open.
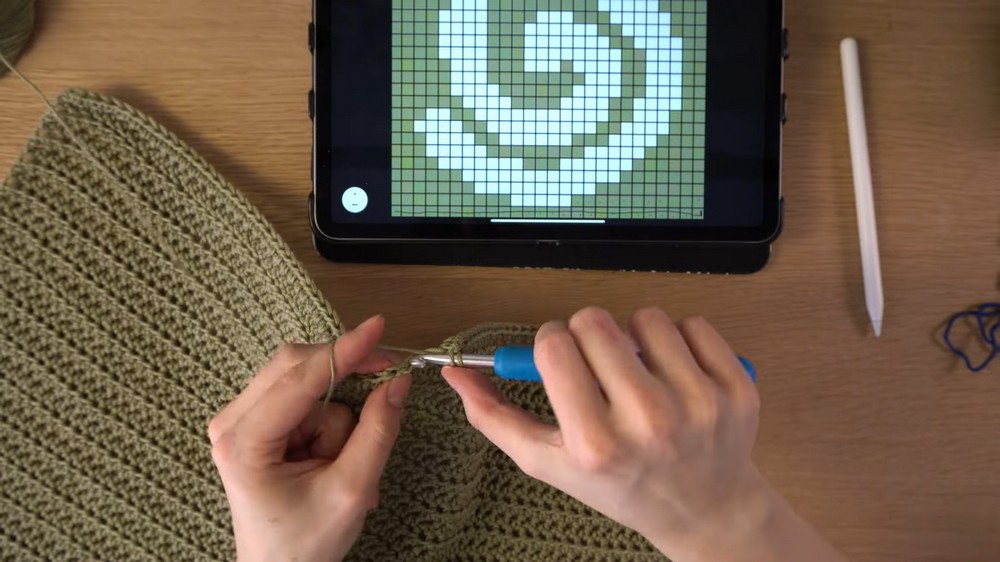
Seam the Sides
- Lay the sweater flat.
- Align the side edges.
- Mark the armhole opening on each side.
- Leave approximately 7–7.5 inches open for each armhole, or adjust this measurement to your preferred fit.
- Starting from the bottom hem, whipstitch the side seam upward.
- Stop at the armhole marker.
- Fasten off and weave in the end.
- Repeat on the other side.
Assembly Check
Before attaching the sleeves, turn the sweater right side out and try it on if possible.
Check the shoulder position, body width, neckline, and armhole openings now. This is much easier than trying to correct the fit after both sleeves have been attached.
Sleeves
The sleeves are worked directly from the armholes.
- Attach the yarn at the underarm area.
- Work HDC evenly around the armhole.
- The tutorial uses approximately 50 HDC for the sleeve foundation.
- Count the stitches as you work so the sleeve opening remains even.
- Continue working HDC rounds for the desired sleeve length.
- Stop the HDC section slightly before your final desired length to leave room for the ribbing.
The tutorial sleeve measures approximately 7.5 inches before the ribbing.
Sleeve Fit Check
Measure the sleeve from the underarm toward the wrist before adding the ribbing. If you want a longer sleeve, add more HDC rounds here rather than trying to make up the difference with a very deep cuff.
Repeat the same process for the second sleeve, matching its length and stitch count to the first.
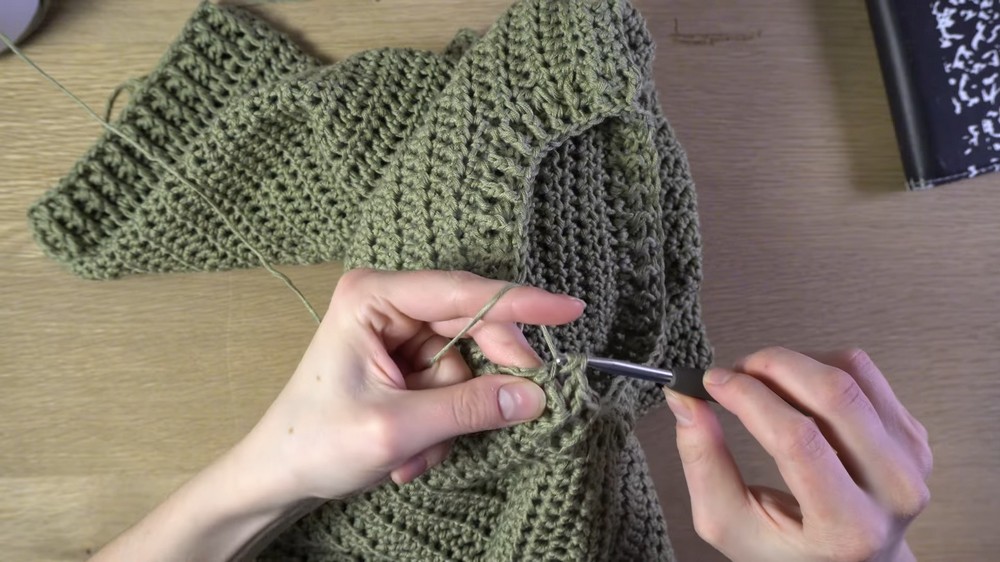
Ribbed Edges
Switch to the 5.5 mm hook for the ribbing.
The same basic ribbing method can be used around the:
- Bottom hem
- Neckline
- Sleeve cuffs
Ribbing Round 1
- Attach the yarn at the chosen edge.
- Work 1 DC in each stitch around.
- Join with a slip stitch.
Ribbing Round 2
Alternate: 1 FPDC, 1 BPDC around the edge.
The front-post and back-post stitches create the raised vertical texture that gives the ribbing its stretch and definition.
Continue until you have completed the desired ribbing depth. The tutorial uses approximately 2 rows.
Finishing the Ribbing
Slip stitch into the first stitch to close the round, then fasten off and weave in the yarn end.
Repeat around the neckline, bottom hem, and both sleeve cuffs as needed.
Finishing
- Weave in all remaining loose ends with a tapestry needle.
- Check the shoulder and side seams.
- Make sure both sleeves are the same length.
- Check that the neckline sits evenly.
- Gently block the sweater if the yarn and fabric benefit from blocking.
- Allow it to dry completely before wearing.
A Few Final Checks
Before calling the sweater finished, look at the spiral from a distance as well as up close. The design should remain centered on the front, while the plain stitches on either side should create an even frame around it.
Also check the color-change areas from the wrong side. If the carried yarn is noticeably tight, the fabric may pucker around the graph. A relaxed strand will help the sweater maintain its intended width.
Conclusion
This spiral crochet sweater gets its character from the contrast between a simple HDC design and a bold 26-stitch colorwork design. The body itself is straightforward, but taking a little extra care with the graph, color changes, and neckline placement makes a noticeable difference in the finished result.
You can keep the original green-and-blue combination or choose your own contrasting shades. Adjust the body length, shoulder width, neckline, and sleeves as you go, and you can turn the same basic design into a sweater that fits your measurements and personal style.