Crochet Velvet Skincare Headband with Elastic
Give your skincare routine a handmade upgrade with this quick velvet headband, worked in simple rows and finished without sewing.
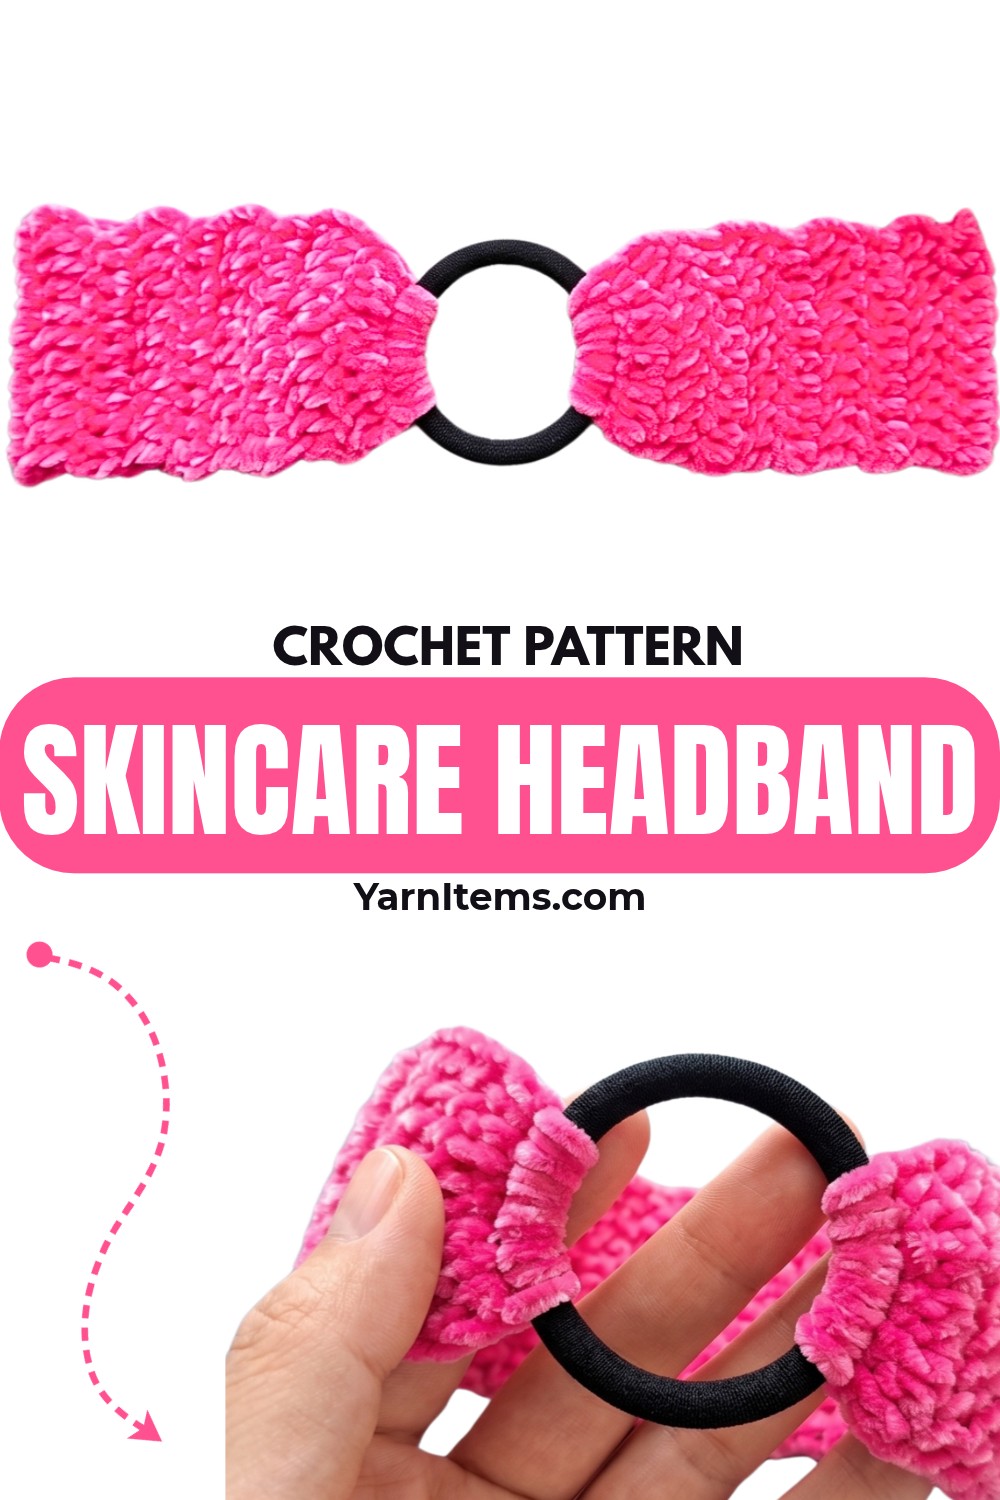
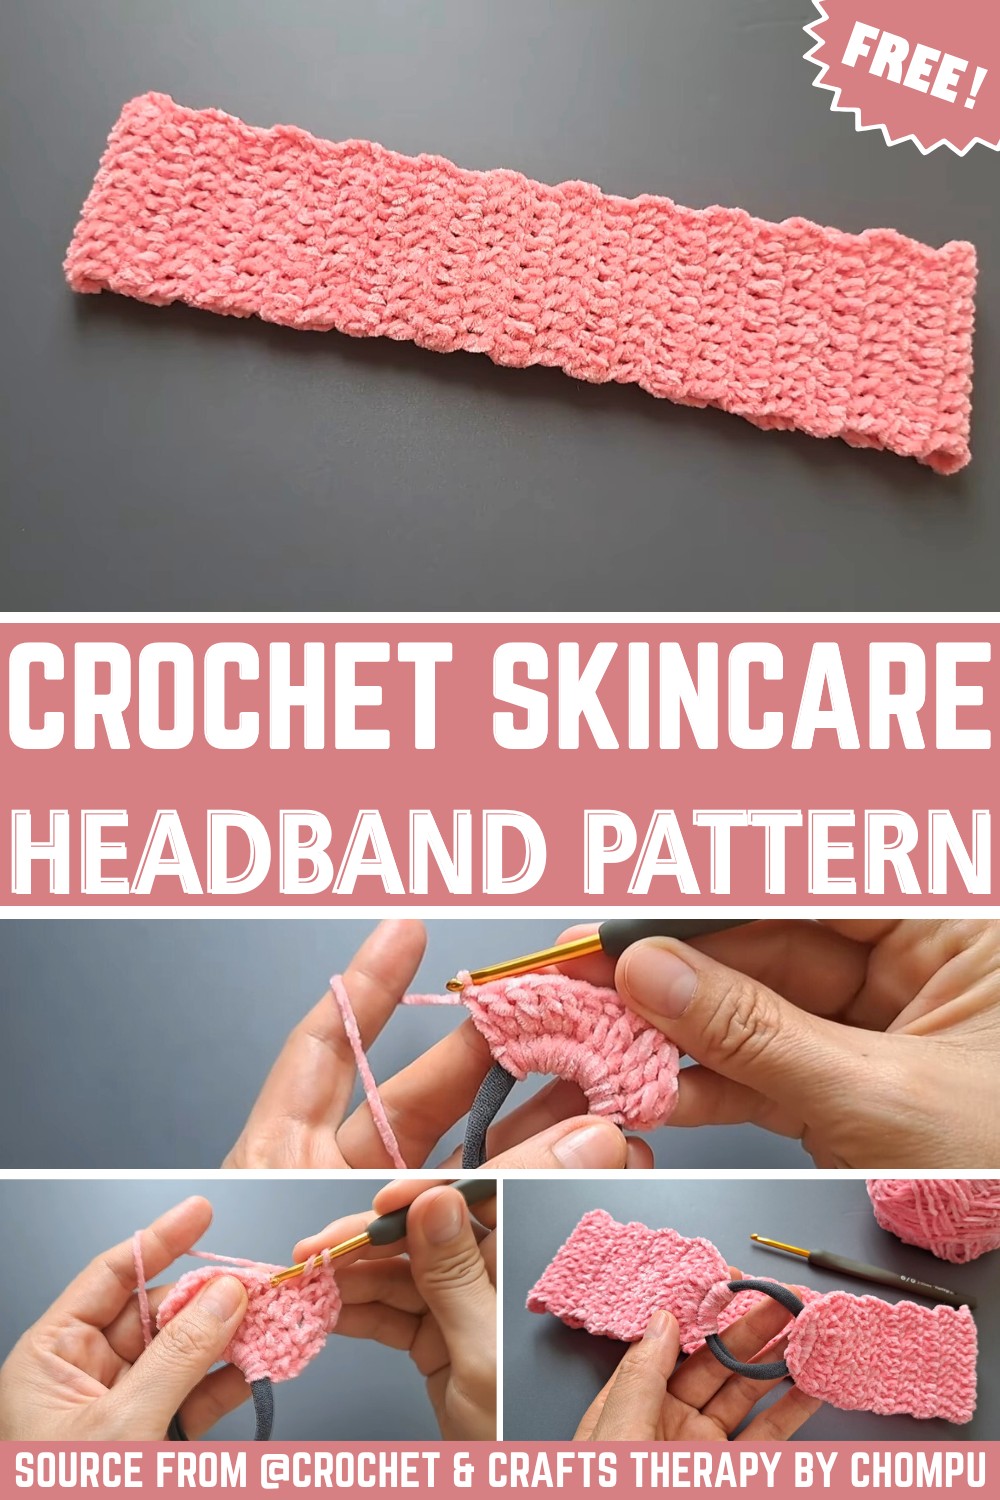
Soft velvet yarn gives this crochet skincare headband its plush feel, while an elastic hair tie at the back adds stretch without requiring complicated shaping. Its simple rectangular strip makes it approachable even if you are still getting comfortable with basic crochet rows.
The standard version reaches about 46 cm after 42 rows, but the row count can be changed to suit different head sizes. Keep fewer rows for smaller heads or add rows when you want more coverage, then let the elastic provide comfortable give around the back.
Credit Crochet & Crafts Therapy by Chompu
Materials & Tools
- Velvet yarn: 2.0mm thickness; tutorial uses bright Pink
- Crochet hook: 3.5mm (No. 6)
- Elastic hair tie: 1 standard hair band
- Scissors
- Yarn needle: Optional; crochet hook can also be used for weaving in ends
Finished Size & Fit
After 42 rows, the crocheted strip measures approximately 46 cm (about 18 inches).
For smaller head sizes, reduce row count. For more length or looser fit, add rows before joining opposite end to elastic. Since elastic hair tie supplies stretch at back, final fit does not need to match full head circumference exactly.
Abbreviations
ch: Chain
sc: Single crochet
dc: Double crochet
st(s): Stitch(es)
Turn: Turn work to begin next row

Attach Yarn to Elastic Pattern
Begin directly around the elastic hair tie rather than creating a separate starting chain.
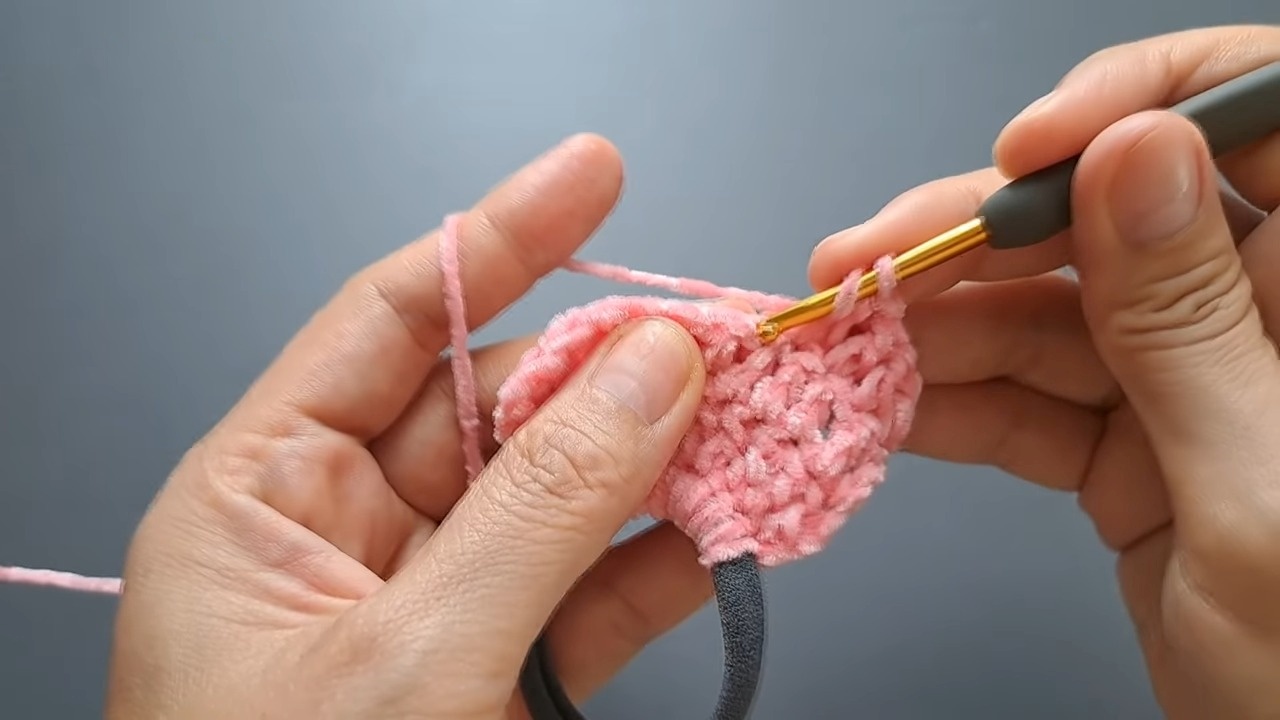
Step 1 – Starting: Take the elastic hair tie and Velvet yarn. Pull loop of yarn through center of hair tie to attach yarn to band.
Build First End
Row 1: Work 12 sc directly around the elastic hair tie; crochet over starting tail while working to reduce later finishing. (Stitch count: 12 sc)
Crocheting over the starting tail here helps secure it inside dense velvet stitches and saves extra weaving later. Keep your 12 stitches distributed around elastic so fabric begins evenly.

Create Headband Width
Row 2: Ch 2 and turn; starting ch-2 counts as the first stitch; work 1 dc into each of the next 11 sts across the row. (Stitch count: 12 sts total – 11 dc + starting ch-2)
Keep tension consistent across this row. Velvet yarn can hide individual stitch tops, so check each stitch before inserting hook into next one.
Continue Length
Rows 3-42: Ch 2 and turn; work 1 dc into each of the next 11 sts across; repeat same row sequence until total reaches 42 rows. (Stitch count: 12 sts per row)
At this stage, repeated rows create long crocheted strip that will wrap around the forehead and sides of the head. Count completed rows periodically rather than waiting until the end, especially if adjusting finished size.
Measurement Check: At Row 42, crocheted strip should measure approximately 46 cm.
If your strip reaches 46 cm noticeably before Row 42, check yarn weight, hook size, and tension before deciding whether to change row count. Finished measurement matters more than forcing exact length when your personal gauge differs slightly.
Join Final Row to Elastic
Keep headband flat before joining. Make sure the crocheted strip has not twisted along its length.
Step 1: Bring unworked side of elastic hair tie up to active loop at end of Row 42.
Step 2: Insert hook into first stitch of final row, then push hook under elastic hair tie; pull up loop and complete 1 sc to join fabric to elastic.
Step 3: Continue with 1 sc into each stitch across the final row, making sure the hook passes through each stitch while trapping the elastic hair tie inside every sc. This anchors the final row securely to the opposite side of the elastic.
The elastic should remain enclosed inside joining stitches while still being able to stretch. Avoid catching only part of the elastic if possible, since consistent placement gives the finished band more even tension.
Step 4: At the end of the row, pull yarn through to fasten off and trim, leaving a short tail.
Step 5: Use a crochet hook or yarn needle to weave loose end back and forth through dense Velvet stitches. Snip remaining excess yarn.

Final Fit Check
Stretch headband gently before wearing and check that elastic expands smoothly without pulling stitches apart. Place it around your head with the crocheted section across the forehead and confirm that hair stays comfortably away from face.
For another size, row count is the simplest adjustment: fewer rows shorten the crocheted section, while additional rows increase coverage and loosen overall fit. Elastic remains at the back to provide flexible stretch.
Why Velvet Works Well Here
Velvet yarn gives the finished headband a soft, plush texture that feels comfortable against the forehead and hair. Dense double crochet fabric also creates substantial coverage without requiring multiple layers.
Because the design uses one elastic hair tie and repeated rows, it can be made in different colors for personal routines, handmade gifts, or small batches while keeping the same basic method.