Easy Crochet Lettuce Pattern – Veggie Toy Guide
Looking for a quirky and creative crochet project? Try crafting your own lettuce-inspired pattern!
This unique design is perfect for food lovers or anyone wanting to add an eco-friendly, handmade touch to their kitchen decor or art collection. It’s fun, versatile, and visually delightful!

This crochet lettuce pattern shines with its realistic texture and vibrant appearance. It’s durable, lightweight, and perfect for roleplay, display, or even interactive toys for kids.
Whether you’re enhancing a kitchen theme or making a thoughtful gift, this project is both appealing and functional.
Materials and Preparation
To create a realistic crochet lettuce, you’ll need the following materials:
- Yarn: Green yarn in varying shades to mimic lettuce leaves (suggested weight: DK or worsted).
- Hook Size: Use a 3.5mm (E) crochet hook for tighter stitches and better texture.
- Additional Tools:
- Scissors
- Measuring tape
- Stitch markers
- Yarn needle for sewing and weaving in ends
- Optional: A small amount of brown yarn to create the base stem for the lettuce.
Abbreviations and Notes
Here’s a list of abbreviations you’ll encounter in this pattern:
- CH: Chain
- SC: Single Crochet
- HDC: Half Double Crochet
- DC: Double Crochet
- SLST: Slip Stitch
- INC: Increase (2 SC in the same stitch)
- DEC: Decrease (single crochet 2 stitches together)
Important Notes:
- The “lettuce leaves” are created using ruffled stitches, so don’t worry if they look uneven—that’s what gives the project its natural look.
- Be mindful of your tension; tighter stitches will give the lettuce a more structured appearance.
- Use multiple shades of green to create gradients and depth in the lettuce.

Step-by-Step Pattern
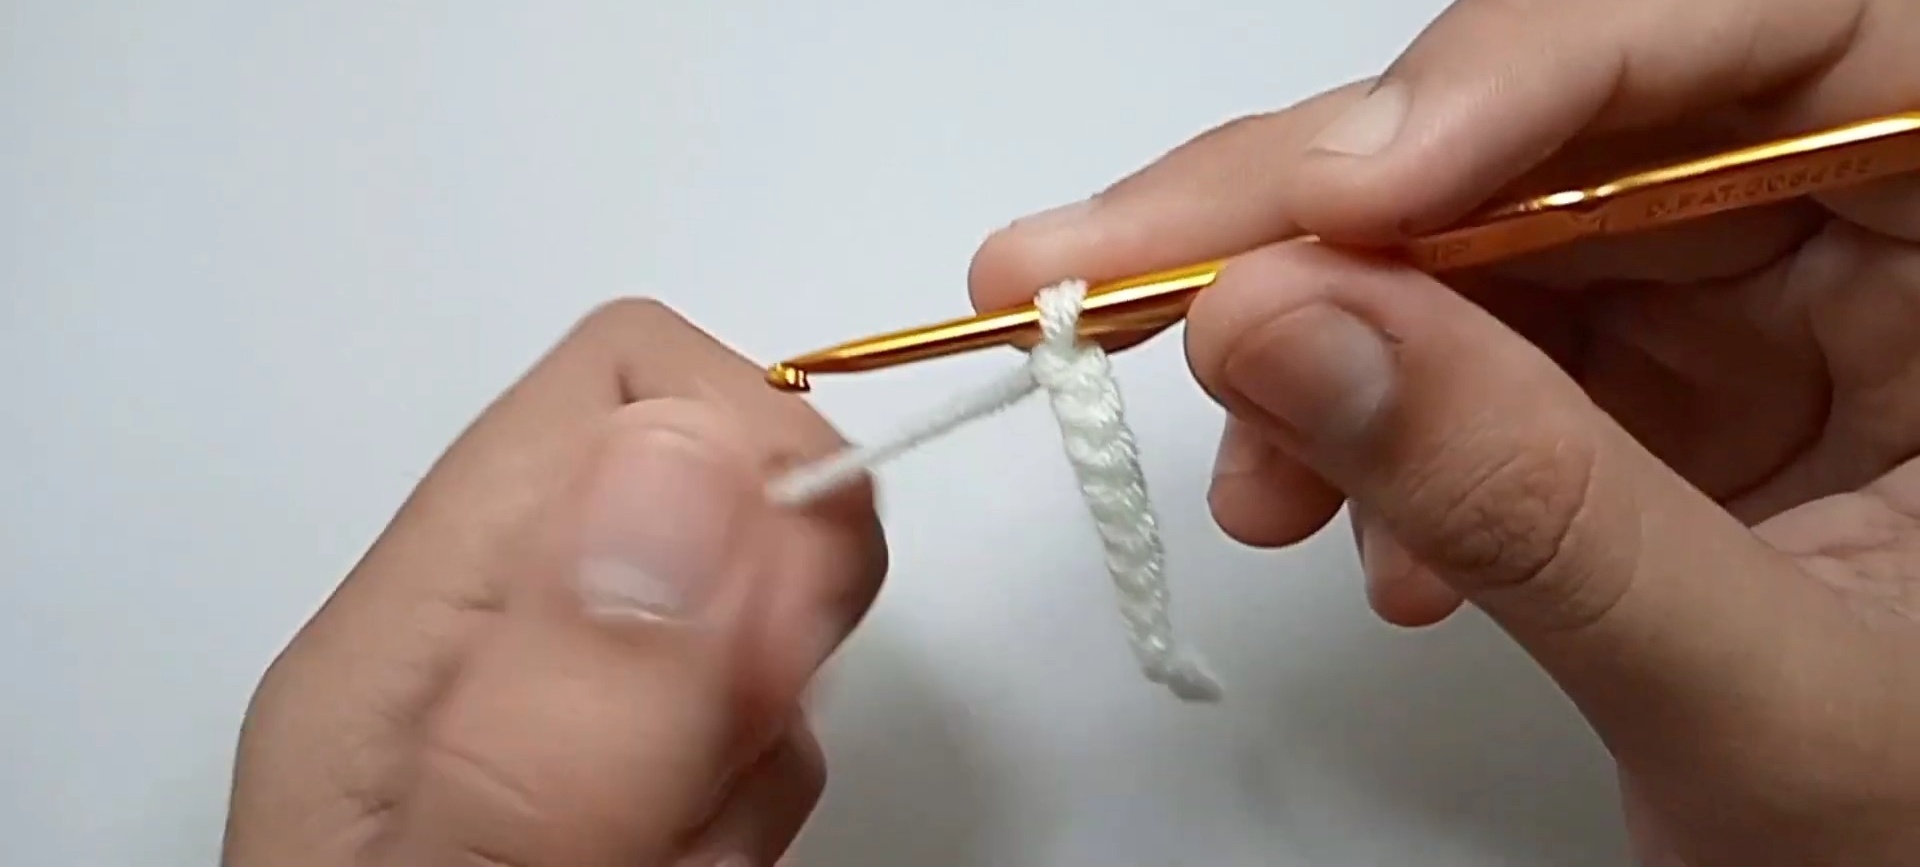
Step 1: Create the Base
- Begin with a magic circle and CH 1.
- Work 6 SC into the magic circle. Pull tight to close the ring and SLST to the first SC.
- Round 2: CH 1, INC in each stitch around (12 SC). SLST to join.
- Round 3: CH 1, (SC, INC) around (18 SC). SLST to join.
- Continue increasing for 2-3 more rounds until the base diameter is around 4 inches.
Step 2: Build the Outer Leaves
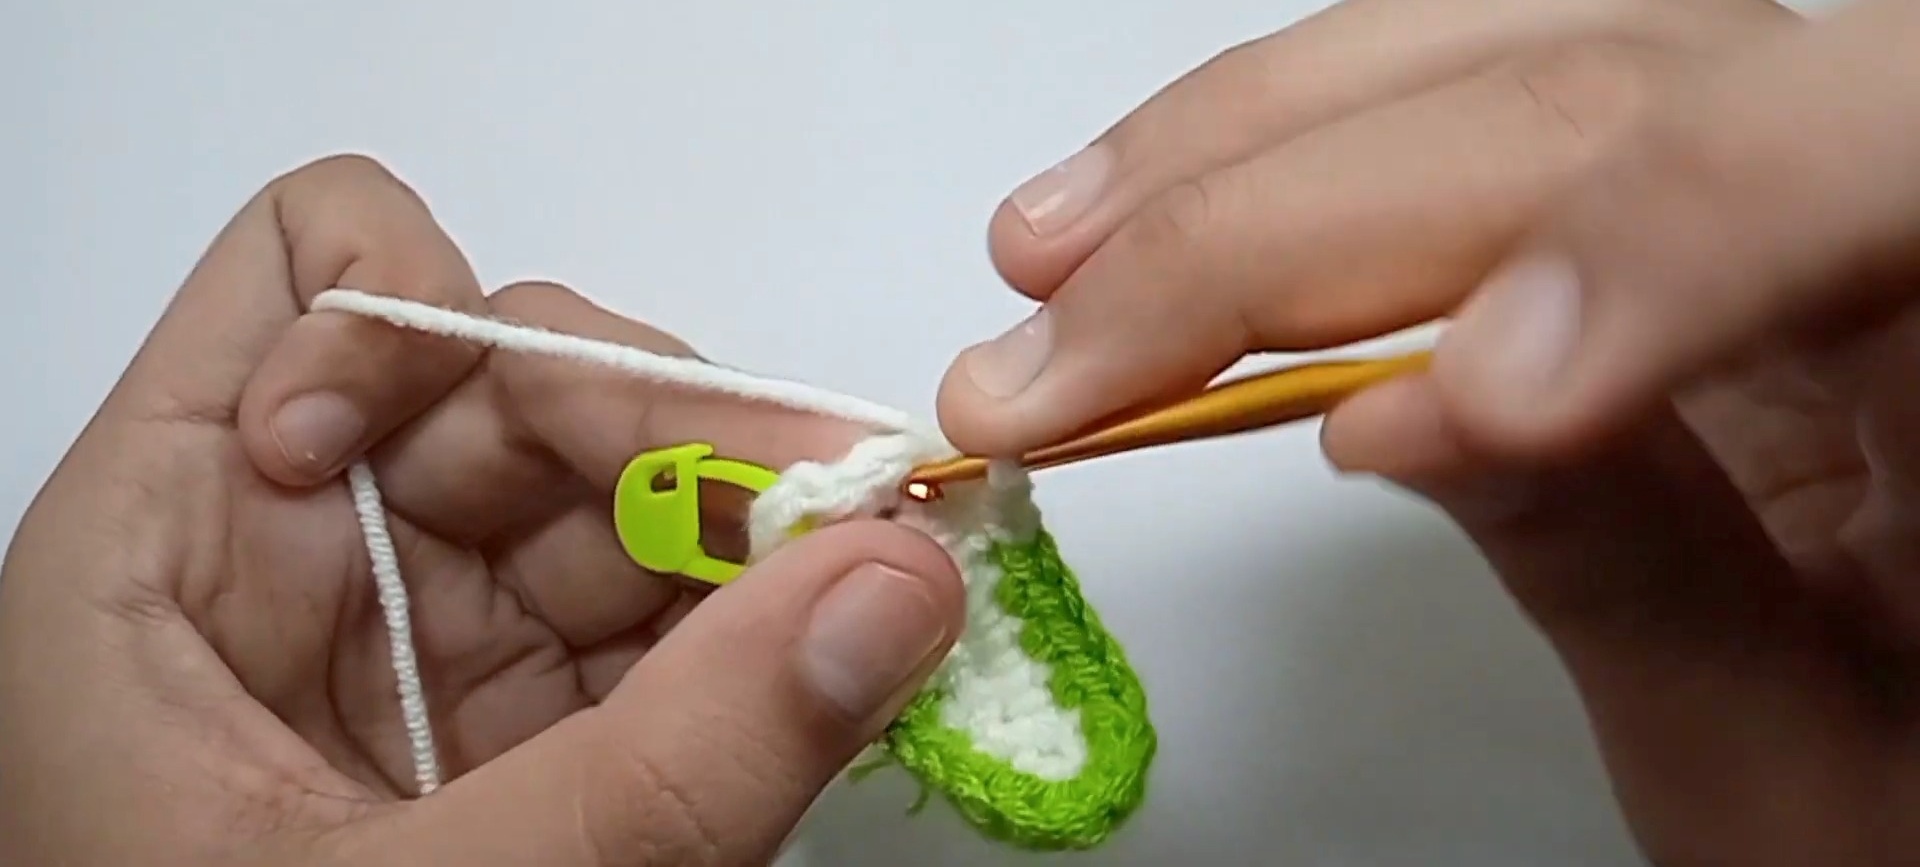
- Attach the lighter green yarn to the edge of the base using SLST.
- CH 2 (counts as HDC). Work a mixture of HDC, DC, and SLST in the next stitches to create uneven ruffles.
- Example: HDC in 2 stitches, DC in the next stitch, SLST in the following stitch, repeat around.
- Once the round is complete, SLST to join, fasten off, and weave in ends.
Step 3: Add Inner Layers
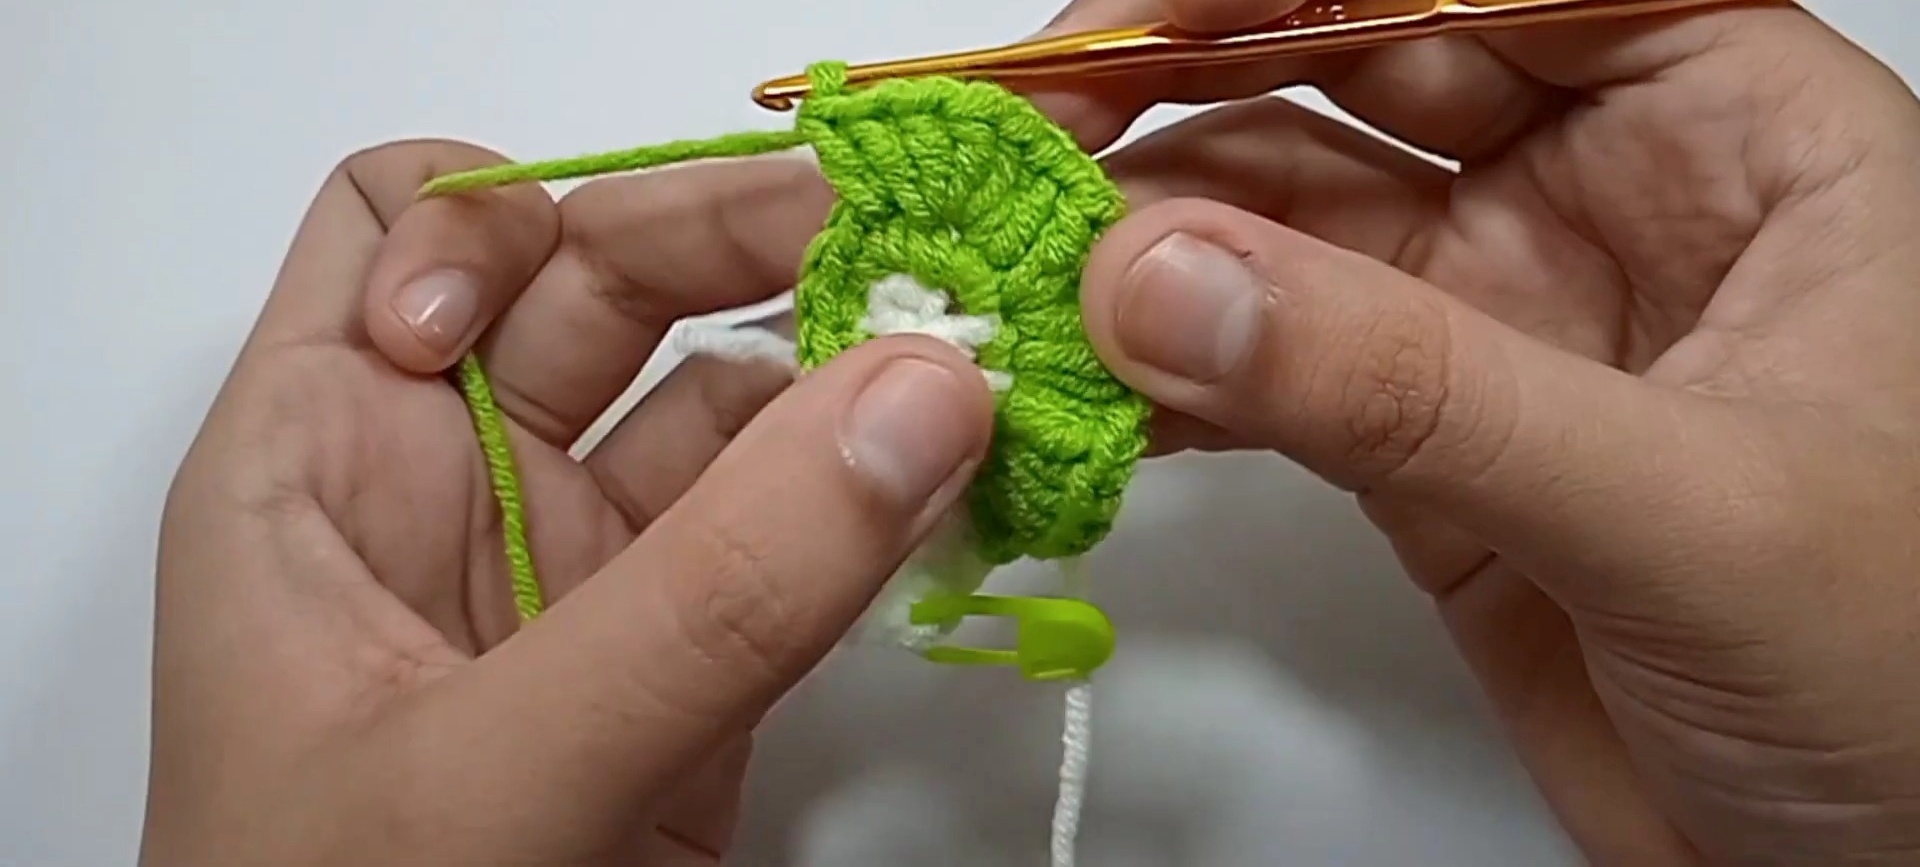
- Switch to a darker shade of green yarn. Repeat the process from step 2 but work closer to the center to create depth and layering.
- Alternate between more exaggerated ruffles (DC clusters) and smaller stitches (SC and HDC) for a textured, natural appearance.
Step 4: Optional Stem
- Using brown yarn, create a small base for the stem: Make a magic circle and work 4 SC inside.
- Continue working SC in rounds without increases until the stem is about 1 inch long.
- Attach the stem to the base of the lettuce using the yarn needle and brown thread.

Step 5: Finishing Touches
- Use your fingers to fluff and shape the leaves for a 3D effect. Adjust the placements of ruffles to ensure the lettuce looks full and realistic.
- Block the completed piece (optional) to set the ruffled layers.

Pattern Question:
Question: Is this pattern beginner-friendly?
Answer: Yes! While it includes a few creative stitches, the tutorial guides you through each step, making it achievable for crocheters of all levels with some basic knowledge of stitch techniques.
Conclusion
Creating a crochet lettuce pattern is not only enjoyable but also rewarding. It’s an eye-catching addition to any collection and a fantastic way to combine creativity and functionality. Whether as decor, a gift, or simply a fun project, this design is worth your time.