Stylish Crochet-Candy Hair Ties – Handmade Hair Accessories
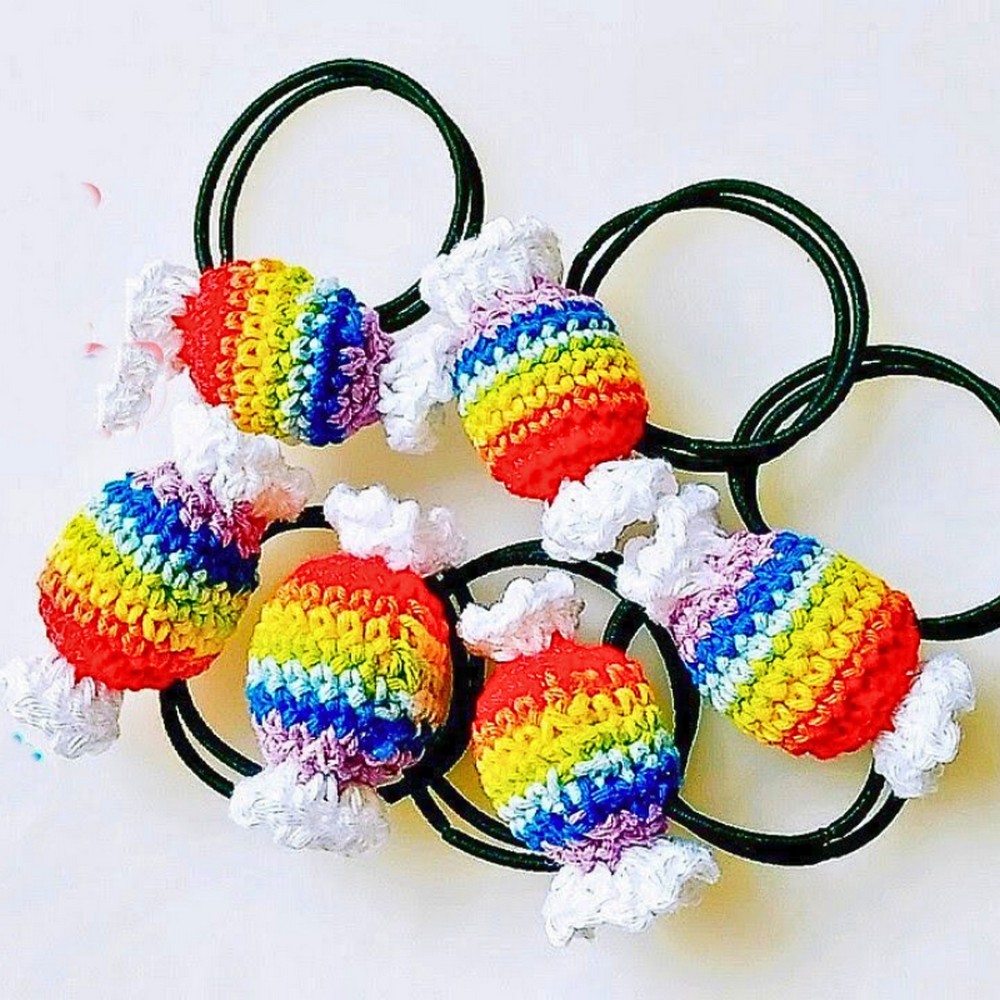
Add a pop of charm to your everyday hairstyles with these adorable crochet-candy hair ties! They’re stylish, versatile, and functional, perfect for any age.
Whether you’re sprucing up a ponytail or gifting a handmade accessory, these hair ties are both practical and uniquely beautiful.
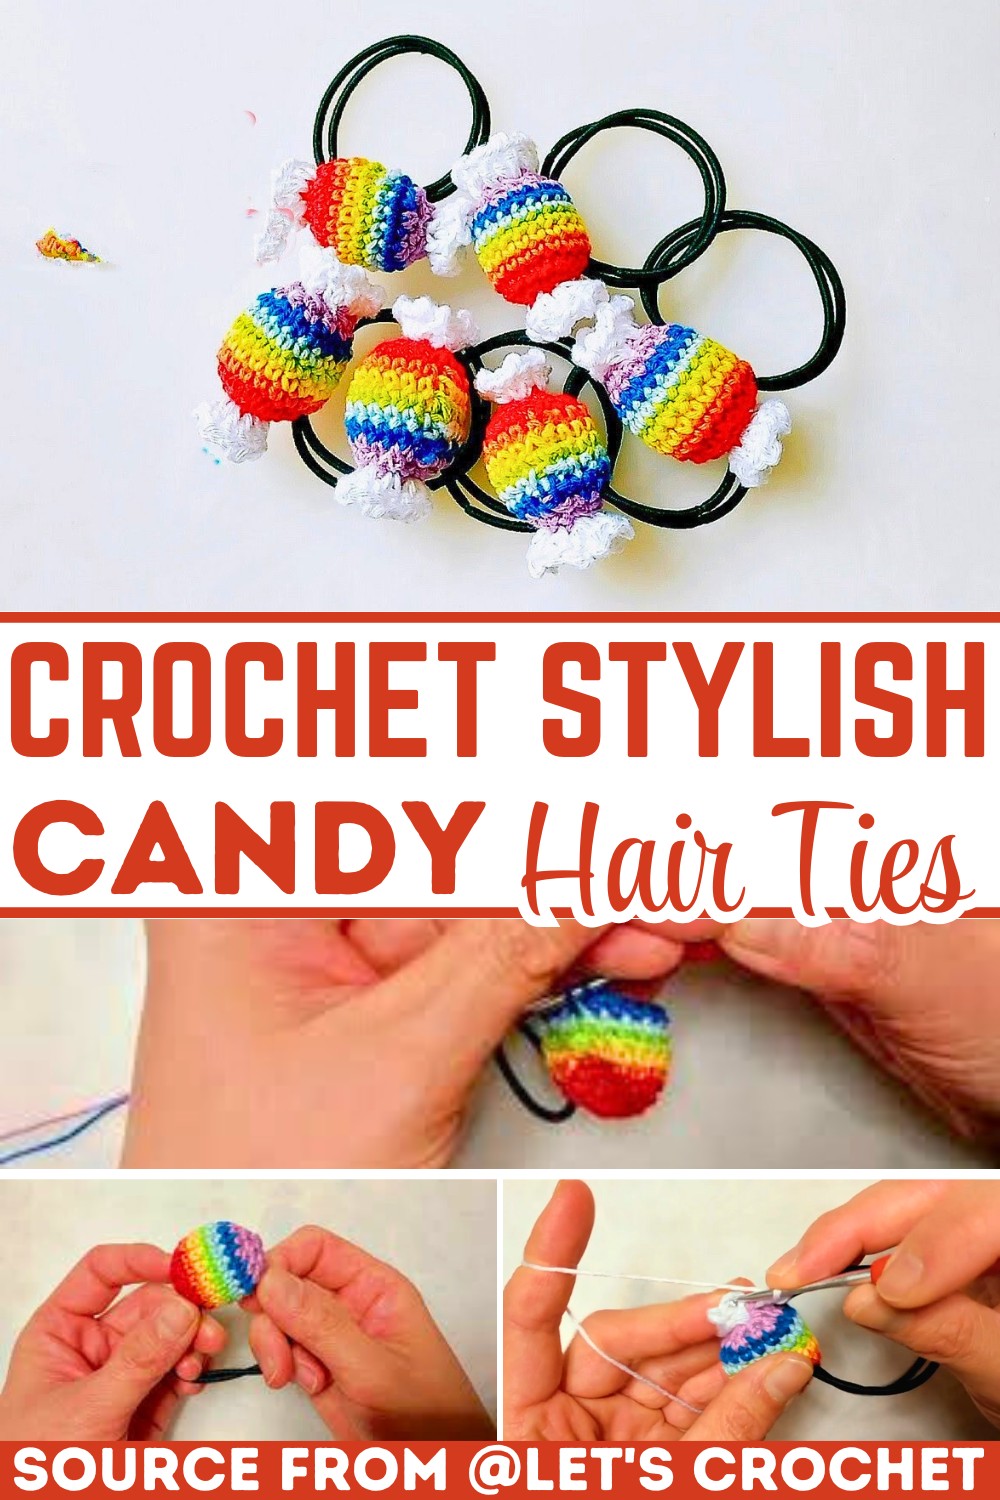
Crochet-candy hair ties are both fashionable and durable, making them perfect for daily wear. They keep hair securely in place while adding a sweet, handcrafted touch to any look.
Lightweight and comfortable, these ties are ideal for active days, special occasions, or even as creative gift ideas for loved ones.
Step By Step Pattern
Materials
To create your Crochet-Candy Hair Ties, you will need the following supplies:
- Yarn: Medium weight (Category 4) cotton yarn in at least two colors (e.g., pastel hues for candy). Choose colors for the main candy body and the “wrapper” edges.
- Crochet Hook: Size 4.00mm (G/6) or the size needed to achieve your desired tightness.
- Hair Elastics: Any standard or small-sized hair ties to fit your preference.
- Fiberfill Stuffing: For creating the “candy” shape and giving it volume.
- Yarn Needle: For weaving in ends.
- Scissors: For trimming thread.
- Stitch Marker (optional): To keep track of rounds.
Stitch Guide
Below are the basic stitches used in this project:
- Chain (ch): To begin, yarn over, pull through the loop on the hook.
- Single Crochet (sc): Insert hook into stitch, yarn over, pull up a loop, yarn over again, and pull through both loops on the hook.
- Slip Stitch (sl st): Insert hook into stitch, yarn over, and pull through both the stitch and the loop on the hook.
- Magic Ring (MR): Create a loop, crochet into the loop to form the first circle (used for starting the candy shape).
- Increase (inc): Work 2 single crochets into the same stitch to expand the round.
- Decrease (dec): Use an invisible decrease for tidier results — insert hook into front loops of the next 2 stitches, yarn over, and pull through both loops, yarn over again, and pull through the remaining loops on your hook.
Notes
- Yarn Tension: Keep consistent tension throughout the candy body to ensure a smooth and uniform appearance. Opt for tighter stitches if you want your candy design to retain its shape firmly.
- Gauge: Not crucial for this project, but tighter stitches generally work best to keep the stuffing securely inside. Adjust hook size accordingly.
- Customization Ideas:
- Experiment with different color combinations for a playful variety.
- Add stripes or polka dots to mimic classic candy designs.
- Use metallic yarn to give a shiny “wrapper” effect.
Pattern Instructions
Step 1: Start the Candy Body
- Create a magic ring (MR).
- Work 6 single crochets (sc) into the MR. Pull the ring tight. (6 stitches total)
- For Round 2, increase in each stitch. Work 2 single crochets in each stitch. (12 stitches total)
- For Round 3, follow the pattern: (1 sc, 1 inc) around. (18 stitches total)
- For Rounds 4-6, work 1 single crochet into every stitch without increases. (18 stitches per round)
Step 2: Shape the Candy and Add Stuffing
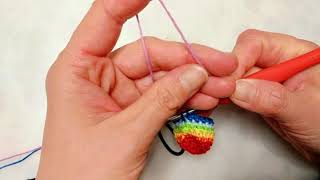
- For Round 7, begin decreasing: (1 sc, 1 dec) around. (12 stitches total)
- For Round 8, continue decreasing: (dec in each stitch) until the circle closes significantly.
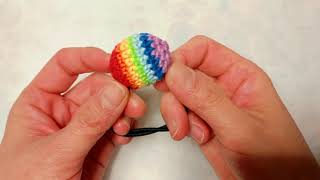
- Stuff the candy shape firmly with fiberfill once it’s almost closed. Use smaller amounts of stuffing for a rounded but not overfilled look.
- Finish by stitching around to secure the opening tightly. Fasten off the yarn and weave in the ends.
Step 3: Create the Wrapper Edges
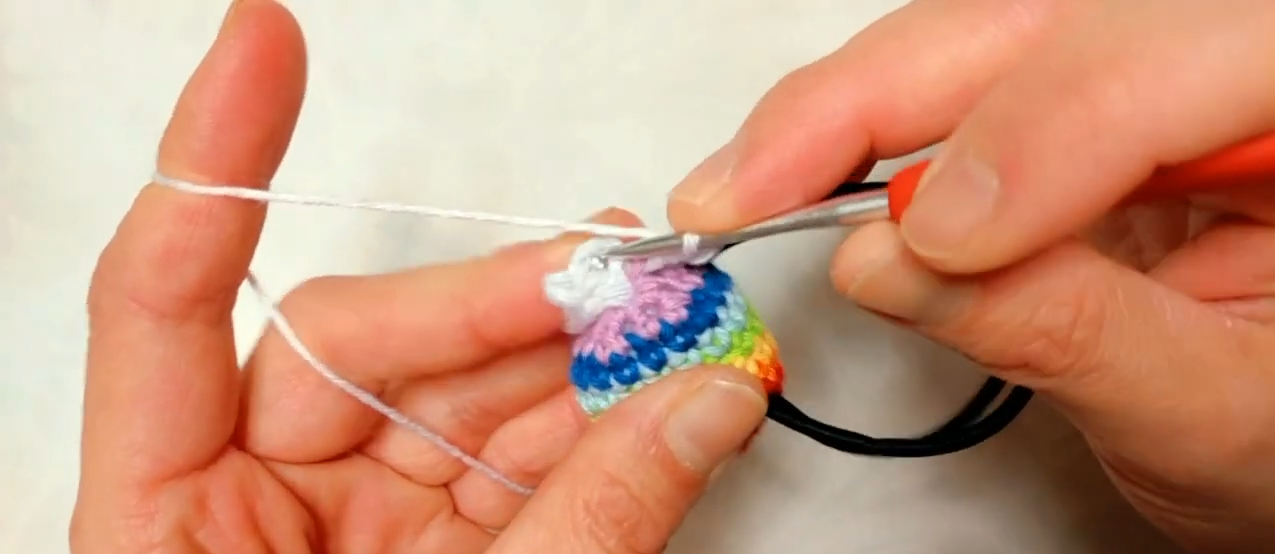
- Attach a different color yarn to one side of the candy body to create the wrapper effect.
- Work 10-12 chains (or as many as needed for your desired wrapper length) and secure them with a slip stitch (sl st) into the candy’s edge.
- Repeat the chain pattern all around the candy, ensuring the wrapper looks ruffly and cute. Do this for both ends of the candy body.
Step 4: Attach the Hair Tie
- Take your hair elastic and securely stitch it to the center of the candy. Use the same yarn color as the candy body for neatness.
- Wrap the thread around the candy and hair elastic several times to ensure durability.
- Fasten off and weave in any ends.
Final Touches
- Add decorative embellishments, such as tiny bows, beads, or glitter accents on the candy or wrapper.
- Create matching sets by using complementary colors for unique combinations.
Pattern Question
Q: What type of yarn works best for this project?
A: A lightweight cotton or acrylic yarn is ideal for crochet-candy hair ties. These materials are gentle on hair, durable, and provide the right texture to achieve the intricate candy design.
Conclusion
Crafting crochet-candy hair ties is a fun and rewarding project, blending creativity with functionality. Their charm, versatility, and practicality make them a must-try! These handmade pieces are a perfect way to elevate your accessory game or gift something unique and heartfelt.