Learn to Crochet a Stylish and Functional Flower Phone Bag
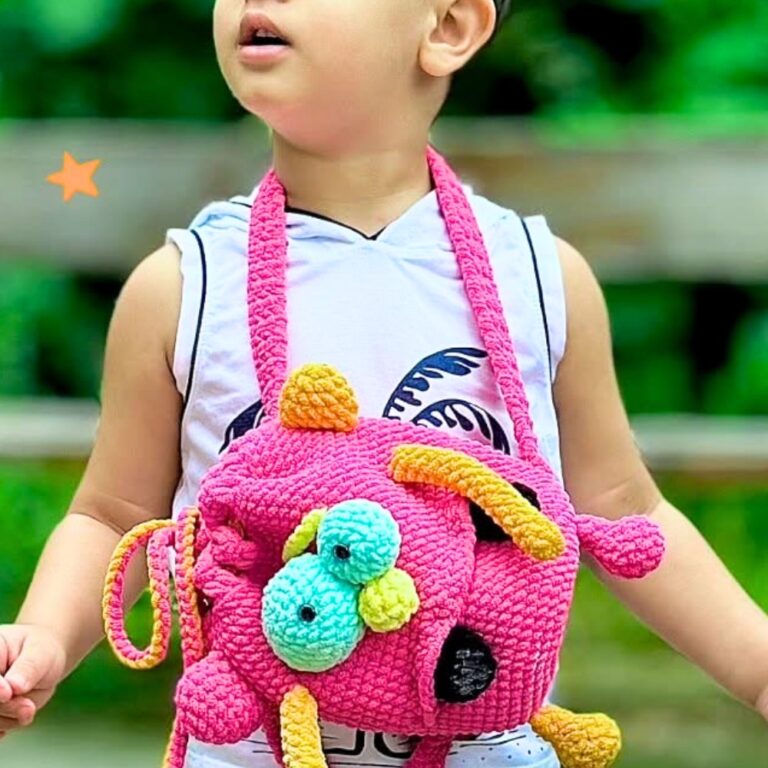
Create a charming and functional accessory with this crochet flower phone bag. Its intricate design highlights floral beauty while being versatile enough for everyday use.
Perfect for carrying your phone and small essentials, this bag combines style, convenience, and durability.

This crochet flower phone bag is ideal for daily errands or as a unique gift. It’s durable and compact, with enough room for your phone, cash, and small items.
Its floral design adds a delightful touch of artistry, making it a practical yet stylish accessory for any occasion.
Step By Step Pattern
Materials
To make this crochet flower phone bag, you will need:
- Yarn: Medium (4) worsted-weight yarn in your preferred color(s). Cotton or acrylic yarn works well.
- Crochet Hook: 4.5mm (G) or 5mm (H), depending on your tension.
- Scissors
- Yarn Needle: For weaving in ends.
- Optional: Stitch markers (to keep track of rounds) and beads or buttons for decoration.
Stitch Guide
Here are the basic stitches and techniques you’ll need for this project:
- Chain (ch): Yarn over, pull through loop on your hook.
- Single Crochet (sc): Insert hook into stitch, yarn over, pull through, yarn over again, and pull through both loops on hook.
- Double Crochet (dc): Yarn over, insert hook into stitch, yarn over, pull through, yarn over again, pull through two loops, and then yarn over, pull through final two loops.
- Slip Stitch (sl st): Insert hook into stitch, yarn over, pull through both the stitch and the loop on your hook.
- Magic Ring: A method of creating an adjustable loop for working stitches in the round.

Notes
- Gauge: This pattern can be adjusted by changing the yarn weight or hook size. To ensure your phone fits, make the base slightly larger than your phone’s dimensions.
- Customization: Use multiple yarn colors to create stripes or add flowers, buttons, or beads for decoration.
- Finishing: Weave in your ends neatly using a yarn needle, and block the bag lightly for a more polished look.
Pattern Instructions
Step 1: Create the Base (Worked in Rounds)
- Start with a magic ring. Work 8 single crochets (sc) into the ring. Pull the ring tight and join with a slip stitch (sl st) to the first sc. (8 stitches)
- Round 2: Chain 1 (does not count as a stitch). Work 2 sc into each stitch around. Join with a sl st. (16 stitches)
- Round 3: Chain 1. (1 sc in the next stitch, 2 sc in the next) repeat around. Join with a sl st. Continue increasing until you achieve a circle matching the size of your phone’s base.

Step 2: Build the Body
- Round 1: Once the base is complete, chain 1. Work 1 sc into each stitch around without increasing. Join with a sl st.
- Continue working in rounds until the bag reaches the desired height (enough to hold your phone). Change yarn colors as desired to add stripes.

Step 3: Add the Strap
- Decide the strap length (e.g., crossbody or shoulder-length).
- Attach yarn to one side of the bag’s opening. Chain to the desired length.
- Slip stitch into the opposite side of the bag’s opening to secure the strap.
- Turn and work single crochets along the chain to make the strap sturdier. Slip stitch into the starting point to finish. Fasten off and weave in ends.

Step 4: Crochet a Flower
- Chain 4 and join with a slip stitch to form a ring.
- Round 1: Work 8 sc into the ring.
- Round 2: (Chain 3, skip 1 stitch, slip stitch into the next stitch) repeat around to create 4 chain loops.
- In each chain loop, (1 sc, 2 dc, 1 sc) to form petals. Fasten off and leave a long tail for sewing. Attach your flower to the front of the bag.
Step 5: Finishing Touches
- Weave in any loose ends.
- Add optional decorations like beads, tassels, or additional flowers.
- Block your project lightly to shape the bag nicely.

Pattern Question:
Question: Can I adjust the size of the bag to fit larger phones?
Answer: Yes! You can easily modify the pattern by adding more rows or stitches to accommodate larger phone sizes while maintaining the flower design.
Conclusion:
Crocheting this flower phone bag is a delightful experience, blending creativity and practicality. The result is a beautiful, functional accessory you’ll love to use or gift. With its unique design and easy usability, this project is worth every stitch.