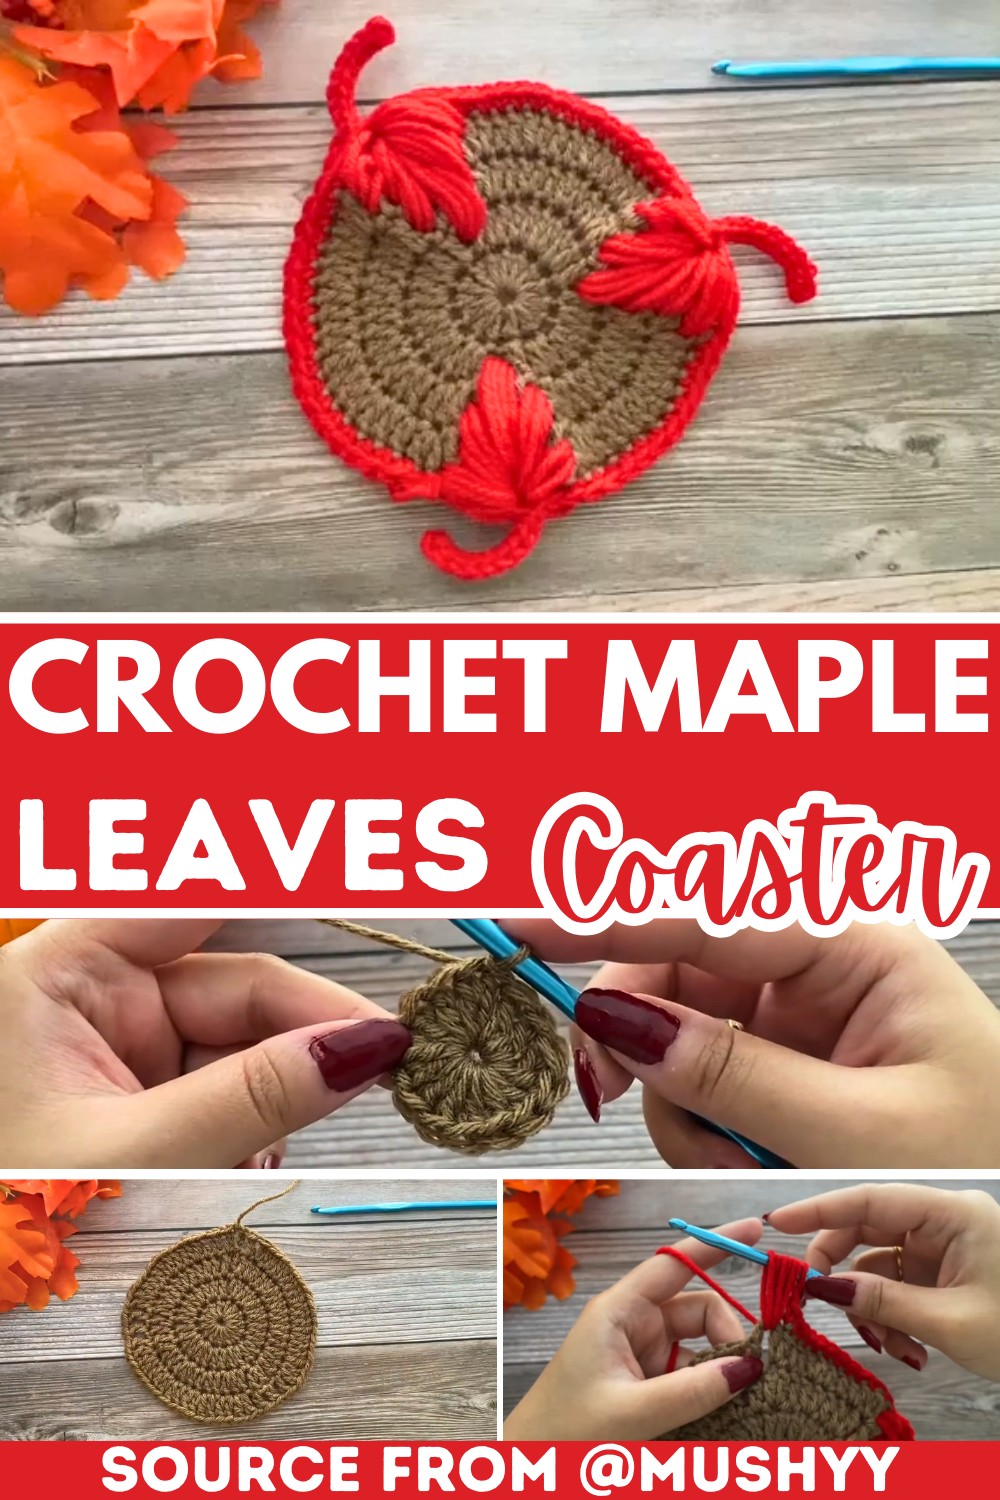
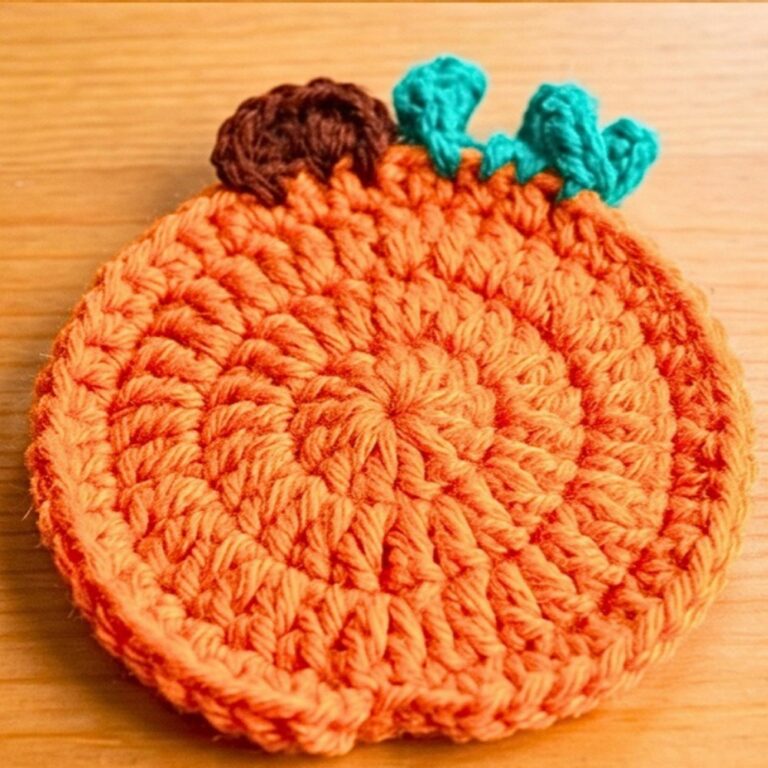
Crochet Leaf Coaster Pattern – Lace Leaf Table Decor
Turn simple crochet rounds into a pointed leaf coaster with graceful lacework, a defined stem, and shaping that gives every point its delicate form.
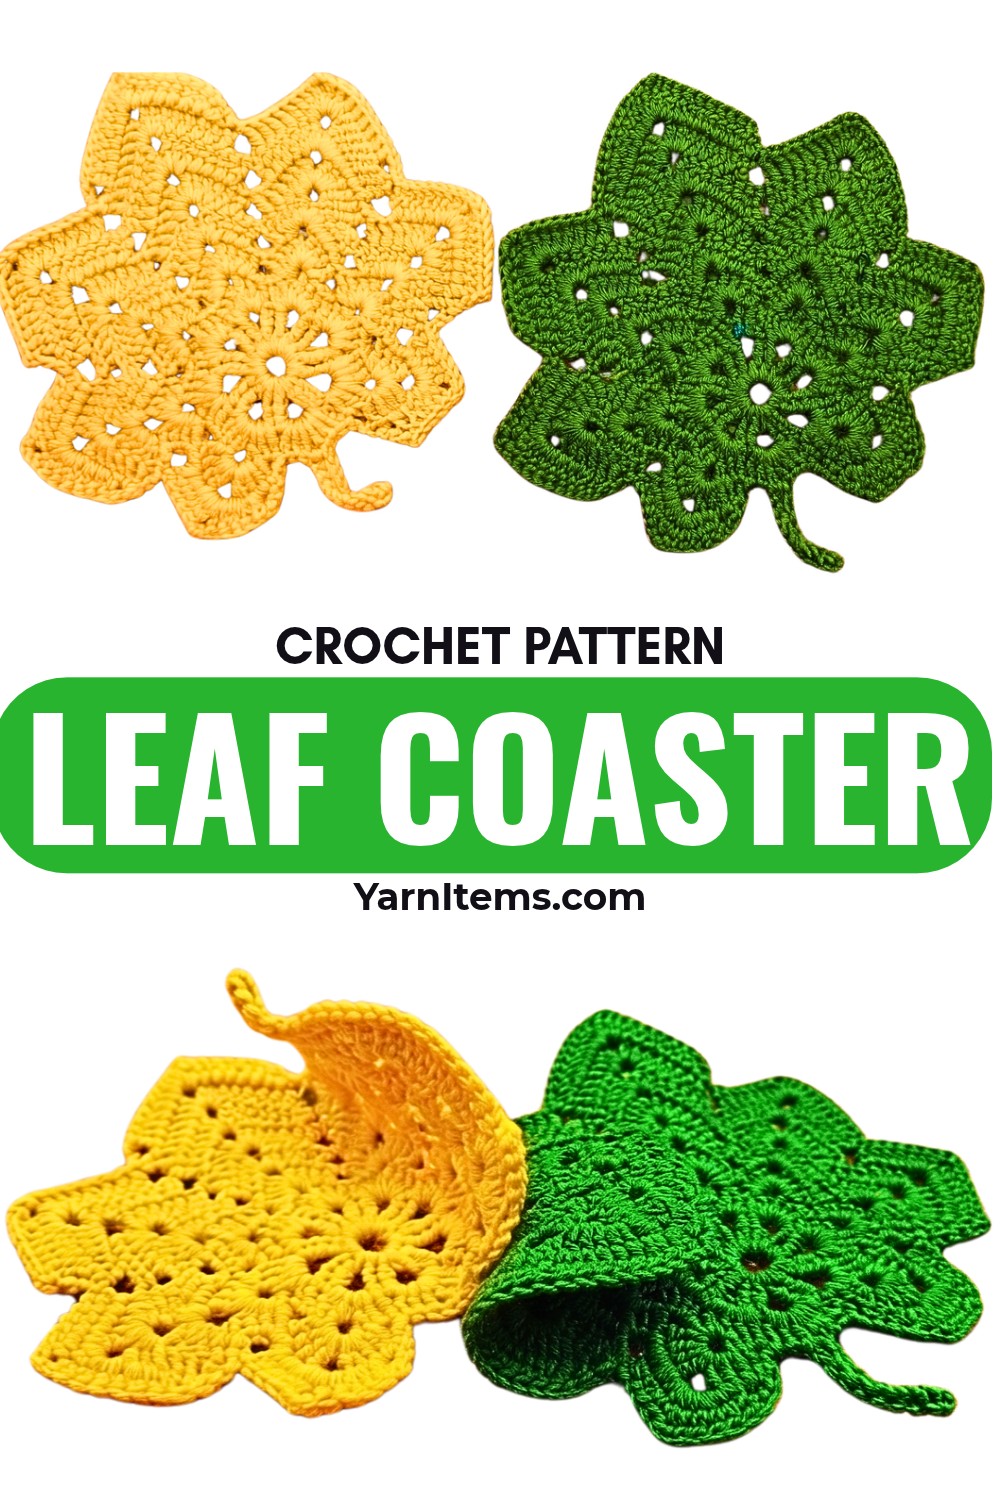
A leaf-shaped crochet coaster is one of those designs where the finished silhouette depends on what happens at each point. The center begins with small shell sections, then the outer rounds gradually widen those sections into longer crochet leaf tips.
Keeping track of the peak spaces is more important here than simply counting stitches, because those spaces determine where each point grows.
The stem is also worked as part of the crochet rather than added afterward, giving the coaster a continuous leaf-like appearance. As the rounds expand, the short slip-stitch transitions help position the hook for the next section. If those transitions are easy to identify as you work, the pointed edges will stay much more even.
Credit HannahCrochet
Materials & Tools Needed
- Yarn: YarnArt Jeans or another DK/light worsted cotton-blend yarn
- Crochet hook: 2.0–3.0 mm, depending on your yarn and tension
- Tapestry needle: For weaving in the finished ends
- Scissors
- Optional: Blocking mat and pins if you want sharper leaf points
Finished Size
The finished coaster measures approximately 5.5–6 inches (14–15 cm) across, depending on your yarn, hook size, and tension.
A cotton-blend yarn works particularly well for this design because it helps the leaf keep its shape after blocking.
Pattern Abbreviations & Terminology
- ch – Chain
- sl st – Slip stitch
- sc – Single crochet
- dc – Double crochet
- tr – Treble crochet
- st(s) – Stitch(es)
Step-by-Step Crochet Instructions
Form the Center Ring
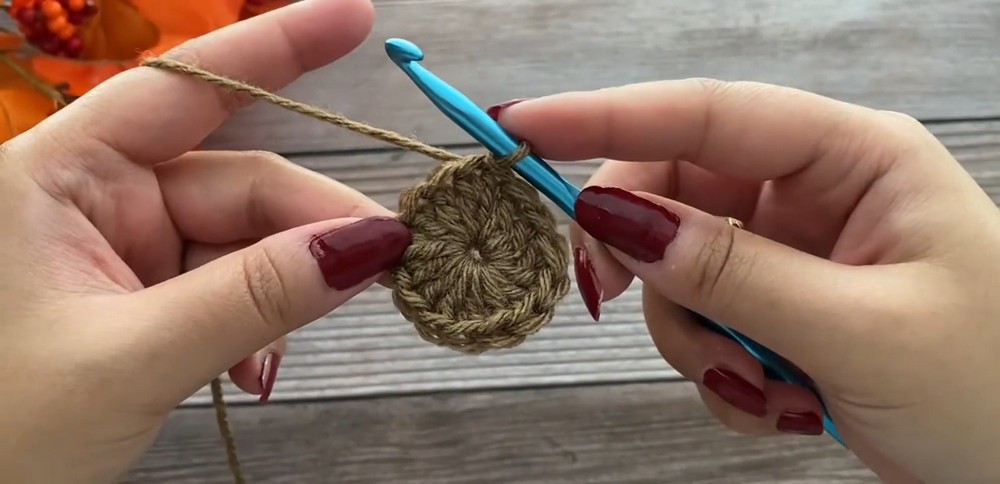
The first round creates eight treble-crochet sections around the center. The ch-2 spaces between those sections become the spaces used for the first leaf shells, so keep them easy to identify.
Round 1: Ch 8, sl st into the first ch to form a ring, ch 7 (counts as 1 tr and ch-3 space), 1 tr into the ring, (ch 2, 2 tr into the ring) around until you have 8 pairs of tr separated by chain spaces, then sl st into the 4th ch of the beginning ch-7 to join.
Build the Inner Leaf Sections
The second round changes the small center sections into the beginnings of individual leaf points.
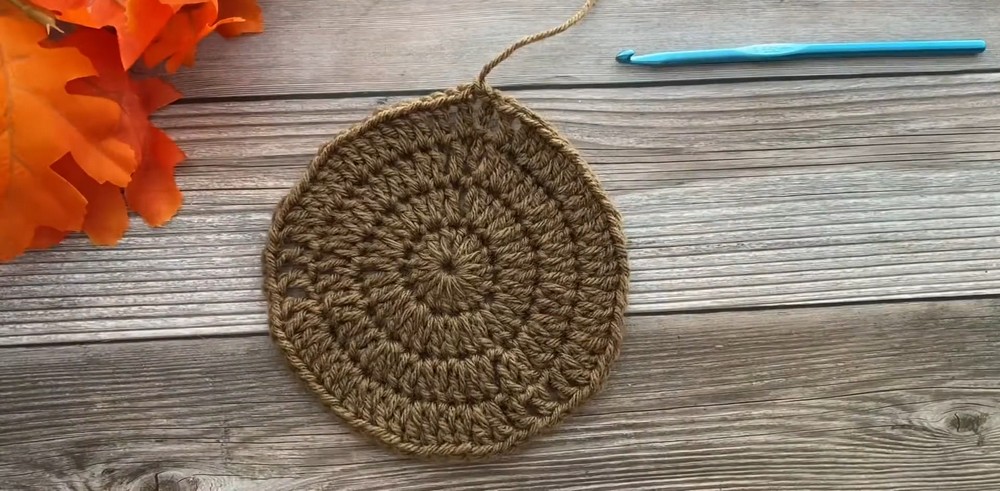
Round 2: Ch 3 (counts as 1 dc), work 3 dc, ch 3, 3 dc in the first ch-2 space, then (3 dc, ch 3, 3 dc) in each following ch-2 space around, finishing with 3 dc in the final space and joining as instructed.
Reader check: Look for the ch-3 spaces after completing this round. These are the peaks of the developing leaf sections. They are different from the smaller spaces between the shell groups, so avoid treating every opening as a peak.
Create the Stem
The stem is made before the outer leaf rounds continue.
Stem: Ch 10, turn, skip the first ch, work 1 sc in each of the remaining 9 chains back toward the center, work 3 dc into the base space, then sl st to join.
This short chain becomes the narrow stem extending from the leaf structure. Work the 9 sc evenly so the stem does not twist as you return toward the center.
Expand the Leaf Points
From this stage onward, the same basic idea repeats: work the specified number of dc along one side, build the point in the ch-3 peak, then work the same number of dc down the other side.
The number of dc increases as the leaf grows, which is what creates the widening, pointed silhouette.
Round 3: Work 1 dc along the side, then work (3 dc, ch 3, 3 dc) in the ch-3 peak, followed by 1 dc along the opposite side; repeat across the leaf sections.
Round 4: Work 2 dc along the side, then (3 dc, ch 3, 3 dc) in the ch-3 peak, followed by 2 dc along the opposite side; repeat for each leaf section.
Round 5: Work 4 dc along the side, then (3 dc, ch 3, 3 dc) in the ch-3 peak, followed by 4 dc along the opposite side; repeat across the leaf sections.
Round 6: Work 5 dc along the side, then (3 dc, ch 3, 3 dc) in the ch-3 peak, followed by 5 dc along the opposite side; repeat for each outer leaf point.
Moving Between Leaf Points
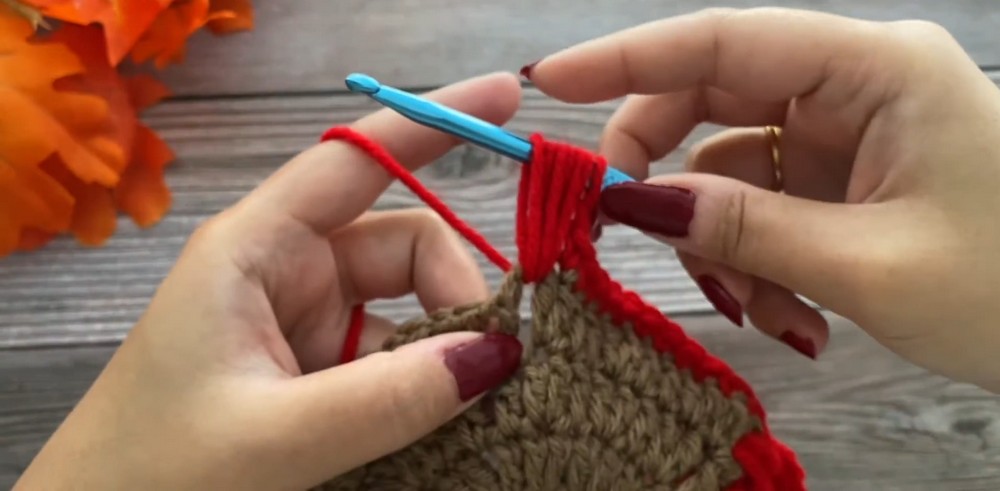
As you move from one leaf section to the next, the pattern uses short ch-1 and sl-st transitions to reposition your hook.
Transition: Work ch 1, then use sl sts along the side edge as needed to reach the correct starting position for the next group of dc.
Teaching note: These slip stitches are not extra decorative stitches that you need to count as part of the leaf width. Their purpose is to move the working position. If your next dc group seems to start too high or too low, check the transition before changing your stitch count.
Finish the Leaf
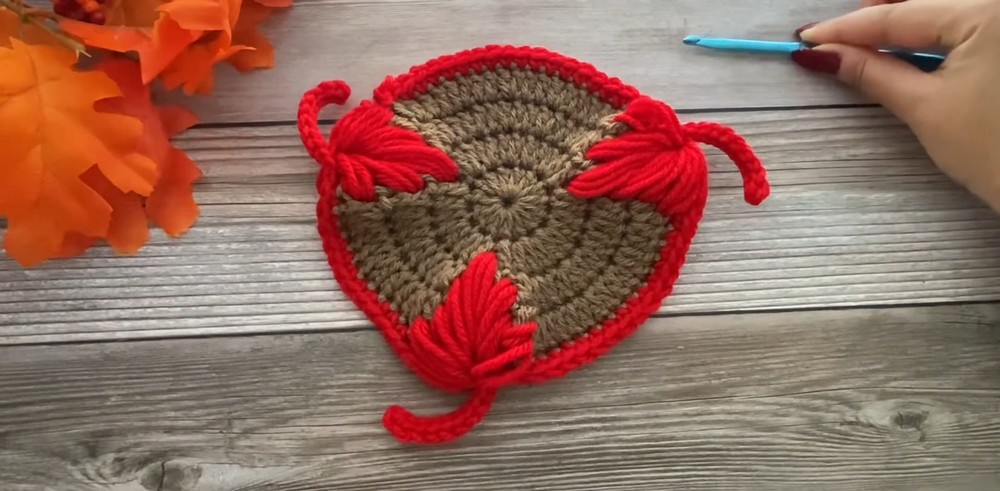
Once the final outer round is complete, the leaf should have several clearly defined pointed sections around the center and a narrow stem extending from the base.
Finishing: Fasten off, leaving approximately a 4-inch tail, thread the tail onto a tapestry needle, and weave it securely through the wrong side of the coaster.
Trim the excess yarn only after the end is firmly secured.
Steam Block the Coaster
Blocking is particularly useful for this design because the crochet points can naturally curl or sit unevenly immediately after finishing.
Place the coaster flat and use gentle steam with a damp cloth or another suitable blocking method for your yarn. Carefully open each leaf point with your fingers so the lace sections spread evenly.
Reader awareness: Do not pull the points aggressively while they are wet or hot. The goal is to open the existing shape, not stretch the coaster beyond its natural proportions.
Allow it to cool and dry completely before moving it.
Finishing Check
Before putting the coaster into use, check the overall silhouette:
- The leaf points should spread evenly around the center.
- Each peak should remain clearly defined by its ch-3 space.
- The stem should extend naturally from the base.
- The outer edges should lie reasonably flat.
- The center should not be pulled tightly enough to distort the surrounding points.
A small amount of unevenness can usually be corrected during blocking without reworking the crochet.
Conclusion
Your crochet leaf coaster is finished, with its pointed lace sections and built-in stem giving it a distinctly botanical shape. Use it beneath a mug, teapot, small plant, or decorative dish when you want a softer handmade accent on the table.
Try making several in different shades of green, earthy neutrals, or seasonal colors. The same leaf construction can take on a completely different character simply by changing the yarn color and how you block the finished points.