Easy Crochet Double Hat Pattern With Customizable Sizes
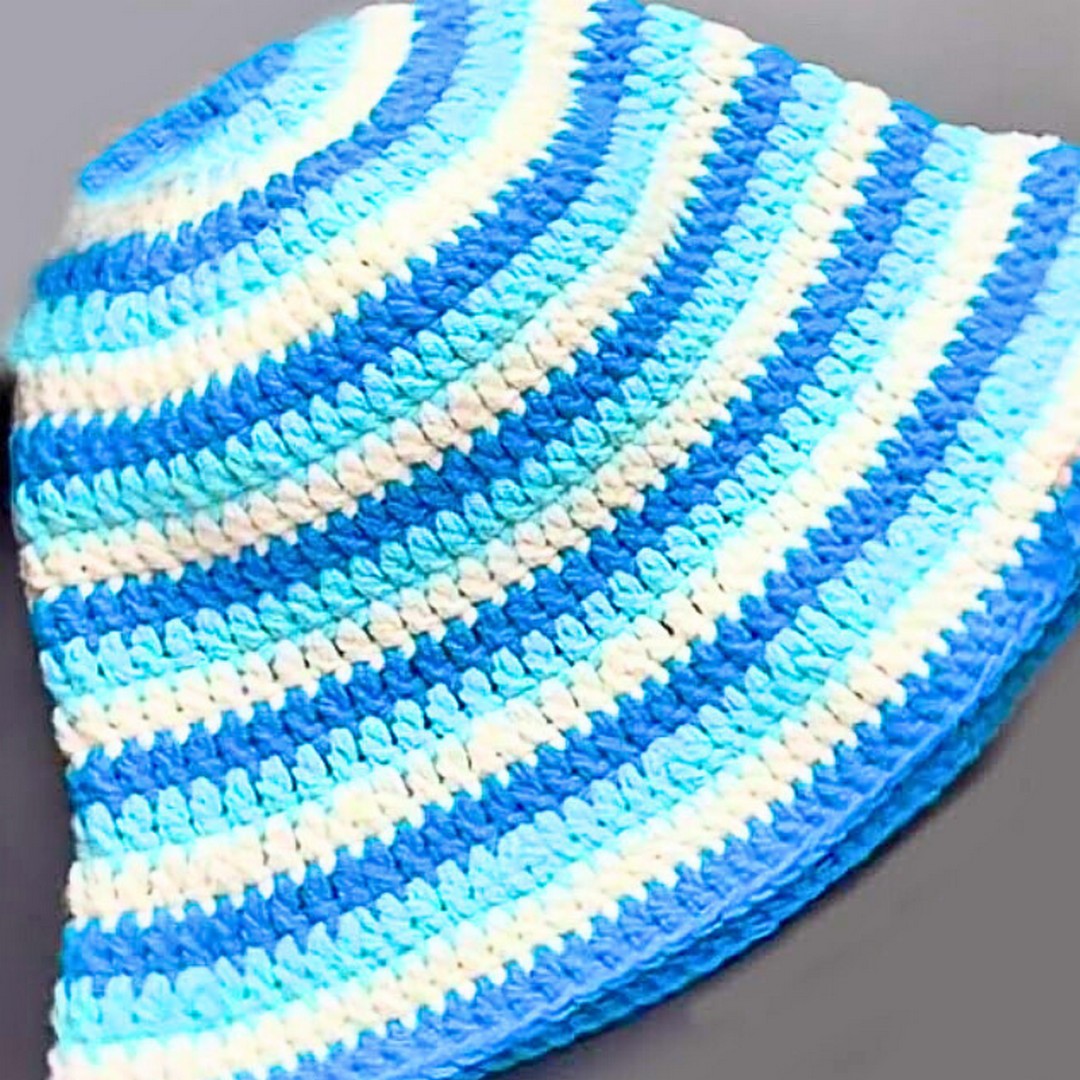
Looking for a customizable double crochet hat with simple increases, easy color changes, and a shaped brim that can be adjusted for children or adults.
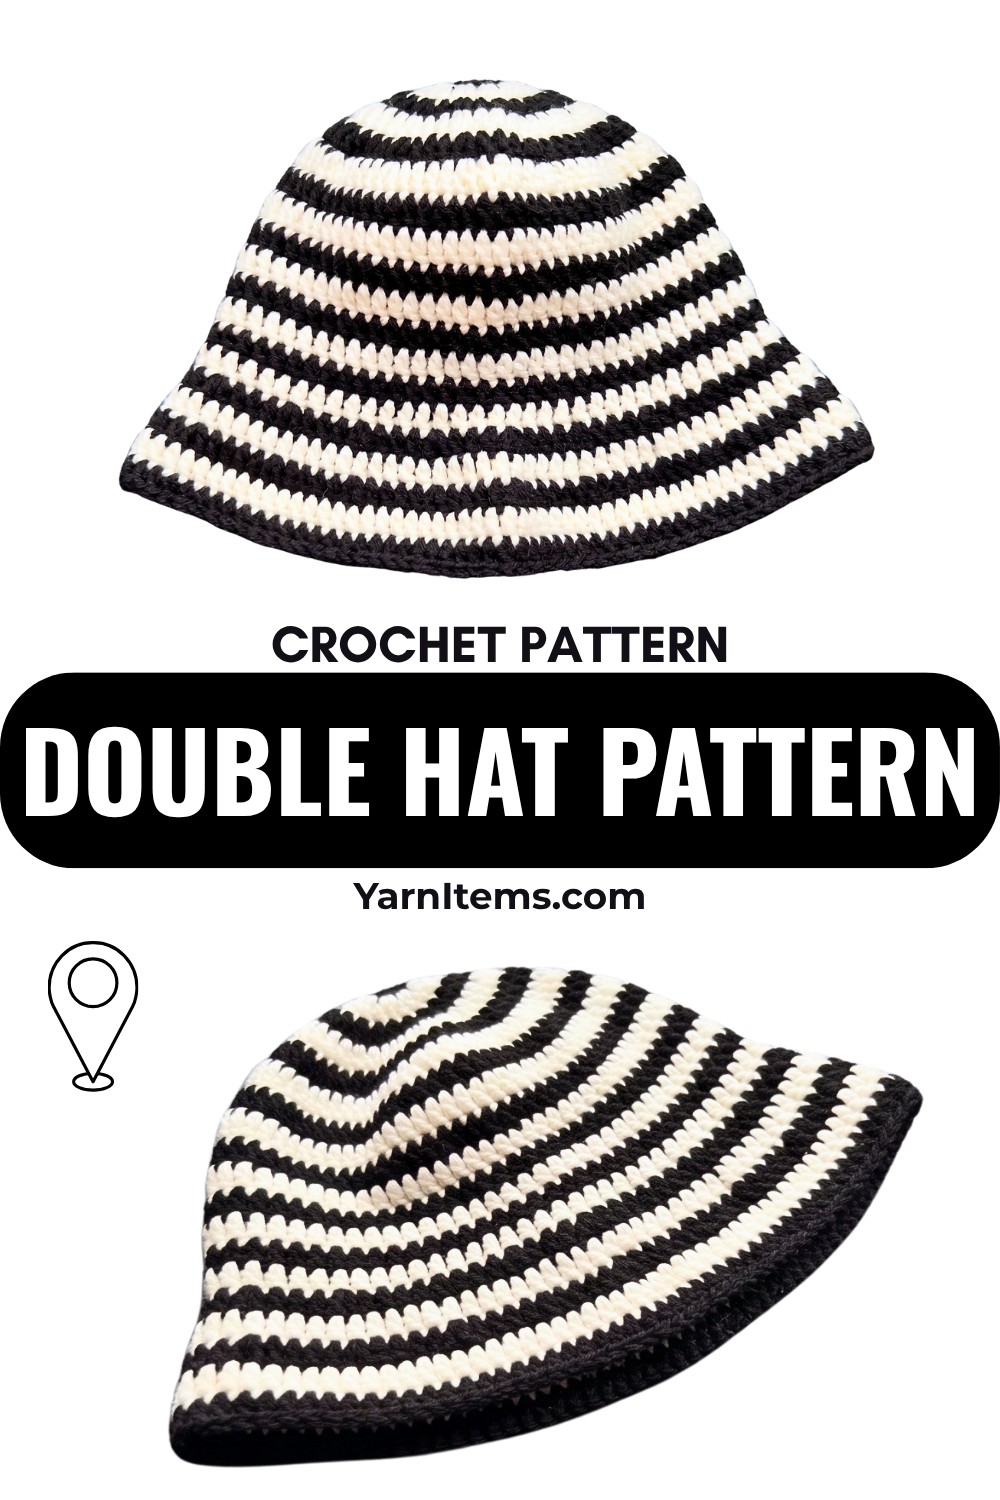
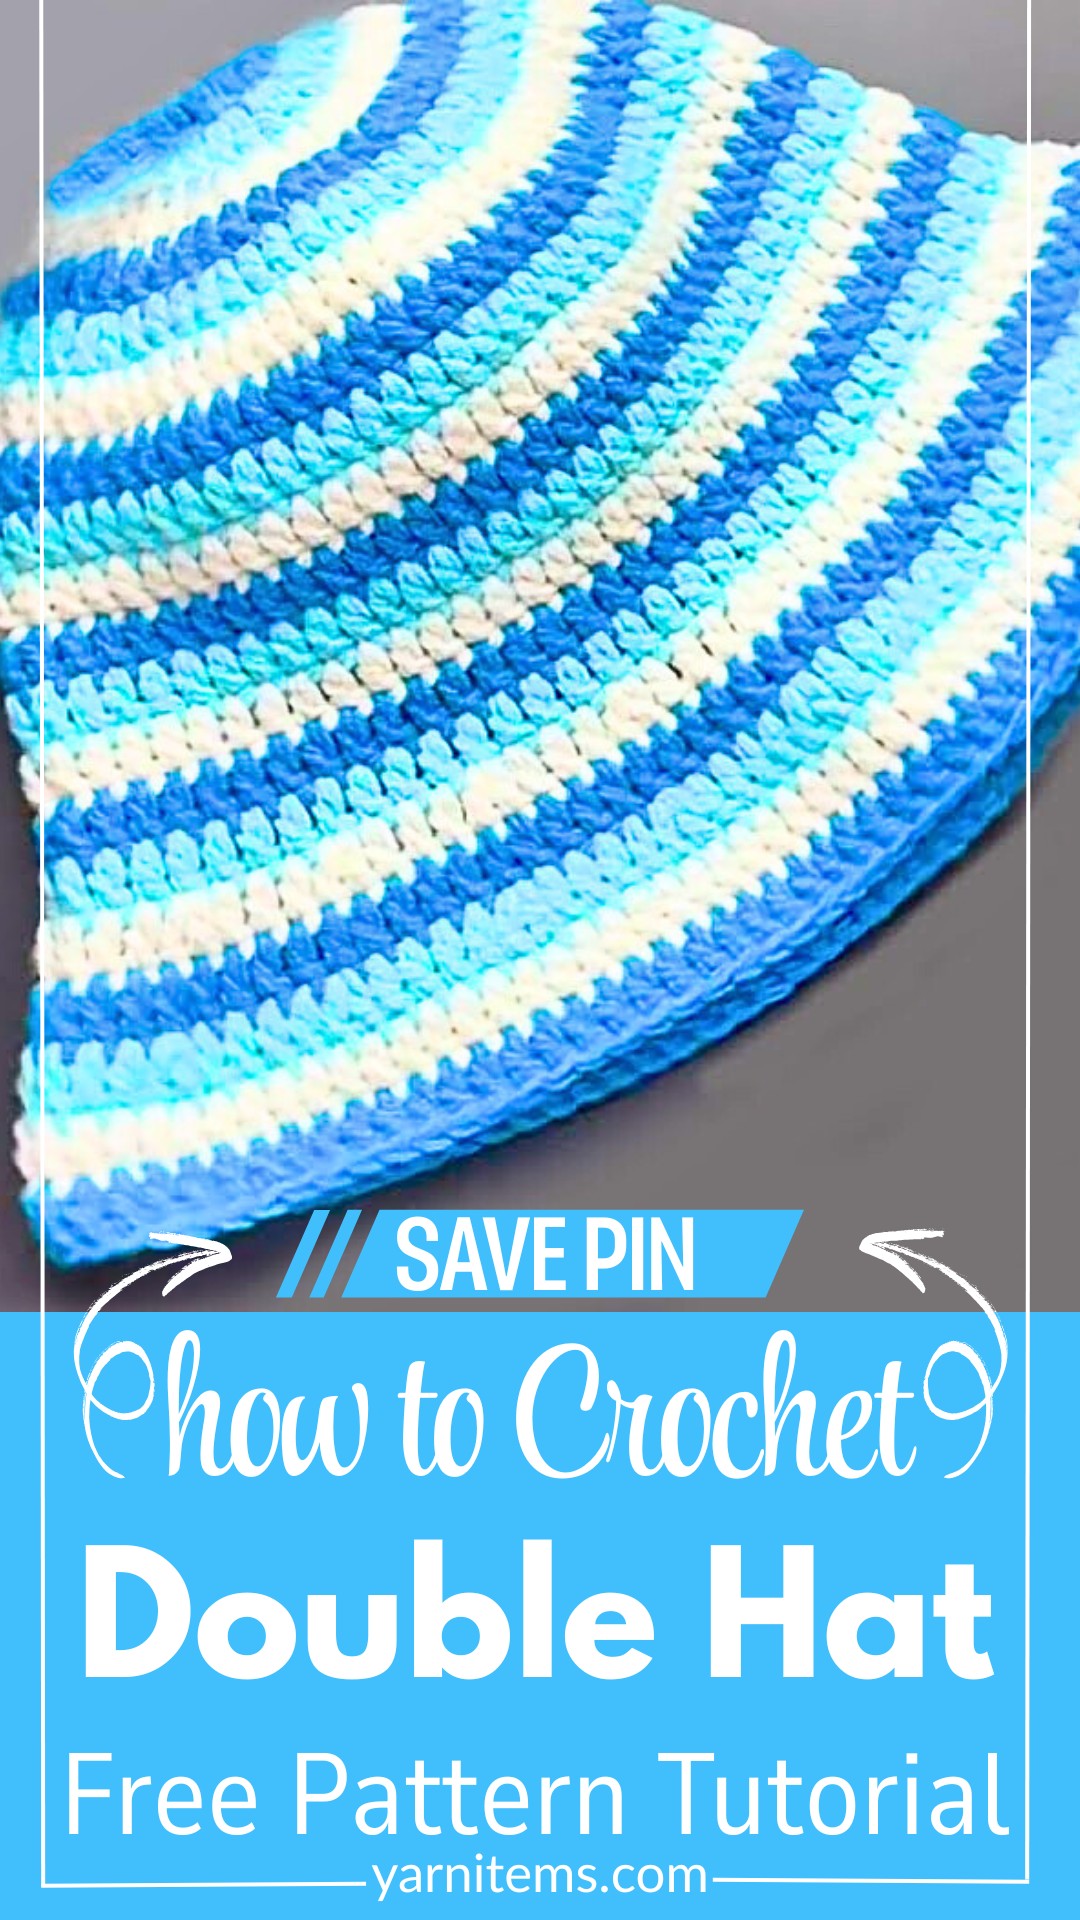
A double-crochet hat can begin with a small circular crown and gradually expand through evenly spaced increases. Once the crown reaches the right diameter, the shaping becomes much simpler as the crochet hat continues downward without further increases.
The important part is knowing when to stop increasing. The crown diameter determines how wide the hat will become, while the later plain rounds determine its depth, so measuring the circle before moving on helps prevent a crochet hat that is too loose or too narrow.
Credit anxin_crochet
Materials & Tools Needed
- 8-ply milk cotton yarn or double-strand crochet thread
- 2–4 yarn colors, depending on your preferred color combination
- Crochet hook suitable for your selected yarn
- Scissors
- Measuring tape
- Stitch marker, optional
The tutorial uses a double-strand or thicker thread approach, so keep your yarn and hook combination consistent when checking the hat’s diameter.
Finished Size & Customization Ideas
The tutorial provides a sizing approach rather than one fixed finished measurement.
For an adult hat, the example uses a head circumference of approximately 56 cm and increases one stitch every 4 stitches, placing the increase on the fifth stitch.
For children’s sizes, the tutorial suggests increasing one stitch every 3 stitches.
You can also adjust the finished hat by:
- Changing the number of crown increases.
- Stopping the increases when the desired diameter is reached.
- Adding more plain rounds for extra depth.
- Using different color combinations for a striped or color-blocked appearance.
- Adding or reducing brim rows to change the finished shape.
For the crown, the tutorial suggests approximately 3–4 inches in diameter for children and more than 5 inches for adults as general reference points.
Because head sizes vary, use the actual head measurement whenever possible rather than relying only on an age category.
Pattern Abbreviations & Terminology
- ch – Chain
- dc – Double Crochet
- sl st – Slip Stitch
- inc – Increase; work 2 dc in the same stitch
- st – Stitch
- yo – Yarn over
US crochet terminology is used throughout.
How to Crochet the Base Circle
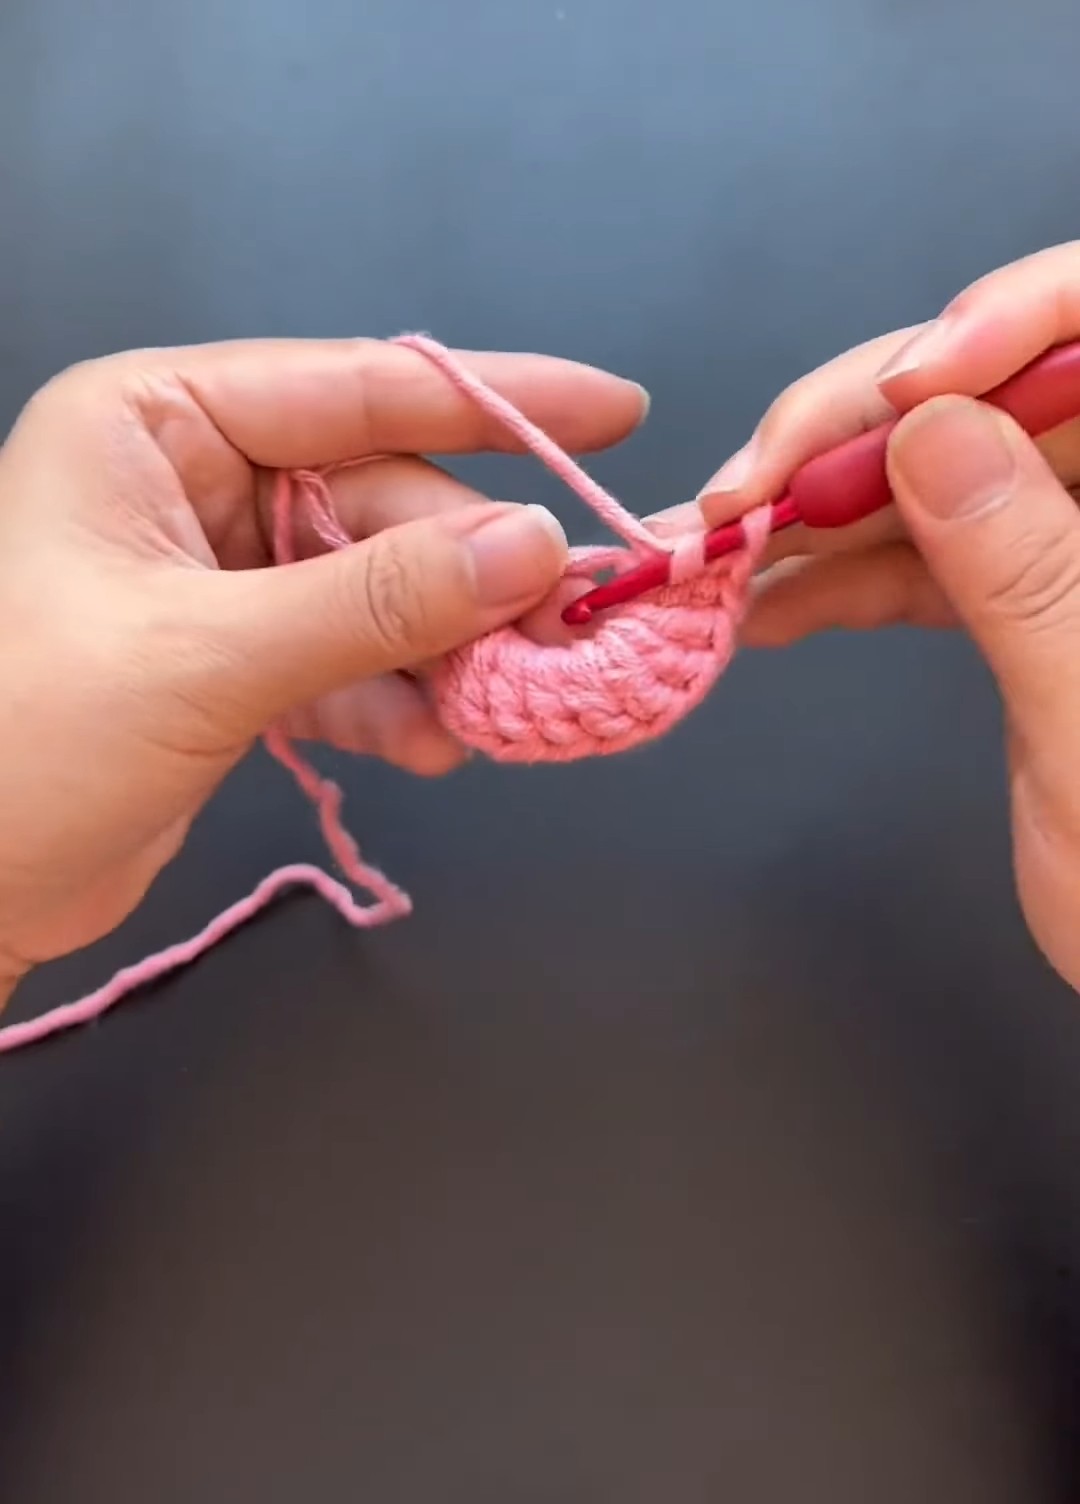
The hat begins with a magic ring and a first round of double crochet stitches.
Foundation: Create a magic ring.
Round 1: Ch 3, which counts as the first dc, then work 11 dc into the magic ring. Pull the ring closed. (12 dc)
Join with a sl st as indicated in the tutorial.
Begin the Color Change and Crown Increases
Change to the next yarn color at the beginning of the next round.
Insert the hook into the first stitch and pull through the new color. Tighten the yarn end and begin the round.
Round 2: Ch 3, then work 1 dc in the same stitch. Work 1 dc in the next stitch, followed by the indicated dc increase, and continue the increase pattern around. Hide the previous color’s yarn tail underneath the stitches as you work. Join with a sl st into the top of the beginning ch 3.
The important part of this round is maintaining the increase rhythm around the entire circle so that the crown expands evenly.
Continue Increasing the Crown
The next rounds gradually space the increases farther apart.
Round 3: Ch 3, work 1 dc in the same stitch, then work 1 dc in each of the next 3 stitches before making the indicated increase. Continue this pattern around.
Following Increase Rounds: Continue increasing according to the tutorial’s spacing pattern, moving to an increase every 4 stitches for the adult size.
For children’s sizes, use the suggested increase interval of every 3 stitches.
Keep the increase points consistent around the round rather than placing them randomly. This allows the crown to expand while maintaining a relatively even circular shape.
Size Check
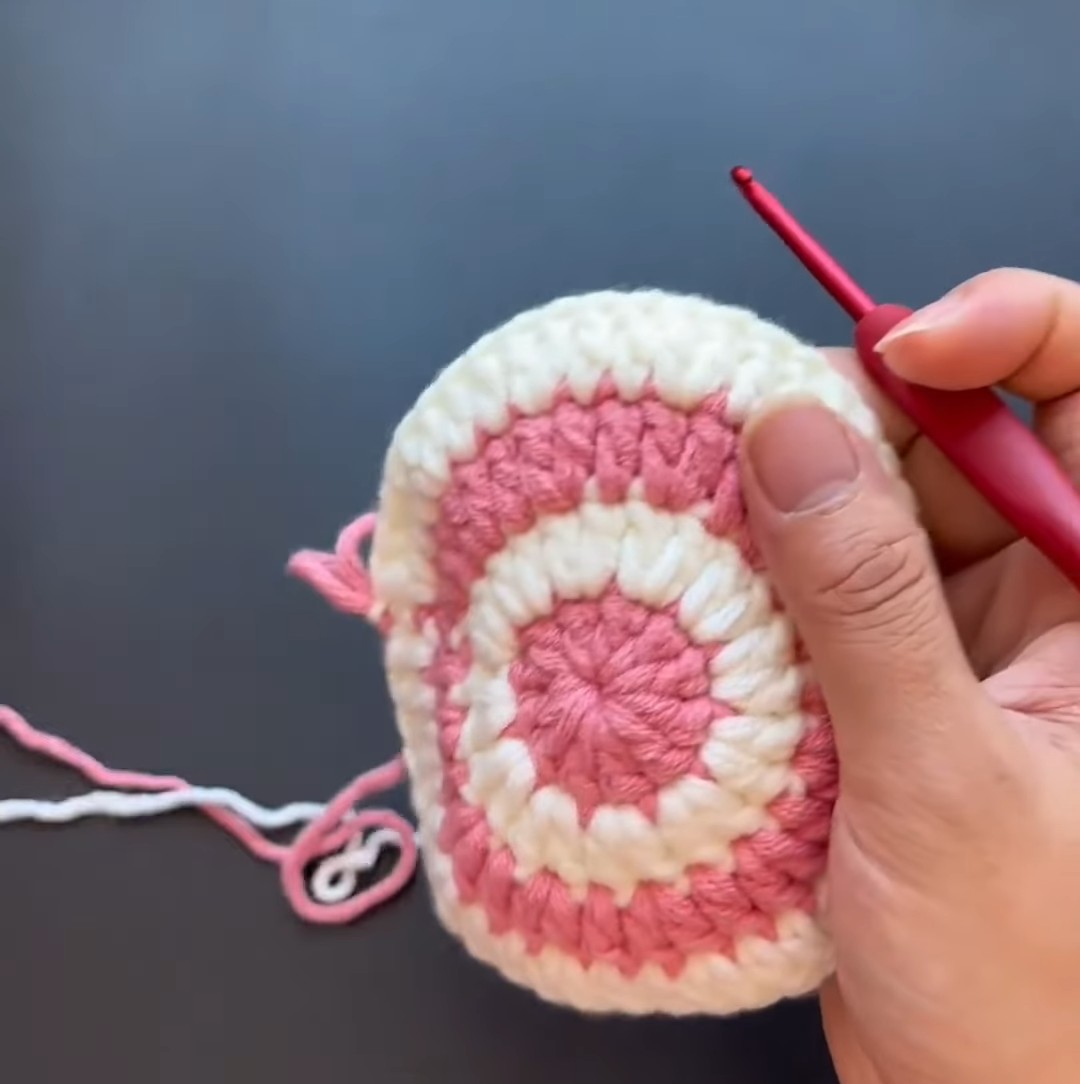
Stop after an increase round and measure across the center of the crown.
For the general guide:
- Children: approximately 3–4 inches across
- Adults: more than 5 inches across
The crown does not need to reach the exact same measurement for every person. If the circle already matches the intended size, continuing to increase can make the finished hat too wide.
If it is still too small, continue the increase pattern before beginning the plain rounds.
Work the Hat Depth
Once the crown reaches the required diameter, stop increasing.
From this point, the hat develops its depth rather than becoming wider.
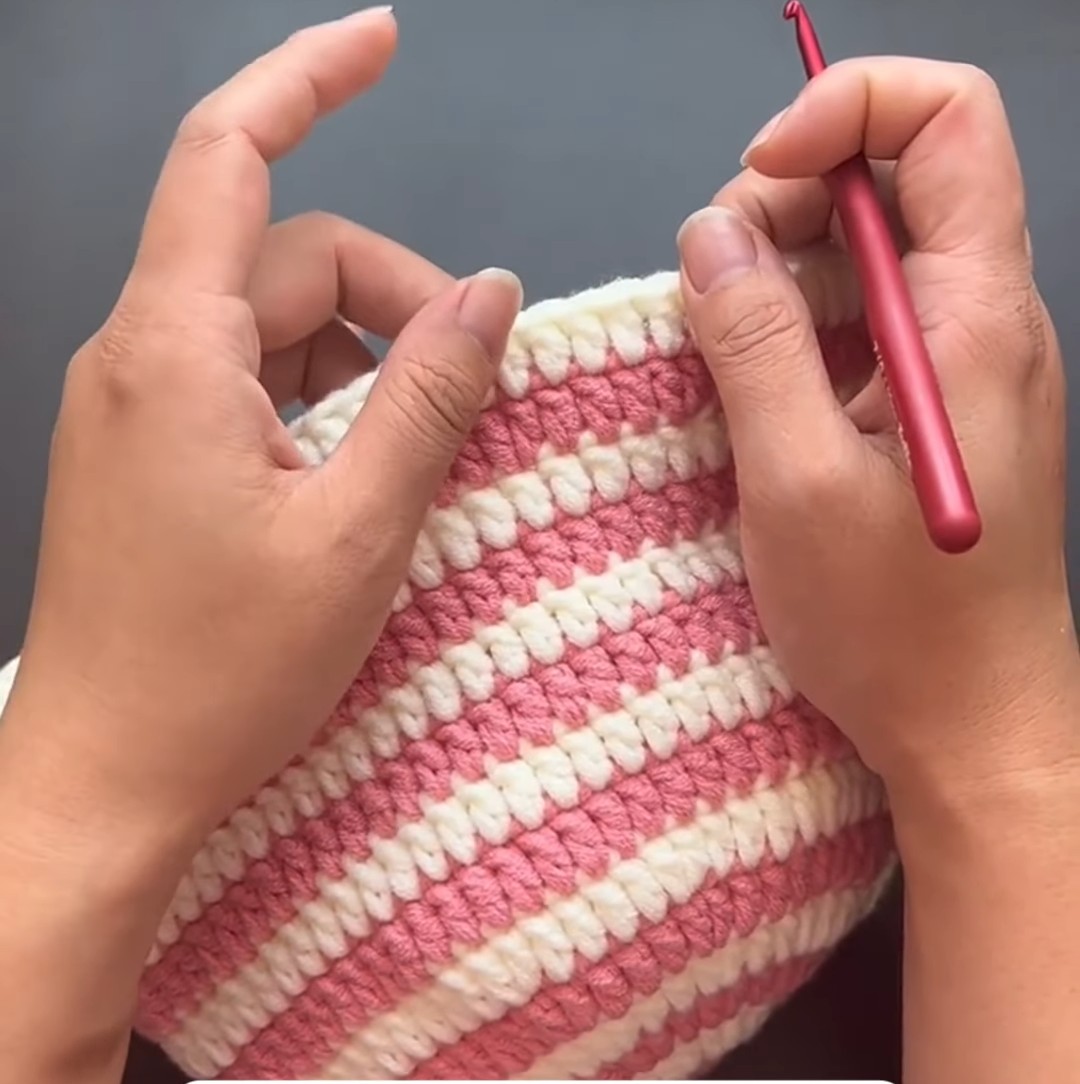
Plain Rounds: Work 1 dc in each stitch around, with no increases or decreases.
Continue working plain double-crochet rounds until the hat reaches the desired depth.
For an adult hat, periodically measure from the crown downward rather than judging the length only by the number of rounds. This makes it easier to stop at the intended fit.
Crochet the Brim
The brim adds extra width around the lower edge of the hat.
Brim Row 1: Ch 3, skip 3 stitches, then work 1 dc + 1 inc into the fourth stitch. Continue the same increase pattern around the row.
Join as instructed at the end of the round.
Brim Rows 2–4: Repeat the brim increase pattern, or adjust the spacing according to the amount of flare you want.
Work approximately 3–4 brim rows for the sample style.
The more frequently you increase, the more pronounced the brim will become, so check the edge as you work rather than automatically adding extra rows.
Change Colors Neatly
Color changes can be used between rounds to create stripes or blocks of contrasting color.
At the beginning of a new color:
- Pull the new yarn through the first stitch.
- Tighten the new loop.
- Ch 3 to begin the round.
- Crochet over the previous yarn tail as you work.
Keep the unused tail close to the fabric rather than leaving it loose behind the stitches. This helps reduce the amount of finishing work later.
Finish the Hat
Once the crown, body, and brim have reached the desired measurements, secure the final yarn.
Weave in all loose yarn ends with a darning or yarn needle.
Check the finished hat for:
- Even crown shaping
- Consistent color changes
- Appropriate depth
- A comfortable circumference
- An evenly distributed brim
- Securely woven yarn ends
If needed, lightly block the hat to improve its overall shape.
Customize the Finished Hat
The basic double-crochet structure gives you several ways to change the final appearance.
Use two colors for simple stripes, three or four colors for a color-blocked effect, or keep the entire hat in one shade for a cleaner look.
For different head sizes, the most useful adjustments happen at the crown. Change the increase interval or continue the increase rounds until the crown reaches the required diameter, then switch to plain rounds for the depth.
An Adjustable Double Crochet Hat
This hat relies on a simple principle: increase while you need more width, then stop increasing once the crown reaches the right size.
That makes the diameter check especially useful when adapting the pattern for different ages or head measurements. After the crown is wide enough, the remaining plain rounds can be adjusted mainly for depth, while the final increase rounds shape the brim.