Quick & Easy Crochet Spiderweb Headband Pattern
A few rounds of open crochet are enough to turn a simple magic ring into a delicate spiderweb headband with long adjustable ties.
Crochet Spiderweb Headband Pattern
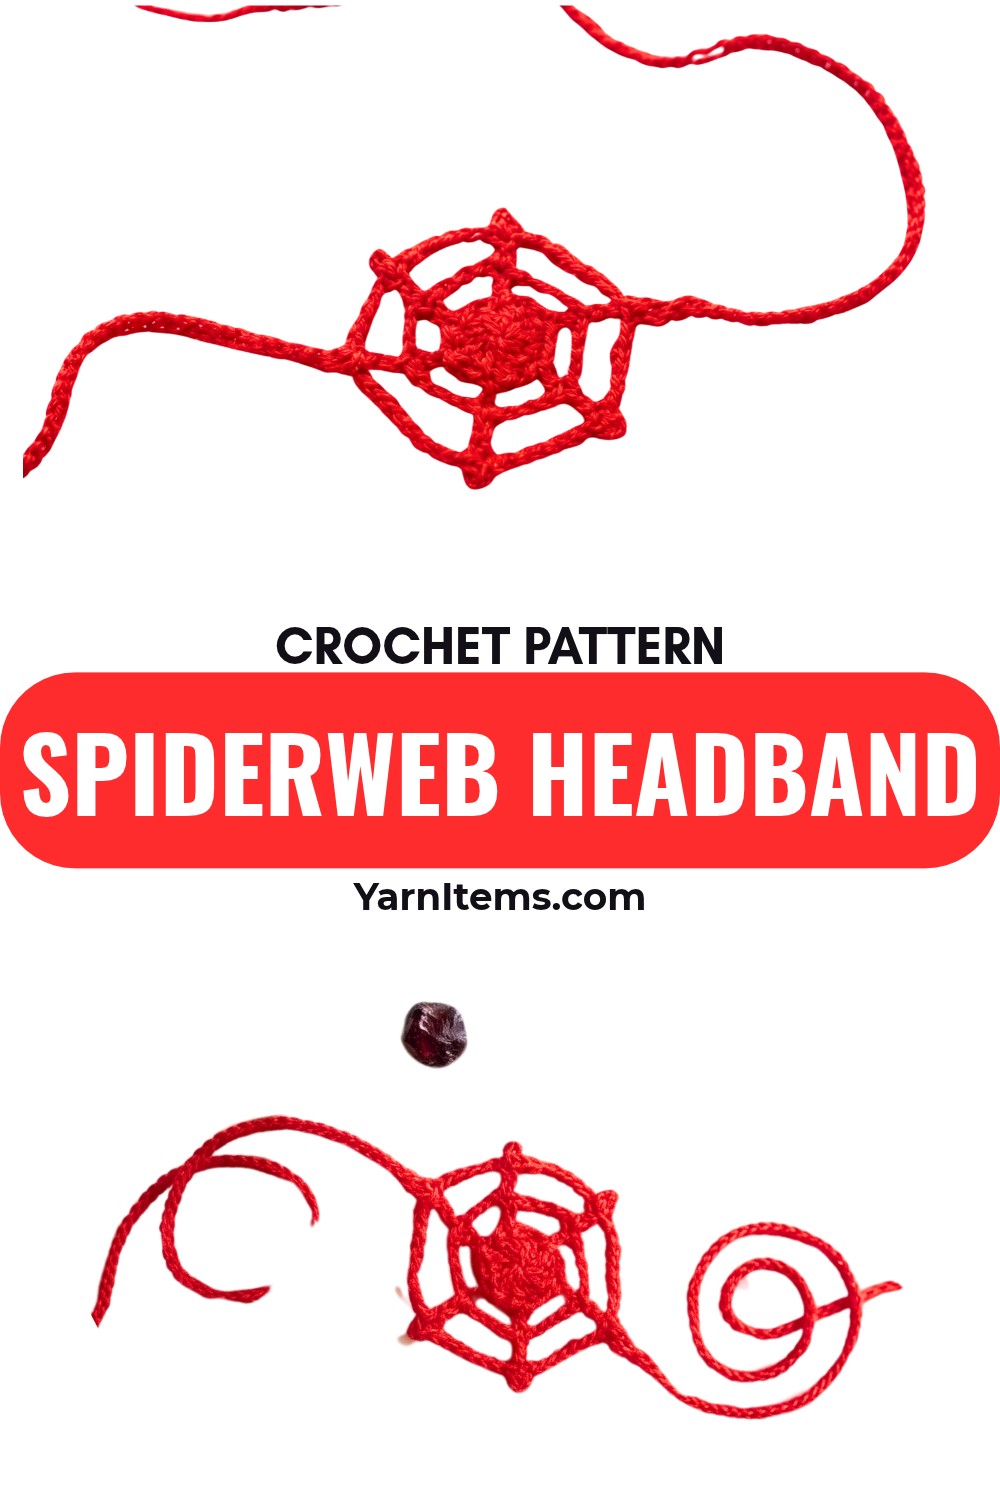
This lightweight crochet headband begins at the center with a magic ring and gradually opens into a web-like motif. The combination of double crochets and chain spaces keeps the design airy while giving the center enough structure to hold its shape.
The final fit comes mainly from the ties rather than from a fixed headband measurement. That makes the pattern easy to adapt, but the chain lengths and the tension of the webbing still need attention so the finished crochet piece can sit comfortably without becoming too loose or stretched.
Credit Crochet & knitting
Materials & Tools Needed
- Lightweight yarn such as cotton or acrylic
- 3.5 mm or 4 mm crochet hook, or the size appropriate for your yarn
- Scissors
- Yarn needle for weaving in ends
- Stitch marker, optional
A lightweight yarn works especially well here because the spiderweb relies on open chain spaces rather than a dense fabric.
Finished Size & Customization Ideas
The headband is adjustable through its ties, making it suitable for different head sizes.
The tutorial uses 60 chains for each tie, but you can change that number according to the fit you want.
You can also customize the design by:
- Using a different yarn color.
- Making the ties longer or shorter.
- Choosing a slightly different hook size to change the openness of the web.
- Adding small beads or charms after finishing, if desired.
When changing hook size or yarn weight, remember that the diameter and drape of the central web will also change.
Pattern Abbreviations & Terminology
US crochet terminology is used throughout.
- Ch – Chain
- Sl st – Slip Stitch
- Dc – Double Crochet
- YO – Yarn Over
- MR – Magic Ring
Create the Spiderweb Center
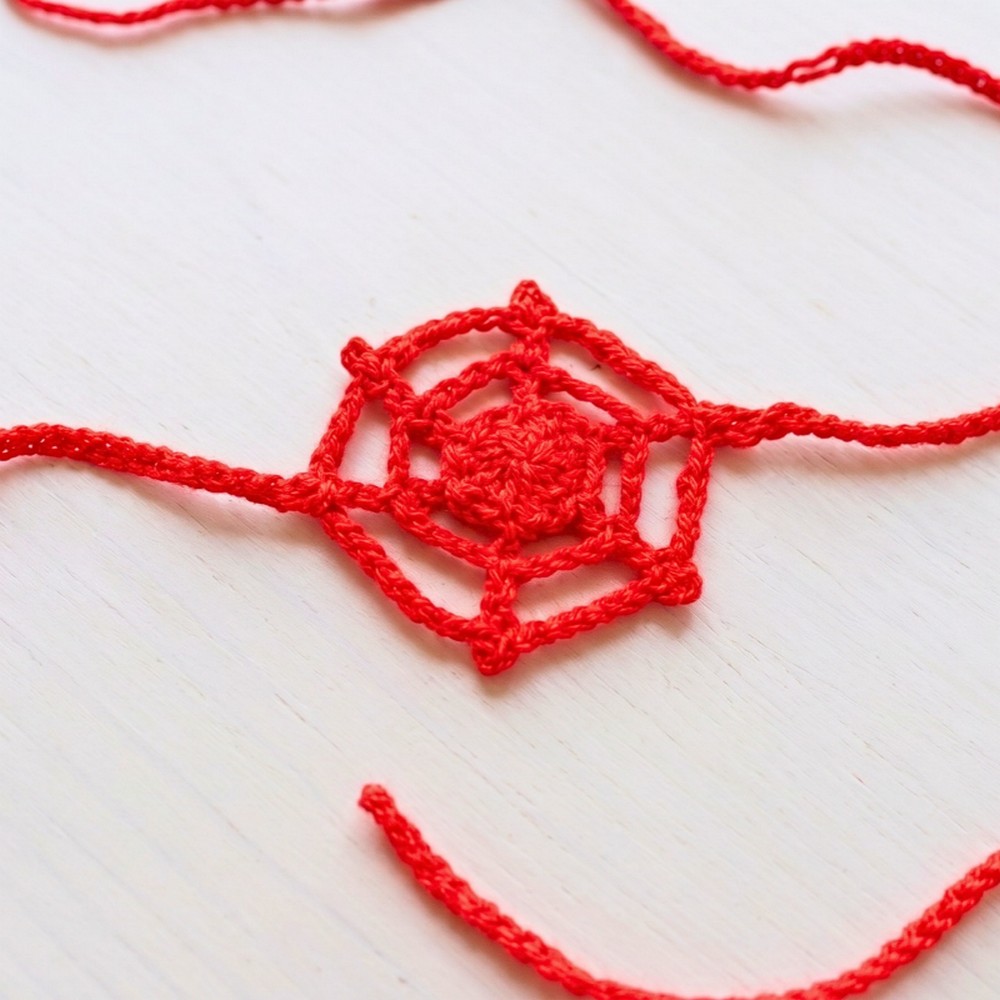
The center begins with a magic ring containing 10 double crochets. The chain spaces added in the following rounds create the open sections of the web.
Round 1: Crochet the Base
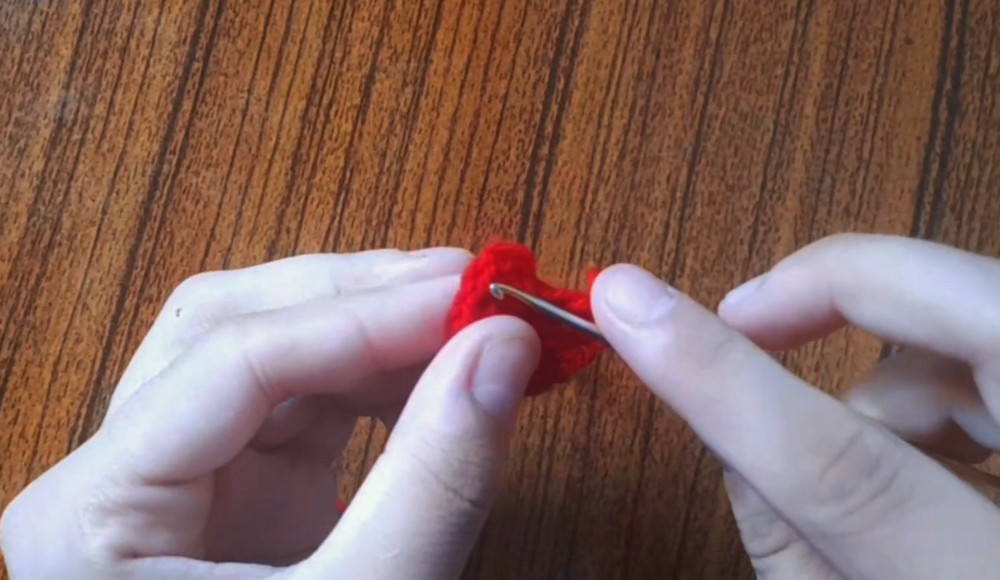
Start with a slip knot and create a magic ring.
Round 1: Ch 3, which counts as the first dc, then work 10 dc into the magic ring. Pull the yarn tail to tighten the ring and join with a sl st to the top of the beginning ch-3. (11 dc including the beginning ch-3)
The center ring should close firmly before moving to the next round so the web does not have an unnecessarily large opening.
Round 2: Open the Web
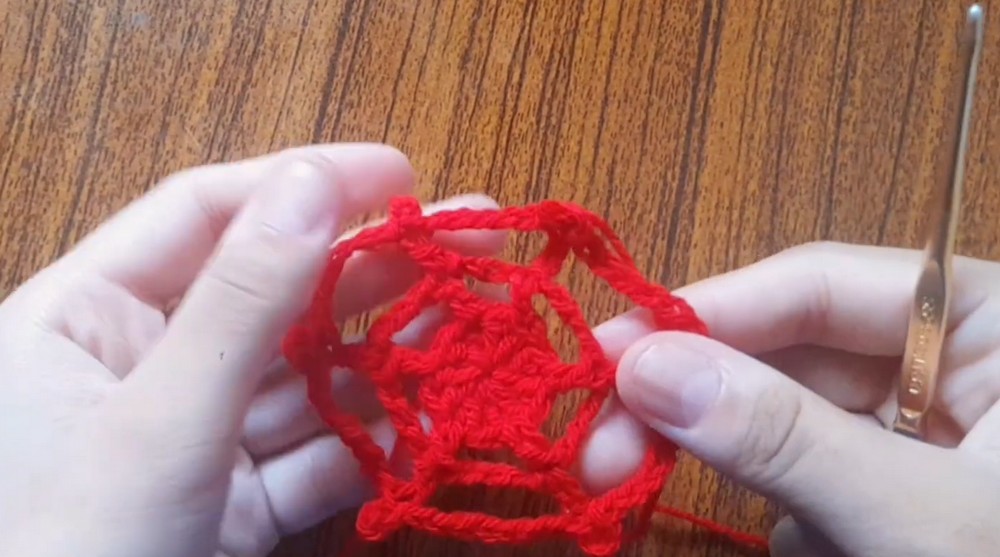
The second round introduces the chain spaces that begin spreading the motif outward.
Round 2: Ch 7, which counts as 1 dc and a chain space. Skip 1 stitch and work 1 dc in the next stitch. Ch 4, skip 1 stitch, dc in the next stitch; repeat around. After the final ch-4, join with a sl st to the top of the beginning ch-3.
Keep the chain spaces reasonably even as you work. They form the open sections that will become more noticeable in the final round.
Round 3: Form the Webbing
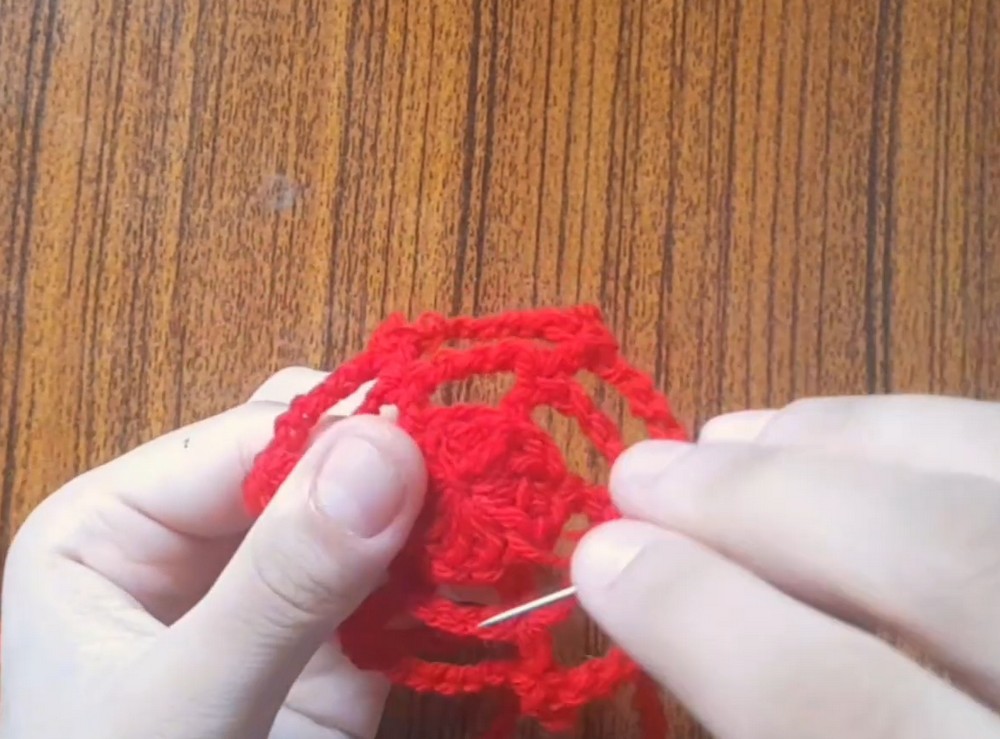
The final round adds the longer chain sections and small slip-stitch points that give the motif its spiderweb appearance.
Round 3: Ch 9, work 1 dc into the next stitch, ch 3, then sl st at the top of the dc to secure the webbing. Ch 7, work 1 dc into the next stitch, ch 3, sl st at the top of the dc; repeat around. After the final ch-7, join with a sl st to the top of the first chain.
The chain lengths create the open points of the web, so avoid pulling the chains excessively tight.
Add the Adjustable Ties
The ties extend from opposite sides of the central web and allow the headband to be secured around the head.
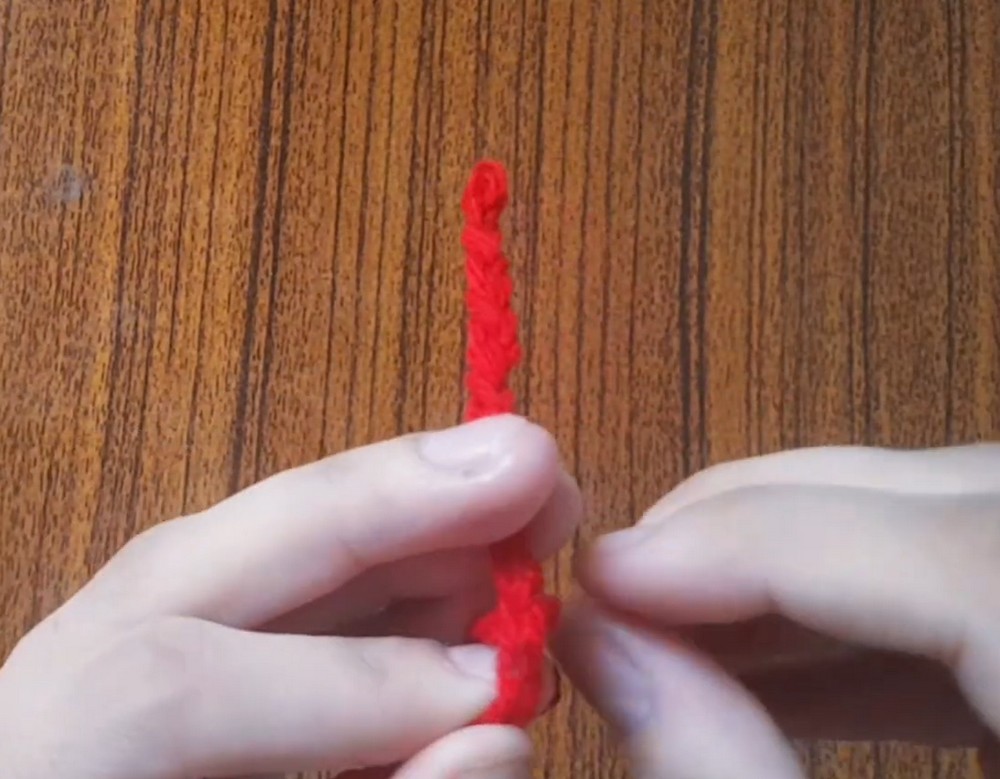
First Tie: Without cutting the yarn, ch 60. Fasten off and weave in the end.
Attach a new piece of yarn to the opposite side of the web.
Second Tie: Ch 60. Fasten off and weave in the remaining ends.
The number of chains can be increased or decreased if the standard 60-chain ties do not provide the desired fit.
Size & Tie Check
Before trimming all remaining ends, gently hold the headband around the intended head size and test the ties.
If the ties barely overlap or feel too short to secure comfortably, add more chains. If there is excessive length, shorten the chain count for the next version.
The central web should rest without being pulled so tightly that its open spaces collapse.
Shape and Finish the Headband
Once both ties are attached, gently stretch the central motif so the chain spaces open evenly.
Use a yarn needle to weave in any remaining loose ends.
Trim excess yarn only after the ends are securely hidden between the stitches.
Check the finished headband for:
- Evenly opened web sections.
- Secure joins.
- Similar tie lengths.
- No loose yarn tails.
- Comfortable tension when worn.
The finished piece can be used as a lightweight decorative headband or adapted with different colors and embellishments for seasonal styling.
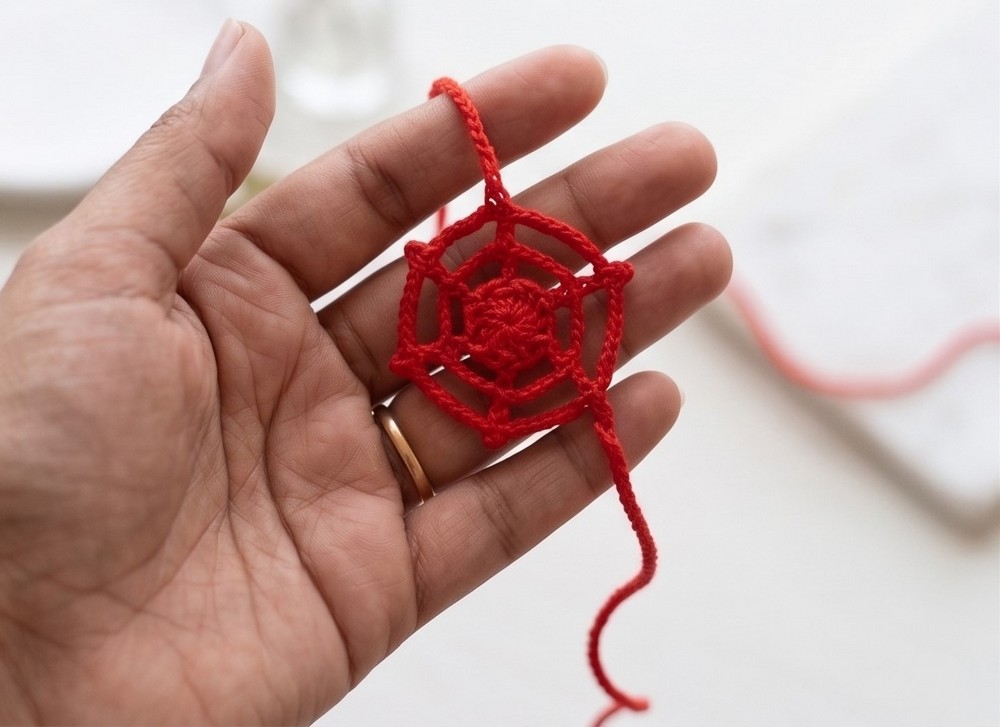
A Delicate Spiderweb Accessory
This headband gets its distinctive look from the contrast between the compact center and increasingly open chain spaces. Because the ties are made separately, the basic motif can remain the same while the fit is adjusted for different head sizes.
A small change in yarn weight, hook size, or tie length can noticeably change the finished accessory, so check the fit and openness before making those adjustments permanent.
Video Tutorial