Step-by-Step Crochet Beanie Hat Pattern for Beginners
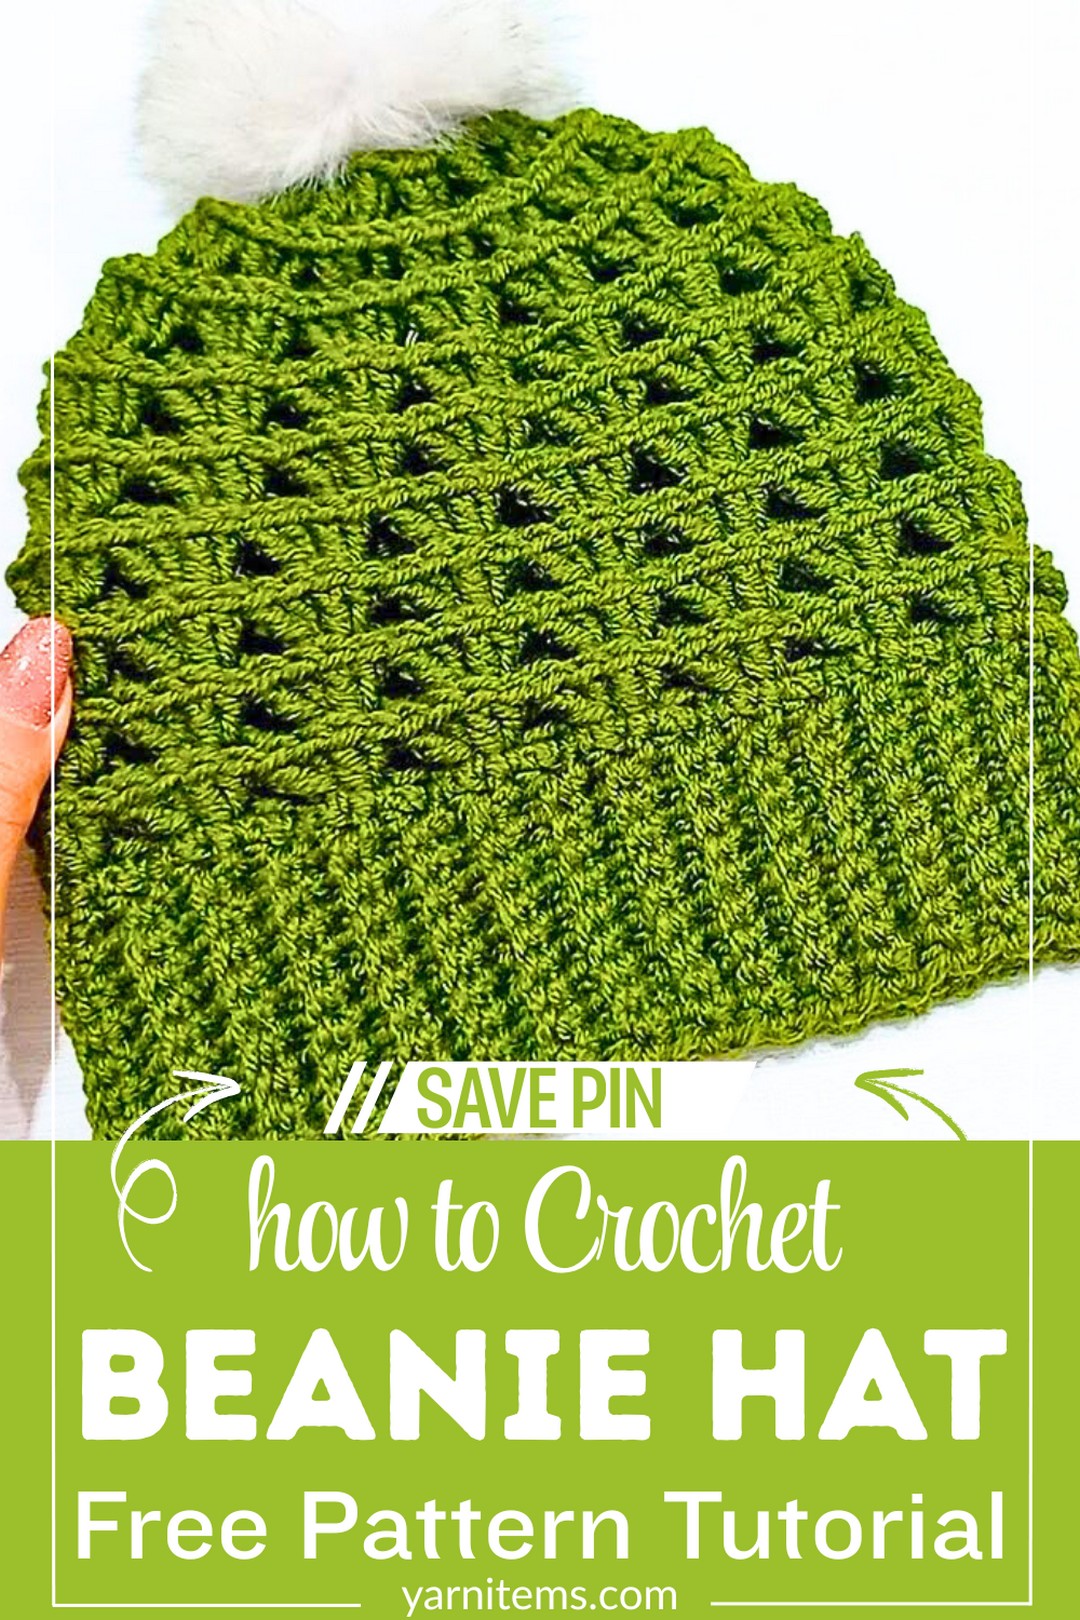
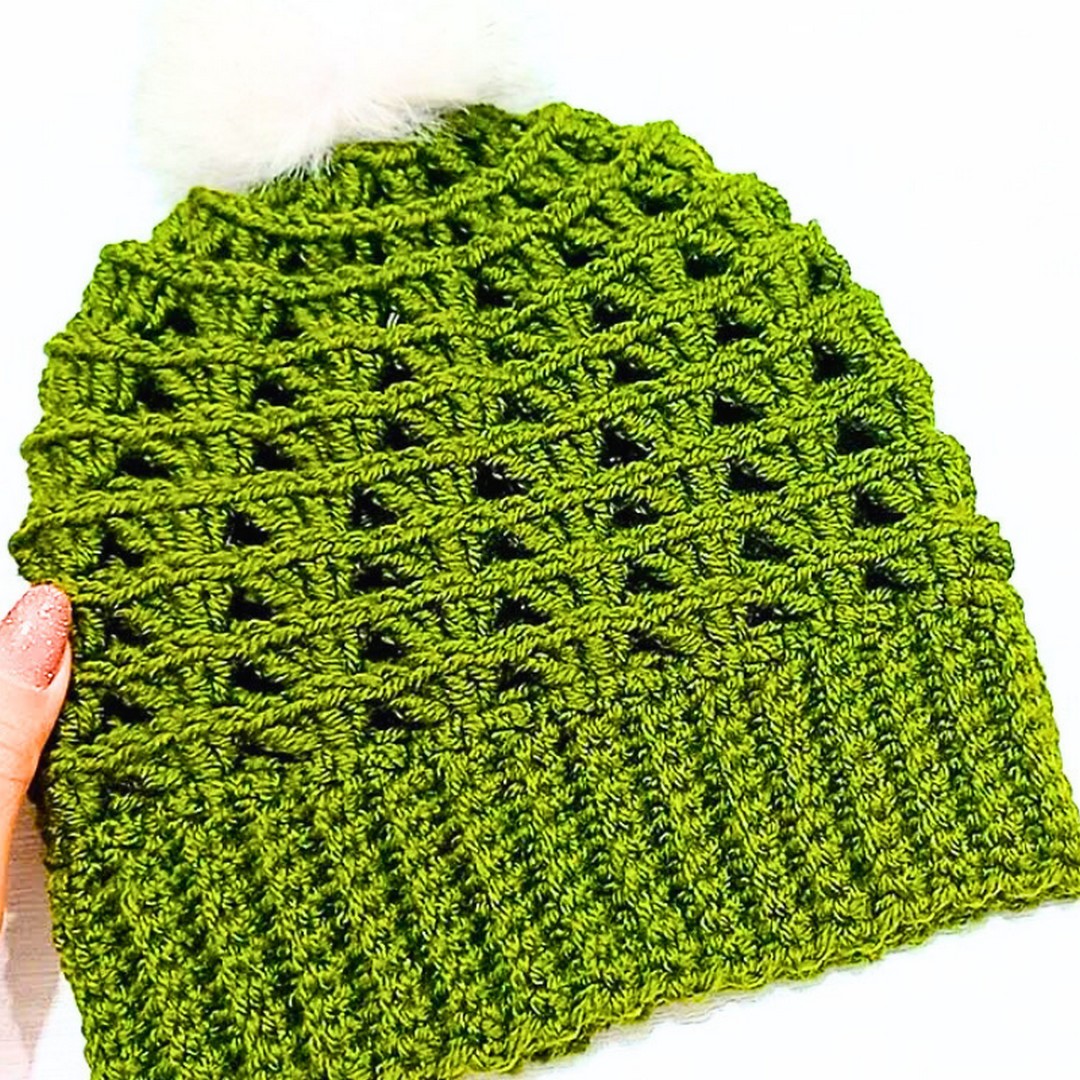
A beautifully textured crochet beanie can transform an ordinary skein of yarn into a timeless handmade piece. This design combines a stretchy ribbed brim with a soft, textured body that feels comfortable while looking stylish. Its clean finish makes it suitable for everyday wear, and the simple construction keeps the process enjoyable from beginning to end. The classic crochet shape also makes it easy to personalize with different colors or a fluffy pom-pom.
Crochet Beanie Hat Pattern
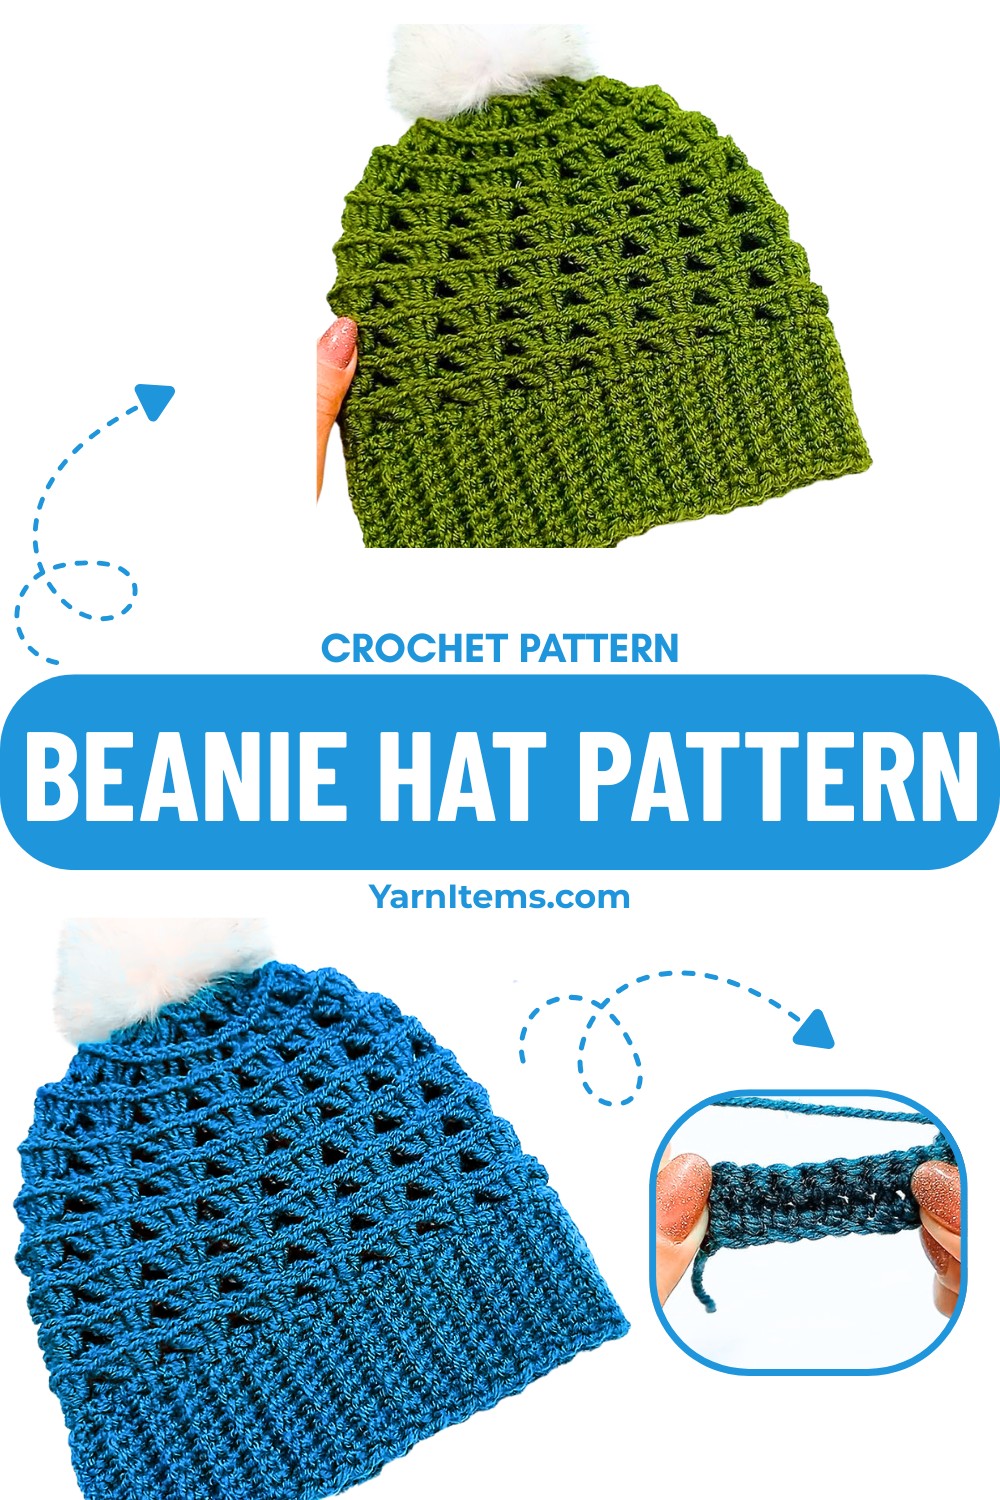
Small details make this crochet beanie stand out in the best way. The main section is created with two easy repeating rounds, giving the piece an attractive texture without making it complicated. The flexible sizing allows you to make it for children, teens, or adults with only minor adjustments. Whether you’re making it for yourself or as a thoughtful handmade gift, this cozy crochet item is both practical and rewarding to create.
Credit zhavin crochet
Materials & Tools Needed
- Yarn: Al Midi (Category 4 weight, 17m per 100g)
- Hooks:
- 4.5mm hook for the brim.
- 5.5mm hook for the body.
- Additional Tools:
- Tapestry needle for weaving in ends.
- Scissors for cutting yarn.
Pattern Notes
- The hat is worked bottom up.
- Two different size hooks are used for the brim and body.
- The brim uses single crochet worked into the back loop for a ribbed effect.
- The body alternates between rounds of front post double crochet (FPdc) and single crochet worked into the third loop.
- The crown is shaped with decreasing stitches.
Pattern Abbreviations & Terminology
- Chain (ch): Foundation stitch.
- Single Crochet (sc): Insert hook, yarn over, and pull through both loops.
- Back Loop Only (BLO): Work in the back loop of a stitch.
- Front Post Double Crochet (FPdc): Yarn over, insert hook around post of previous row stitch, work double crochet.
- Slip Stitch (sl st): Insert hook, yarn over, pull through stitch and loop on hook.
- Third Loop: Insert hook behind the stitch (ignoring front loops).
Finished Size & Customization Ideas
Adult Size
The sample hat is worked with 64 rows for the brim, which fits an average adult head.
- To adjust for different adult head circumferences, simply add or subtract brim rows until the length comfortably wraps around the head.
Child or Custom Sizes
You can easily adapt this pattern for children or other custom sizes:
- Brim height (how tall the brim is):
- Change the number of foundation chains at the start.
- Fewer chains = shorter brim height; more chains = taller brim height.
- Brim length (head circumference):
- Adjust the number of rows you work for the brim.
- Fewer rows = smaller circumference; more rows = larger circumference.
Quick Fixes for Common Problems
Here’s a cleaned‑up version you can use as a quick reference section in your pattern:
Uneven Join in Brim
- Make sure both edges of the brim are perfectly aligned before you slip stitch them together.
- If one edge seems longer, recount your rows and adjust before joining.
Miscount in Brim Rows
- The total number of brim rows must be a multiple of 4 for the body pattern to line up correctly.
- If your stitch pattern doesn’t match at the join, recount and add or remove rows to reach a multiple of 4.
Loose Crown Closure
- When closing the hole at the top of the crown, pull the yarn tail firmly to cinch the opening closed.
- If it still looks loose, weave the tail through a few more stitches around the opening and tighten again.
Helpful Resources to Master This Skill
- Stitch Tutorials: Learn single crochet, back loop only stitching, and front post double crochet through online guides or videos.
- Beginner Guides: Online crochet platforms like Ravelry or YouTube provide additional visual explanations for these stitch techniques.
Step-by-Step Detailed Crochet Instructions
Brim
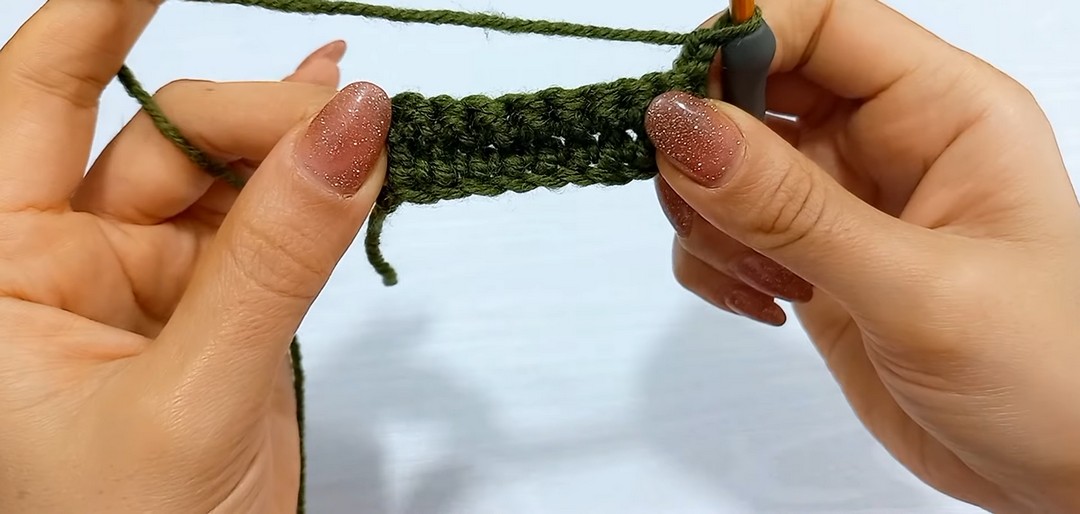
- Foundation: Using the 4.5mm hook, make a slip knot and chain 11 stitches. To adjust the height of the brim, add or subtract foundation chains.
- Row 1: Skip the first chain. Work 1 sc into the second chain from the hook and continue working sc into each chain across. You’ll end up with 10 stitches total.
- Chain 1 and turn your work.
- Row 2:
- Work 1 sc under both loops of the first stitch.
- Work 1 sc into the back loop only (BLO) for the next 8 stitches (middle stitches).
- Work 1 sc under both loops of the last stitch.
- This keeps both edges clean. Chain 1 and turn your work.
- Repeat Row 2 until the total length of the brim equals the circumference of your head. This tutorial worked 64 rows for an adult size. Ensure the number of rows is a multiple of 4.
Join Brim Edges:
- Fold the brim in half and align the edges.
- Use slip stitches to join: Insert the hook under both loops of the stitches from the last row and into the remaining loop of the stitches from the first row. Continue across for invisible joining.
- Turn your work and prepare to start the body of the beanie.
Body
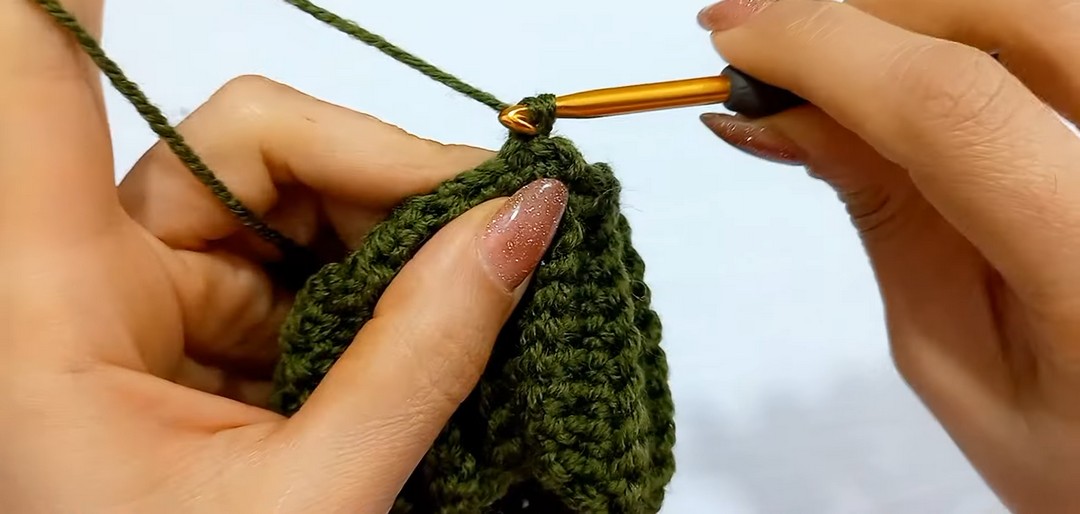
Switch to the 5.5mm hook for the body of the hat.
- Round 1 (Foundation):
- Chain 1.
- Work 1 sc into the joining space.
- Work 1 sc into the top two loops at the edge of each row from the brim. Alternate between:
- 1 sc under two loops (row edge).
- 1 sc into the gap between rows.
- Continue around. Total stitch count = 64 (same as rows in the brim).
- Join with a slip stitch to the first sc.
- Round 2 (FPdc Round):
- Chain 2 (does not count as a stitch).
- Work 2 FPdc around the post of the first stitch.
- Work 2 FPdc around the post of the next stitch.
- Skip the next 2 stitches.
- Repeat this sequence (2 FPdc around two consecutive stitches, skip 2 stitches) until the end.
- Join with a slip stitch to the third loop of the first FPdc (ignore front loops).
- Round 3 (Third Loop SC Round):
- Chain 1.
- Work 1 sc into the third loop of every stitch of the previous round. Ignore the front loops.
- Join with a slip stitch to the first sc.
- Repeat Rounds 2 and 3 until the body height reaches 18cm or the desired length.
Crown (Shaping):
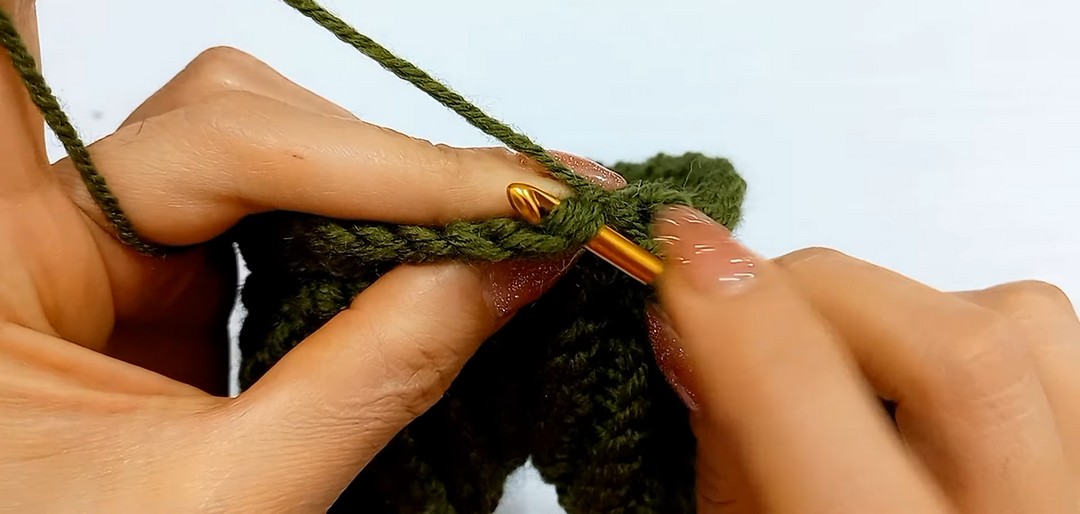
- Decrease Round 1:
- Chain 1.
- Work 1 sc into the third loop of the next 2 stitches.
- Work 1 decrease sc over the third loops of the next 2 stitches (insert hook into the third loops of two consecutive stitches, pull through both).
- Repeat this sequence (2 sc, 1 decrease) until the end.
- Join with a slip stitch.
- Decrease Round 2:
- Chain 2.
- Work 1 FPdc around the first stitch, 2 FPdc around the next stitch. Skip the next stitch.
- Repeat (1 FPdc, 2 FPdc, skip 1 stitch) until the end.
- Join with a slip stitch to the third loop of the first FPdc.
- Final Round:
- Chain 1.
- Work 1 decrease sc over every 2 stitches (insert hook into the third loop of two stitches, pull through, and complete the decrease).
- Join with a slip stitch.
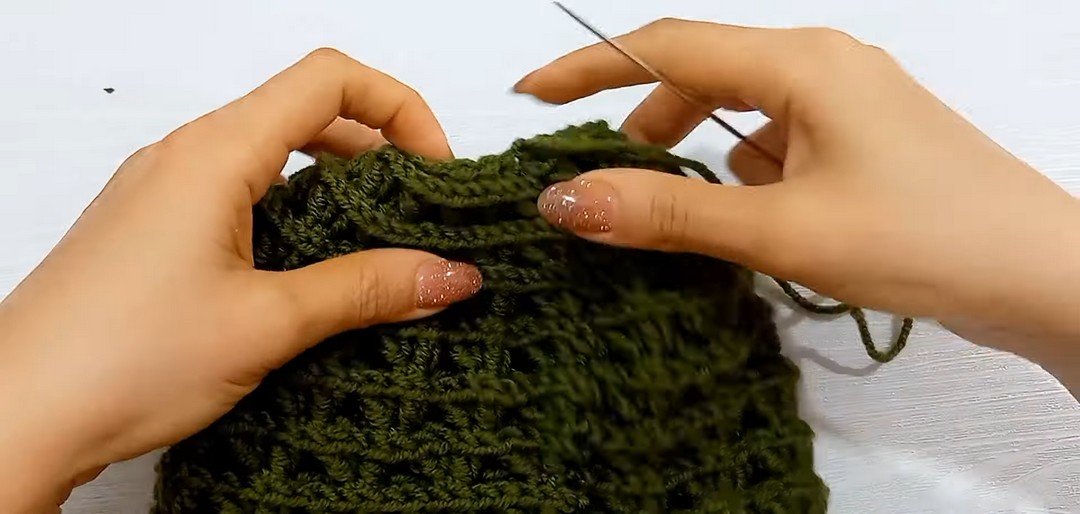
- Close the Hole:
- Cut the yarn, leaving a long tail.
- Using a tapestry needle, thread the yarn through the front loops of the last round stitches.
- Pull tight to close the hole. Secure on the wrong side with a few stitches.
Assembly & Finishing
- Optional: Attach a pom-pom to the top of the beanie.
Care Tips to Make It Last Longer
Here are some care tips to protect your fabric or garment and make it last longer:
- Hand Wash in Cold Water
Use cold water to gently hand wash your item, as this helps maintain its color, texture, and shape. Harsh machine cycles can cause undue wear. - Lay Flat to Dry
After washing, avoid wringing out water. Instead, gently press the water out with a towel and lay the item flat on a clean surface to dry. Hanging wet items may stretch the fabric. - Avoid Excessive Tugging
Be cautious when handling stitches, as pulling or stretching them can result in permanent damage or distortion of the fabric’s shape. - Store Properly
Fold the item neatly to prevent unnecessary stress or snagging. Avoid hanging delicate knits to maintain their structure.
Bonus Ideas You’ll Want to Try Next
Here are some bonus ideas you might love to try next:
1. Play with Color Changes
- Stripes: Alternate between different colors of yarn to create bold or subtle stripes.
- Gradients: Use variegated yarn or switch colors gradually to create a beautiful ombré effect.
2. Decorate with Accessories
- Add a faux fur pom-pom to the top for a trendy, cozy look.
- Crochet or attach small flowers or other shapes for a playful, custom touch.
3. Craft Coordinating Pieces
- Use the same yarn to make matching mittens, scarves, or headbands for a polished set.
- Consider a themed color palette for easy coordination.
Conclusion
This simple but beautiful crochet beanie is beginner-friendly and highly customizable. By following the step-by-step instructions, you can create a cozy hat for any size or style preference. Happy crocheting