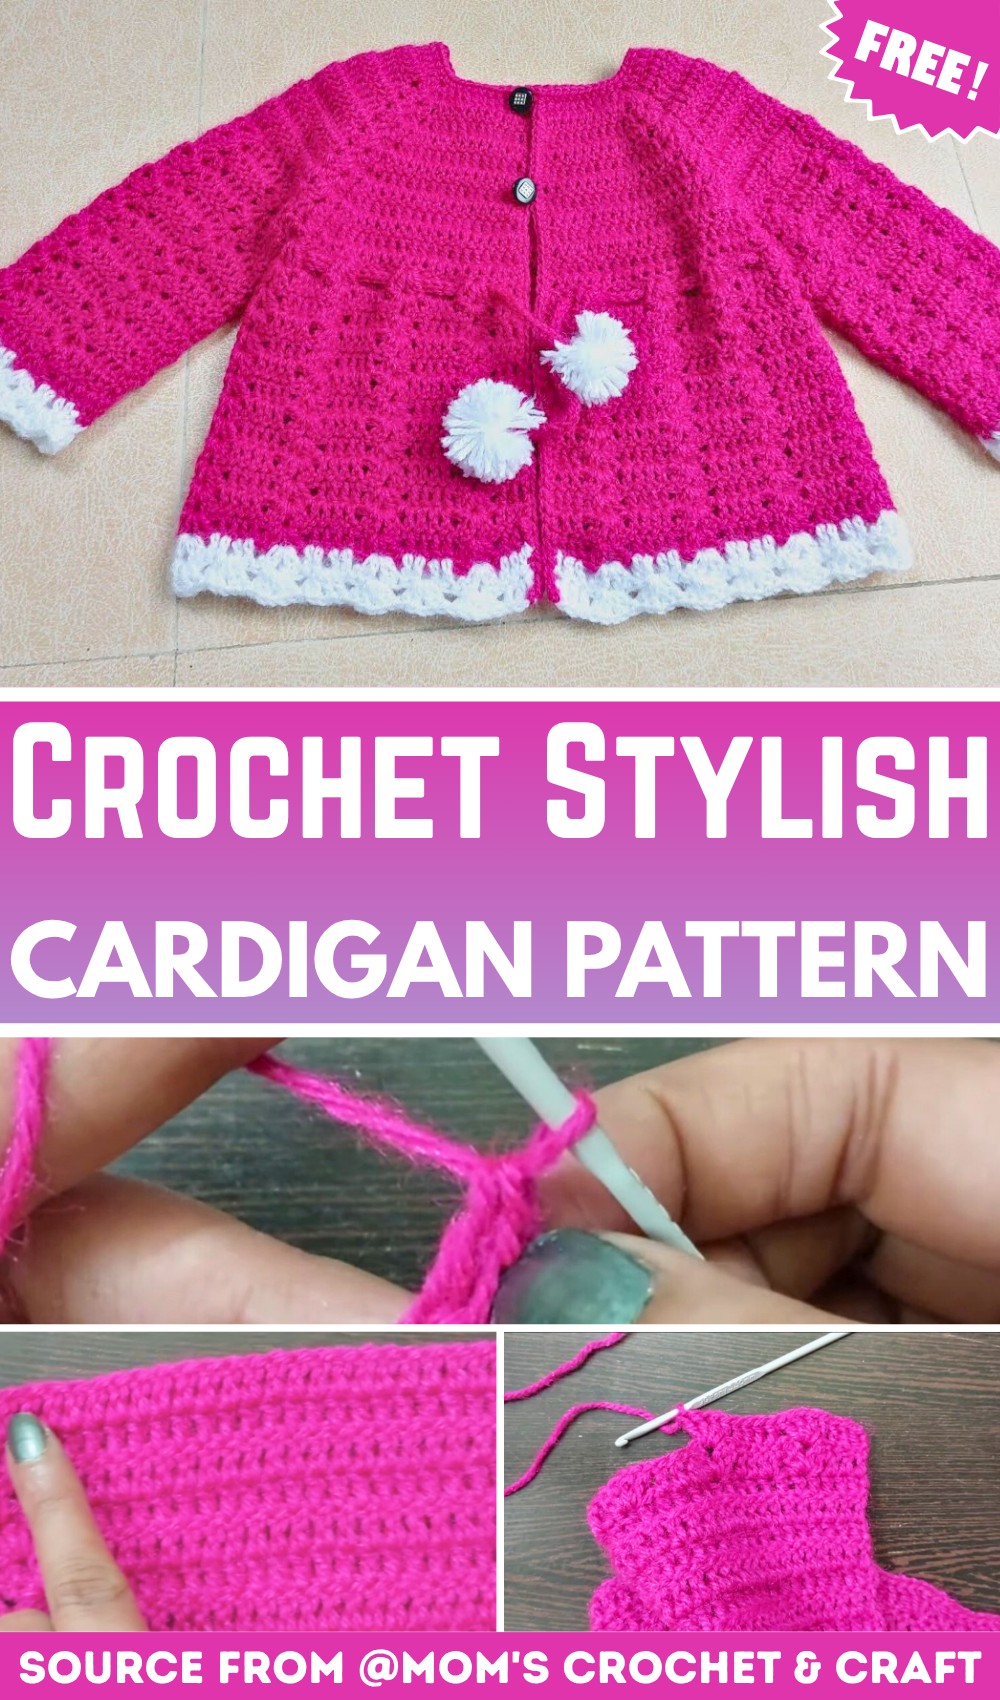
Easy Crochet Baby Cardigan Pattern Perfect for Ages 1–2 Years
Nothing feels more special than wrapping a little one in a handmade crochet baby cardigan filled with warmth and care. This charming piece is designed for ages 1–2 years with a comfortable fit that works beautifully for cooler days.
The simple stitch pattern keeps the design neat while creating a timeless look that never goes out of style. Every detail comes together to make a cozy crochet item that is both practical and adorable.
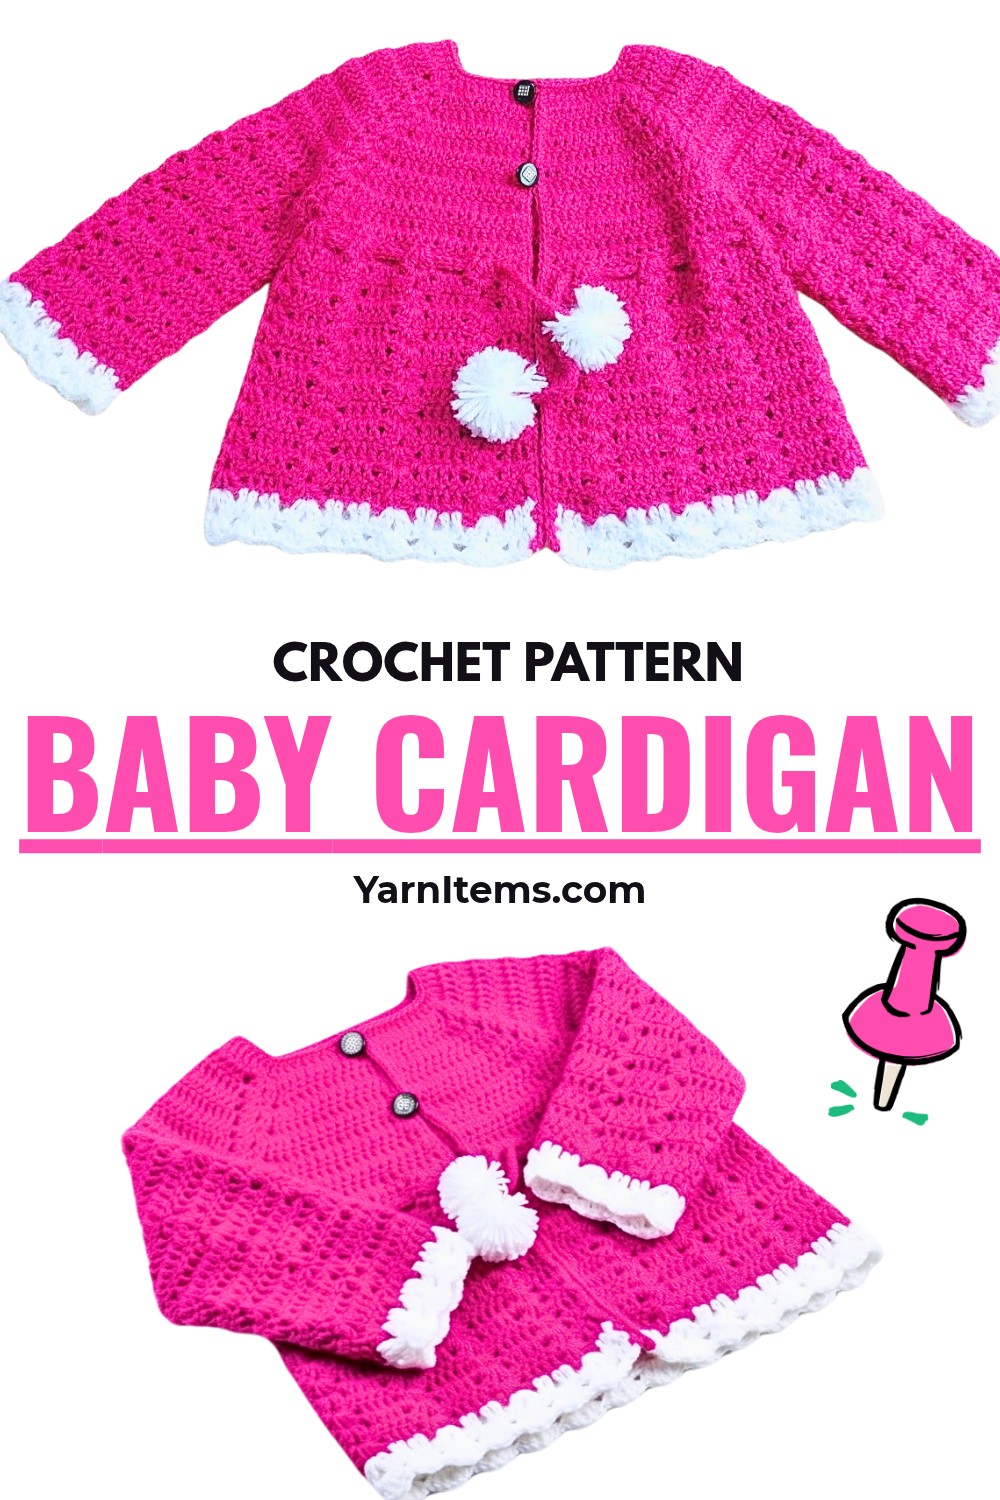
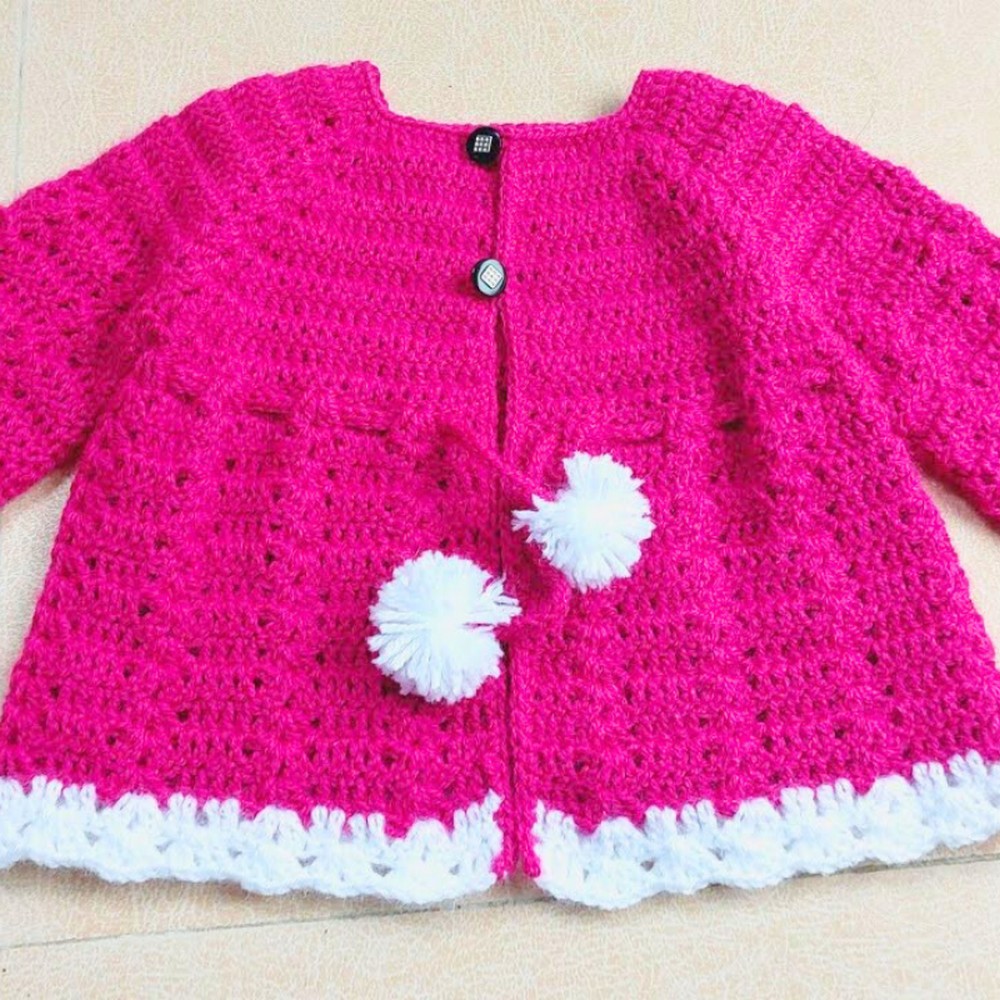
Designed with thoughtful finishing touches, this crochet cardigan includes long sleeves, a waist tie, and a secure button closure near the neckline. The balanced shaping creates a comfortable fit while allowing toddlers to move freely throughout the day.
Soft yarn and clean edging give the finished piece a polished appearance without making it difficult to create. Whether made as a heartfelt gift or a treasured wardrobe addition, this crochet piece is sure to be enjoyed for seasons to come.
Credit Mom’s Crochet & Craft
Materials & Tools Needed
- Yarn: Medium-weight (DK or Light Worsted) yarn
- Crochet Hook: 3.50 mm
- Other Tools: Scissors, yarn needle for sewing in ends
- Optional: 2 pom-poms and a cord for fastening at the waist
Gauge
- 68 chains = approximately 12.5 inches long
Ensure your gauge matches to keep the dimensions consistent with the tutorial.
Pattern Notes
- Age Range:
- Stitch counts and instructions provided are suitable for 1-2 years.
- To adjust for other sizes, proportionally increase rows or chains as needed.
- Corners:
- Corners are worked into designated spaces.
- Increase stitches at each corner to create a rounded yoke.
- Construction Method:
- The pattern involves working in rows to construct the yoke.
- Sleeves and finishing touches are worked separately to complete the garment.
Finished Size
- The cardigan is designed to fit babies aged 1-2 years.
Customization Tips:
- Adjust Sizing:
- Chain Length: Modify the initial chain length to create a larger or smaller starting width. Remember to maintain the pattern’s stitch count multiple (if applicable) for consistency.
- Increase/Decrease Rows: Add or reduce the total number of rows to lengthen or shorten the cardigan.
- Decorative Enhancements:
- Buttons: Sew on cute buttons for function and decoration. Consider colorful or themed buttons to add personality.
- Embellishments: Attach appliqués, crochet flowers, or embroidery for a unique touch.
- Contrasting Edges: Use yarn in a contrasting color to create standout edges for cuffs, hems, or collars.
- Yarn Variations:
- Experiment with different yarn textures or colors to either match or contrast with the main body of the cardigan.
Pattern Abbreviations & Terminology
- ch: Chain
- sc: Single Crochet
- tr: Treble Crochet
- sl st: Slip Stitch
- st: Stitch
- g st: Join stitch (slip stitch for joining)
Step-by-Step Crochet Instructions
Yoke (Foundation and Row Increases)
- Foundation Row:
- Chain 68 (approximately 12.5 inches in length).
- Skip the first 3 ch (counts as a stitch), then:
- Work 1 sc in the next 9 ch.
- Chain 2, 1 sc, chain 2 into the same stitch (first corner).
- Work 1 sc in the next 11 ch (first shoulder).
- Chain 2, 1 sc, chain 2 into the next (second corner).
- Work 1 sc in the next 20 ch (back piece).
- Chain 2, 1 sc, chain 2 into the next (third corner).
- Work 1 sc in the next 11 ch (second shoulder).
- Chain 2, 1 sc, chain 2 into the next (fourth corner).
- Work 1 sc in the remaining 10 ch.
- Row 2:
- Sl st 1, turn (this does not count as a stitch).
- Work 1 sc in each st across.
- At each corner:
- Increase 1 st by adding 1 sc just before and 1 sc just after each corner space.
- In each corner space: Work 2 sc, 1 tr, 2 sc.
- Repeat the pattern for the corners and continue sc for the row.
- Row 3–12:
- Continue working rows as described in Row 2.
- Keep increasing at each corner space using the same technique (2 sc, 1 tr, 2 sc).
- Ensure the corners remain defined, creating the proper shaping for the cardigan structure.
Separating Sections (Fronts, Back, Sleeves)
- Row 13:
- Work sc across the yoke as per the previous rows.
- At each corner, separate sections:
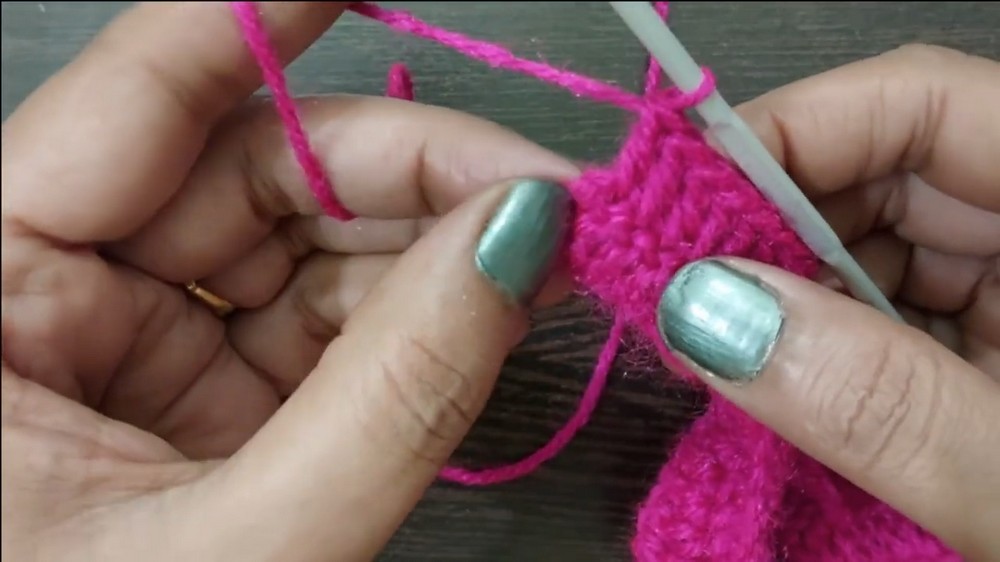
- Skip the middle corner stitches and connect with sl st.
- Continue sc in each stitch until the next corner.
- Row 14–26:
- Repeat the sc rows without increasing any further.
- Ensure consistent stitch counts for all pieces.
Sleeves
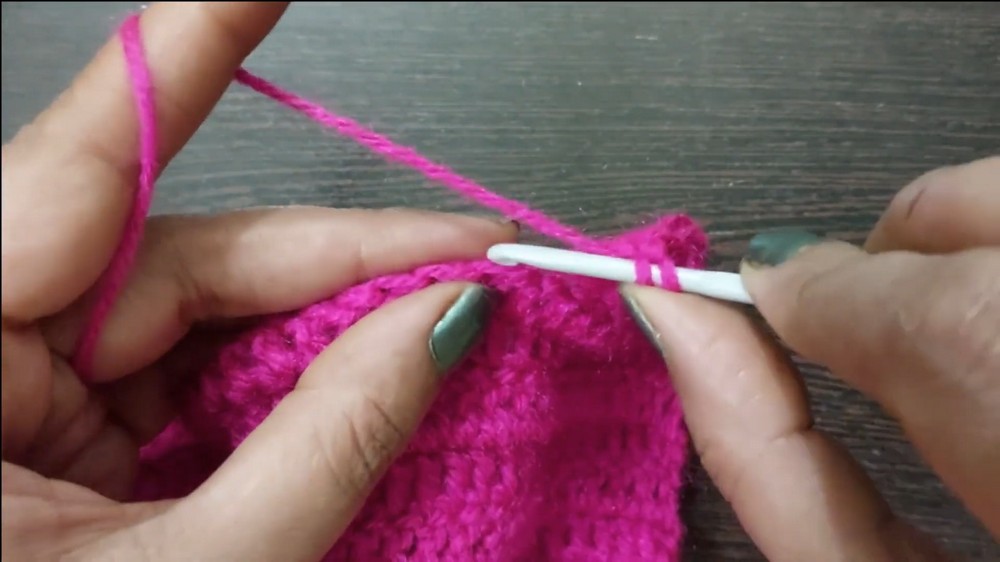
- Begin sleeves:
- Join yarn at the corner space where the sides and yoke meet.
- Work sc stitches around the armhole opening:
- Skip 2 sts, then work (2 sc, chain 2, 2 sc) at corners to maintain structure.
- Continue circular rounds to create the sleeve.
- Join each round with a sl st.
- Extend sleeves:
- Work rounds of sc until desired sleeve length.
- For additional shaping, decrease stitches gradually near the wrist, if preferred.
- Finish sleeves:
- Sl st to close the last row, fasten off, and weave in ends.
Finishing Touches
- Cord fastening:
- Chain 130 (or desired length for waist cord).
- Sl st into each chain stitch along the cord length.
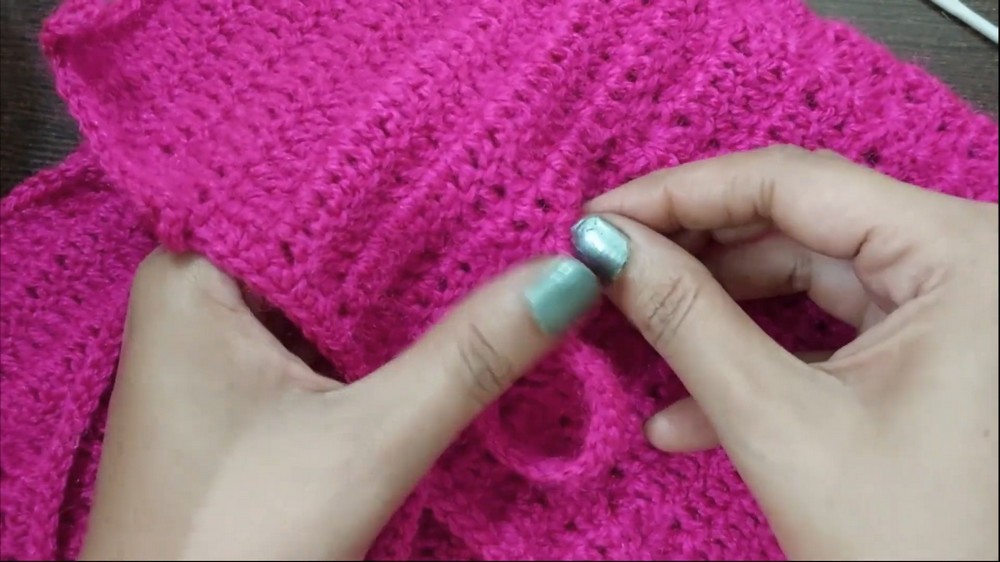
- Insert the cord at the cardigan waist seam, weaving through the stitches.
- Add pom-poms at both ends of the cord for decoration.
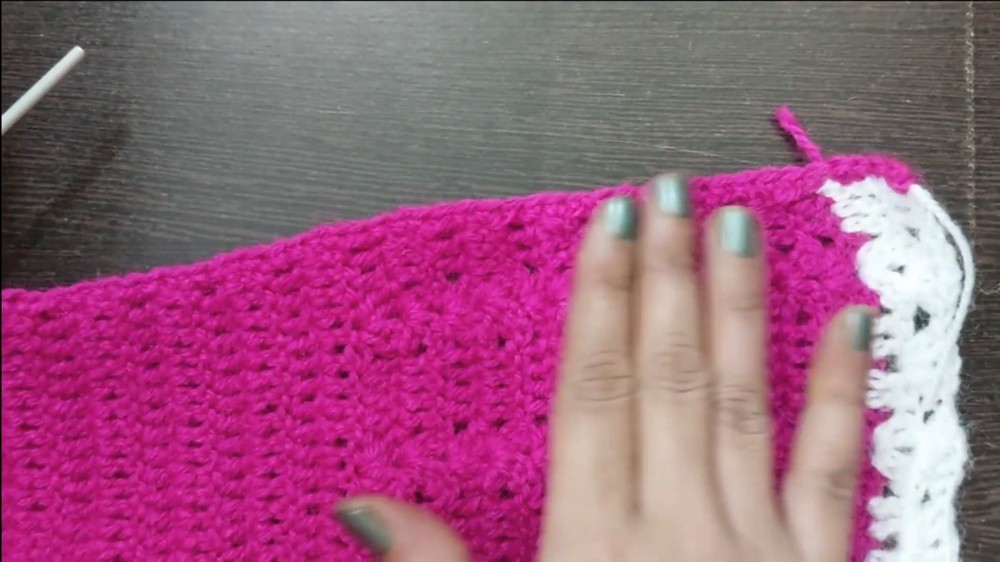
- Neckline finishing:
- Attach yarn at the neck corner.
- Work sc stitches evenly across the neckline for a clean finish.
How to Change Colors
- Fasten off the current yarn:
- Complete the last stitch of the row/round with the current yarn.
- Cut the yarn, leaving a 3–4 inch tail.
- Pull the tail through the last loop on your hook or needle to fasten off.
- Join the new color:
- Create a slip knot with the new color.
- Insert the hook or needle into the desired stitch, then loop the new yarn over and pull through.
- Continue working the pattern with the new color.
Suggested Areas for Color Changes
- Sleeve cuffs: Add a contrasting or complementary color for an eye-catching detail.
- Neckline trim: Outline the neckline with a pop of color to give the project a polished look.
- Cord (or ties): Use a different color for drawstrings, ties, or cords to make them stand out.
Tips
- Blending colors: If you’re working with stripes or blocks, consider carrying the unused yarn along the edge to reduce loose ends.
- Contrast: Use a color wheel for inspiration to find harmonizing or contrasting color pairings.
- Texture play: Changing colors at designated points can also highlight unique textures or stitch patterns in your design.
Customization Ideas
- Add buttons instead of the cord for fastening.
- Use variegated or multicolored yarn.
- Adjust sleeve or body length by working additional rows.