Crochet Beanie Hat for Beginners With Step-by-Step Instructions
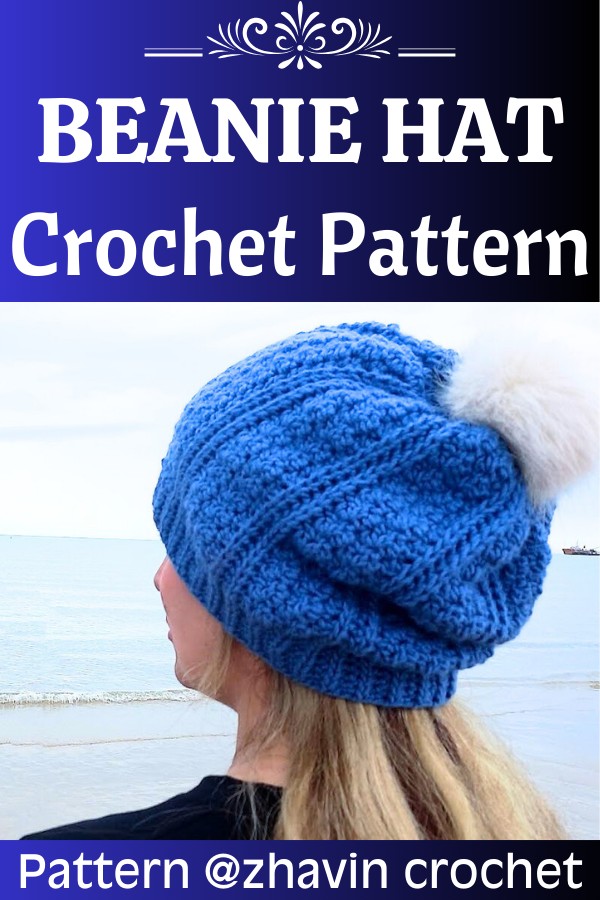
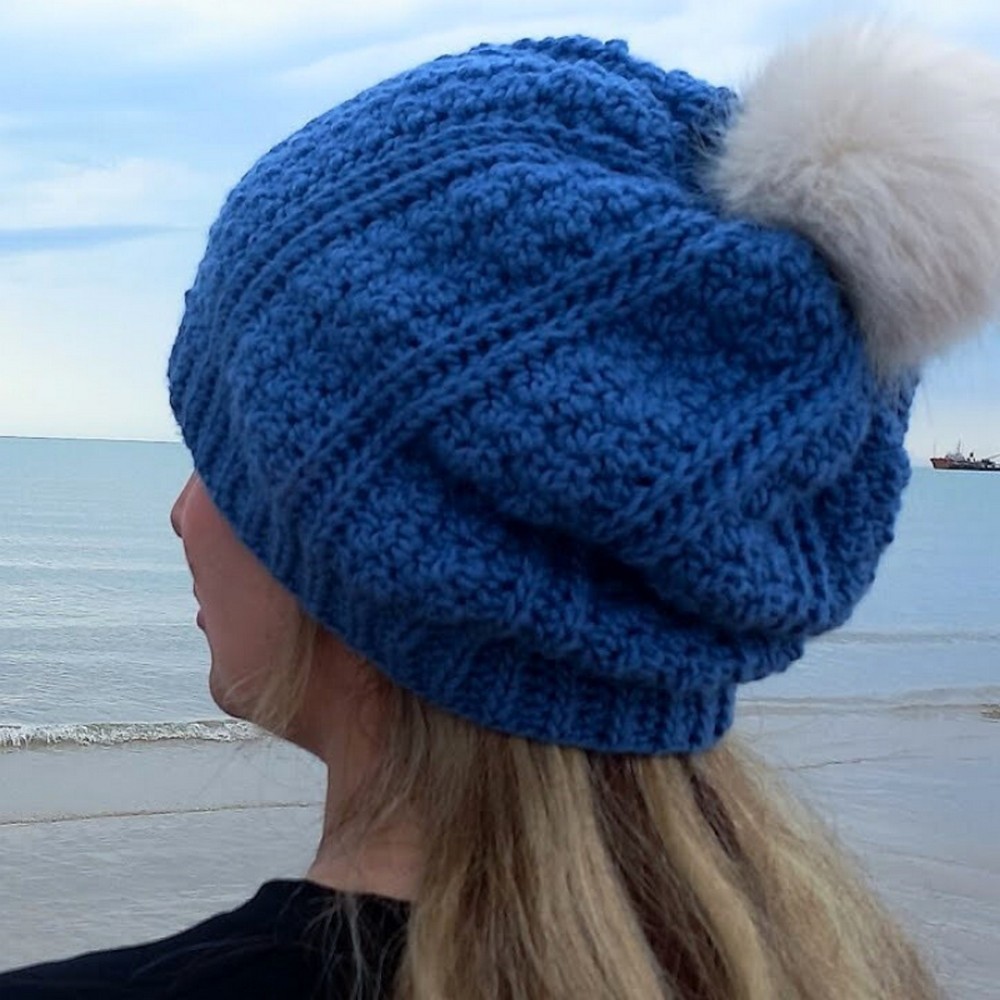
There’s something surprisingly satisfying about a beanie that begins from the side instead of the top. This clever crochet piece creates a comfortable fit while showing off a clean, textured finish that looks stylish from every angle.
Its simple construction keeps the process approachable, making it a great choice for anyone who enjoys creating practical handmade items. The finished crochet beanie feels soft, warm, and easy to wear throughout the colder months.
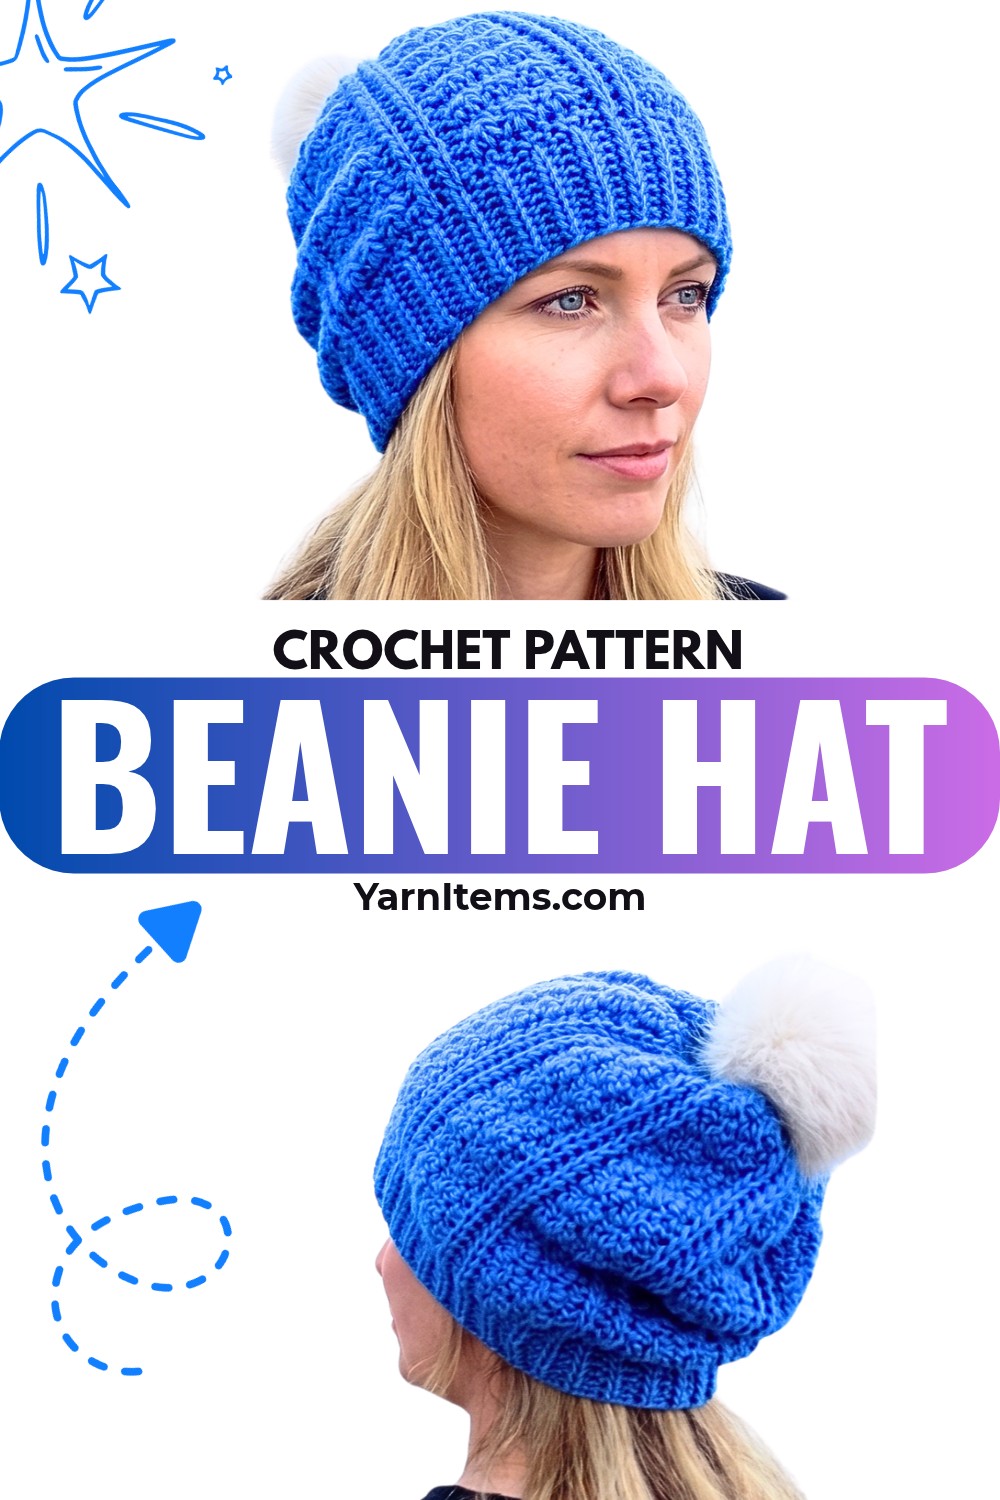
A small change in construction can completely transform the final look of a crochet piece. This adjustable beanie can be customized for different ages, making it a thoughtful handmade gift or a cozy addition to your own collection. Try different yarn colors to give each item its own personality, or finish it with a fluffy pom-pom for extra charm. The easy crochet design blends comfort, versatility, and timeless style into one beautiful piece.
Credit zhavin crochet
Materials & Tools Needed
- Yarn: Worsted weight yarn (in the color of your choice)
- Hook: 5 mm crochet hook
- Others: Tapestry needle and scissors
Pattern Notes
- The hat is worked sideways, starting with chains to determine the height of the hat (plus optional chains for a folded brim).
- The fabric is constructed in rows, combining sections for the crown, brim, and body of the hat.
- Once the fabric length matches the desired circumference, the edges are joined with slip stitches, and the top of the hat is closed using a gathering method.
Finished Size & Customization Ideas
- Finished Size: Adult size; circumference approximately 22 inches. Height depends on the starting chains.
- Customization Ideas:
- Adjust the chain count at the beginning for taller or shorter hats.
- Add chains for a folded brim.
- Vary yarn colors to create stripes or color blocks.
Pattern Abbreviations & Terminology
(U.S. Terminology)
- ch = chain
- sl st = slip stitch
- yo = yarn over
- yo sl st = yarn-over slip stitch (a modified slip stitch with yarn over)
- sc = single crochet
- dc = double crochet
- st(s) = stitch(es)
- rep = repeat
- WS = wrong side
- RS = right side
Step-by-Step Detailed Crochet Instructions
Row 1: Foundation Row
- Start with a slip knot and make 41 chains.
- If you want a folded brim, add extra chains here.
- Skip the first chain from the hook.
- Work yo sl st into the second chain:
- Yo, insert hook into the chain, pull up a loop, pull through the next two loops on the hook.
- Work yo sl st into the next 35 chains.
- In the last 5 chains, make sl st (for the crown section):
- Insert hook, pull up a loop, pull through the loop on the hook.
- At the end of Row 1, ch 1, turn the work.
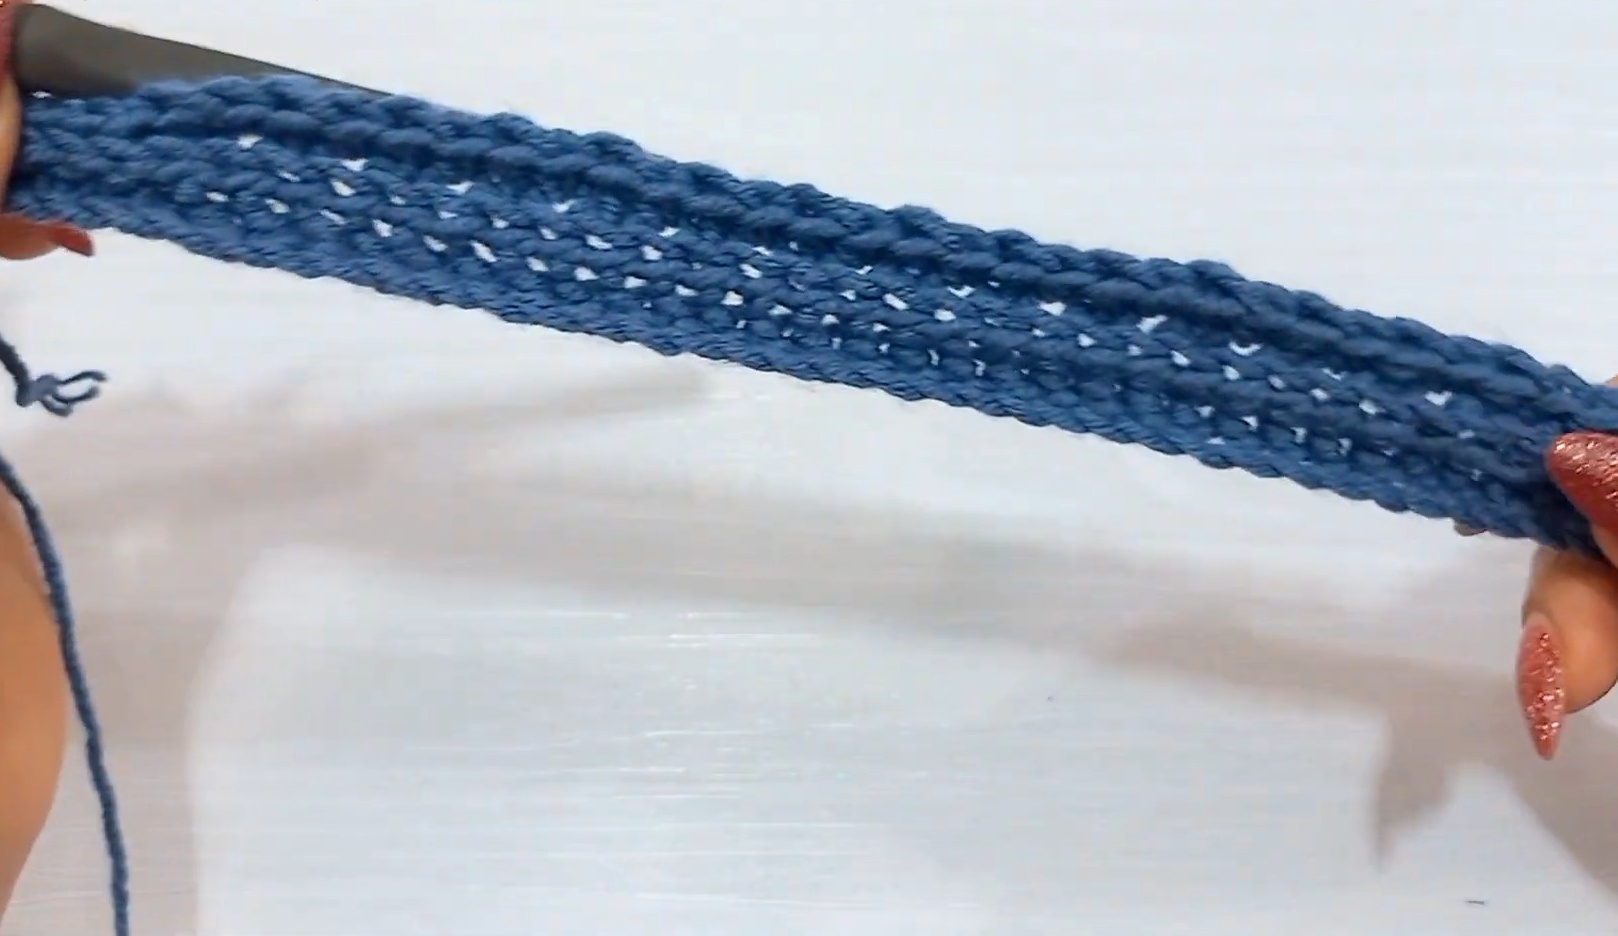
Row 2: Back Loops
- Work sl st into the back loop of the first 5 sts.
- For the next 35 sts, work yo sl st into the back loop of each stitch.
- In the last stitch, work yo sl st under both loops, creating a clean edge for the forehead section.
- Ch 1, turn the work.
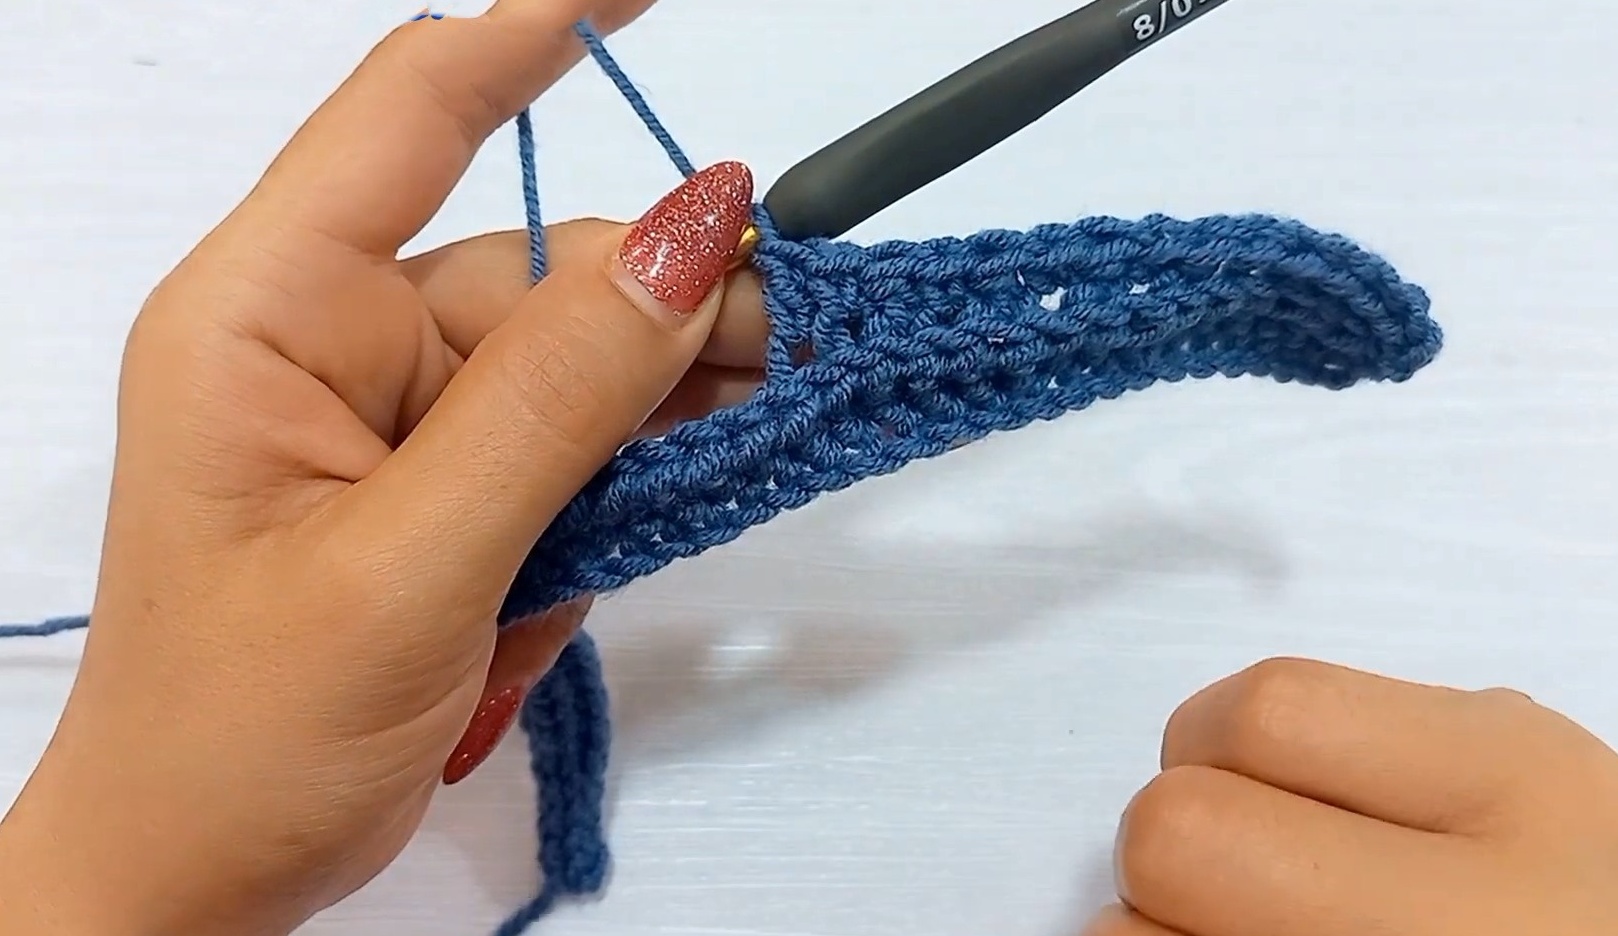
Row 3: Brim and Body Section
- Work yo sl st into back loops of the first 7 sts (brim section).
- Start the body pattern:
- Alternate 1 sc and 1 dc in the back loops of the remaining stitches, ending with dc.
- In the last 5 sts, work sl st into back loops.
- Ch 1, turn the work.
Row 4: Wrong Side Section
- Work sl st into the back loops of the first 5 sts.
- Alternate 1 sc and 1 dc into both loops, not just back loops:
- Insert hook under both loops of each stitch and alternate as done in Row 3.
- Work yo sl st into back loops of the remaining stitches (brim section), finishing with yo sl st under both loops at the last stitch.
- Ch 1, turn the work.
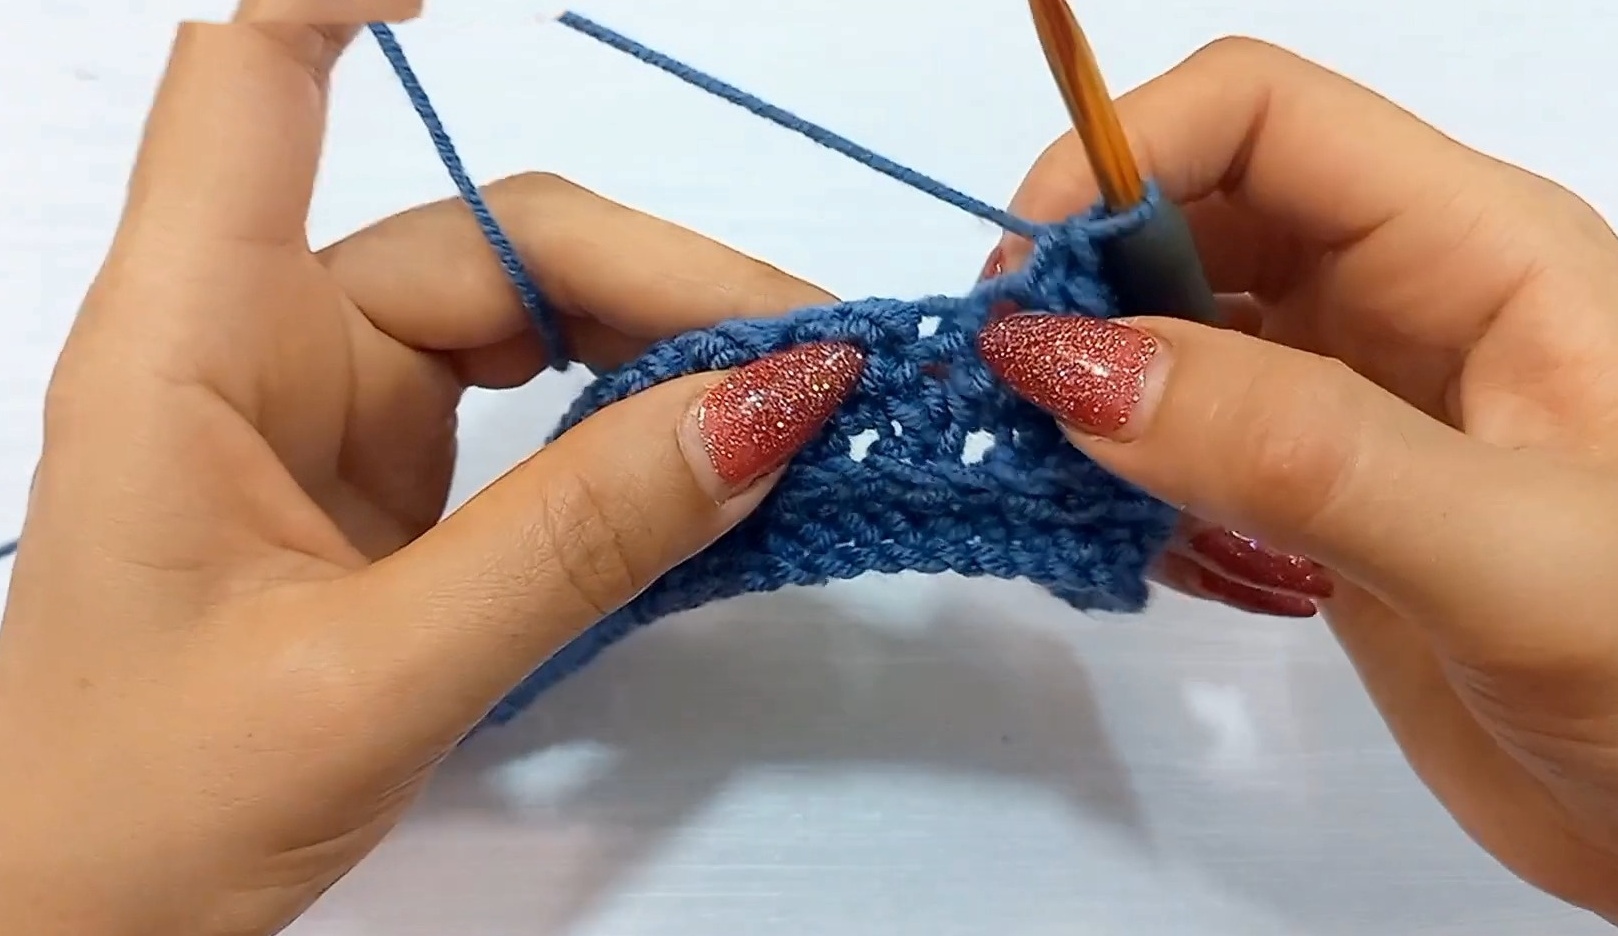
Row 5: Repeat Alternating Pattern
- Work yo sl st into the back loops of the first 7 sts (brim section).
- Continue alternating sc and dc under both loops for the body section, always starting with sc and ending with dc.
- Finish with sl st into back loops for the crown section.
- Ch 1, turn the work.
Rows 6–7: Repetition
- Repeat Row 4 (wrong side section).
- Repeat Row 5 (right side section).
Row 8: Slip Stitch Section
- Work sl st into back loops of the first 5 sts.
- Work yo sl st into back loops for the remaining stitches.
- Finish with yo sl st under both loops in the last stitch.
- Ch 1, turn the work.
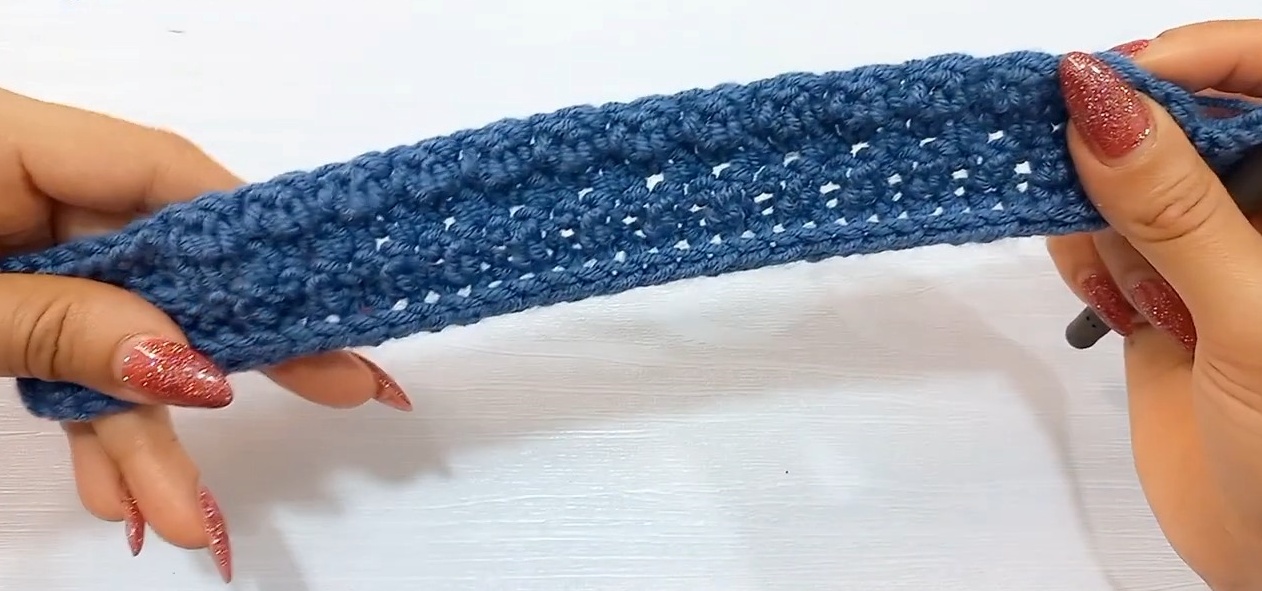
Row 9: Reverse Side Slip Stitch
- Repeat Row 8.
Repeat Rows
Continue repeating Rows 2–9 until you have 9 slices, or until the fabric length matches the desired circumference of the hat.
Joining Edges & Closing the Hat
Joining Edges:
- Fold the piece with the RS facing.
- Align the first and last rows.
- Slip stitch to join:
- Insert hook into the first st of Row 1 and back loop of first st of the last row.
- Continue joining all stitches this way for an invisible seam.
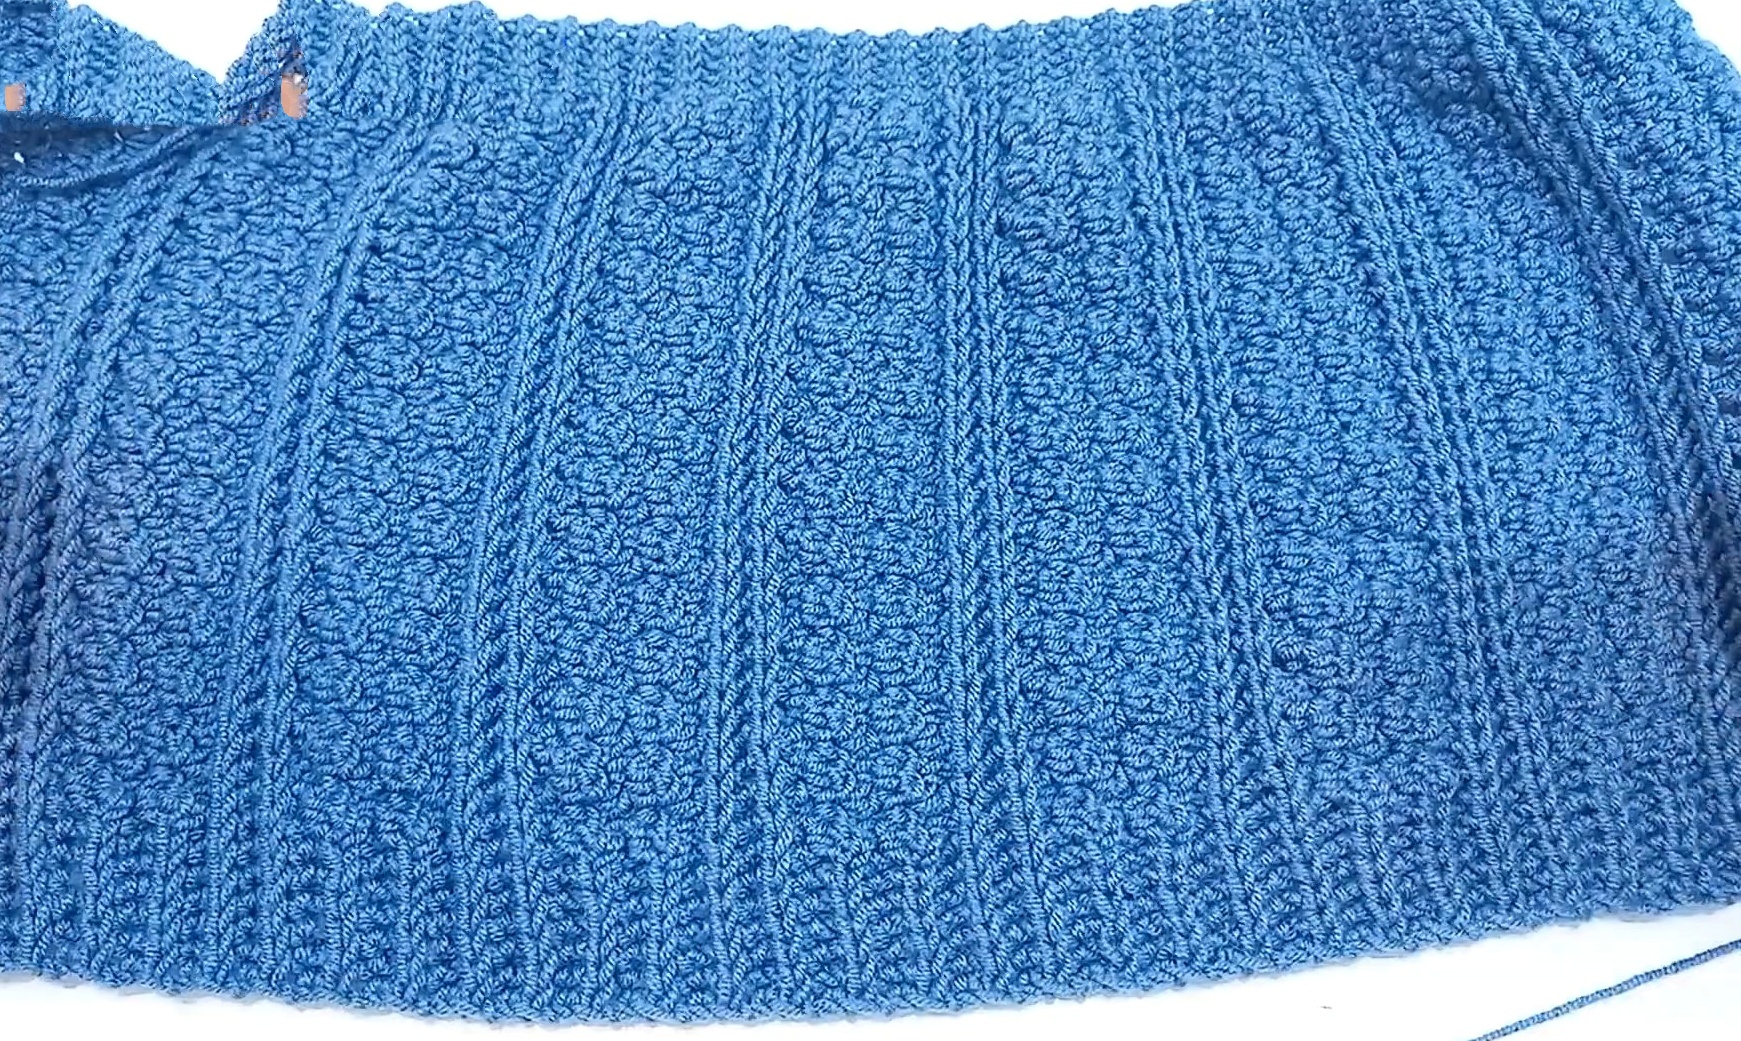
Closing the Crown:
- With the long tail leftover, use a tapestry needle to weave through the top edge of the crown section (the small stitches at the top of each row).
- Pull tightly to gather and close the hole.
- Secure the crown with a few stitches and fasten off.
Finishing Touches
- Flip the hat inside-out, ensuring the RS faces outward.
- Optional: Attach a pom-pom to the top for decoration.
Customization Notes
- Add stripes or color changes by switching yarns at the start of certain rows.
- Increase or decrease the number of slices to adjust for different head circumferences.