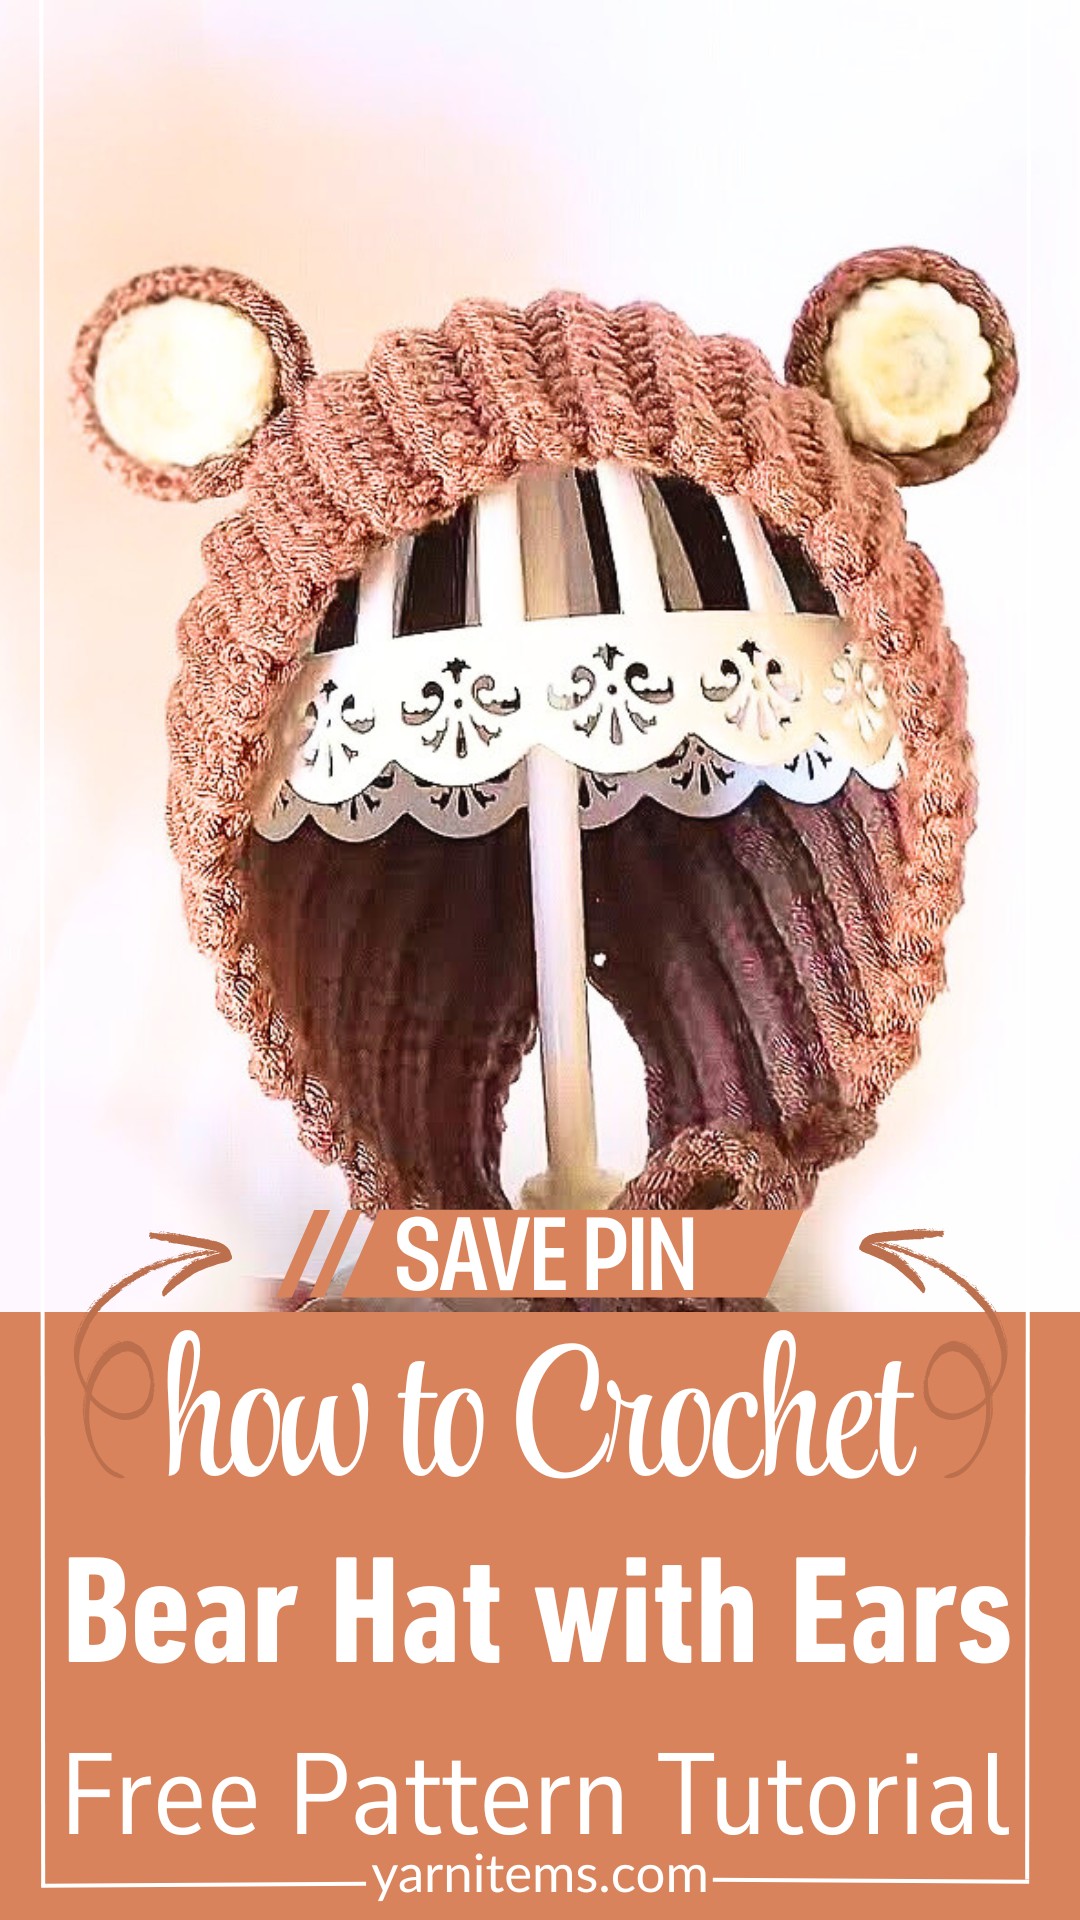
How to Crochet Bear Hat with Ears – Baby to Adult Pattern
Tiny bear ears turn this simple crochet hat into something extra special, while the adjustable sizing makes it easy to create a cozy fit for babies, kids, or adults.
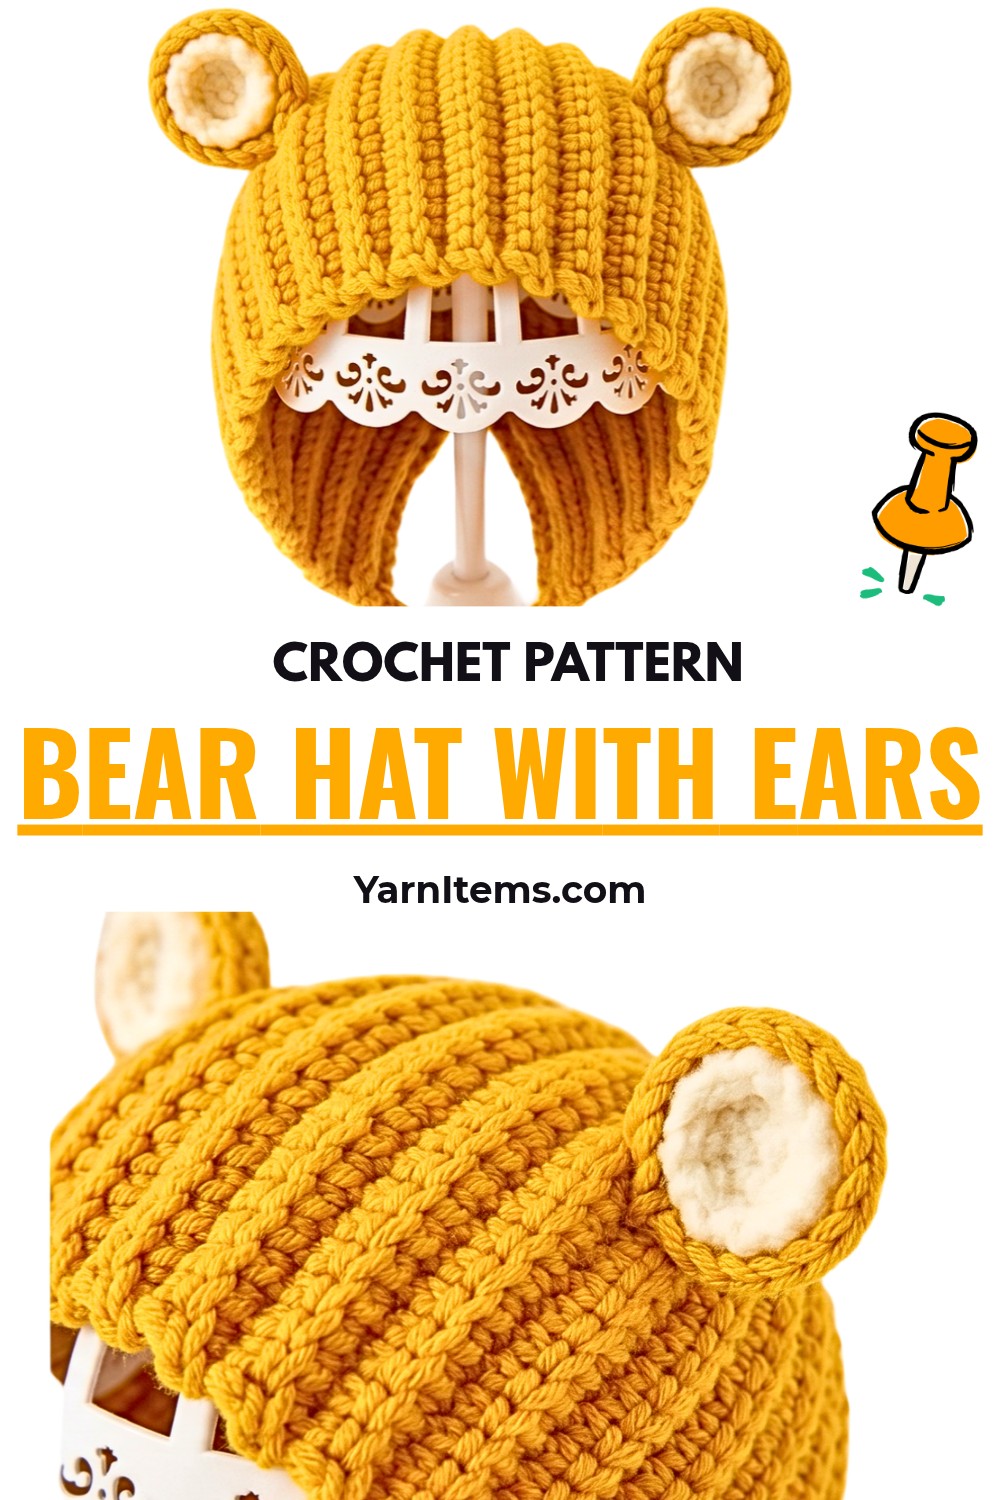
A simple crocheted hat can become much more fun with just a pair of rounded ears. This bear hat combines a straightforward single-crochet construction with a shaped crown, chin ties, and layered ears, so the finished piece feels playful without making the basic hat construction complicated.
The useful part of this crochet pattern is that the size can be adapted while you work. Once the main hat is built, the crown is gathered, the ties are added, and the ears are made separately, so each stage has a clear purpose. If you’re making this for a child, the ear placement and tie length are also easy details to adjust.
Credit anxin_crochet
Materials & Tools
- Yarn: 8-ply yarn
- Crochet Hook: 5.0 mm
- Stitch Markers: For marking the beginning and important sections of the hat
- Tapestry/Sewing Needle: For sewing and weaving in ends
- Scissors
- Glue Stick & Lighter: For assembling the inner ear pieces, or use fabric glue instead
Finished Size & Adjustments
The pattern can be adjusted for baby through adult sizes. The main circumference is controlled by the foundation chain and the number of rows worked, while the chin ties can be made longer or shorter according to the wearer.
For the ears, placement does not have to be identical for every size. Once the hat is folded in half, you can use the center row as your guide and adjust the position slightly to suit the size and shape you want.
Abbreviations
This pattern uses US crochet terminology.
- ch: chain
- sc: single crochet
- sl st: slip stitch
- inc: 2 sc in the same stitch
- st(s): stitch(es)
- MR: magic ring
Pattern Notes
- The main hat is worked back and forth in rows rather than in continuous rounds.
- The first section contains a 6-stitch slip-stitch area that becomes important when shaping the top of the hat.
- Keep your stitch markers in place as you work; they make the marked sections much easier to identify later.
- The hat circumference is determined by how many rows you work, so check the fit before closing the crown.
- The ears are made separately and sewn onto the finished hat.
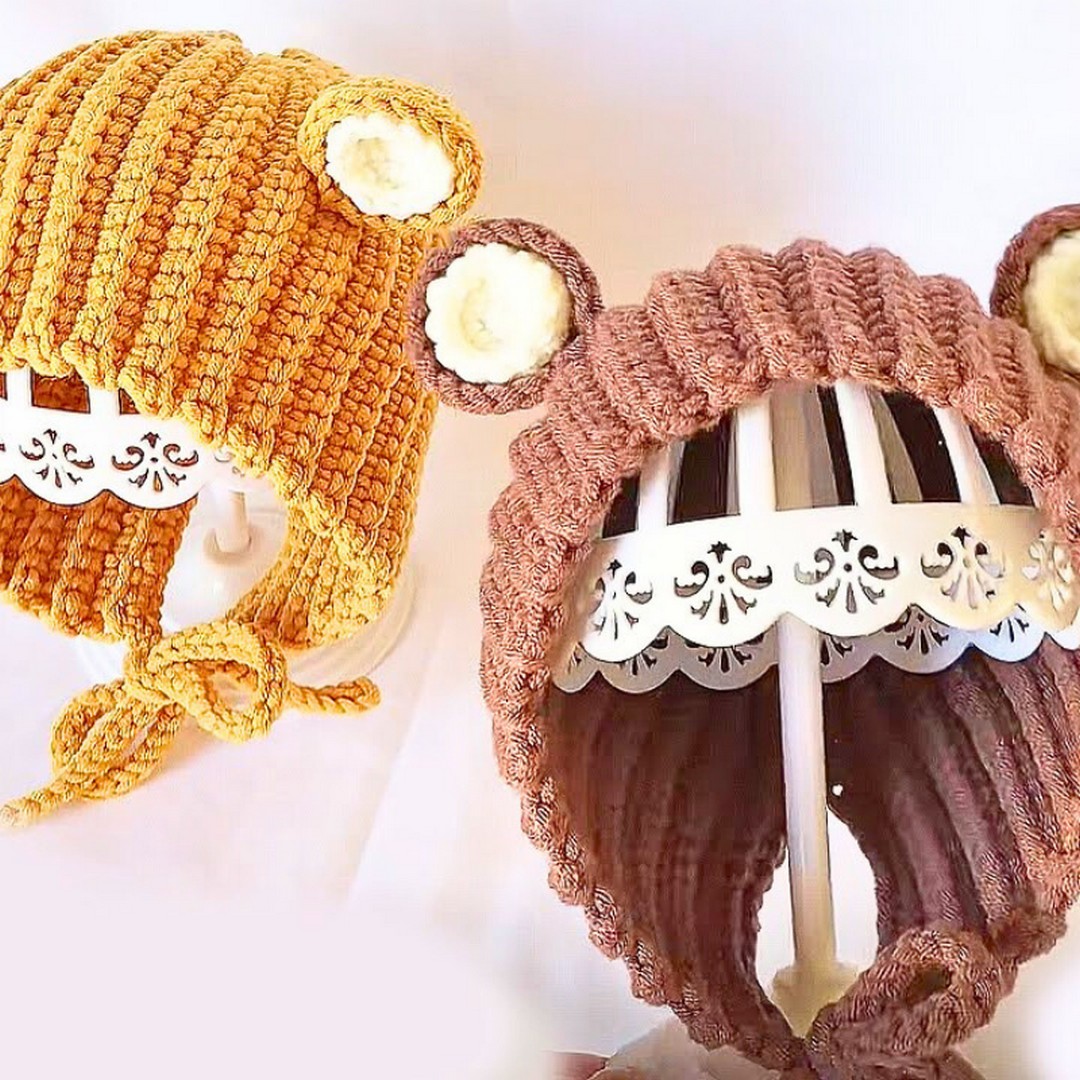
How to Crochet the Bear Hat
Make the Main Hat
Foundation Chain
Make a slipknot and place your 5.0 mm crochet hook into the loop. Chain the number of stitches required for your chosen size, counting each V-shaped chain and not the loop on your hook.
Place a stitch marker in the 1st chain and another in the last chain. From the last chain, count back 6 chains and place another marker there. This marked six-chain section will form the top/back area of the hat.
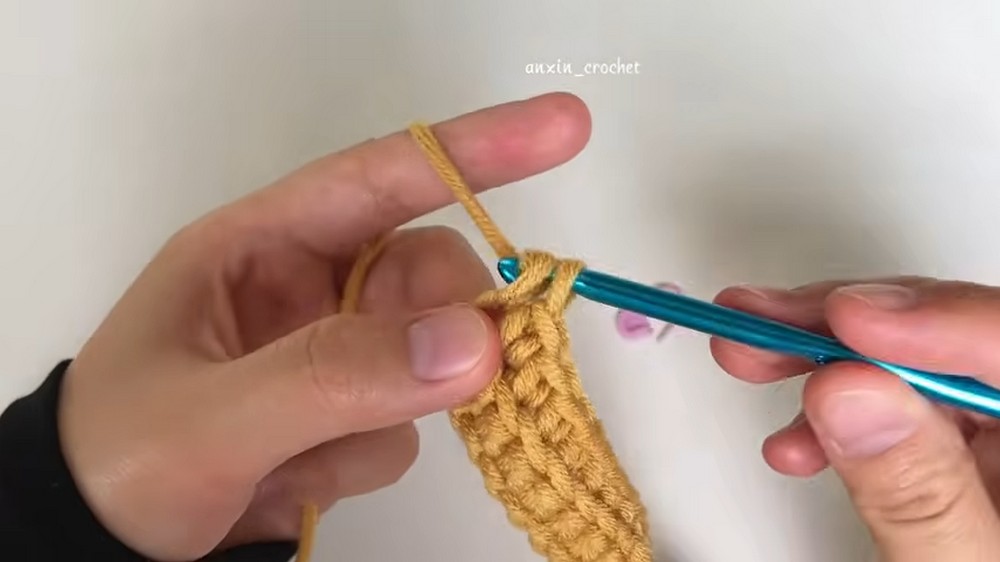
Row 1: Ch 1, work 1 sc in each chain from the first marked chain up to the chain immediately before the 6th marked chain, then work 1 sl st in each of the remaining 6 chains. Mark the first sc and the first and last sl sts. Stitch count: Total chains − 6 sc, plus 6 sl sts.
The markers are useful here because the stitch types change at this point. Keeping the six slip stitches clearly separated from the single crochets will make the following rows much easier to read.
Row 2: Ch 1, turn, work sc across the sc section and sl st across the 6-stitch section, maintaining the same stitch placement as Row 1.
Continue repeating this row structure until the crocheted piece reaches the circumference needed for the intended wearer. Because the number of rows controls the circumference, measure the hat as you go rather than relying only on a fixed row count.
Teaching tip: Keep the six slip stitches aligned with the same six stitches on every row. If this section starts shifting, the top of the hat will not shape evenly later.
Change Yarn When Needed
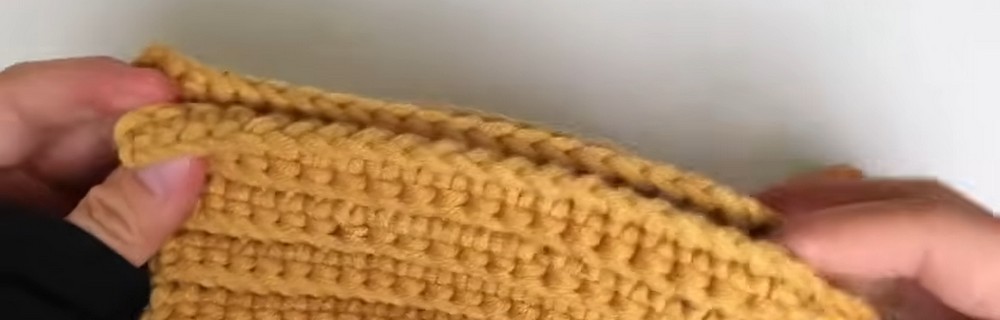
If you’re adding another strand or changing yarn, finish the current sc until 2 loops remain on the hook. Drop the old yarn, pick up the new yarn, and pull it through both loops to complete the stitch.
Lay the yarn tails along the row and work the next 4–5 sc over them to help secure and hide them as you continue.
Shape the Crown
Once the main hat has reached the required circumference, it’s time to close the top.
Crown shaping: Ch 1, work into the edge holes of the rows along the top/back section, picking up a loop from each row edge to form the gathering stitches.
When all the required loops have been picked up, yarn over and pull through all loops on the hook at once. This gathers the opening.
Work 1 sl st to secure the gathered center, followed by 1 additional sl st to lock it firmly in place. Fasten off, leaving approximately a 35 cm yarn tail.
Teaching tip: Don’t pull the crown closed abruptly before all the edge loops are gathered. Bringing the yarn through the complete group of loops first gives you a more even closure.
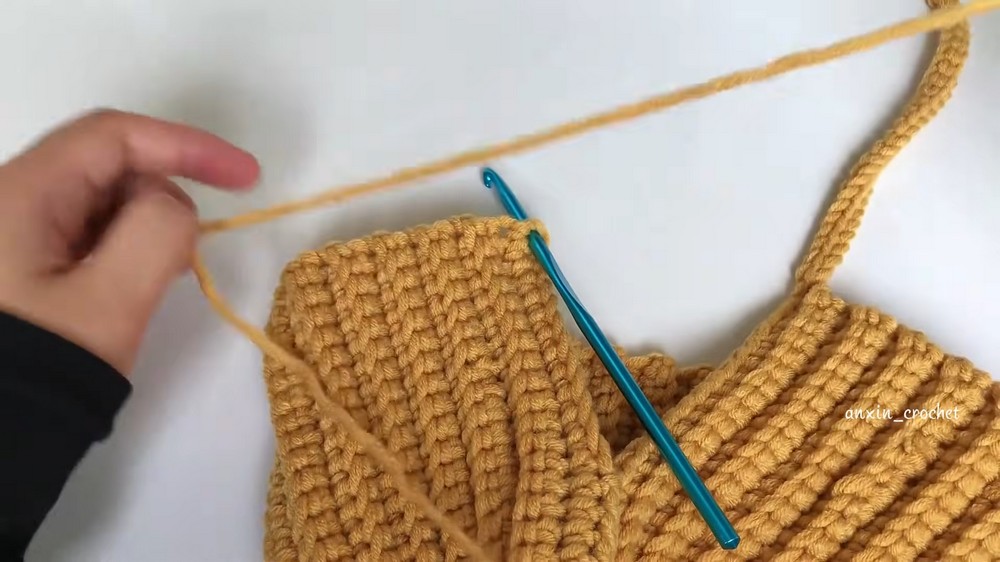
Finish the Bottom Edge and Add the Ties
Thread the 35 cm yarn tail onto a sewing needle and use it to pass through approximately 13–15 stitches along the bottom edge. This helps clean up and secure the lower edge. Tie a secure knot and weave in the remaining end.
First Tie
Attach the yarn to the top chain corner of the bottom edge.
First tie: Ch 40, or adjust the chain length for the desired tie length. Turn and work back along the chain with backstitches/sl sts into each chain, then join the tie to the edge with a sl st. Fasten off and weave in the end.
Second Tie
Repeat the same process on the opposite bottom corner.
Teaching tip: Make both ties the same length if you want the hat to sit evenly when tied. For a younger child, check the finished tie length before wearing rather than automatically using the longest option.
Crochet the Bear Ears
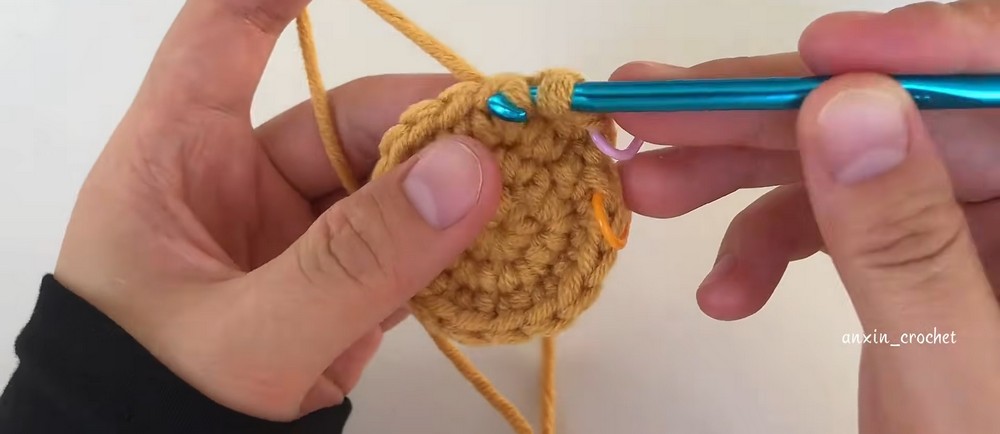
You’ll make 2 large outer circles and 2 smaller inner circles.
Outer Ears – Make 2
Round 1: In an MR, ch 1, work 6 sc into the ring. Pull the ring tight and sl st to the first sc to join. 6 sts.
Round 2: Ch 1, work 6 inc around. Sl st to the first sc to join. 12 sts.
Round 3: Ch 1, work [1 sc, 1 inc] × 6 around. Sl st to the first sc to join. 18 sts.
Round 4: Ch 1, work 1 sc in each st around. Sl st to the first sc to join. 18 sts.
Fasten off, leaving approximately 30 cm of yarn for sewing the ear to the hat.
Inner Ears – Make 2
Round 1: In an MR, ch 1, work 6 sc into the ring. Pull tight and sl st to the first st to join. 6 sts.
Round 2: Ch 1, work 6 inc around. Sl st to the first st to join. 12 sts.
Round 3: Ch 1, work 1 sc in each st around. Sl st to the first st to join. 12 sts.
Fasten off and weave in the ends neatly.

Assemble the Bear Ears
Place the smaller inner circle in the center of each larger ear.
You can use a heated craft glue stick with care, or fabric glue, to attach the inner circle to the outer ear. Let the adhesive set before handling the pieces.
If you prefer a completely sewn finish, the inner pieces can also be stitched into place rather than glued.
Attach the Ears to the Hat
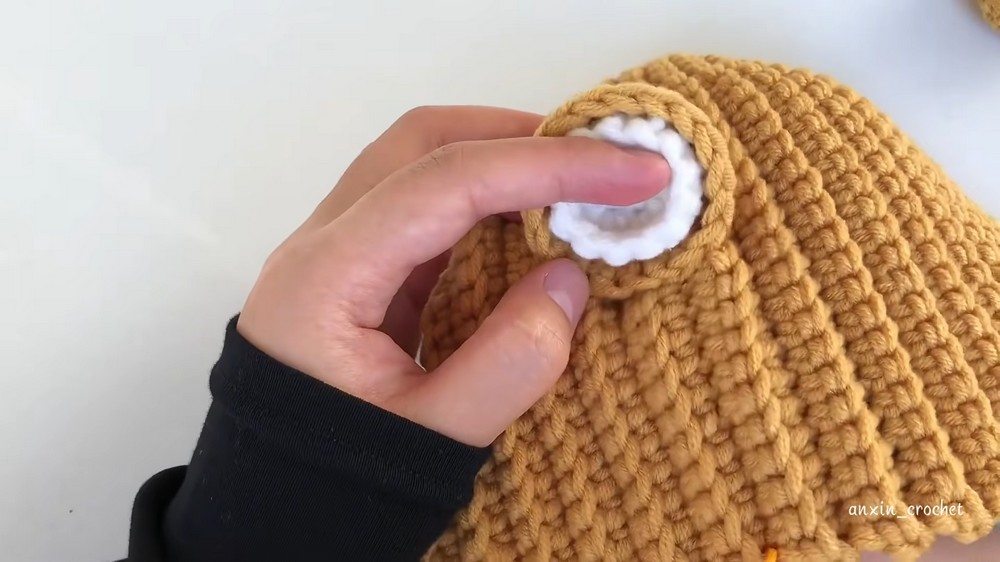
Fold the completed hat in half to find the top center row.
From that center line, count 3 rows down on each side and use those points as your ear-placement guides.
Using the 30 cm yarn tail left on each outer ear, thread a tapestry needle and sew the ears securely to the hat. Pass the needle back and forth through the ear and hat fabric until the attachment feels firm.
Tie off the yarn on the inside, weave in the remaining ends, and trim the excess.
Teaching tip: Before sewing permanently, place both ears on the hat and check them from the front. This quick check makes it much easier to correct uneven placement before the stitches are secured.
Final Check
Before wearing the hat, check that:
- The crown is completely gathered and secure.
- Both chin ties are firmly attached.
- The ears are positioned evenly.
- All yarn ends are woven in securely.
- Any glued inner-ear pieces are fully set.
Your crochet bear hat with ears is now ready to wear. The simple single-crochet body keeps the construction approachable, while the gathered crown, ties, and layered ears give the finished hat its distinctive bear character.