Cute Crochet Bunny Hat for Cats – Easy Ear Hole Pattern
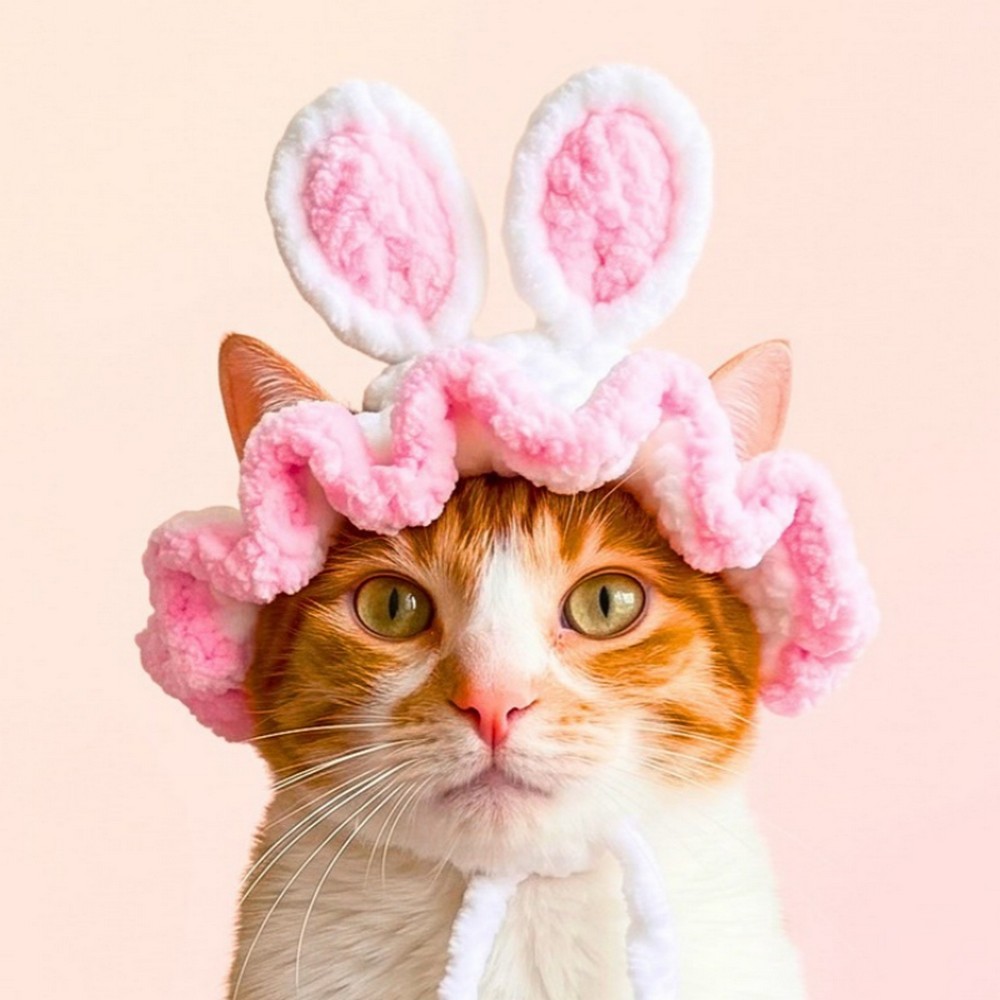
Give your cat a playful bunny look with a soft crochet hat featuring two ear openings, floppy bunny ears, a ruffled brim, and adjustable ties.
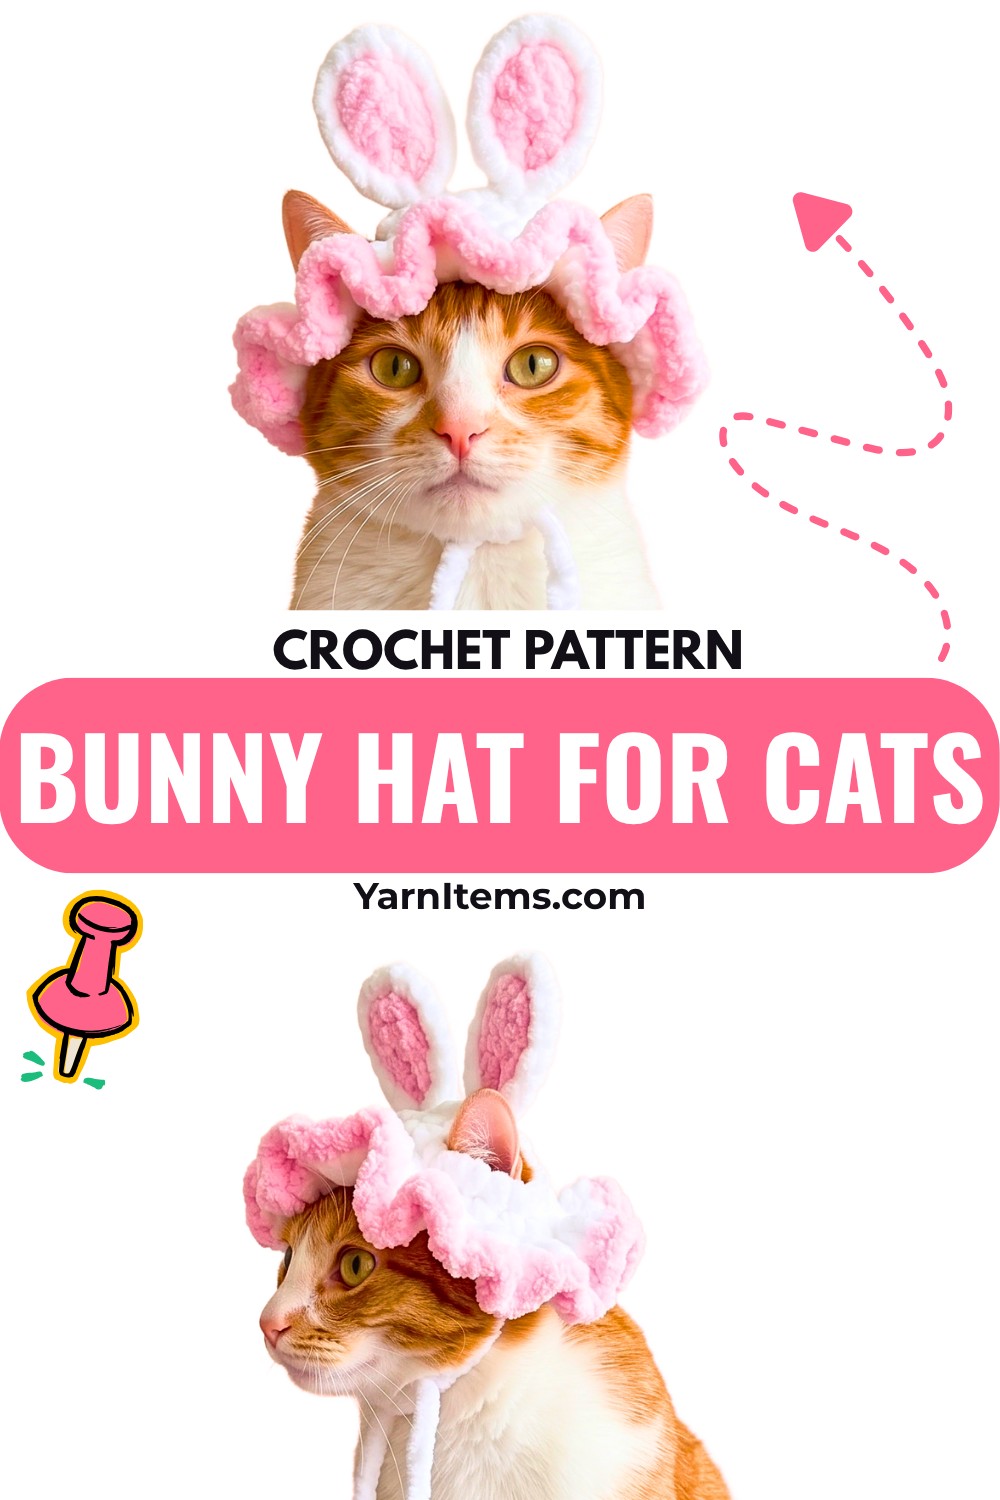
A soft, fluffy hat can be shaped into a playful bunny accessory with only a few basic crochet sections. The top begins with a small circular base, then the stitches are divided to create openings for your cat’s ears before the crochet hat continues downward.
Getting the ear holes in the right places is the main point to watch as you work. The tutorial divides the stitches into forehead, back, and ear sections, so checking that those sections match your cat’s ear spacing before continuing will help the finished crochet hat sit more naturally.
Credit dreampls
Materials & Tools Needed
- Himalaya Dolphin Baby yarn for the main bunny hat
- Pink or contrasting yarn for the inner ears and optional edging
- 6 mm crochet hook for the main hat
- 4 mm crochet hook for the inner ears and contrast edging
- Stitch marker
- Yarn needle
- Scissors
The soft, bulky main yarn gives the hat a plush appearance, while the smaller hook used for the contrasting details helps keep the inner ears and edging more defined.
Finished Size & Customization Ideas
The tutorial provides approximately 5 cm between the ear holes, with adjustments made according to the cat wearing the hat.
You can customize the fit by:
- Adjusting the stitch division if your cat’s ears are farther apart.
- Adding rows to increase the height of the hat.
- Making the ear-hole chains longer for larger openings.
- Choosing a softer or fluffier yarn for a different texture.
- Changing the contrast color to match your preferred style.
Because cats vary considerably in head and ear size, check the opening placement against your cat’s measurements before completing the full hat.
Pattern Abbreviations & Terminology
US crochet terminology is used throughout.
- ch – Chain
- sc – Single Crochet
- hdc – Half Double Crochet
- dc – Double Crochet
- sl st – Slip Stitch
- inc – Increase; work 2 stitches in the same stitch
How to Crochet a Cute Bunny Hat for Your Cat
Crochet the Hat Base
The hat begins without a magic ring. Instead, the tutorial starts with a slip knot and a short chain before working into the first chain.
Alternative Starting Method
Create a slip knot and ch 2.
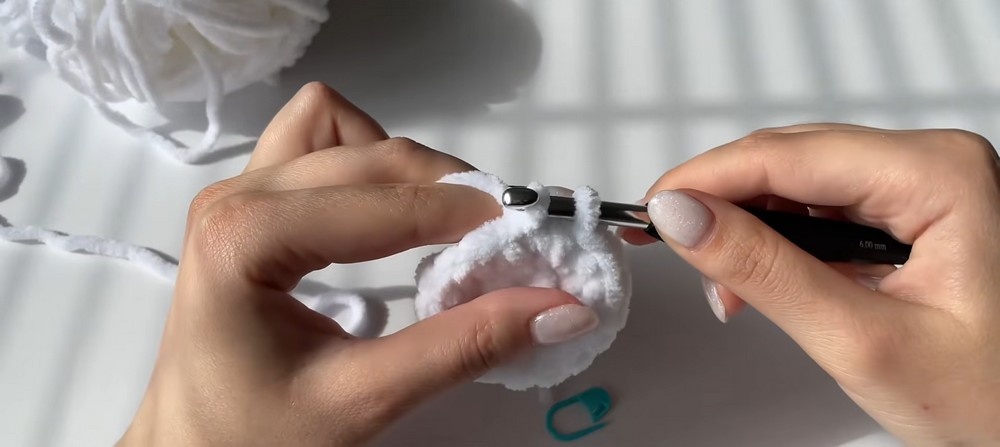
Round 1: Work 8 sc into the first chain. Place a stitch marker in the first sc, tighten the starting tail, and join with a sl st into the first stitch. Ch 1. (8 sc)
Round 2: Work 2 hdc in each stitch around. Mark the first stitch, join with a sl st, and ch 1. (16 hdc)
Round 3: Check the size of the top of the hat. If additional width is needed, work 1 hdc, inc around.
The third round is used according to the size required rather than automatically adding the same shaping to every cat.
Create the Ear Holes
Before beginning this section, divide the stitches according to the tutorial:
- 4 stitches for the first ear
- 4 stitches for the second ear
- 4 stitches for the forehead
- 8 stitches for the back of the head
The chain spaces replace the skipped stitches and become the openings through which the cat’s ears will pass.
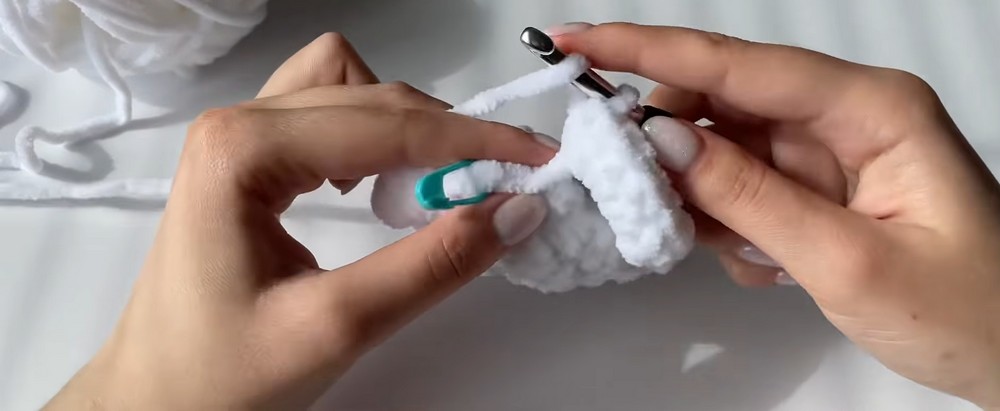
Row 4: Ch 1, work 3 hdc for the forehead section, ch 10 to create the first ear hole, skip 4 stitches, and join with a hdc. Work 4 hdc across the back section, ch 10 for the second ear hole, skip 4 stitches, and join with a hdc. Continue around and join with a sl st.
Fit Check
Place the unfinished hat gently against your cat’s head to check the position of the two openings.
The holes should correspond with the natural position of the ears rather than being forced into a fixed distance. If your cat’s ears sit farther apart, the stitch division or chain length may need to be adjusted before continuing.
Row 5: Ch 1, work 3 hdc, then work 12 hdc around the first chain space. Continue with 4 hdc across the back section, work 12 hdc around the second chain space, finish the row, and join with a sl st.
This round reinforces the chain spaces and turns the temporary openings into defined ear holes.

Add Length to the Hat
Continue working additional rows to extend the hat downward over the head.
Use the following optional shaping if the hat needs a slight flare:
Optional Row: Work 3 hdc, inc around.
If the existing shape already fits comfortably, continue with the same number of half-double crochets rather than adding unnecessary increases.
The exact number of additional rows depends on the cat’s head size and the desired height of the hat.
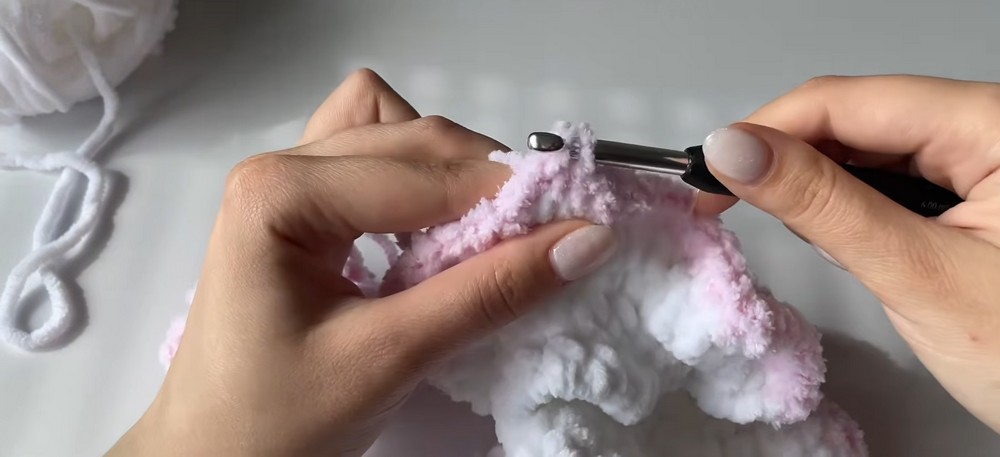
Crochet the Ruffled Brim
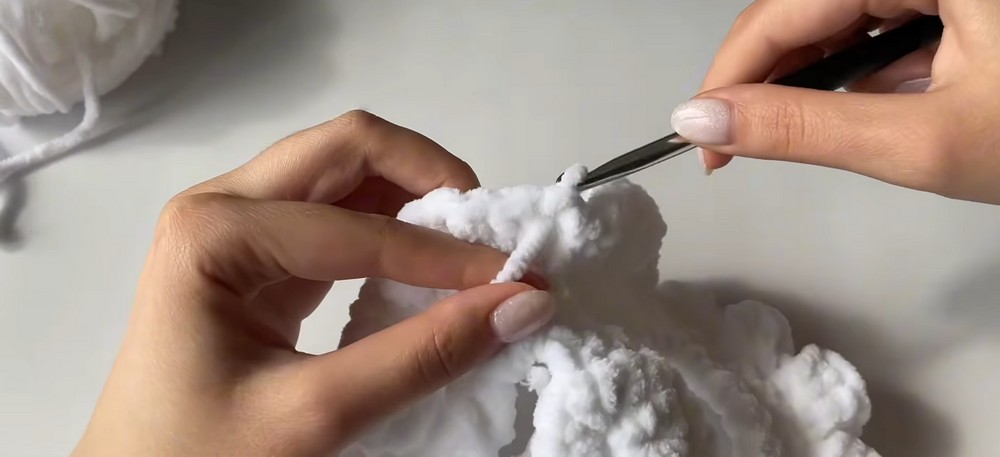
The ruffled edge creates the decorative finish around the lower edge of the hat.
Ruffled Brim: Ch 1, then work 3 dc in every stitch around. Join with a sl st.
Fasten off and weave in the loose yarn ends.
The three double crochets worked into each stitch create the extra fullness that makes the edge ruffle outward.
Make the Bunny Ears
The outer ears are made with the main white yarn.
Make 2 outer ears.
Foundation: Ch 6.
Row 1: Starting in the second chain from the hook, work 5 sc. Ch 1 and turn.
Row 2: Work 4 sc, then make an inc in the last stitch. Turn and crochet along the other side of the foundation chain, working 1 sc and an inc into the same stitch at the end.
Row 3: Work 5 sc, then make 2 increases. Finish with 5 sc. Leave a long tail for sewing.
Repeat the same instructions to make the second outer ear.
Make the Pink Inner Ears
Use pink yarn and the 4 mm hook.
Make 2 inner ear pieces.
Follow the same ear pattern as the outer ear, but stop after Row 2.
Leave enough yarn for sewing.
Assemble the Bunny Ears
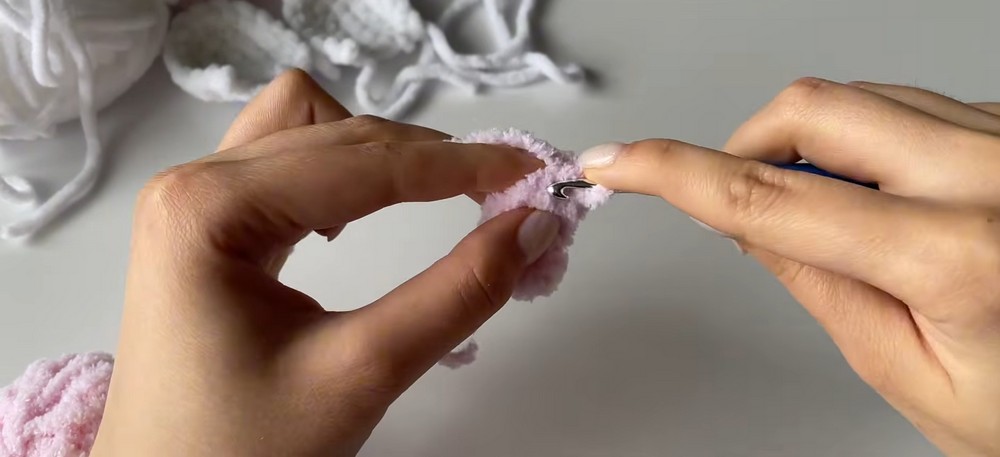
Place each pink inner-ear piece on top of its corresponding white outer ear.
Align the edges as evenly as possible.
Use a yarn needle to sew the pieces together around the border.
Fold each ear slightly and add a few stitches to hold the desired shape.
Position the completed ears in the middle area of the hat, between the two ear openings, and sew them securely in place.
Check the Ear Placement
Before completing the final stitches, look at the hat from the front.
The bunny ears should sit between the cat’s ear openings rather than directly over them. Keeping their positions balanced helps the accessory retain its bunny-ear appearance while leaving the actual ear holes unobstructed.
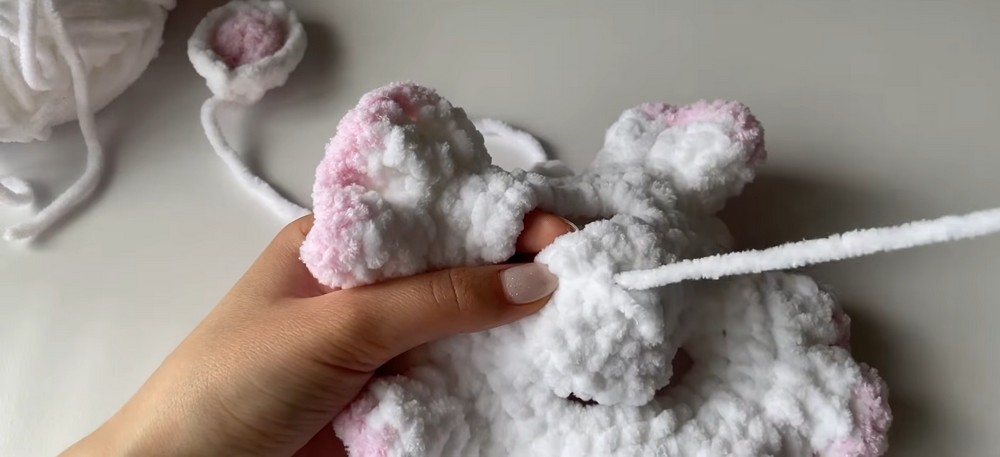
Add the Ties
The ties help keep the hat positioned on the cat’s head.
Fold the hat in half to identify the corresponding starting points for the two ties.
Attach the yarn at the selected points.
Tie: Ch 35, then fasten off.
Repeat on the opposite side.
Weave in the loose yarn ends securely.
Add Optional Pink Edging
The pink border is optional and can be used to add another contrasting detail.
With pink yarn, make a slipknot and attach it to the edge of the hat.
Edging: Work sc evenly around the edge.
Finish with a sl st and secure the yarn.
Weave in the remaining tail.
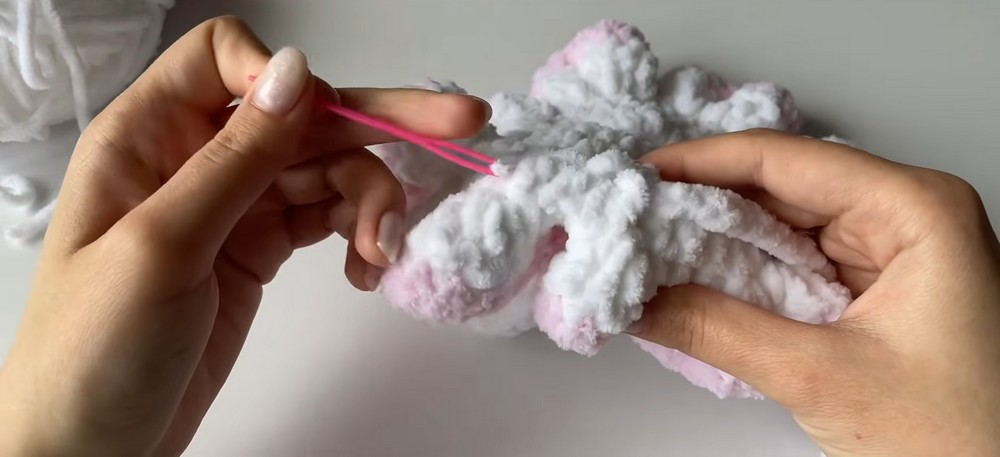
Complete the Bunny Hat
Before allowing your cat to wear the finished accessory, check that:
- Both ear holes are open and unobstructed.
- The hat fits comfortably around the head.
- The bunny ears are securely sewn.
- The ties are firmly attached.
- The ruffled brim is even.
- All loose yarn ends are secured.
The hat should sit comfortably without pressing tightly against the head or restricting the cat’s natural ear movement. Always supervise a cat while it is wearing a handmade accessory and remove the hat if the cat appears uncomfortable or tries to pull it off.