How to Crochet Shell Stitch Bucket Hat with a Flared Brim
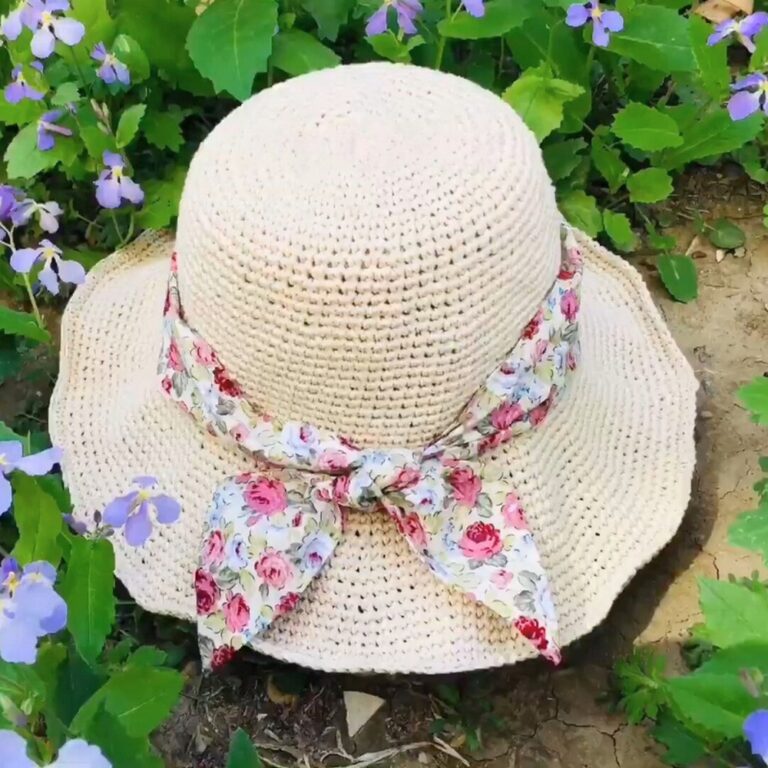
Nothing catches the eye quite like the rich texture of a shell stitch bucket hat with its beautifully flared brim. This lightweight crochet piece blends comfort with a stylish finish, making it a lovely choice for warm days and casual outings.
Worked with worsted weight yarn and a 5.5 mm hook, it creates a breathable fabric that feels as good as it looks. The combination of simple shaping and decorative shell stitches gives this wearable item an elegant yet relaxed appeal.

Beautiful texture meets everyday comfort in this charming crochet piece designed for teens and adults alike. The pattern begins with a smooth crown, transitions into eye-catching shell stitches, and finishes with a softly flared brim for extra style.
Along the way, you’ll use familiar stitches such as single crochet, half double crochet, and double crochet, making it suitable for confident beginners as well as experienced crocheters. With plenty of ways to customize the colors, brim width, and finishing details, this hat can easily reflect your own personal style.
Credit zhavin crochet
Materials & Tools Needed
- Yarn: Worsted weight yarn.
- Hook: 5.5 mm crochet hook.
- Additional Supplies: Scissors, yarn needle (for weaving ends).
Gauge
- 12 double crochets in 4 inches (10 cm).
Pattern Notes
- This pattern is worked in rounds starting from the top of the hat downward.
- Always join each round with a slip stitch into the first stitch of the round.
- Chains at the beginning of rounds do NOT count as stitches unless otherwise noted.
Finished Size:
- Default Size: Designed for teens, the hat measures approximately 7 inches in height (excluding the brim).
- Brim Width: The flared brim can be customized to your desired width, creating just the look you want.
Customization Ideas:
- Adjusting Size:
- Increase or decrease the yarn thickness or use a smaller/larger hook size to create hats for different ages or head circumferences.
- Modify the stitch count or add/subtract rounds to adjust height or circumference.
- Color Play:
- Use contrasting colors for a bold, modern look.
- Opt for variegated yarn to create natural stripes and add interest without extra effort.
- Alternate rows with different colors to create fun, multicolored stripes.
- Embellishments:
- Add appliqué flowers, buttons, or beads for a unique touch.
- Attach a ribbon band around the base or sew on patches for personalization.
- Brim Flair:
- Make the brim wider for dramatic sun protection or keep it narrower for a casual, everyday look.
- Add a wire rim to the edge for extra structure, or leave it soft for a laid-back vibe.
Pattern Abbreviations & Terminology
- US Terminology Used
- ch: Chain
- st: Stitch
- sl st: Slip stitch
- sc: Single Crochet
- dc: Double Crochet
- hdc: Half Double Crochet
- shell: 7 double crochets worked into the same stitch

Step-by-Step Detailed Crochet Instructions
Base of the Hat: Rounds 1–8
Round 1: Starting the Hat
- Create a slip knot and chain 4.
- Join with a sl st into the first chain to form a ring.
- Ch 2 (does NOT count as a stitch).
- Work 12 dc into the center of the ring.
- Join with a sl st at the top of the first dc. (12 stitches)
Round 2
- Ch 2, and into the same stitch, work 2 dc.
- Continue to make 2 dc in each stitch around.
- Join with a sl st at the top of the first dc.
- Stitch Count: 24 stitches.
Round 3
- Ch 2, make 2 dc into the same stitch.
- In the next stitch, work 1 dc.
- Repeat the sequence: 2 dc into one stitch, 1 dc into the next.
- Join with a sl st at the top of the first dc.
- Stitch Count: 36 stitches.
Round 4
- Ch 2, make 2 dc into the same stitch.
- Work 1 dc into each of the next 2 stitches.
- Repeat the sequence: 2 dc into one stitch, 1 dc into the next 2 stitches.
- Join with a sl st at the top of the first dc.
- Stitch Count: 48 stitches.
Round 5
- Ch 2, make 2 dc into the same stitch.
- Work 1 dc into each of the next 3 stitches.
- Repeat the sequence: 2 dc into one stitch, 1 dc into the next 3 stitches.
- Join with a sl st at the top of the first dc.
- Stitch Count: 60 stitches.
Round 6–8
- Ch 2, and work 1 dc into each stitch around, with no increases.
- Repeat this for three successive rounds to form the body of the hat.
- Stitch Count for each round: 60 stitches.
Shell Stitch Section: Rounds 9–14
Round 9
- Ch 1, make 1 sc into the first stitch.
- Skip next 2 stitches, then work 7 dc into the next stitch (this forms 1 shell).
- Skip next 2 stitches, then work 1 sc into the next stitch.
- Repeat the sequence: 7 dc in one stitch, skip 2 stitches, 1 sc into the next stitch around.
- Join with a sl st into the first sc.
- Total Shell Count: 10 shells.
Round 10
- Ch 1, and work 1 shell (7 dc) into the sc of the previous round.
- Skip the first 3 stitches of the next shell, and work 1 sc into the middle stitch (the fourth dc) of the shell from the previous round.
- Repeat the sequence around: Shell into single crochet, sc into the middle of the shell.
- Join with a sl st into the first stitch.
Round 11
- Repeat the pattern from Round 10 to alternate shells and single crochets.
- Complete by joining with a sl st.
Repeat Rounds 10–11 for a total of 6 rounds of shell stitches or until your desired hat height.
Flared Brim: Rounds 15–18
Round 15: Foundation of the Brim
- Ch 2, and work 1 hdc in the same stitch.
- Work 1 sc into each of the next 5 stitches (middle stitches of the shell).
- Work 1 hdc into the last stitch of the shell and 1 hdc into the next single crochet.
- Repeat the sequence: 1 hdc, 5 sc, 1 hdc around.
- Join with a sl st.
Round 16
- Ch 2, make 1 dc into each of the next 7 stitches.
- Into the middle hdc of the group of three from the previous round, make 2 dc.
- Continue the sequence: 1 dc into the next 7 stitches, 2 dc into the next stitch around.
- Join with a sl st.
- Stitch count increases by 10.
Round 17
- Repeat Round 16, working 1 dc into each stitch.
- Continue until the desired brim flare is achieved.
Round 18: Finishing Edge
- Work 1 sc into each stitch of this round.
- When complete, join with a sl st, fasten off, and cut the yarn.
Assembly
- Weave in all loose ends with a yarn needle.
Troubleshooting
Issue 1: Uneven Shell Stitches
Causes:
- Incorrect stitch counts.
- Improper spacing between stitches.
Solution:
- Check Stitch Counts:
- Go back and double-check your stitch counts for each shell pattern section.
- Accurate counts are crucial for uniformity.
- Ensure Proper Spacing:
- Verify that you’re placing your stitches in the correct location as per the pattern instructions.
- If needed, use stitch markers to maintain consistent spacing.
Issue 2: Brim Curling
Causes:
- Inconsistent tension while stitching.
- Incorrectly following the increase pattern.
Solution:
- Maintain Consistent Tension:
- Pay attention to the tightness of your stitches.
- Practice and adjust your grip if some areas feel tighter or looser than others.
- If you’re using yarn that tends to stretch, ensure a steady tension throughout the pattern.
- Follow the Increase Pattern Accurately:
- Carefully count your increases around the brim to ensure they’re evenly distributed.
- Misplaced or missed increases can lead to distortion and curling.
- Revisit your pattern instructions and track your progress row by row to avoid errors.
Conclusion
Congratulations! Your crochet shell stitch bucket hat is complete. This stylish and versatile project is perfect for gifting or wearing during sunny days. Enjoy customizing it further with embellishments or experimenting with colors!