Crochet Puppy Keychain with Dress-Up Options
A tiny dressed-up puppy can turn an ordinary keyring into an instant mood-lifter. This crochet puppy keychain combines a playful miniature shape with charming details that make it stand out on keys, bags, or backpacks. Its cheerful look also makes it a thoughtful handmade gift for anyone who has a soft spot for cute little companions.

The sweetest part is how easily this little crochet pup can take on a personality of its own. Try different yarn colors, add simple details, or give each puppy a slightly different look to make every piece feel special. Its small size keeps it convenient to carry while leaving plenty of room for creativity, making it a delightful choice for both beginners and experienced crocheters.
Credit Chubby Cheeks
Materials
-
Plush / Chenille yarn
-
2.5 mm crochet hook
-
6 mm safety eyes
-
Fiberfill stuffing
-
Dark brown embroidery yarn
-
Yarn needle
Legs (Make 2)
-
R1: 8 sc in MR (8)
-
R2: 8 inc (16)
-
R3: BLO, 16 sc (16)
-
R4: 4 sc, 4 dec, 4 sc (12)
-
R5–R6: 12 sc (12)
-
R7: 4 sc only.
-
Fasten off leg 1. Do not fasten off leg 2.

Body & Head
-
Join: Ch 3 on leg 2, join to 8th st from end of leg 1 with sc.
-
R1: 12 sc on leg 1, 3 sc along ch, 12 sc on leg 2, 3 sc along ch (30)
-
R2: (4 sc, inc) × 6 (36)
-
R3–R11: 36 sc (36)
-
R12: (4 sc, dec) × 6 (30)
-
Stuff legs and lower body.
-
R13: (3 sc, dec) × 6 (24)
-
R14: (2 sc, dec) × 6 (18)
-
R15: FLO, (1 sc, inc) × 9 (27)
-
R16: (2 sc, inc) × 9 (36)
-
R17: (3 sc, inc) × 9 (45)

-
Stuff body.
-
R18: 9 sc, inc, (2 sc, inc) × 2, 8 sc, inc, (2 sc, inc) × 2, 14 sc (51)
-
R19–R21: 51 sc (51)
-
R22: 9 sc, dec, (2 sc, dec) × 2, 8 sc, dec, (2 sc, dec) × 2, 14 sc (45)
-
R23: 8 sc, dec, (2 sc, dec) × 2, 4 sc, dec, (2 sc, dec) × 2, 13 sc (39)
-
R24: 7 sc, dec, (2 sc, dec) × 2, dec, (2 sc, dec) × 2, 12 sc (33)
-
R25–R28: 33 sc (33)
-
R29: 31 sc, dec (32)
-
R30: (2 sc, dec) × 8 (24)
-
Stuff head.
-
R31: (1 sc, dec) × 8 (16)
-
R32: 8 dec (8)
-
Fasten off through FLO of remaining 8 sts, pull tight to close.

Arms (Make 2)
-
R1: 10 sc in MR (10)
-
R2–R8: 10 sc (10)
-
Stuff lightly. Pinch flat, skip last st, 4 sc across top to close. Fasten off with tail.

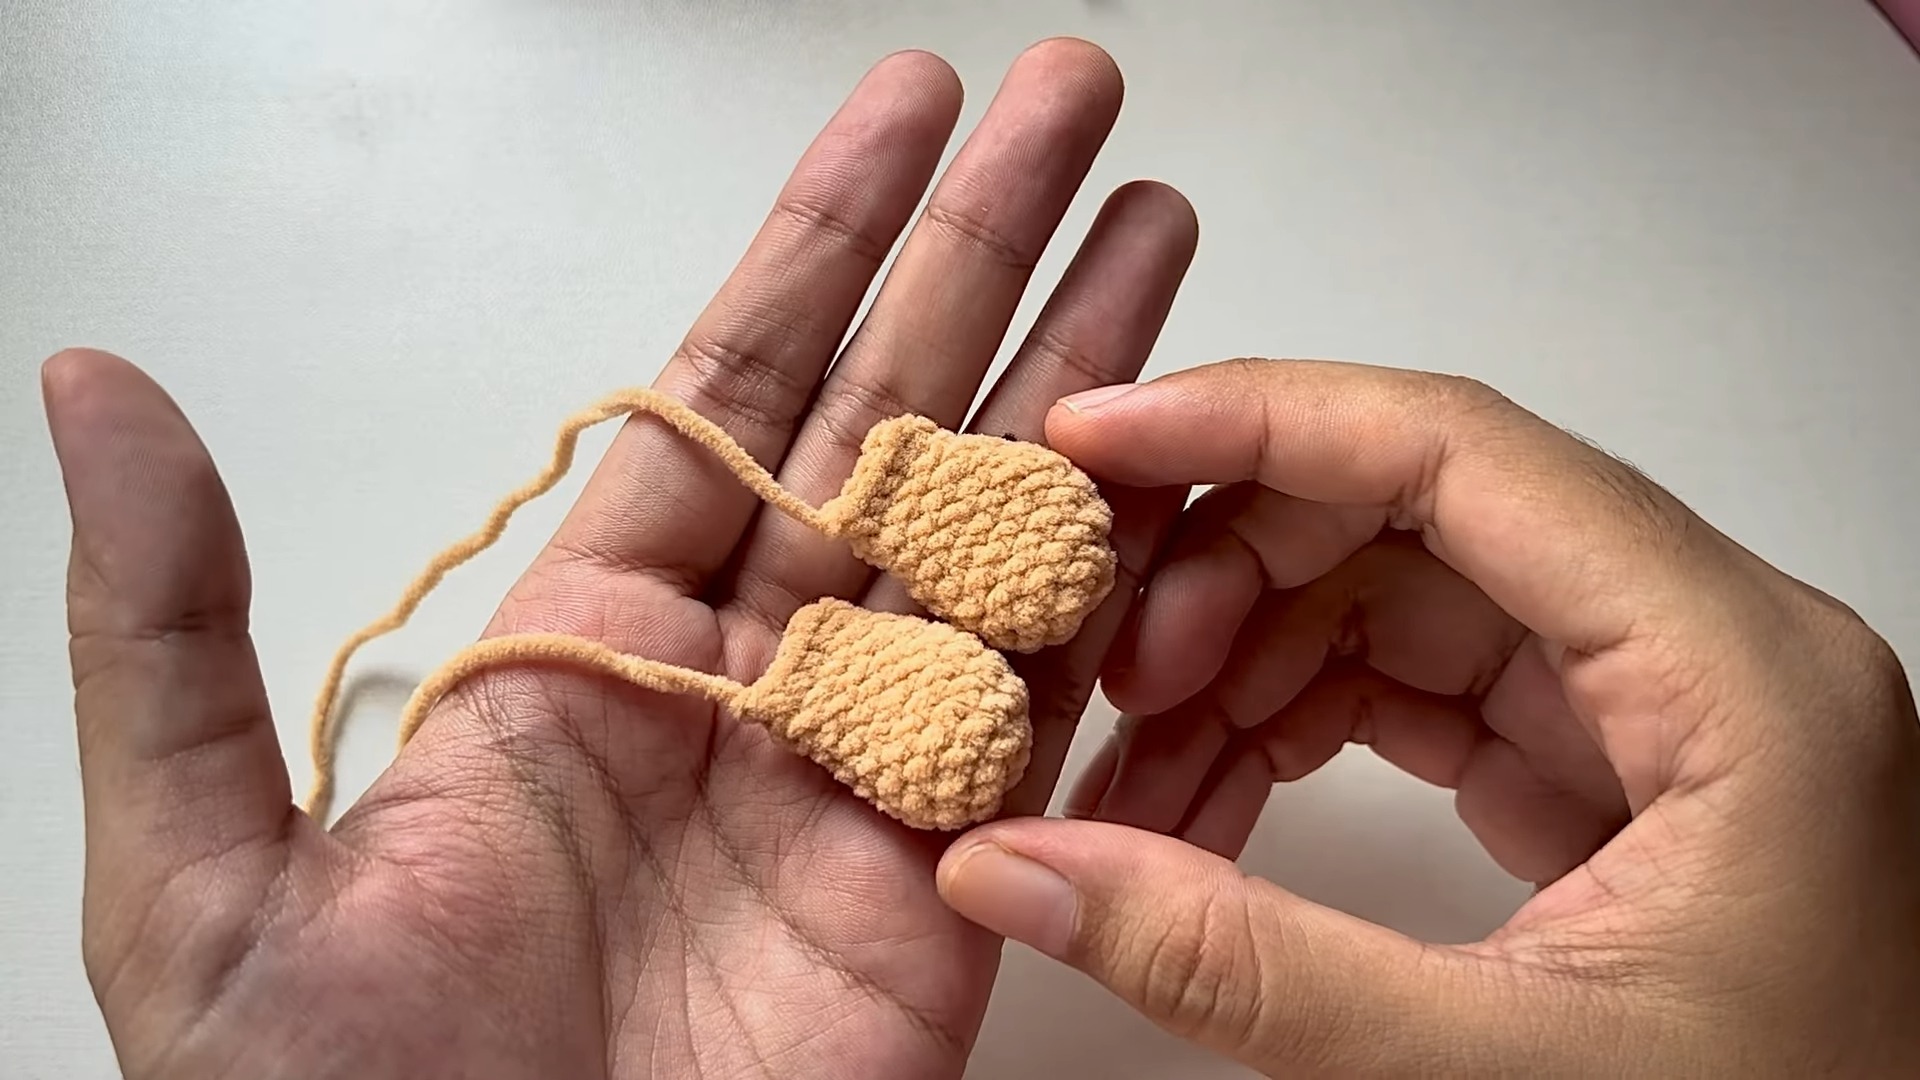
Ears (Make 2)
-
R1: 8 sc in MR (8)
-
R2: 8 inc (16)
-
R3–R5: 16 sc (16)
-
R6: (2 sc, dec) × 4 (12)
-
R7: 12 sc (12)
-
R8: (4 sc, dec) × 2 (10)
-
R9: 10 sc (10)
-
Do not stuff. Pinch flat, skip last st, 4 sc across top to close. Ch 1, fasten off with tail.
Face Details & Placement
-
Indent face between R23 and R24 across center 10 sts.
-
Insert eyes between R23 and R24, 6 sts apart.
-
Embroider nose over 2 sts, 1 row below eyes.
-
Embroider vertical mouth line below nose.
-
Sew arms diagonally along sides between R10 and R13.
-
Sew ears 4 rows down from the crown, 10 sts apart. Tack bottoms down to sides.

Outfit A: Overalls
-
Ch 31.
-
R1: From 2nd ch: (4 sc, inc) × 6, ch 1, turn (36)
-
R2: (5 sc, inc) × 6, ch 1, turn (42)
-
R3: 7 sc, ch 5, skip 7, 14 sc, ch 5, skip 7, 7 sc, ch 1, turn
-
R4: 7 sc, 5 sc over ch, 14 sc, 5 sc over ch, 7 sc, ch 1, turn (38)
-
R5–R10: 38 sc, ch 1, turn (38)
-
Leg 1:
-
R11: 19 sc, sl st to 1st st, ch 1 (19)
-
R12: 8 sc, dec, 7 sc, dec, sl st to 1st st, ch 1, fasten off (17)
-
-
Leg 2:
-
Rejoin yarn to next open st of R10.
-
R11: 19 sc, sl st to 1st st, ch 1 (19)
-
R12: 8 sc, dec, 7 sc, dec, sl st to 1st st, ch 1, fasten off (17)
-
-
Ties: Work 12 sc down back opening edge, ch 25. Repeat on other side.

Outfit B: Dress
-
Ch 43.
-
R1: From 2nd ch: 7 sc, ch 5, skip 7 ch, 14 sc, ch 5, skip 7 ch, 7 sc, ch 1, turn
-
R2: 7 sc, 5 sc over ch, 14 sc, 5 sc over ch, 7 sc, ch 1, turn (38)
-
R3: 38 sc, sl st to 1st st, ch 2 (38)
-
R4: FLO, 38 dc-inc (2 dc in each st), sl st to 1st dc, ch 2 (76)
-
R5: 76 dc, sl st to 1st dc, ch 1, fasten off (76)
-
Ties: Work 4 sc down back edge, ch 25. Repeat on other side.