
Easy Crochet Rabbit Keychain Pattern Free
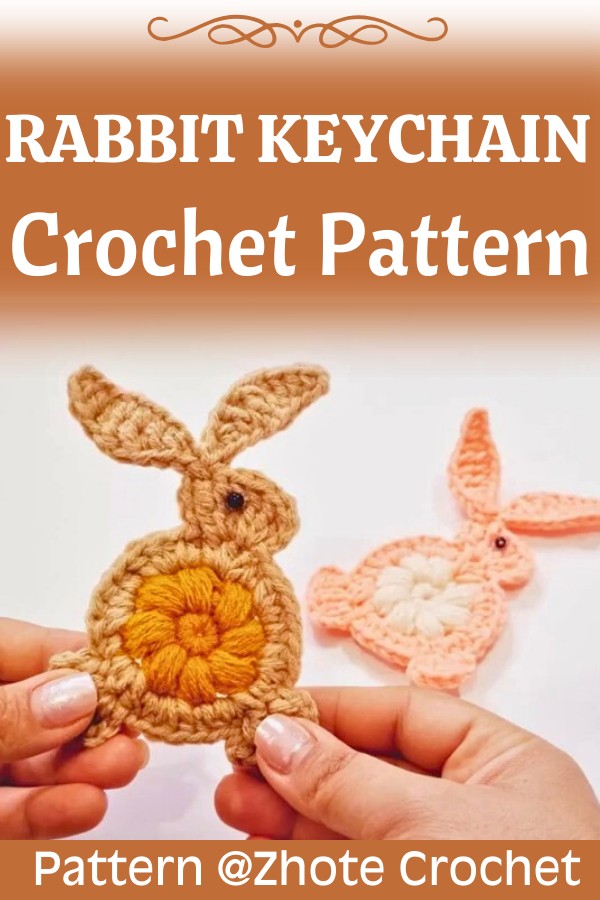
A tiny crochet rabbit keychain can bring surprising charm to everyday life with almost no effort. This adorable piece combines a sweet bunny design with a compact size that fits perfectly on keys, backpacks, or handbags.
Its soft appearance and playful details make it stand out wherever you carry it. It’s a delightful item that feels both personal and practical from the very first crochet stitch.
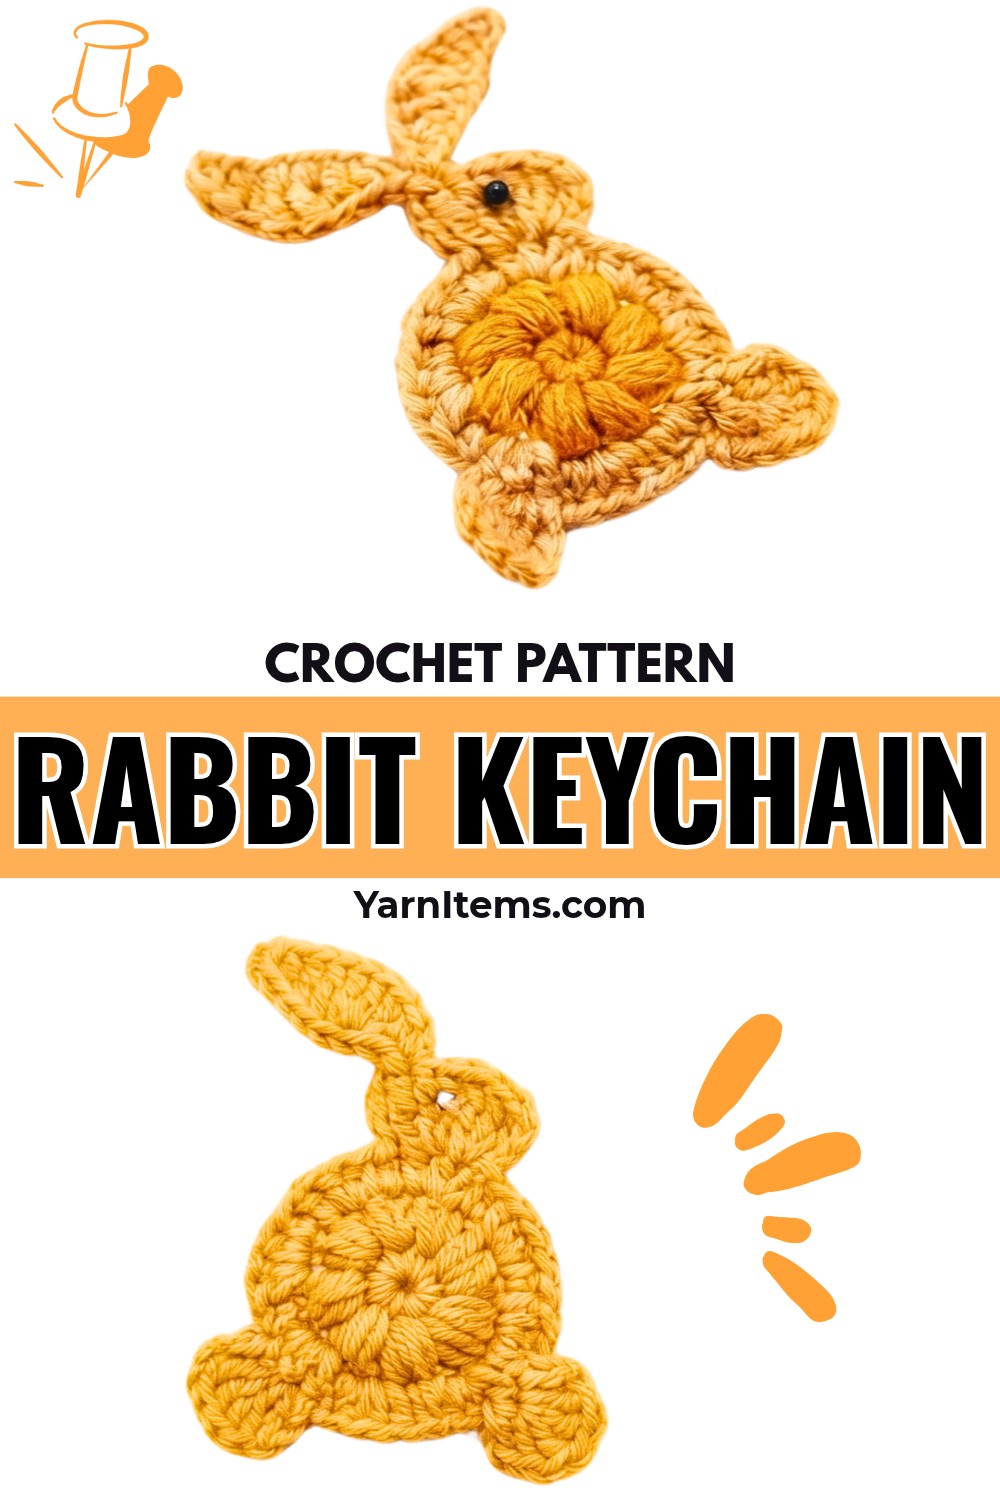
Creating this crochet rabbit is a wonderful way to enjoy a relaxing and satisfying make without spending hours on it. The compact size keeps the process simple while allowing every detail to shine beautifully.
This handmade crochet piece also makes a thoughtful gift that friends, family, and children will truly appreciate. With its timeless style and cheerful look, it’s an item you’ll love making again in different colors.
Credit Zhote Crochet
Materials & Tools
- Yarn: Light/DK weight cotton in 2 colors
- Color A: Center belly
- Color B: Main body, head, ears, tail, feet
- Hook: 3.5 mm
- Notions:
- Scissors
- Yarn/tapestry needle
- 1 small black bead (for eye) or black embroidery floss
- Hot glue gun (or craft/fabric glue) for bead
- Keychain hardware: keyring, lobster clasp, or ball chain
Pattern Notes
- Construction: Flat rabbit worked:
- Inner belly in the round (textured cluster flower)
- Outer round for body
- Head, ears, tail, and feet worked directly off outer round
- Direction: Rounds 1–2 = main body disk. Head/ears/tail/feet placed on specific sections of Round 2/3.
- Joining: Rounds joined with sl st (slip stitch).
- Terminology: US crochet terms.
Abbreviations (US)
- ch – chain
- sc – single crochet
- hdc – half double crochet
- dc – double crochet
- tr – treble (triple) crochet
- sl st – slip stitch
- st(s) – stitch(es)
- MR – magic ring
- 4‑hdc cluster – 4 half double crochets worked together in the same stitch (puff/cluster style)
- 2 dc tog – 2 double crochet worked together (dc decrease)
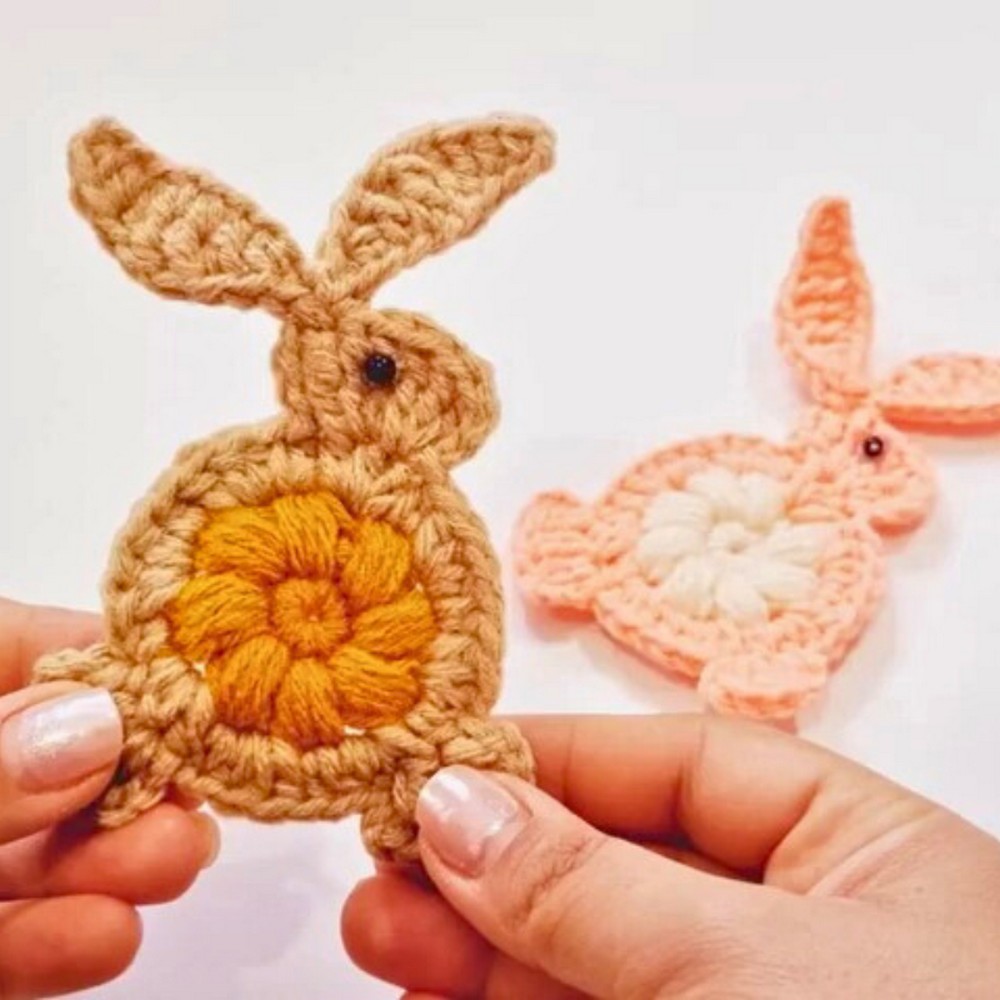
Finished Size & Ideas
- Size: Approx. 3″ (7.5 cm) tall including ears.
- Customization:
- Use pastels for Easter keychains.
- Add a tiny bow or flower near an ear.
- Make 2 rabbits, sew back‑to‑back for a double‑sided charm.
Upgrades:
- Eye safety: Embroider the eye if for children.
- Stiffer shape: Steam lightly or use fabric stiffener so ears stay upright.
Step‑By‑Step Crochet Instructions
Inner Belly – Color A
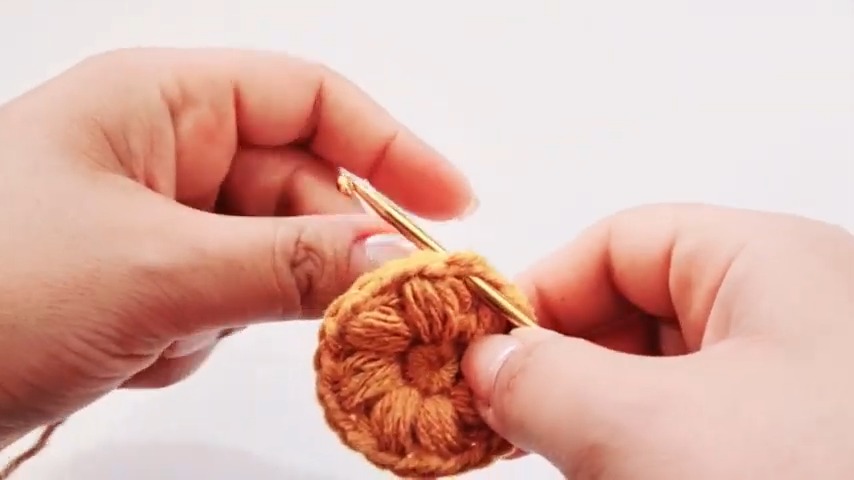
Round 1
- Make a Magic Ring (MR).
- Ch 1. Work 8 sc into MR.
- Pull ring tight.
- Sl st into first sc to join.
- Stitch count: 8 sc
Round 2
You are making 8 clusters, each separated by ch‑2 spaces.
- Ch 1.
- In same st: work 1 4‑hdc cluster.
- Ch 2.
- In each of the remaining 7 sts:
- [4‑hdc cluster, ch 2]
- Sl st into the top of the first cluster to join.
- Fasten off Color A and cut yarn.
- Total: 8 clusters, 8 ch‑2 spaces
Outer Body Rim – Color B
Round 3
- Attach Color B in any ch‑2 space from Round 2.
- Ch 1.
- In that ch‑2 space: 2 hdc.
- In the top of the next cluster: 1 hdc.
- Repeat around:
- [3 hdc in each ch‑2 space, 1 hdc in the top of the next cluster]
- Join with sl st to the first hdc.
- Total: 32 hdc around the body disk.
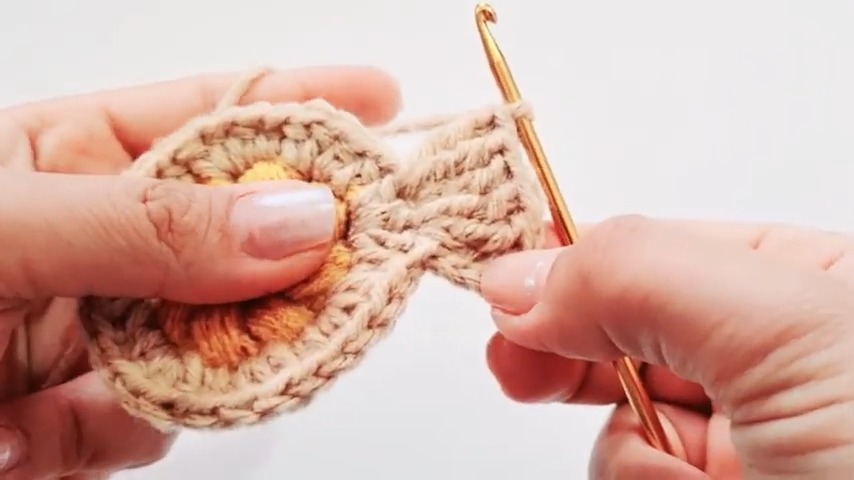
Head & Ears – Color B (continue without cutting)
The following is worked off the body rim (Round 3).
Head
- From the join point (or where you want the head to sit), ch 3.
- 3 tr in the next stitch on the rim.
- 3 tr in the following stitch on the rim.
- Ch 3, then sl st into the next stitch on the rim (this anchors the head back to the body).
You now have a “bump” for the head.
First Ear
- From where you finished the head, ch 10.
- Starting in 2nd ch from hook, work down the chain:
- 1 sc
- 1 hdc
- 1 dc
- 2 tr
- 1 dc
- 1 hdc
- 1 sc
- 1 sl st in the last chain (back at ear tip)
(You should end up back near the head.)
Second Ear
- From the base of the first ear (near the head), ch 10 again.
- Starting in 2nd ch from hook, work down the chain:
- 1 sc
- 1 hdc
- 1 dc
- 2 tr
- 1 dc
- 1 hdc
- 1 sc
- 1 sl st in the last chain (returning to head area)
- Fasten off Color B and cut if you prefer to re‑attach separately for tail and feet.
(Or leave attached and carefully count stitches for placement.)
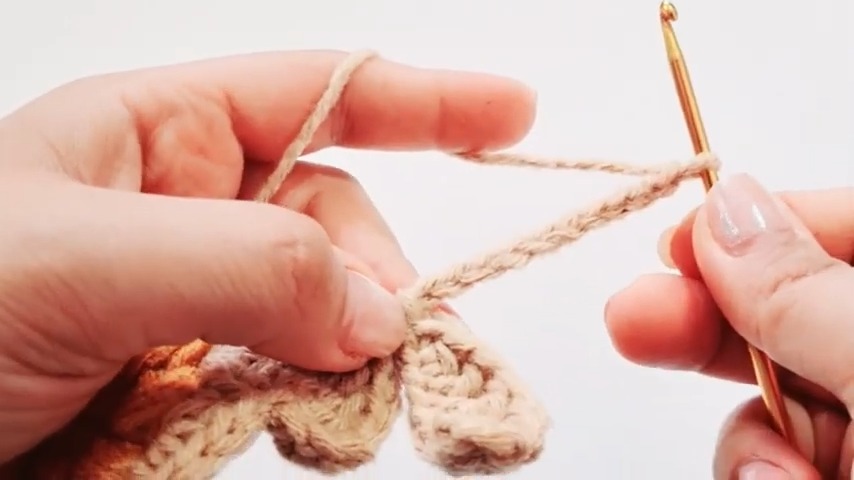
Tail – Color B
- From the head area on the body rim, skip 9 stitches along Round 3 to where the tail will sit.
- Join Color B.
- Ch 3.
- Work 2 dc tog in each of the next 3 stitches:
- (2 dc tog) x 3
- Ch 3, sl st into the next stitch on the rim to anchor the tail.
- Fasten off and cut yarn.
Tail should look like a small puff bump.
Feet – Color B
- From the tail position on the rim, skip 8 stitches along the bottom edge.
- Join Color B.
- Ch 2.
- In the next stitch, work 3 hdc.
- In the following stitch, work 3 hdc.
- Ch 2, sl st into the next stitch on the rim to complete the feet.
- Fasten off and weave in all ends.
This creates two small bumps on the bottom for the feet.

Assembly & Finishing
- Weave in ends:
- Use a yarn needle to secure and hide all yarn tails on the back of the motif.
- Eye attachment (bead version):
- Add a small drop of hot glue or craft/fabric glue on the side of the head.
- Press the small black bead into the glue and let dry.
Eye (embroidered option):
- With black embroidery floss or fine yarn, stitch a small French knot or satin stitch where the eye should be.
- Keychain hardware:
- Attach a jump ring through stitches at the tip of one ear or between ears.
- Add a keyring, lobster clasp, or ball chain.




One Comment