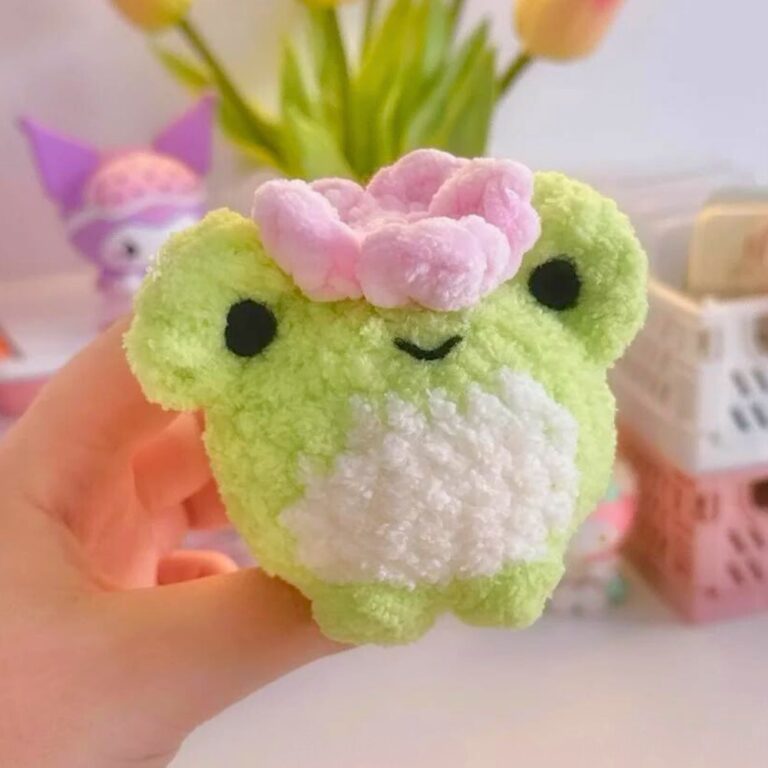
Crochet Chick Souvenir Holder Pattern with Drawstring Hat
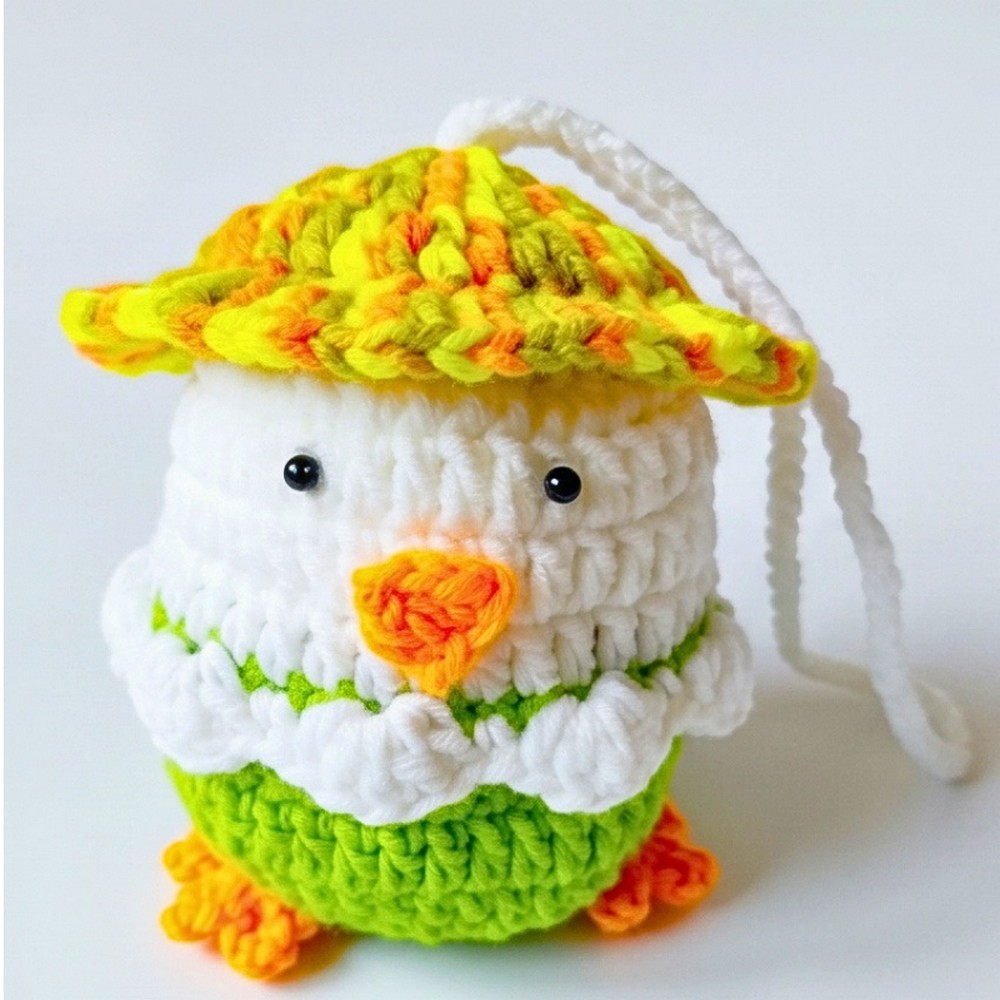
Here’s a cheerful crochet chick pouch with a ruffled skirt, drawstring closure, and tiny hat-perfect for hiding Kinder Joy eggs, candies, or other small treats.

Give a small gift an even more playful presentation with this crochet chick souvenir holder. Its green-and-white body creates the chick shape, while the white ruffled edge adds a little skirt-like detail around the base. The top closes with a drawstring and is finished with a colorful orange-and-yellow hat, making the crochet pouch just as fun to look at as it is to fill.
You can use the finished crochet holder for a Kinder Joy egg, small candies, or other little objects, and the color placement is easy to personalize. This tutorial walks through the circular body, drawstring holes, ruffle motif, matching lid, feet, and beak before showing how everything comes together; you can even replace the longer strap with a keyring loop for a different use.
Credit DIY Maycraft
How the Holder Works
The finished piece has two main parts: a green-and-white chick-shaped pouch and a separate orange-and-yellow top hat that acts as its lid. The drawstring passes through the holes near the top of the white section, then continues through the center of the hat so you can pull the top closed and keep it sitting securely in place.
The body is worked in rounds with double crochet, giving the holder a little natural space inside. The lower white ruffle is worked into the unused front loops left from the green section, so it sits around the outside without changing the main pouch shape.
Materials & Tools
- Yarn: Indo Milky yarn in Green, White, Yellow, and a variegated Orange/Yellow mix.
- Hook: 6/0 (3.5 mm) Tulip crochet hook.
- Other tools: Scissors, stitch markers (optional), tapestry needle, safety eyes or small black beads, and hot glue. The video uses a glue stick and lighter, or you can use a hot glue gun.
Abbreviations
- MR: Magic Ring
- ch: Chain
- sc: Single Crochet
- hdc: Half Double Crochet
- dc: Double Crochet
- inc: Increase – 2 stitches in the same stitch
- sl st: Slip Stitch
- BLO: Back Loops Only
- FLO: Front Loops Only
- st(s): Stitch(es)
- Rnd: Round
Shape the Green Body Base
Start with Green yarn. The first three rounds gradually widen the circular base, and the next three rounds keep that 36-stitch width so the holder develops its main body rather than continuing to flare outward.
Rnd 1: Make a MR, ch 3 (counts as first dc), work 11 dc into the MR, pull the ring tight, and join with a sl st to the top of the ch 3. [12 dc]
Rnd 2: Ch 3, work 1 dc into the same st, then work 2 dc (inc) in each st around; join with a sl st to the top of the ch 3. [24 dc]
Rnd 3: Ch 3, work an inc in the next st, then 1 dc, inc, repeat from * to * around; join with a sl st. [36 dc]
Rnd 4: Ch 3, work 1 dc in each st around, and join with a sl st. [36 dc]
Rnd 5-6: Repeat Rnd 4. Fasten off the Green yarn at the end of Rnd 6. [36 dc]

Add the White Upper Section
The next round changes both the color and the stitch placement. Working Rnd 7 through the back loops only leaves the unused front loops from Rnd 6 available for the decorative ruffle later.
Rnd 7: Join White yarn, working in the BLO, ch 3, work 1 dc in each st around, and join with a sl st. [36 dc]
Rnd 8-10: Ch 3, work 1 dc in each st around, and join with a sl st. [36 dc]
Create the Drawstring Openings
The next round replaces the solid double-crochet fabric with alternating stitches and chain spaces. These spaces become the holes through which the drawstring will be woven.
Rnd 11: Ch 4 (counts as 1 dc + ch 1), skip 1 st, 1 dc in the next st, ch 1; skip 1 st, 1 dc, ch 1; repeat from * to * around; join with a sl st to the 3rd chain of the starting ch 4. Fasten off and weave in ends.

Give the Base Its Ruffled Edge
Turn the body upside down so you can reach the unused FLO from Rnd 6. This is the loop left behind when Rnd 7 was worked in the BLO.
Ruffle Rnd 1: Join White yarn with the body upside down, ch 1, work 1 sc in the same st, skip 1 st, work 5 dc into the next st, skip 1 st, 1 sc in the next; skip 1 st, 5 dc in the next, skip 1 st, 1 sc in the next repeat from * to * around; join with a sl st to the first sc and fasten off.
The groups of 5 dc create the fan or shell shapes that form the ruffled edge around the green base.
Make the Drawstring Before Closing the Top
For the strap, make a simple chain rather than crocheting a thicker cord. This keeps the closure light and makes it easy to weave through the openings.
Drawstring: Make a slip knot and ch 80, or chain your desired length, then fasten off.
Weave the chain in and out through the gaps created in Rnd 11. Leave the two ends available because they will later pass through the center of the top hat.

Crochet the Colorful Top Hat
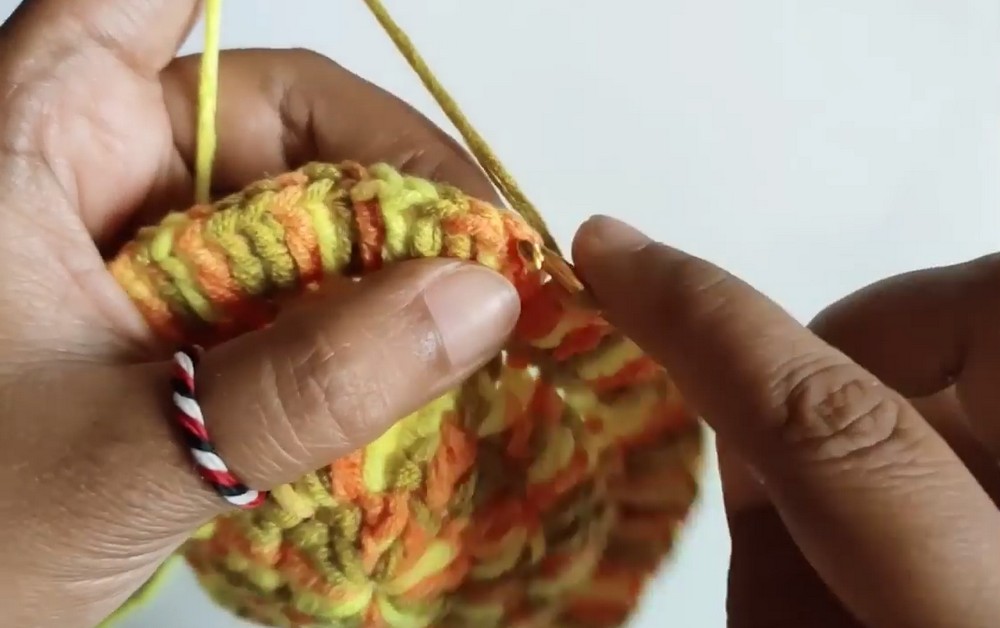
Use the variegated Orange/Yellow yarn for the lid. Its first three rounds repeat the same circular increases used for the green body base, which gives the hat a matching rounded starting shape.
Rnd 1-3: Repeat Rnd 1 through Rnd 3 of the Body Base pattern. [12, 24, 36 dc]
Rnd 4: Ch 1, work 1 sc in each st around, and join with a sl st. [36 sc]
Rnd 5 – Brim: Ch 3, work 1 dc in the same st, then work 2 dc (inc) in each st around; join with a sl st and fasten off. [72 dc]
The large increase in the final round creates the wider brim, so the hat can sit over the top of the chick holder.
Add the Tiny Feet and Beak
These small pieces give the circular pouch its chick details. Make two feet in Yellow.
Feet – Make 2: Make a MR, ch 5, sl st into the MR; repeat from * to * a total of 5 times to create 5 toes. Pull the ring tight and fasten off, leaving a long tail for sewing.
For the beak, use Orange yarn.
Beak: Make a slip knot and ch 4; working into the 2nd chain from the hook, work 1 sc, 1 hdc in the next ch, and 1 dc in the last ch. Fasten off, leaving a tail for sewing.

Put the Chick Details in Place
With the crocheted pieces complete, the placement of the small features is what gives the pouch its recognizable chick shape.
- Feet: Sew or tie the two Yellow feet onto the bottom of the Green base, positioning them slightly apart.
- Beak: Sew the Orange beak onto the middle of the White body section.
- Eyes: Using hot glue or safety eyes, attach the black beads for the eyes right above the beak on the White body section.
- Hat and Drawstring: Take the two ends of the White drawstring strap and thread them up through the center hole—the Magic Ring hole—of the top hat. This allows the hat to sit snugly on top when the holder is closed. Tie the drawstring ends together to secure it.

A Simple Way to Customize It
The color placement is one of the easiest parts to change. Keep the same shape while choosing different colors for the chick body, ruffle, feet, beak, or hat.
For a wearable or bag-friendly version, you can also replace the longer drawstring strap with a keyring loop. That turns the little chick into a compact keychain-style accessory while keeping its basic shape and character.
Once the remaining yarn ends are woven in and the holder is turned right-side out, it is ready to hold a small Kinder Joy egg, candies, or other tiny treats.