Crochet Tiered Ruffle Dress with Elastic Bodice & Flared Sleeves
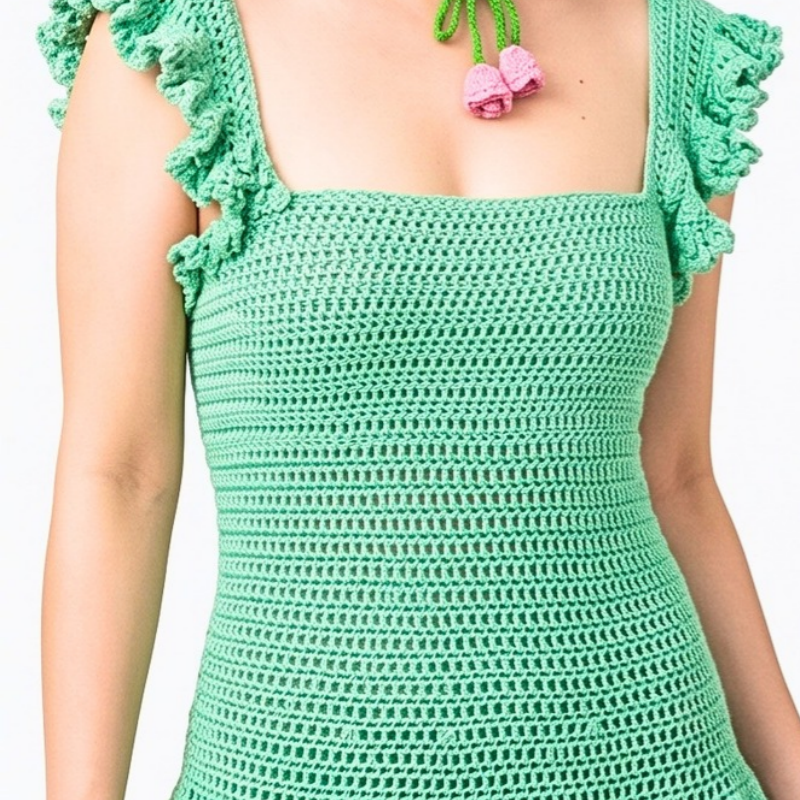
Create a flowing crochet ruffle dress with a fitted elasticized bodice, shaped waist and hips, layered skirt tiers, and optional flared sleeves.
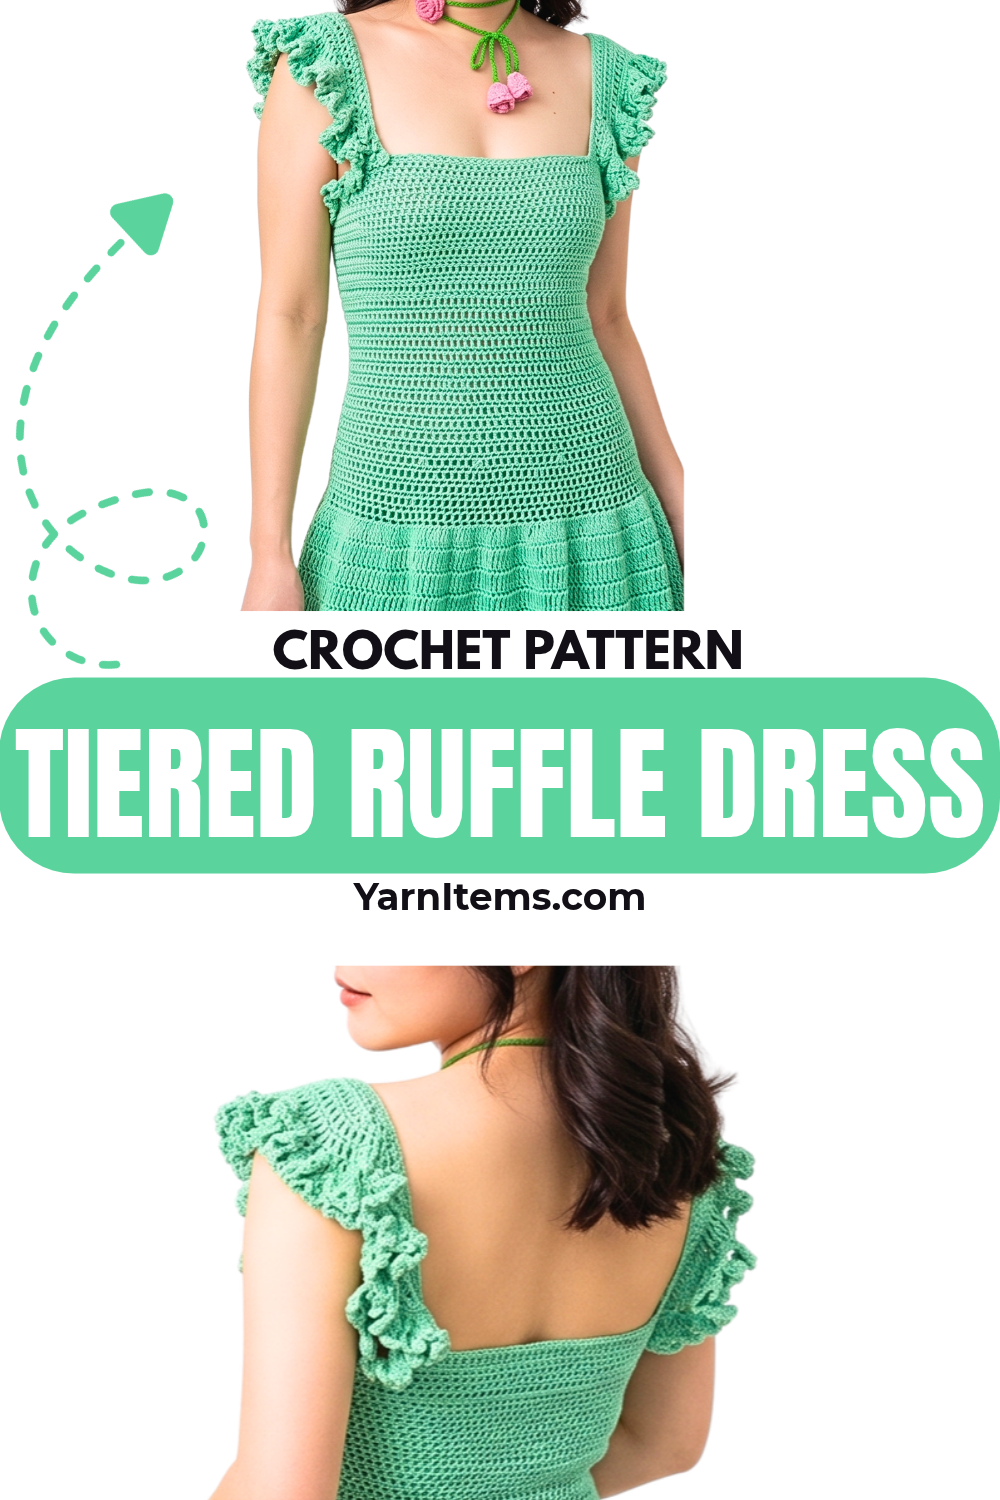
Romantic ruffles and a close-fitting bodice give this crochet dress its distinctive shape, while the tiered skirt opens into a soft, flowing silhouette. The elastic added inside the upper section helps the bust area sit securely, and the waist and hip shaping lets the crochet dress follow the body before the skirt begins to flare.
Starting at the bust makes the sizing easy to adjust from the very beginning, since the foundation chain is based on your own measurement rather than a fixed size. From there, the crochet pattern moves through HDC shaping, a DC waist and hip section, then several TR tiers with gathered ruffles; optional sleeves can be added afterward for a different finished look.
Credit Yaan_Vlogs
Materials & Tools
- 100% cotton yarn, DK weight (Size 2 Fine)
- 3.5 mm crochet hook for the main dress
- 2.5 mm crochet hook for adding elastic
- Elastic thread
- Stitch markers
- Darning needle
- Scissors
- Measuring tape
Before You Start: Choose Your Measurements
This dress begins at the top of the bust and is worked downward, so your bust measurement determines the starting chain. Measure around your bust without stretching the tape, then subtract approximately 1 to 1.5 inches because the yarn will stretch.
For example, the creator had a 32.5-inch bust and made a foundation chain measuring about 31 inches.
The torso length can also be changed. Add or remove DC rows at the waist before beginning the hip increases to move the skirt higher or lower on the body.
The same basic pattern can be adapted into a long dress with sleeves, a tube dress, or a long skirt.
Crochet Abbreviations
- CH – Chain
- SL ST – Slip Stitch
- SC – Single Crochet
- HDC – Half Double Crochet
- DC – Double Crochet
- TR – Treble Crochet
- INC – Increase
- DEC – Decrease
- BLO – Back Loop Only
- FLO – Front Loop Only
Step-by-Step Crochet Tiered Ruffle Dress Instructions
Crochet the Bust Area
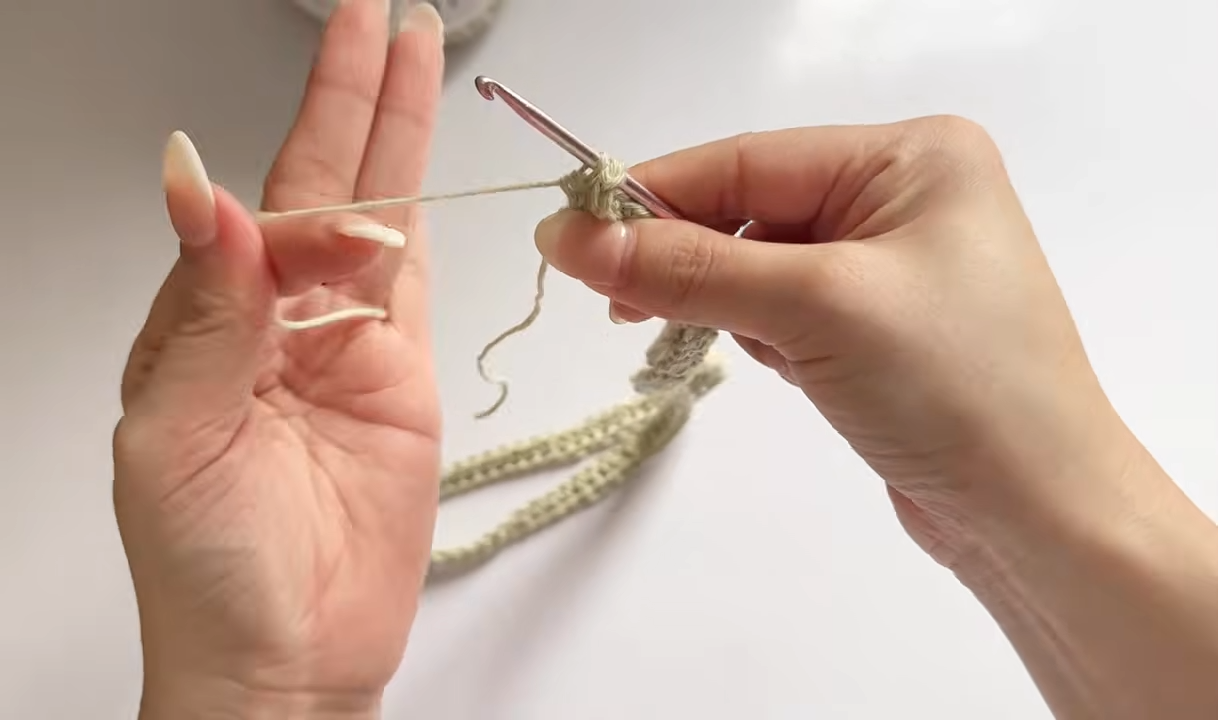
Make a slip knot and chain until the chain reaches your customized unstretched bust measurement. The creator made 121 chains.
Row 1: Skip the first chain, turn the foundation chain over, and work 1 HDC into the back loop (bump) of each chain across. Working into the back bump leaves neat V-stitches along both the top and bottom edges.
To join the row, remove the hook from the working loop, insert it into the very first HDC, pull the working loop through, then CH 2 to join the round. Turn your work.
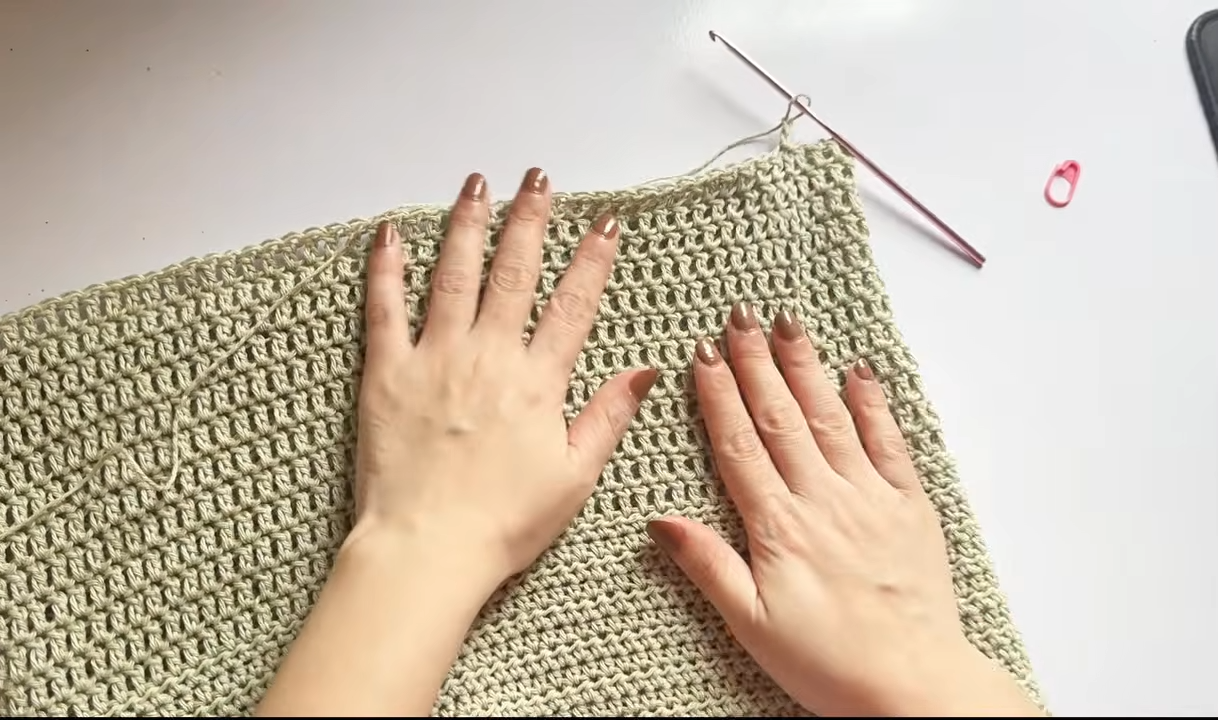
Rows 2-14: Work 1 HDC in every stitch around, adding enough rows to cover the bust area. The creator made 14 regular HDC rows.
Row 15 – Waist Decrease: Place 4 stitch markers at the decrease points, with 2 markers at the front and 2 at the back. Leave roughly 20 stitches between the two front markers. CH 2, turn, and work HDC decreases at the marked stitches, making a normal HDC between the two front markers. Continue HDC around, making the remaining decreases at the marked points. Join with a SL ST and CH 2.
Shape the Waist and Hips
Rows 16-27: Switch to DC and work 1 DC in every stitch around with no increases or decreases. Continue until the waist area reaches your desired length. The creator made 12 DC rows. Join with a SL ST and CH 2.
Row 28 – Hip Increase: DC in the next 10 stitches, then make 3 DC in the 11th stitch. Repeat from * to * around. Join with a SL ST and CH 2.
Rows 29-32: Work 1 DC in every stitch around until the hip or love-handle area is covered. The creator made 4 rows.
Build the Tiered Skirt
From this point onward, switch to TR.
Row 33 – Layer 1 Flare: CH 3. Make 2 TR in the first stitch, then 3 TR in the second stitch. Repeat from * to * around to create the pleated flare. Join with a SL ST.
Rows 34–38 – Layer 1 Length: CH 3 and make 1 TR in every stitch around. Complete 5 rows of regular TR, giving the first layer a total of 6 TR rows including the flare row.
Add the First Ruffle
Ruffle: CH 3, then work in the FLO. Make 3 TR in every FLO around.
For a fuller finish, Optional Ruffle Finish: CH 3, SL ST back into the same stitch, then SL ST into the next stitch, CH 3, SL ST in the same stitch. Repeat around, then cut and tie off the yarn.
Begin the Next Tier
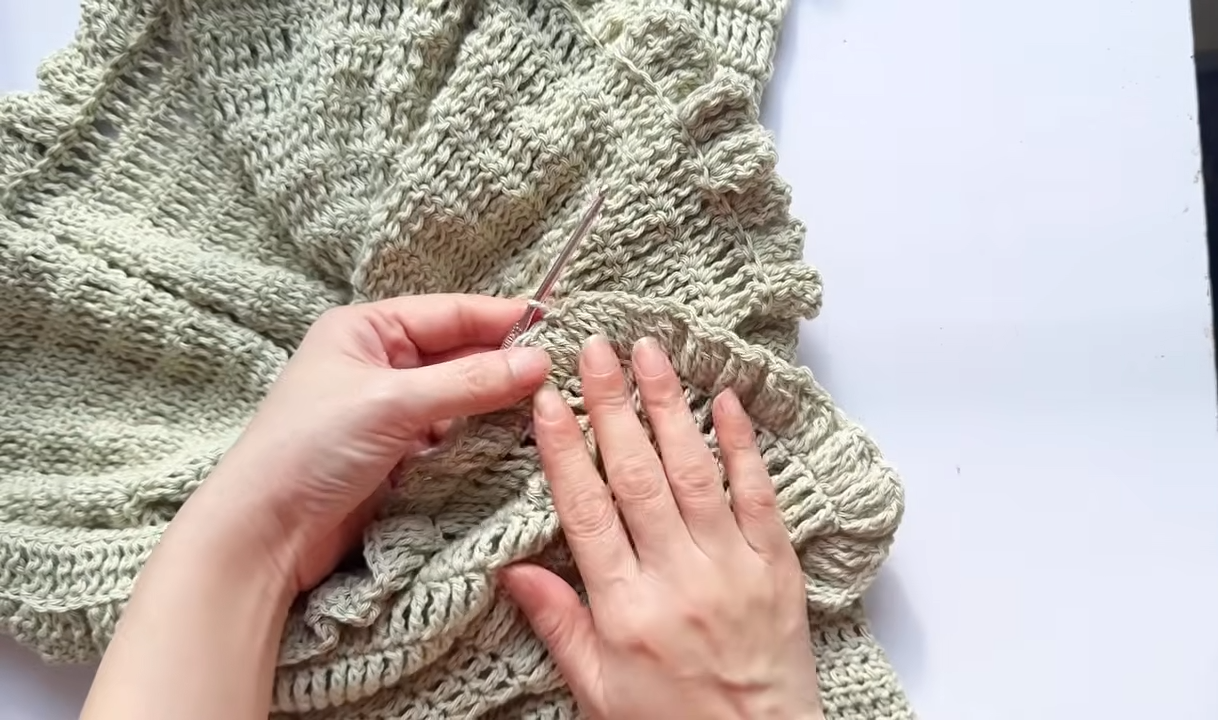
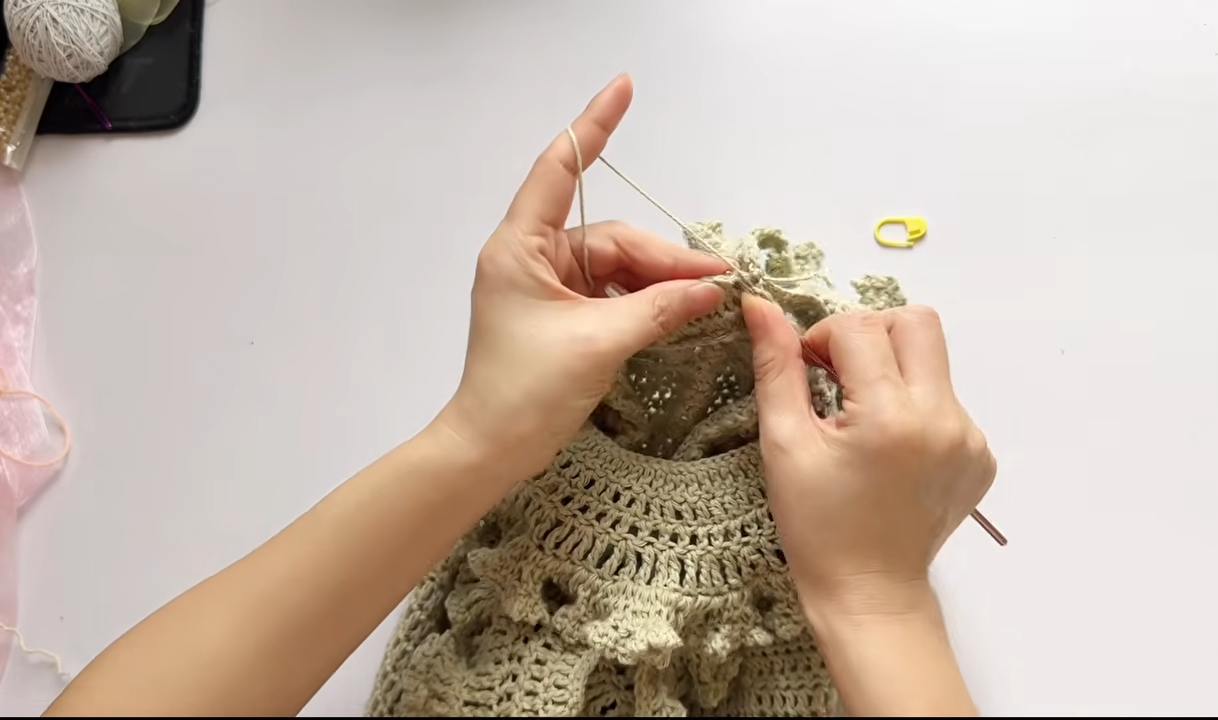
Return to the exposed V-stitches left from working the previous ruffle.
Layer 2 Attachment: Attach the yarn to the BLO with a SL ST and CH 3. Work 1 TR in every BLO around.
Following Tier Rows: After the attachment row, work 5 more rows of regular TR through both loops, then repeat the ruffle instructions. Continue adding tiers in the same manner until the dress reaches your desired length.
Finish the Top Edge and Add Elastic
Top Edge: Reattach the yarn to the top foundation edge and work 1 row of HDC all the way around to neaten the upper edge.
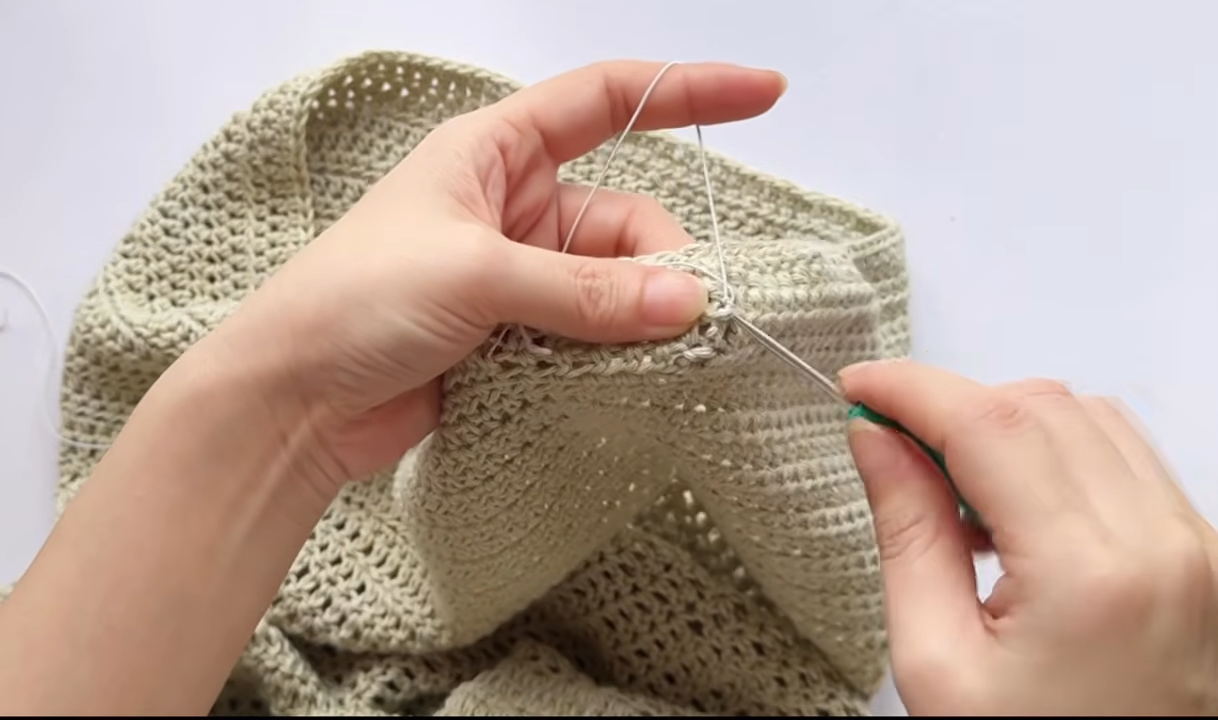
Turn the dress inside out and switch to the 2.5 mm hook for the elastic.
Elastic Row: Tie a slip knot with the elastic thread and attach it to a corner stitch on the inside. Skip 1 stitch, move to the next stitch, pull the elastic over, and make a SL ST. Repeat around, keeping the elastic tension tight and even.
Optional Additional Elastic Rows: Skip 2 rows down the bodice and repeat the elastic slip-stitching on the third row. Continue with the same spacing throughout the tube-top area to create a snugger fit.
Teaching Guide: Keep the Shape Clear as You Work
The dress changes stitch height and width several times, so keeping track of where the shaping changes happen is especially important. The bust begins with HDC, the waist uses DC without shaping, and the hip section introduces increases before the skirt switches to TR.
The four marked points in the waist decrease row control where the bodice becomes narrower. Keep those markers in place while working the decrease row so the shaping remains distributed between the front and back.
Once the skirt begins, the exposed V-stitches are important because they provide the attachment point for the next tier. When the first ruffle is made through the FLO, the unused loops remain visible for the following layer. Attach the next tier specifically to those exposed BLO stitches rather than working into the ruffle itself.
For the elastic, work from the inside of the dress and keep the elastic tension consistent as you make each slip stitch. Uneven tension can change how securely the upper section sits, so avoid pulling some sections significantly tighter than others.
Optional Crochet Sleeves
If you want sleeves, first measure the armhole. The creator measured a 15-inch armhole and made a 56-chain foundation.
Sleeve Foundation: Chain the amount needed to match your armhole measurement and join the chain to form a circle.
Sleeve Rows 1–3: Work 3 rows of regular DC around.
Sleeve Flare Row: Work 1 TR in the first stitch, 2 TR in the next stitch, and repeat around.
Sleeve Ruffle Row: Make 2 TR in one stitch, then 3 TR in the next stitch. Repeat around to create the final ruffle. Make the second sleeve in the same way.
A Simple Tier-Length Check
Before adding another tier, check the dress against the intended finished length. The first tier begins after the hip section, and each additional tier adds both regular TR rows and a ruffled edge.
If you want a shorter dress, stop after the desired number of tiers. For a longer version, continue adding tiers using the same attachment, five-row TR section, and ruffle sequence. This lets the overall skirt length change without altering the fitted upper portion.
Attach the Sleeves
Lay the dress flat and locate the middle side points. Use stitch markers to mark the armhole opening; the creator used approximately 10 stitches on the front and 10 stitches on the back from the center point.
Place the sleeve edge against the marked armhole section.
Sleeve Attachment: Working from the inside, make a slip knot and pull the yarn through both the sleeve and dress layers. CH 1.
Seaming: Work SC or SL ST through both pieces across the marked section to secure the sleeve. Tie off securely.
Repeat the same process for the second sleeve, making sure its placement matches the first one.
Use a darning needle to weave in all loose ends, then trim the excess yarn.
Finishing and Styling
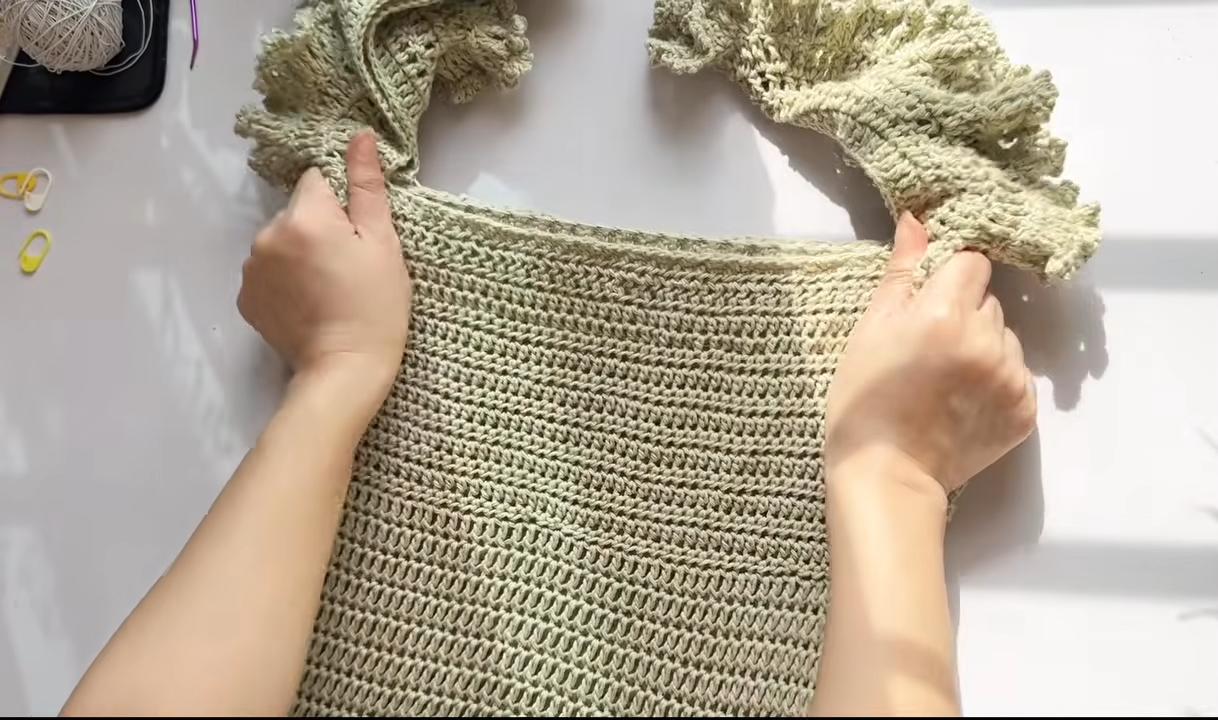
The finished dress can be worn with or without sleeves. Leaving the sleeves off gives it a tube-dress shape, while additional skirt tiers allow the length to extend into a longer silhouette.
The same basic form can also be used as a long skirt. For the torso, adjust the number of DC rows at the waist before beginning the hip increases, and continue the tiered skirt until the desired length is reached.
The elasticized upper section provides the close fit, while the increases and repeated TR tiers create the flowing lower shape.