This simple top-down raglan crochet sweater is an easy, customizable pullover that’s worked in one piece and perfect for everyday wear, layering, and comfy handmade style.

A raglan crochet sweater is a cozy and stylish piece of clothing made entirely by hand. Perfect for almost any occasion, its timeless design and soft texture make it a wonderful addition to your wardrobe. If you wear it to stay warm during chilly days or simply as a comfortable everyday outfit, this sweater shows the charm of handmade items practically.
Raglan Crochet Sweater Guide for Beginners
This sweater pattern is simple yet creative, making it a great choice for beginners and advanced crocheters alike. You don’t need to worry about complex details; it’s designed to be straightforward, ensuring you enjoy every step of the process. What makes this sweater stand out is the raglan style, which creates a seamless shape that fits beautifully and feels comfortable on the shoulders.
Credit Brenda DIY
Key Features and Construction:
- Worked from the top down for a completely seamless design, starting with the neckline.
- Includes strategic raglan increases at four points to shape the shoulders beautifully.
- Divide arms and body early on, making it easy to adjust the fit as you go.
- Simple stitch patterns (like double crochet or half double crochet) create clean, stretchy fabric for all levels of crocheters.
- Finish off with optional ribbing and blocking for a polished, professional look.
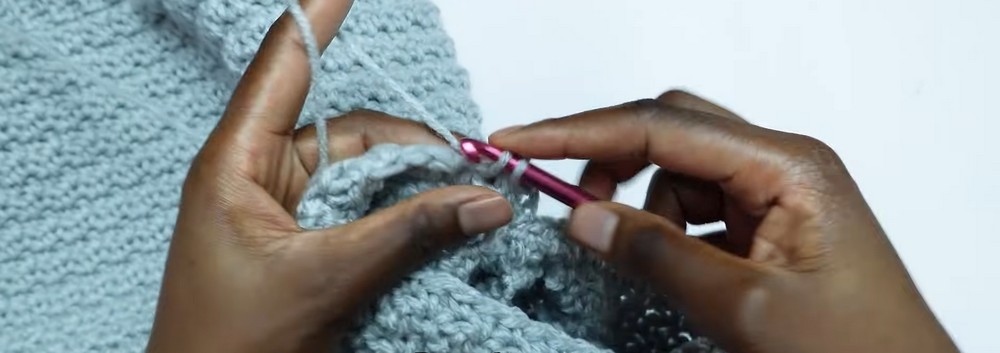
Creating this sweater begins with a foundation chain that shapes the neckline. Using a simple slip stitch, you’ll join the chain to form a ring and work your first row in double crochet (dc). At four evenly spaced points—typically marking the shoulders and front/back—you’ll place stitch markers to guide your raglan increases. By working 2 dc into each marked stitch on every other row, the sweater takes on its signature raglan shape while remaining stretchy and comfortable.

As the yoke grows, you’ll periodically check the fit to ensure it sits comfortably across your shoulders. Once the yoke is complete, the sleeves and body are divided. The sleeve sections are placed on hold using stitch markers or scrap yarn, while the body is joined under the armholes with just a few chains—completing the transition is seamless and stress-free!

From there, the body is worked in the round with basic stitches, allowing crocheters to try on their pattern as they go. This makes it easy to adjust the length for a cropped, standard, or extended tunic style. Similarly, the sleeves—picked back up and worked in the round—can be customized for a snug tapered fit or a relaxed, loose drape. Ribbing is optional but highly recommended to create a clean, professional finish around the cuffs, hem, and neckline.
Finally, a few finishing touches—like weaving in ends and blocking—will elevate your sweater to perfection. Blocking is especially useful for smoothing out the stitches and ensuring the sweater fits just right!

Video Tutorial
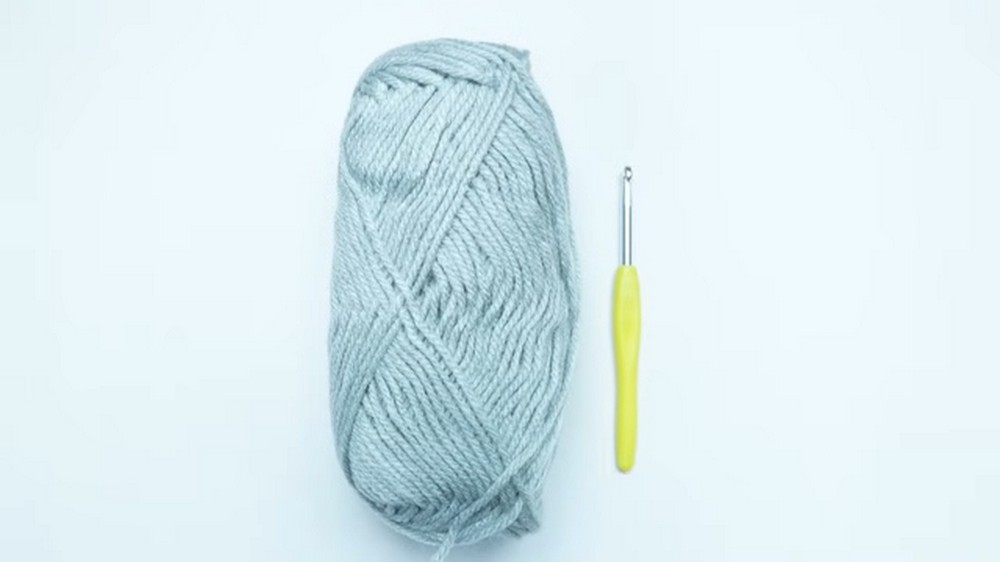
Materials
For this pattern, you will need:
- Yarn: Worsted weight yarn (amount will vary depending on size)
- Crochet hook: Size H-8 (5.0 mm) or size needed to obtain gauge
- Stitch markers
- Tapestry needle
- Scissors
Detailed Pattern Instructions
- Begin the Yoke:
-
- Start with a foundation chain (ch) that fits around the neckline.
- Join with a slip stitch (sl st) to form a ring.
- Work double crochet (dc) in each stitch around, placing stitch markers where you will increase for the raglan (one marker at each shoulder and front/back).
- Raglan Increases:
-
- Increase at each marker on every other row by working 2 dc into the marked stitch.
- Continue increasing until the yoke fits comfortably around your shoulders.
- Divide for Body and Sleeves:
-
- Place sleeves on hold with stitch markers or scrap yarn.
- Join the body under the armholes with a chain to connect the front and back sections.
- Work the Body:
- Continue working in rounds, using your chosen stitch pattern (e.g., dc, hdc).
- Make sure to try on as you go to achieve the desired length.
- Sleeves:
-
- Transfer the arm stitches back onto your hook.
- Work in rounds, decreasing slightly if you prefer a tapered sleeve.
- Finish with ribbing if desired.
- Finishing Touches:
- Weave in ends with a tapestry needle.
- Block the sweater for a professional finish.
Troubleshooting and Suggestions:
- Troubleshooting:
- Struggling with raglan increases? Make sure to use stitch markers to keep track of your increase points—they’re vital to maintaining symmetry in your sweater.
- If the neckline feels loose or tight, adjust the foundation chain size before starting again. Keeping a flexible foundation stitch (e.g., using a chainless foundation dc) can also help.
- Uneven tension in the yoke? Practice your double crochets to ensure consistent stitching, as pressure differences can create wavy or uneven rows.
- Suggestions:
- Experiment with color! Use gradient or variegated yarn for visual interest, or add stripes to make a bold fashion statement.
- Add texture to your sweater’s body or sleeves by replacing basic dc rows with sections of puff stitches, shells, or bobble patterns for more dimension.
- For cold-weather coziness, use bulky yarn—or switch to lightweight cotton for a breezy, summer sweater.
- Want a unique neckline? Try adding a turtleneck or cowl collar instead of a simple rounded edge.