Crochet Star-Shaped Baby Sleeping Bag Pattern
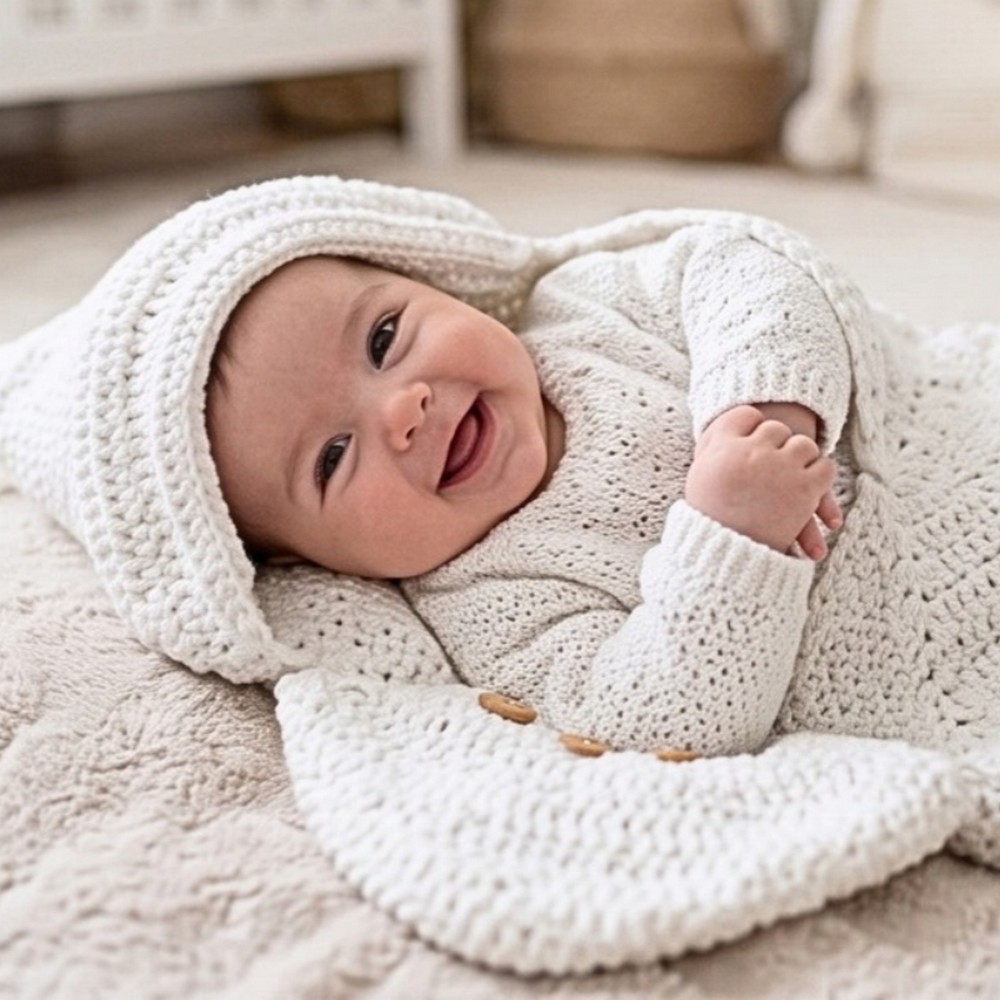
Wrap a little one in a cozy five-point star sleeping crochet bag with a shaped hood, buttoned flaps, and a playful silhouette made for chilly days.
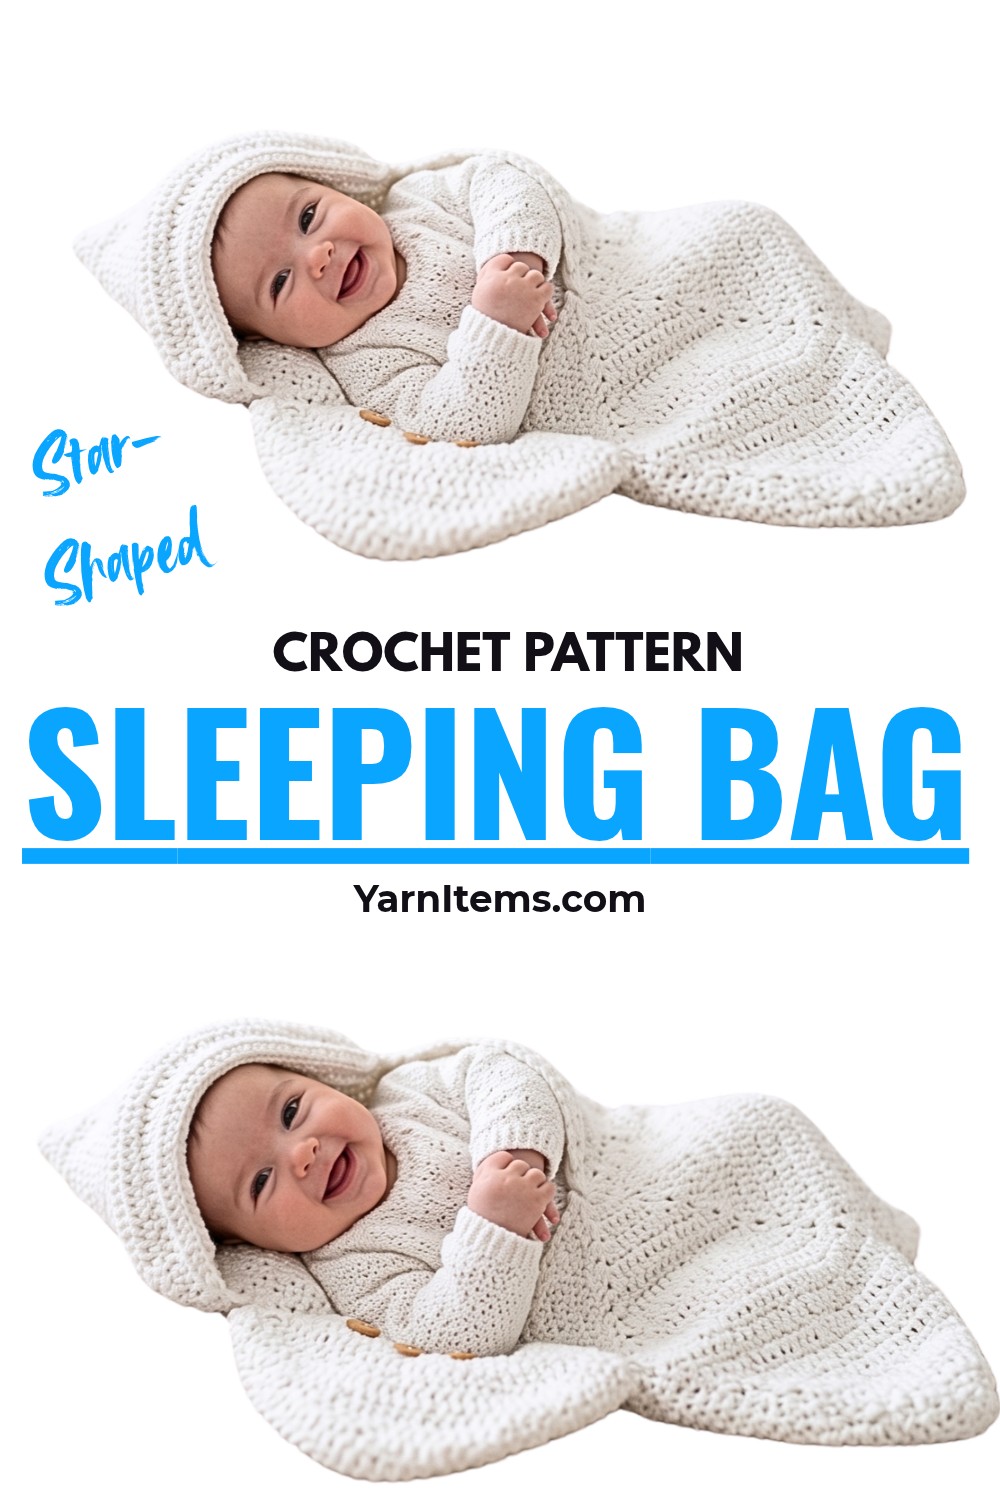
Soft baby yarn takes on a charming new shape in this star-inspired sleeping crochet bag. Instead of a conventional rectangular wrap, the main piece spreads into five points, giving the finished crochet design its distinctive silhouette while creating a roomy layer around the baby.
The pattern uses double crochet increases to build the main star, followed by separately shaped points and a second star piece for the hood and closure flaps. You can also change the yarn colors, hook size, and decorative buttons to give the finished sleeping bag a different look or adjust its scale slightly.
Credit Little Apple
Understand the Shape
This sleeping bag is made from two main star pieces rather than one continuous flat shape.
The first is the five-point star base, which establishes the main body. Each point is then shaped individually to define the star outline.
A second, smaller three-point star is used for the upper hood area and the closure flaps. Understanding this arrangement before crocheting helps make the later joining steps much easier to follow.
The finished size is described as a standard newborn/baby star-shaped sleeping bag. For a larger or smaller fit, the supplied instructions suggest adjusting the yarn weight or hook size slightly rather than changing the stitch sequence.
Materials & Tools Needed
- Yarn: Soft baby-friendly yarn; worsted weight or light chunky yarn is recommended for warmth.
- Crochet Hook: Appropriate size for the chosen yarn, typically US H/8 (5.0 mm) or I/9 (5.5 mm).
- Tapestry Needle: For weaving in ends and finishing.
- Stitch Markers: Useful for keeping track of sections.
- Measuring Tape: For checking dimensions.
- Buttons: Decorative buttons for the closure flaps.
Pattern Terms
- ch = chain
- sl st = slip stitch
- sc = single crochet
- dc = double crochet
- inc = increase; work [1 dc, 2 ch, 1 dc] into the same space or stitch
- dec = decrease; work 2 stitches together
- BLO = back loop only
Build the Five-Point Star Base
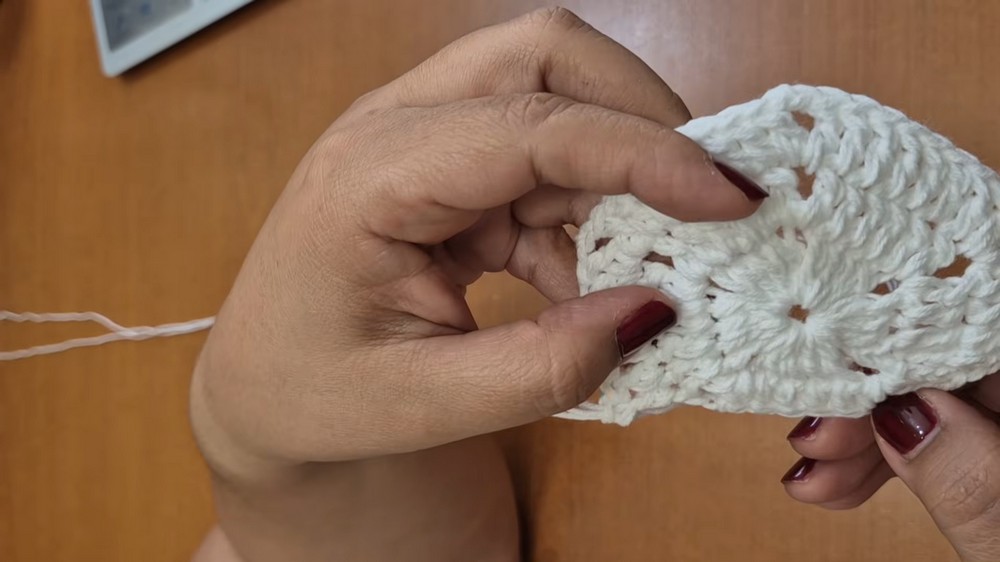
The first section establishes the large five-point shape. The important feature here is the repeated 2-chain space at every point. Those spaces become the locations for the increases that make each point grow outward.
Main Star
Round 1: Start with a magic ring. Rise with 3 ch, work 3 dc into the ring, then work 2 ch for separation. Repeat this sequence (4 dc with 2 ch separating each set) 4 more times, giving a total of 5 sets of pillars/points. Pull the main tail to close the magic ring tightly, then join with a sl st to the starting chain, making sure not to omit the 2-chain separation spaces.
Teaching check: Before moving on, look around the center and confirm that five point sections have been created and that each one has its own 2-chain space. These spaces are essential for the increases that follow.
Round 2: Rise with 3 ch. Work 1 dc in each stitch across. In the 2-chain center space of each point, work the increase: [1 dc, 2 ch, 1 dc]. Continue working dc in each stitch and the point increases all the way around the circle, then join with a sl st.
Round 3: Rise with 3 ch. Work dc across the side stitches as the stitch count increases each round. In the 2-chain space of each point, work the increase: [1 dc, 2 ch, 1 dc]. Continue around and join with a sl st.
Rounds 4-12: Continue following this exact increasing pattern for a total of 12 identical rounds. Each round increases the stitch count along the sides while always working the [1 dc, 2 ch, 1 dc] increase in the 2-chain space. Cut and fasten off the yarn.
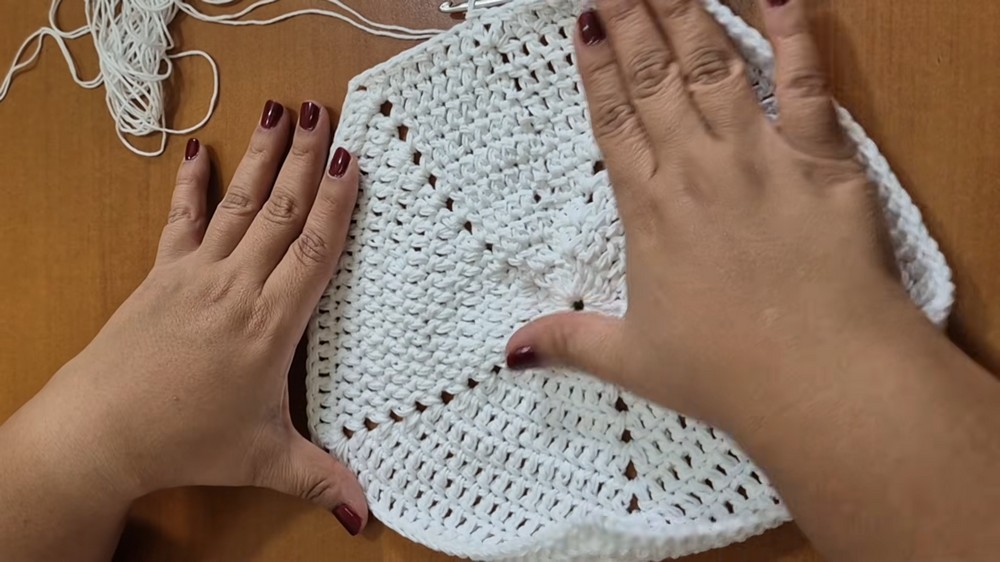
Watch the Five Points Grow
The sides become wider with each increasing round, while the 2-chain spaces continue to mark the five points. If the piece starts losing its star-like outline, check the point spaces first rather than changing your tension or adding stitches elsewhere.
Keeping the five-point sections consistent is more important here than simply looking at the overall size after one round.
Shape Each Star Point
Once the main star has reached Round 12, the five points are worked individually. This changes the broad star base into more defined triangular sections.
Row 1 (Base of each point): Working along each point edge separately, establish a base of 16 double crochets across to form the triangle base.
Row 2: Rise with 3 ch, work 2 partial double crochets together as a decrease at the beginning of the point. Continue crocheting the dc stitches until 2 stitches remain before the end of the row, then work a final decrease.
Rows 3-7: Continue the same shaping pattern, beginning each row with a decrease and ending each row with a decrease through Row 7.
Keep the Point Centered
The decreases at both ends gradually narrow the 16-dc base into the point. Rather than concentrating only on the stitch count, watch the sides of the triangle as they taper.
The goal at this stage is a point that narrows evenly from both sides. If one side looks steeper than the other, check the placement of the beginning and ending decreases before continuing.
Define the Star Border
After all five points have been completed, work one round of single crochet around the entire perimeter.
At the corners or tips of the points, work increases to help the border turn smoothly while maintaining the star shape. Finish the round at the bottom with a sl st.
The border gives the individual points a clearer outline and helps stabilize the outer edge before the two larger pieces are joined.
Form the Three-Point Star Piece
The second main piece uses only three points. It is not simply another copy of the five-point base; its reduced shape is used to create the upper hood and the closure sections of the sleeping bag.
Three-Point Star Foundation
Make the second star piece using the same general star-building idea, but work 3 points instead of 5.
The purpose of this smaller configuration is structural: the piece will combine with the five-point base to form the baby’s hood and the button-closure flaps.
Shape the Hood
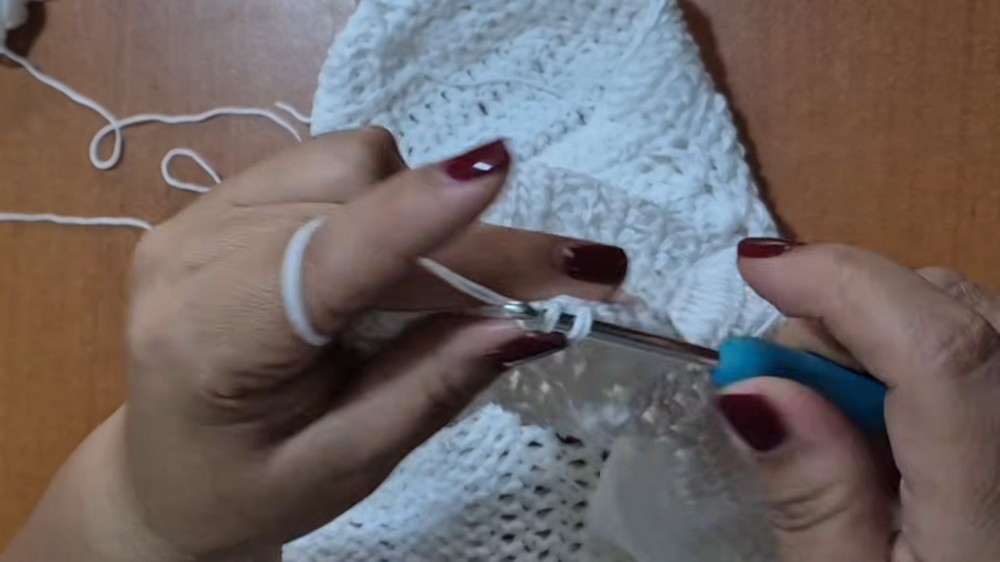
On the base of the top point, work 3 rows of double crochet around the point. This causes the fabric to pull inward and begin forming the hood around the baby’s head.
Row 4: Work 6 dc at the beginning, then work a decrease. Continue the 6 dc, 1 dec shaping pattern around the corner to snugly shape the head space.
Keep the working round ending at the base where the 2-chain spaces are located so the hood remains closed rather than spreading outward.
Rows 4-9: Continue the hood-shaping sequence through Rows 4–6 and 7–9 as designated in the source tutorial.
Pattern note: The supplied instructions refer to the on-screen tutorial for the exact details of Rows 4–9 beyond the stated shaping information. No additional stitch counts or row sequence have been added here because those details were not provided in the supplied pattern.
Shape the Closure Flaps
Work the remaining points in a similar manner, but make the final rows longer because these sections will become the flaps that wrap over the sleeping bag.
Fasten off and weave in the yarn ends.
The longer flap sections are what allow the finished sleeping bag to overlap at the closure area rather than leaving the lower opening completely exposed.
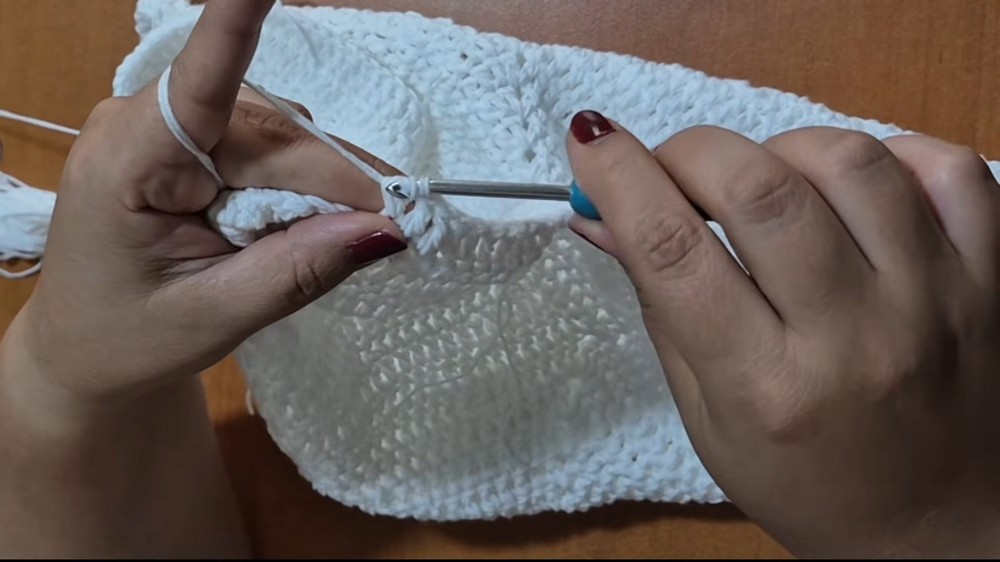
Join the Two Star Pieces
Before joining, make sure both the five-point and three-point star pieces have their single-crochet borders completed around their edges.
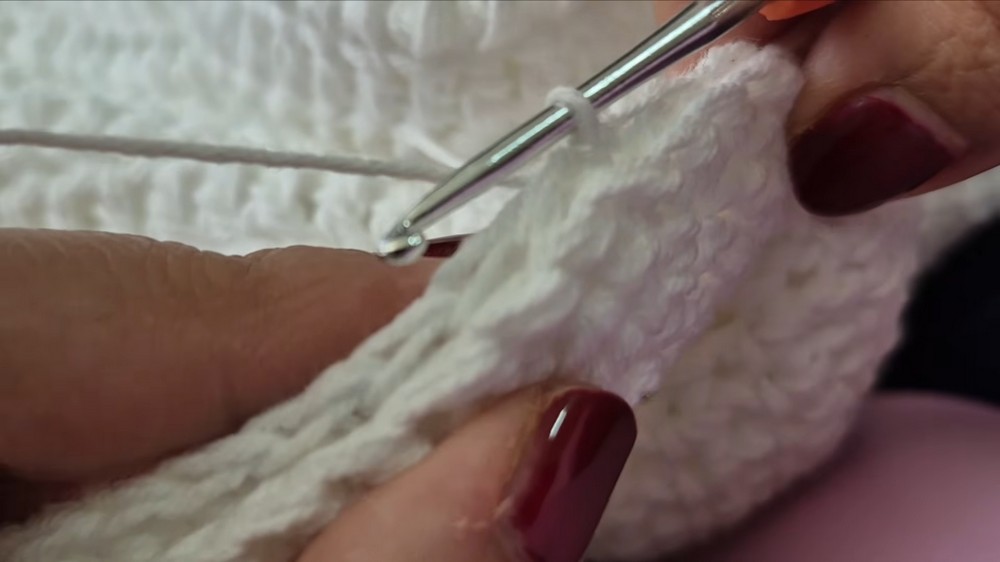
Place the pieces together with wrong sides facing. Join the remaining open points and edges using slip stitches through the back loops only (BLO) along the outer border.
Working through the back loops keeps the joining line more defined while connecting the two shaped pieces.
Add the Button Closures
Attach the chosen decorative buttons securely to the wraparound closure flaps.
Wooden or animal-themed buttons can add a playful touch, while a contrasting button color can make the closure more noticeable against the yarn.
Because this is a baby item, make sure any buttons or other attached decorations are securely fastened and appropriate for the intended use.
Customize the Finished Look
Color is one of the easiest ways to change the personality of this sleeping bag. Multi-colored or self-striping yarn can create a lively effect without changing the basic crochet instructions.
For size adjustments, the supplied guidance suggests changing the hook size or yarn weight slightly for a larger or smaller fit. Keep in mind that changing either can affect the final dimensions and fabric feel, so checking the size as you work is useful.
Decorative buttons provide another simple variation. Wooden, animal-themed, or other playful designs can make the closure flaps stand out while keeping the overall star shape as the main feature.
Finishing Check
Before using the sleeping bag, look over the completed star and check that the five main points hold their shape, the border lies neatly around the perimeter, and the hood and closure flaps sit in their intended positions.
Check the joining stitches and button attachments carefully as well, particularly because this design is intended for a baby.