Crochet Butterfly Granny Square Pocket Scarf Pattern
Nothing catches the eye quite like a scarf that blends beauty with everyday function. This Crochet Butterfly Granny Square Pocket Scarf features elegant butterfly granny squares that bring a delicate handmade touch to each pocket.
Its cozy design keeps you warm while adding charm to any outfit throughout the cooler seasons. Every detail creates a crochet piece that feels both stylish and practical.
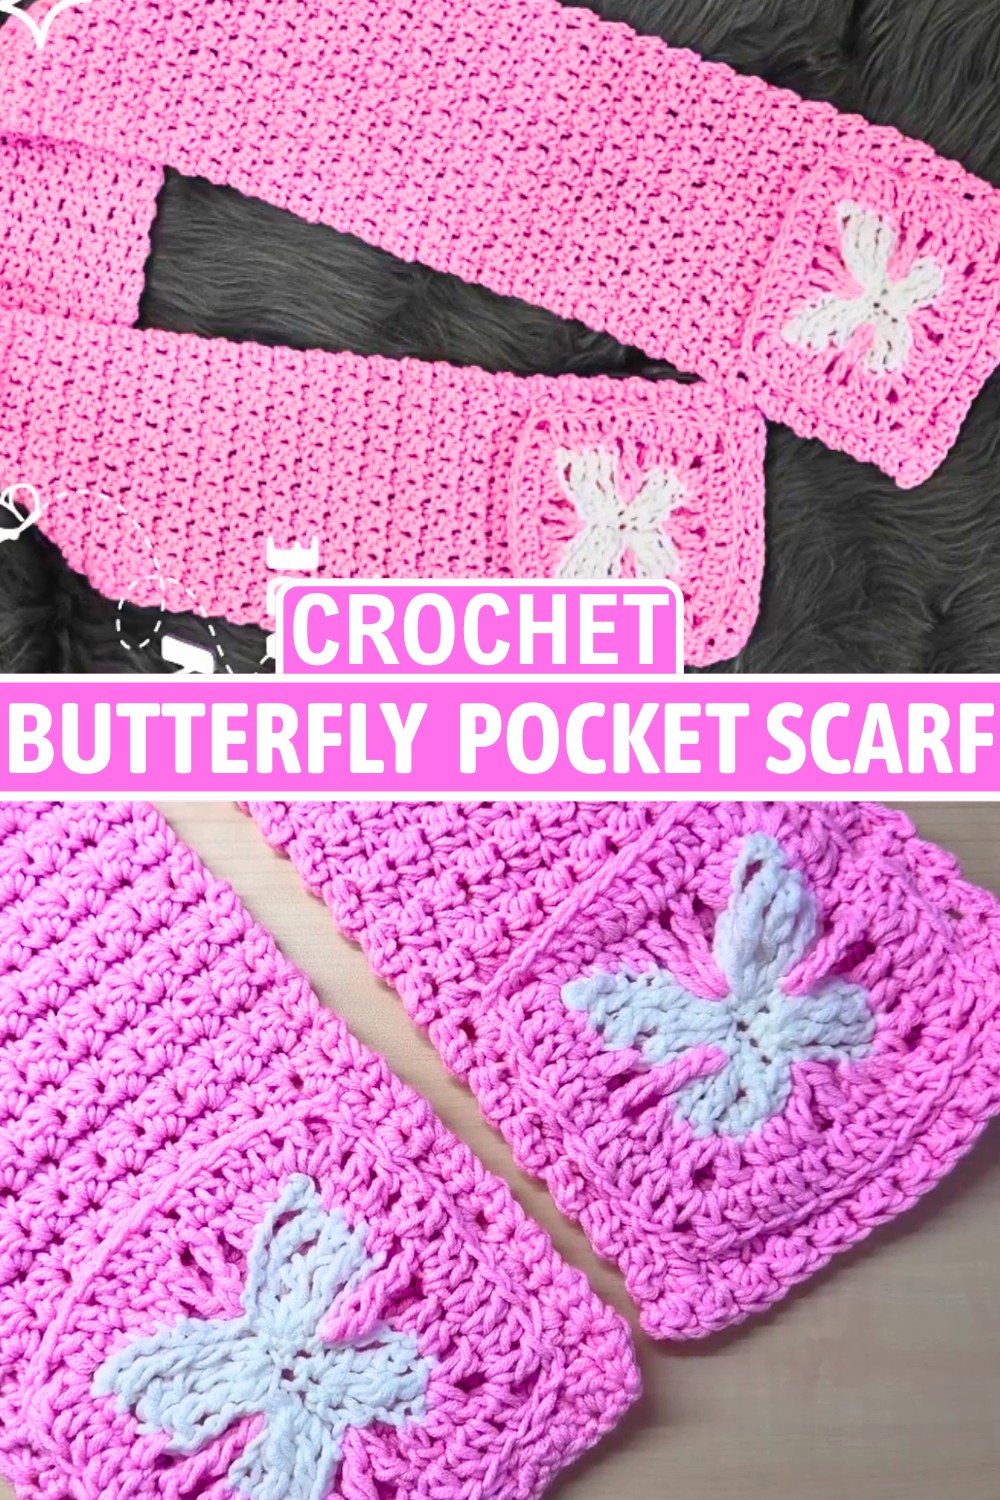
A thoughtful crocheted design can turn a simple accessory into something truly special. The roomy pockets provide a handy place for small essentials like tissues, lip balm, or other little items you like to keep close.
You can easily adjust the length and width to create a comfortable fit that suits your style. The graceful butterfly accents give the finished crochet piece a unique look that makes it wonderful for personal use or as a heartfelt handmade gift.
Credit Handmade by Appy
Materials & Tools Needed
- Yarn: Worsted weight acrylic yarn in two colors (details in the video’s description box).
- Hook Size: 5.5mm crochet hook.
- Other Tools:
- Stitch markers
- Scissors
- Tapestry needle for weaving in ends
Finished Size & Customization Ideas
- Finished Scarf Size: Approximately 53 inches long (for a child size, adjust as necessary for adults or other preferences).
- Pocket Size: Based on the butterfly granny square dimensions. Can be adjusted by altering the stitch count in the scarf instructions.
- Customization Ideas:
- Use a gradient yarn for a dynamic look.
- Add fringe to the scarf edges.
- Adjust overall scarf width by adding or reducing chains.
Pattern Note
Skill Level
Intermediate
- Familiarity with advanced stitches like double treble and triple treble is required.
Specific Notes
- Right Side of Butterfly Square
- Ensure that picots face upwards for the correct orientation.
- Stitch Markers
- Use stitch markers to identify the first and last stitches.
- This improves visibility and helps ensure accuracy, particularly when working on the butterfly square section.
Pattern Abbreviations & Terminology
- ch: Chain
- sc: Single Crochet
- hdc: Half Double Crochet
- dc: Double Crochet
- tr: Treble Crochet
- dtr: Double Treble Crochet
- ttr: Triple Treble Crochet
- sl st: Slip Stitch
- picot: Chain 3, slip stitch in the third chain from the hook
- Terminology: US Crochet Terms
Tips Before You Start
1. Gauge
- Achieve consistent tension to ensure:
- A neat butterfly granny square.
- Uniform scarf length throughout the pattern.
Practice Advanced Stitches
- If unfamiliar with stitches like double treble (dtr) and triple treble (ttr):
- Practice on a swatch to gain confidence before starting the pattern.
Color Management
- Choose contrasting colors for the butterfly and the base.
- This makes the butterfly design stand out clearly.
Butterfly Shape Maintenance
- Use stitch markers to:
- Highlight key stitches during the shaping of the butterfly wings.
- Maintain precision in the design.
Step-by-Step Detailed Crochet Instructions
Butterfly Granny Square
Round 1: Butterfly Base
- Make a slip knot.
- Chain 5 (ch 5). Skip the first chain and make 1 single crochet (sc) into each of the next 4 chains. (4 sc)
- Chain 4 (ch 4). Turn your work.
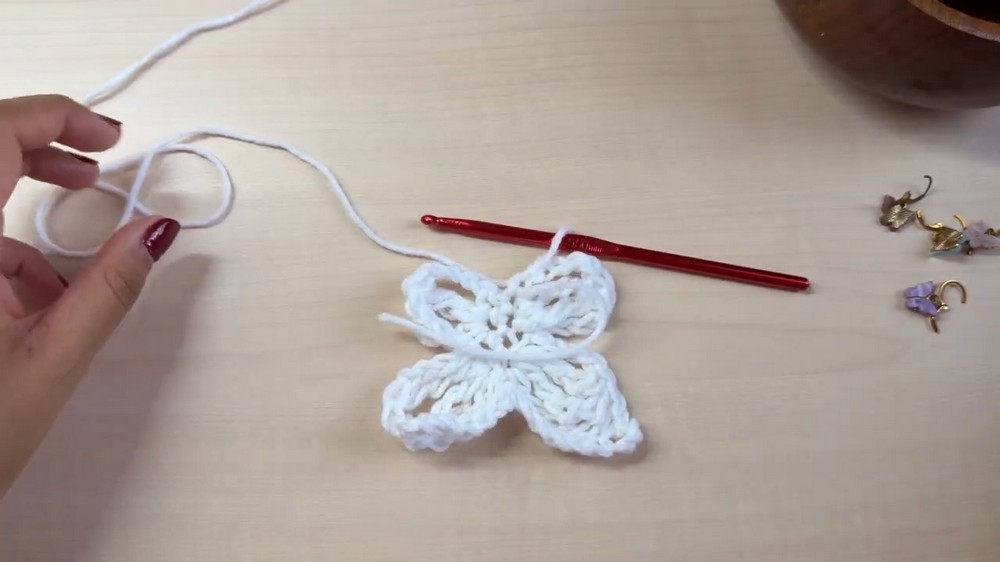
Round 2: Butterfly Wings (First Side)
4. Work into the 4 stitches from Round 1 and then around:
- Mark your 4 stitches using stitch markers to avoid confusion.
- In the second sc, make:
- 2 double treble (dtr) stitches (yarn over 3 times before inserting the hook and complete as shown in the description).
- Chain 4 (ch 4). Slip stitch (sl st) into the next sc.
- In the third sc, work:
- Chain 4 (ch 4), 1 double treble (dtr), 2 triple treble (ttr) stitches.
- Create:
- A picot (ch 3, slip stitch in the 3rd chain from the hook).
- Chain 6 (ch 6), slip stitch into the center space between stitches.
- Chain 6 (ch 6) and create another picot (same method).
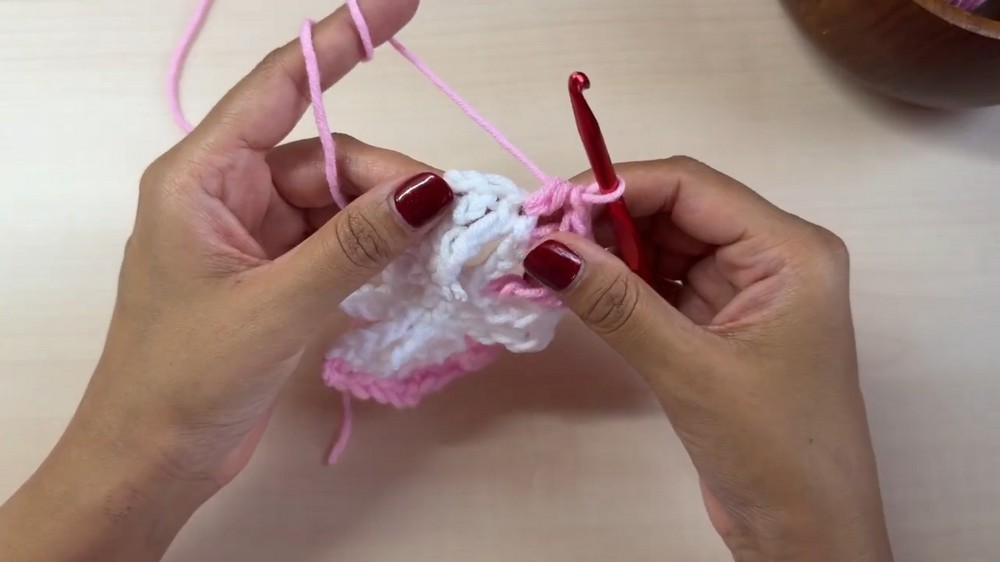
Round 3: Butterfly Wings (Second Side)
8. Work into the first sc:
- 2 triple trebles (ttr), 1 double treble (dtr), chain 4 (ch 4), slip stitch (sl st) into the next sc.
- In the second sc:
- Chain 4 (ch 4), 2 double trebles (dtr). Slip stitch into the first sc to complete the butterfly shape.
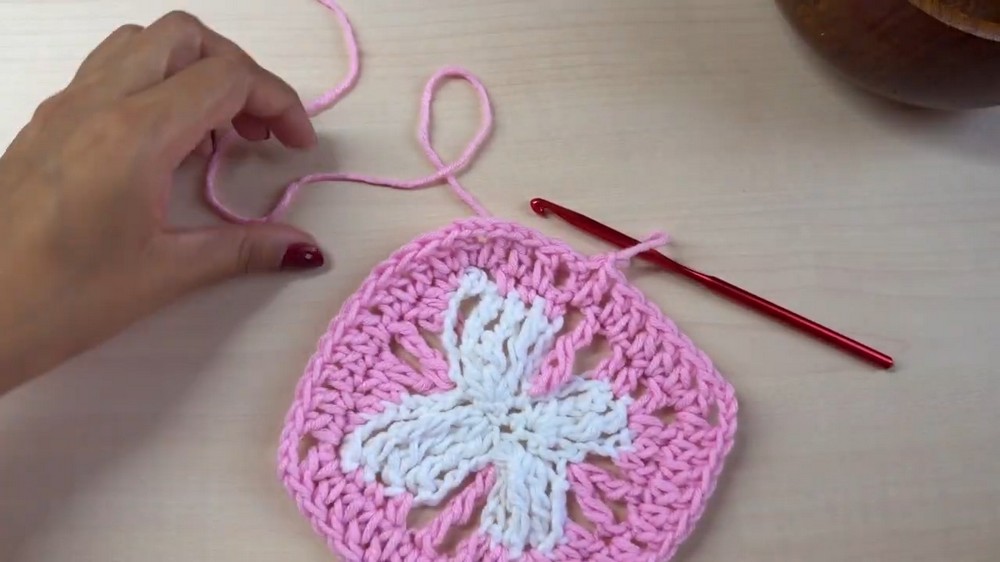
Color Change: Adding Background
10. Attach the new yarn to the first stitch after the chain-4 space.
– Chain 2 (ch 2), work single crochet (sc) in the next stitches. Alternate as follows:
– Chain 3, half double crochet (hdc), double crochet (dc), treble (tr), and triple crochet (ttr) in the center space to shape the square.
11. Repeat these steps for the second half of the butterfly to complete the square. Slip stitch to fasten off and weave in ends.
Scarf Section
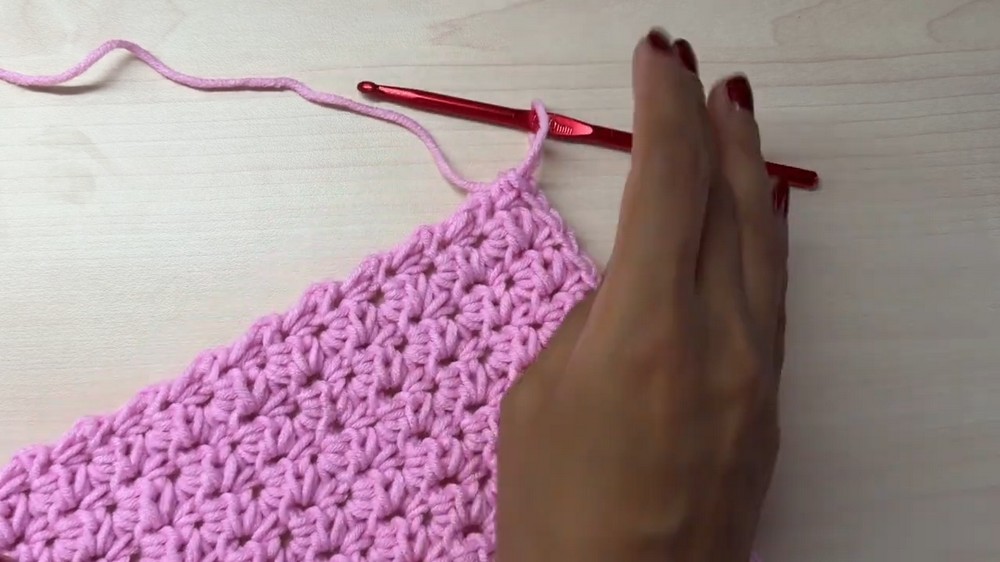
- Start with an even number of chains based on your desired scarf width.
- For reference, the tutorial starts with 22 chains.
- Skip the first chain. In the second chain and every other chain:
- Work a single crochet (sc) and a half double crochet (hdc) together.
- Skip the next chain. Repeat until the end of the row.
- Chain 1, turn, and repeat the pattern:
- Skip the first stitch, work a sc and hdc into the next stitch.
- Continue this row pattern until the scarf reaches the desired length (e.g., 53 inches).
Assembly
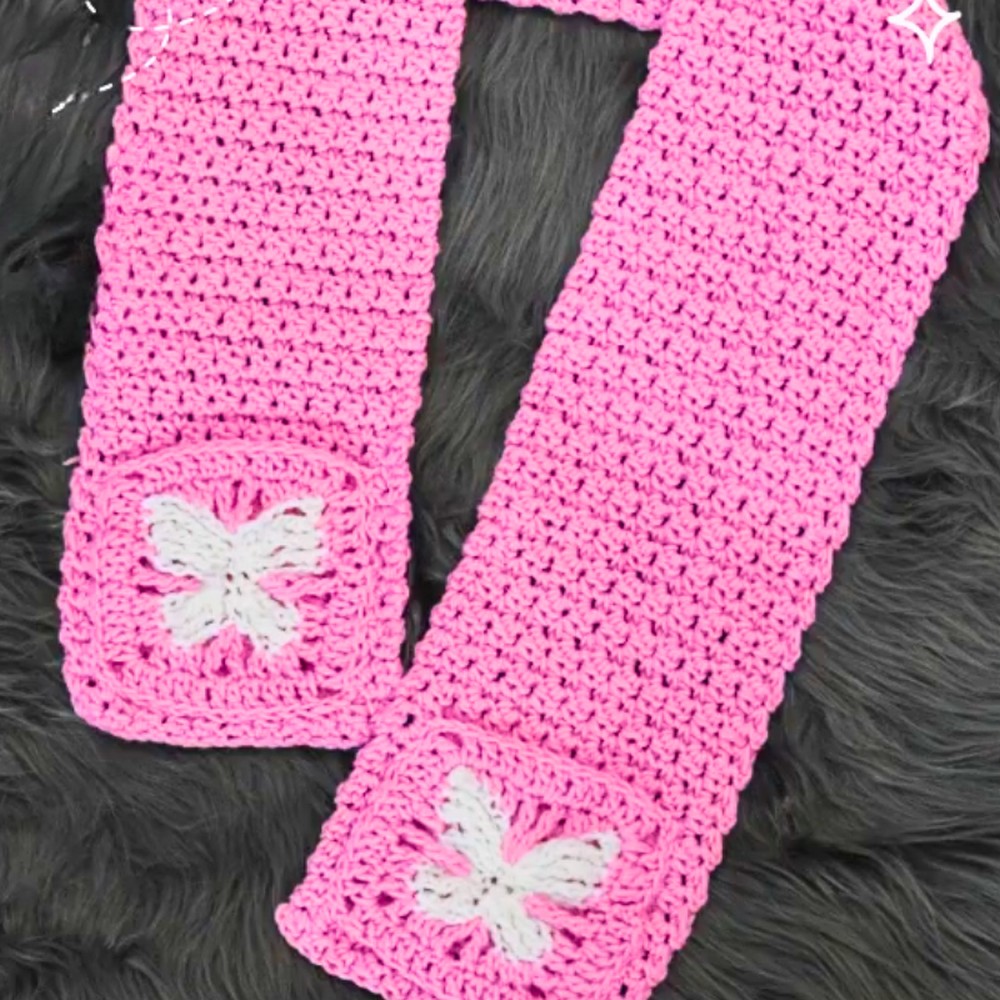
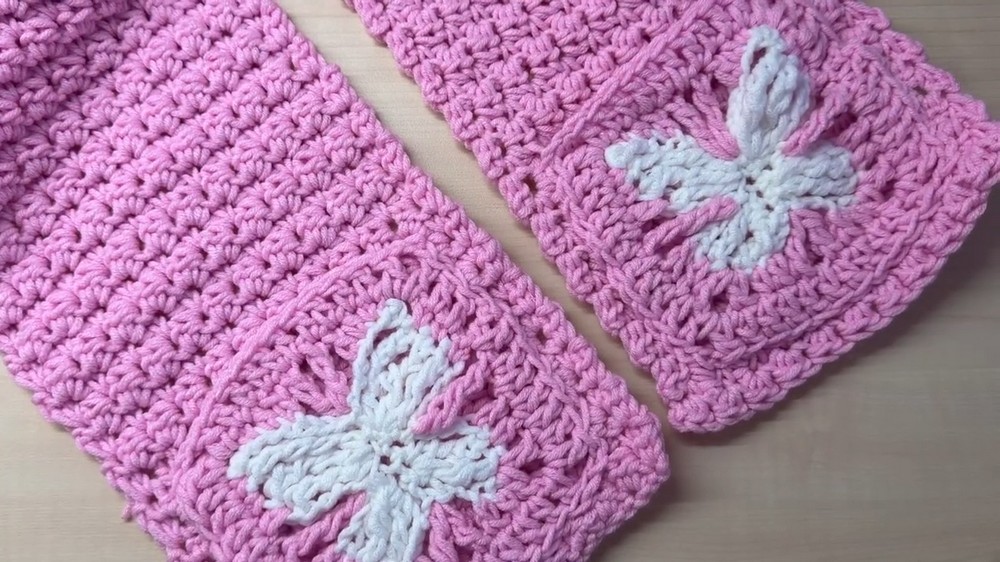
- Create two butterfly granny squares.
- Lay the scarf flat and position the completed squares as pockets on both ends.
- With a long strand of yarn and a tapestry needle:
- Sew the squares/pockets to the scarf edges.
- Tie a secure knot and weave in the ends.
Final Assembly
- Double-check the butterfly pockets are securely attached.
- Weave in any remaining loose ends with a tapestry needle.
- Block the finished scarf to ensure everything lays flat and the butterfly details stand out.
Conclusion
Congratulations! You’ve completed the Butterfly Granny Square Pocket Scarf! Perfect for a stylish, cozy accessory, this project blends advanced crochet techniques with a practical twist. Feel free to upload and share your creation, or customize further with new colors, embellishments, or added length and width.