Easy Flower Crochet Cardigan Pattern Free
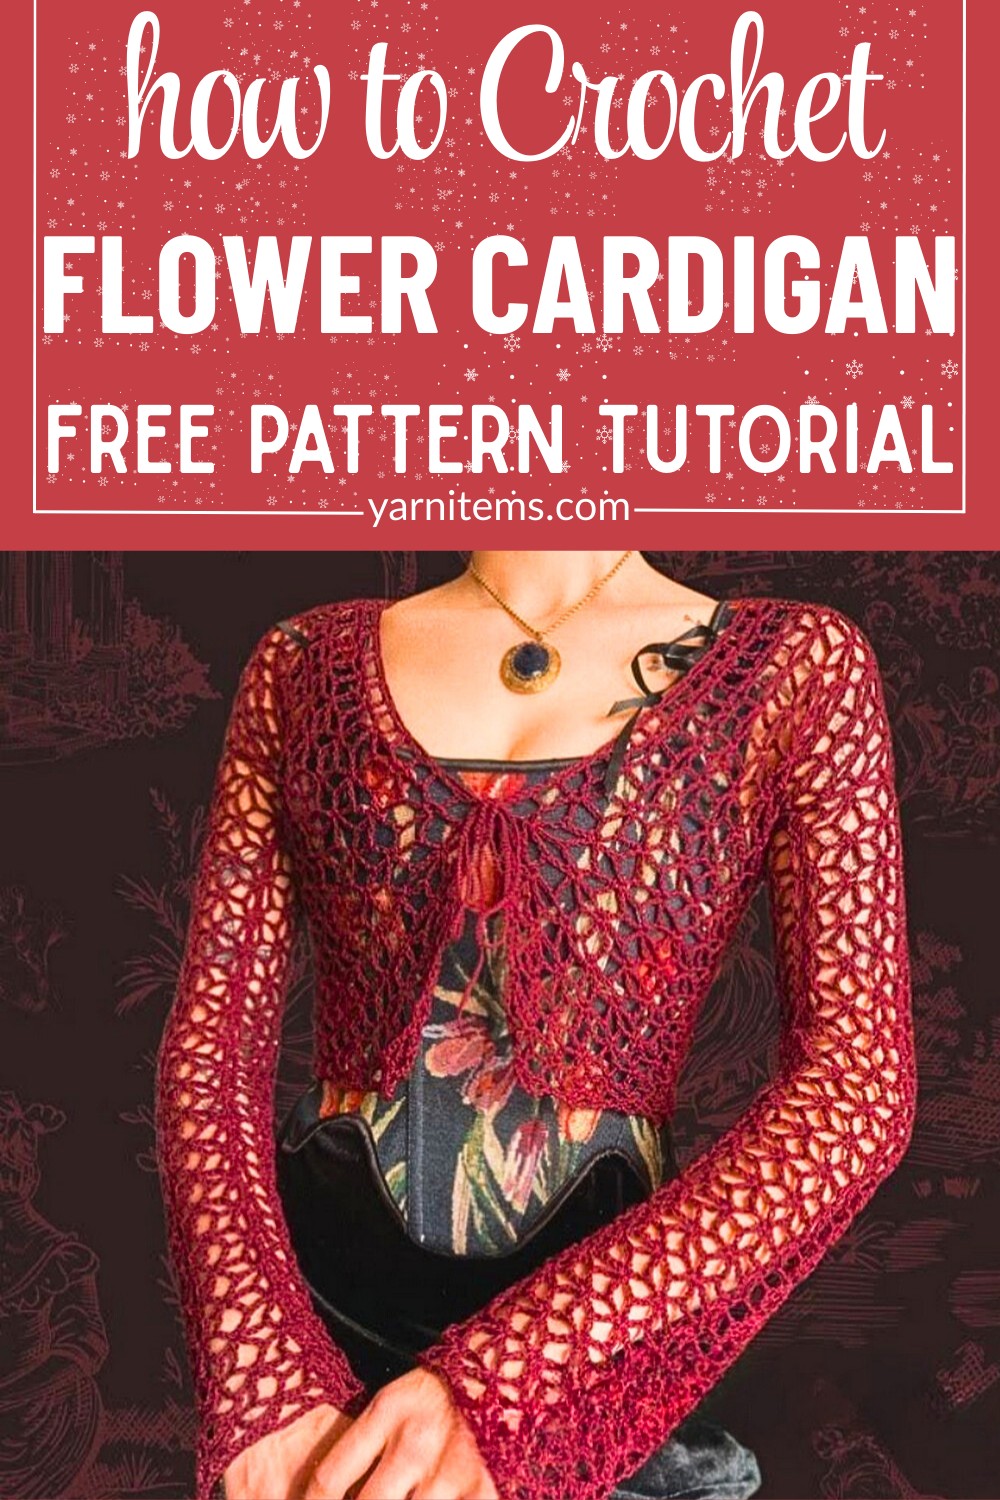
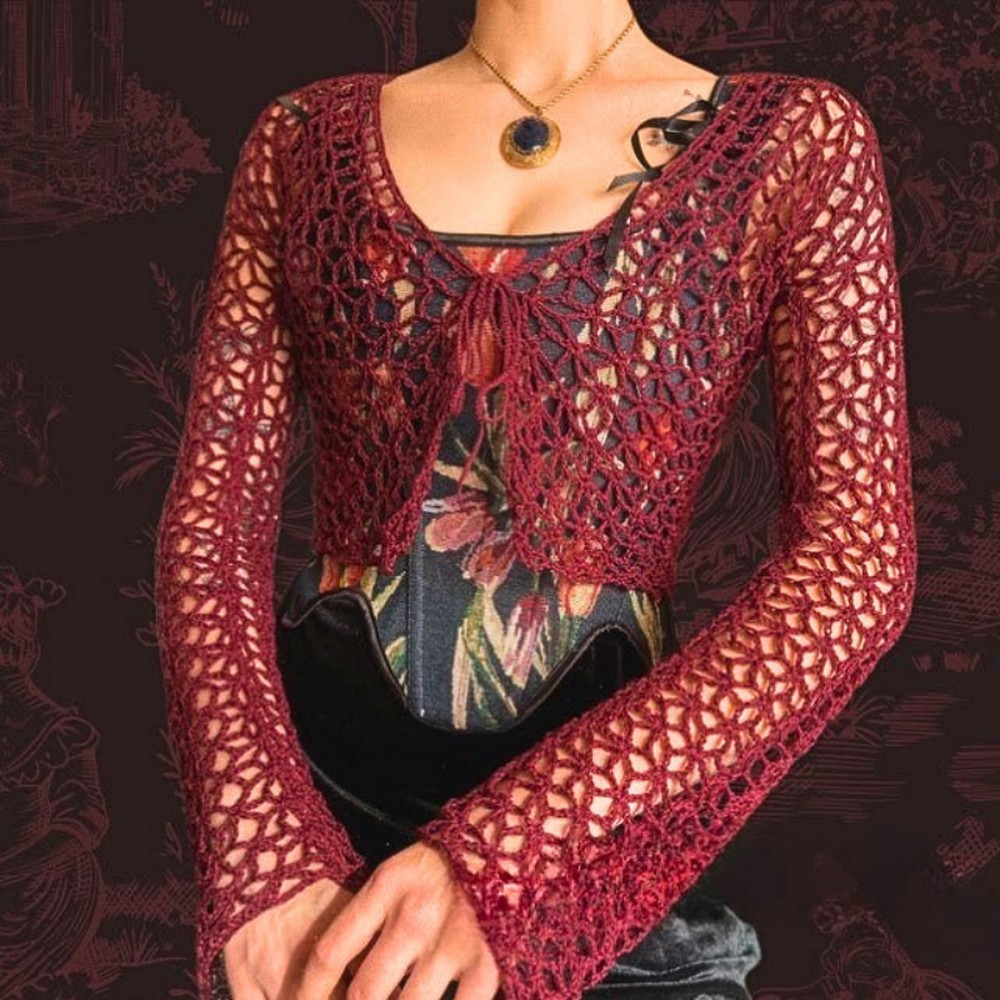
A delicate trail of crochet flowers can give a simple cardigan an unexpectedly graceful look. This airy crochet piece features a lacy floral pattern that feels light, feminine, and easy to style across different seasons.
Wear it as a cozy layer on cooler days or keep it lightweight for warmer weather when you want a little extra coverage.
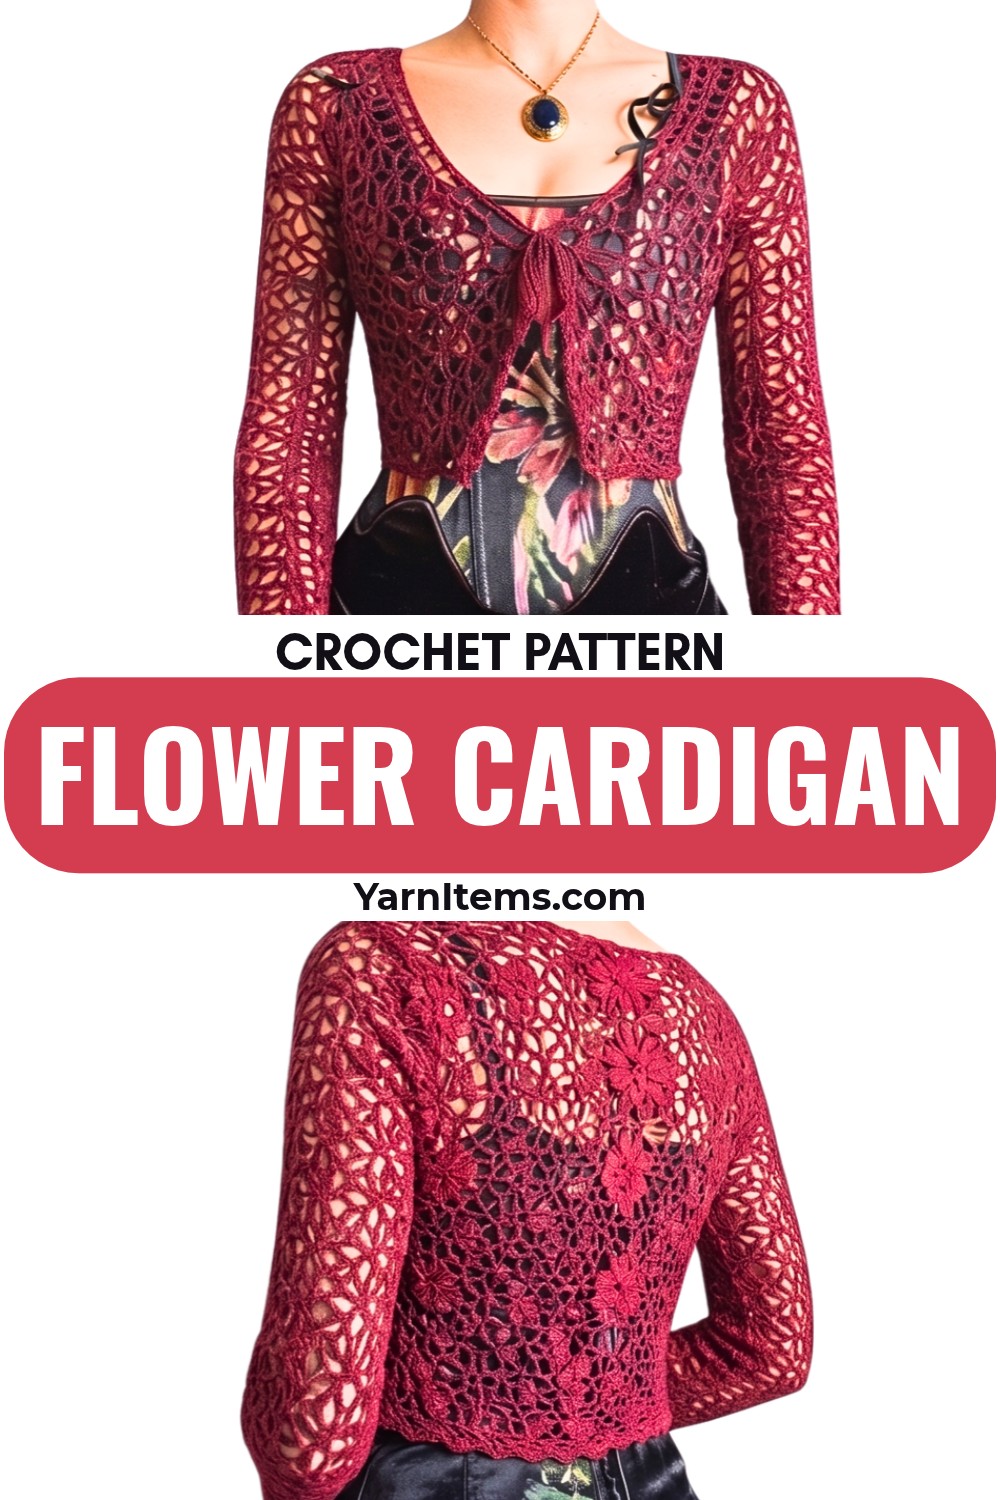
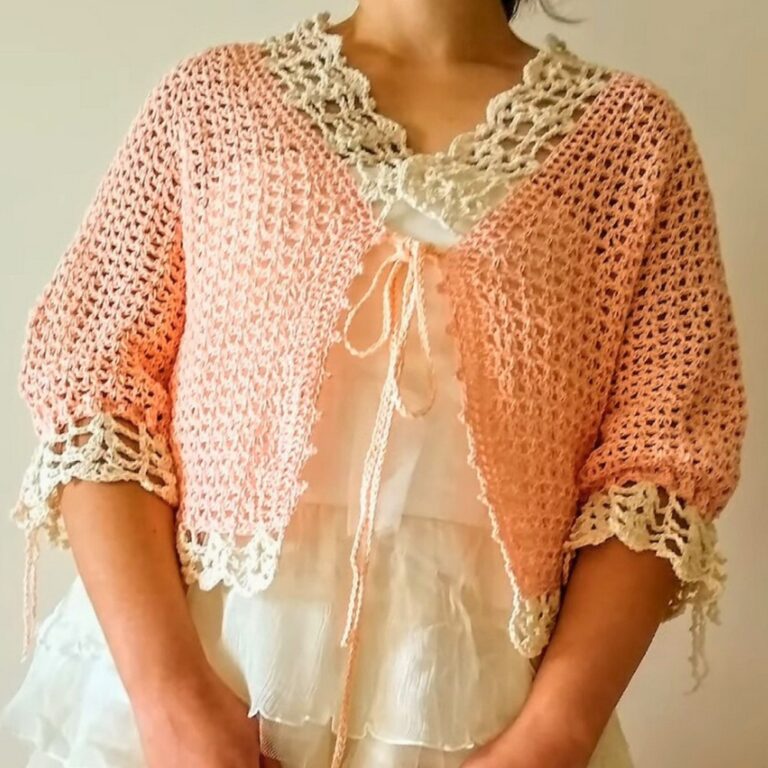
One design can offer far more styling possibilities than it first appears. The crochet cardigan can be adapted into a short-sleeve top or even a dress, while different yarn colors let you create a look that feels completely your own. From rich wine tones to soft pastels, the floral motif works beautifully with both casual outfits and more polished occasions.
Credit Hannah Drapinski
Materials & Tools Needed
- Yarn: 55% cotton, 45% acrylic blend in fine size 2 yarn. A thin and lightweight yarn for a flowy and lacy finish is highly recommended.
- Crochet Hook: 4.5 mm crochet hook.
- Tapestry needle: For seaming and finishing.
- Measuring tape: To measure panels and ensure the correct sizing.
- Stitch markers: To secure panels during assembly.
- Scissors: For cutting yarn.
- Optional: Blocking mats and pins for blocking pieces.
Finished Size & Customization Ideas
- The cardigan is customizable in terms of length, width, sleeve length, and style.
- To size the cardigan:
- Measure shoulder-to-shoulder width for the back panel.
- For the front panels, divide the back panel’s chain length in half.
- Adjust row count for the panels to fit your body length.
- For a bell-sleeve effect, increase the width of the sleeve panels by adjusting the foundation chain (multiple of 10).
Pattern Notes
- The pattern features a floral lace motif that is repeated throughout.
- Work in rows to crochet separate panels (1 back, 2 front panels, 2 sleeves).
- Seam the panels together using a whip stitch, or your preferred method.
- For the front tie, create a simple tight chain (about 28 inches or your desired length) and attach it to the cardigan to create a bow design.
- Blocking the finished panels is optional but helps achieve a draped, polished look for the finished piece.
Pattern Abbreviations & Terminology
- ch: Chain
- sc: Single Crochet
- tr: Treble Crochet
- sl st: Slip Stitch
- st: Stitch
- sp: Space
- V-stitch: (1 tr, ch 5, 1 tr in same st). First and last V-st may end with ch 2 instead of ch 5.
Notes:
- This pattern uses US Terminology.
- Each panel requires chaining a multiple of 10 plus 7 for the foundation chain.
Tips Before You Start
- Use a thin yarn with great drape for a lightweight, lacy effect.
- Be patient when seaming to ensure all panels align perfectly.
- Each panel is worked individually; crochet rows back and forth until the desired size is achieved.
- Mark key points (e.g., shoulder seams, ends of rows) with stitch markers for easier assembly.
- For longer or shorter panels, continue the row repeat (rows 2 and 3) or stop early. Measurements guide customizations.
Step-by-Step Crochet Instructions
1. Back Panel
Foundation Chain:
- Measure the distance between your shoulders.
- Chain a multiple of 10 that approximates this measurement. Add 7 chains to the count. (e.g., for the tutorial, 80 chains for the back panel).
Row 1:
- Skip the first 6 chains. In the 7th chain:
- Work a treble crochet (tr), ch 2, then another tr (this is the first partial V-stitch).
- Ch 3, skip 4 sts, sc in the 5th stitch.
- Ch 3, skip 4 more sts, V-stitch (1 tr, ch 5, 1 tr) in the 5th st.
- Repeat: Ch 3, skip 4 sts, sc in the 5th st, ch 3, skip 4 sts, V-stitch (1 tr, ch 5, 1 tr) to the end.
- In the last st, work 1 treble crochet, ch 2, and 1 treble crochet (a half V-stitch).
Row 2 (Repeat Row 2):
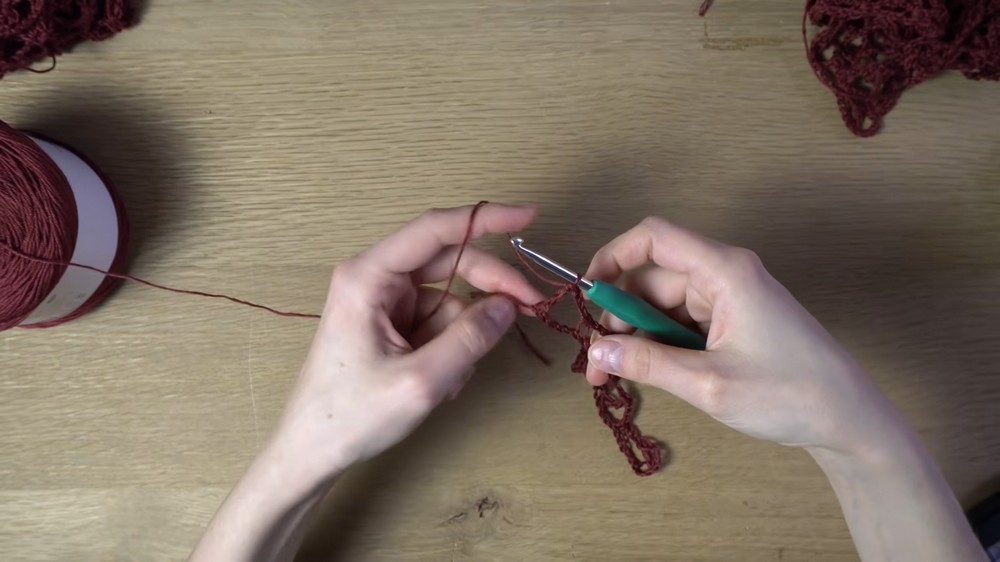
- Ch 4 (counts as 1 sc and ch 3), turn work.
- In each sc of the previous row, work:
- V-stitch (1 tr, ch 5, 1 tr).
- After each V-stitch, ch 3, and work 1 sc in the chain-5 space of the V-stitch from the previous row.
- Continue until the end, finishing with ch 3 and sc in the turning space.
Row 3 (Repeat Row 3):
- Ch 6 (counts as tr + ch 2), turn work.
- Work a treble crochet in the same st (to create a half V-stitch).
- Ch 3, work 1 sc into the chain-5 space of the V-stitch from the previous row.
- Ch 3, work V-stitch in next sc.
- Repeat until you reach the end, finishing with a half V-stitch (1 tr, ch 2, 1 tr) in the last st.
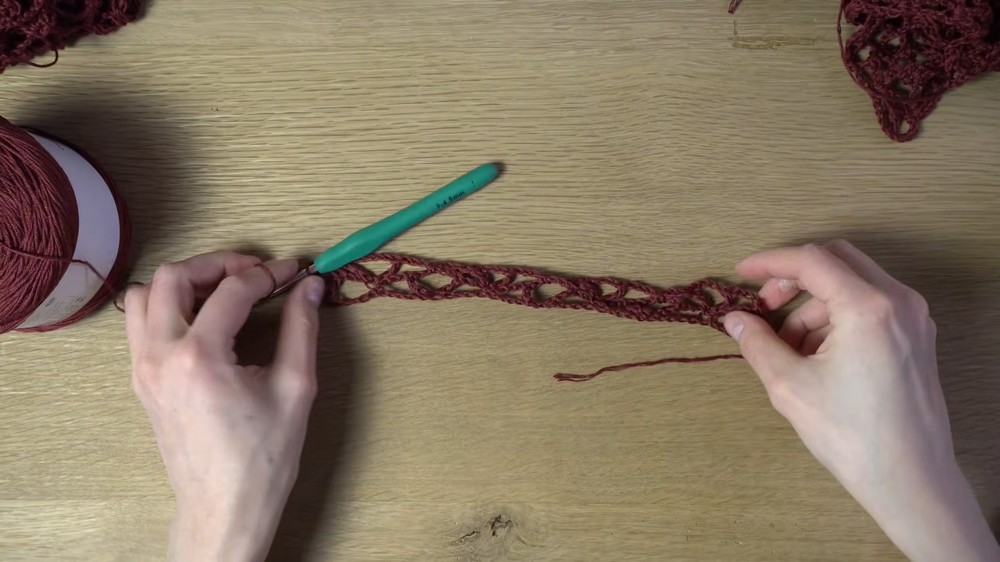
Repeat Rows 2 and 3 until your back panel is the desired length. In the tutorial, 33 rows were completed.
2. Front Panels (Make 2 Identical)
- Foundation Chain: Divide the back panel chain in half. For example, if the back panel is 80 chains, each front panel should begin with 40 chains + 7 chains at the end.
- Follow the Row 1, Row 2, and Row 3 instructions from the back panel for a total of 33 rows, plus 5 extra rows for the shoulders (optional).
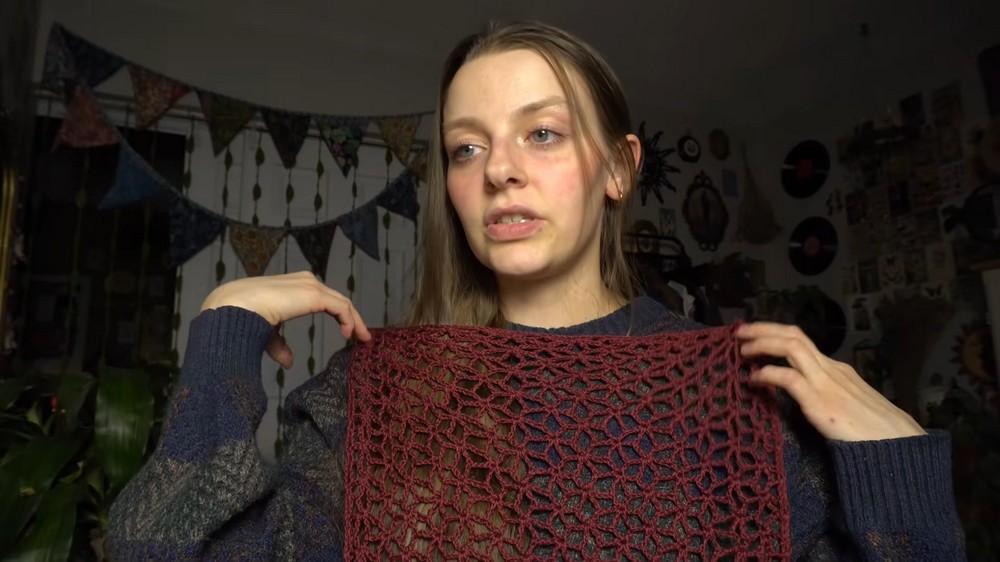
3. Sleeves (Make 2 Identical)
- Determine the sleeve circumference you’d like by chaining a multiple of 10 that fits comfortably around your arm.
- In the tutorial, each sleeve started with 60 chains + 7.
- Repeat Rows 2 and 3 until you reach the desired sleeve length. For reference, 40 rows were worked in the tutorial.
- Ensure you repeat the same number of rows for both sleeves.
Final Assembly
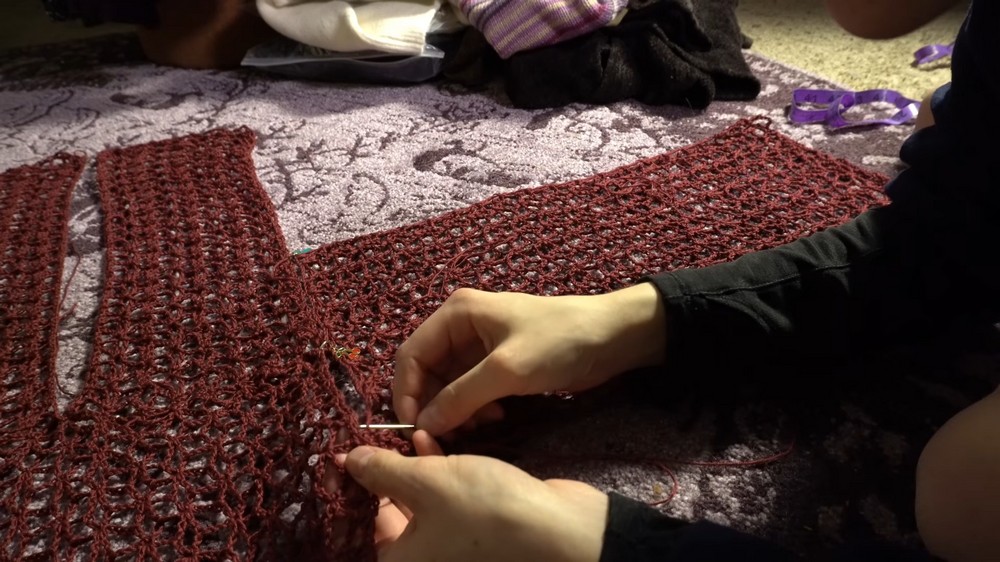
- Whip Stitch Panels Together
- Lay the back panel flat.
- Place one front panel on each side of the back panel.
- Line up the edges so they align.
- Fold the top 5 extra shoulder rows from each front panel over the back panel, then whip stitch the shoulder panels together. Repeat on the other side.
- Attach the Sleeves
- Lay out the sleeve panel.
- Center the sleeve panel along the shoulder seam (aligning it evenly with stitch markers at the shoulder and edges).
- Attach the sleeve to the body with a whip stitch.
- Repeat for the second sleeve.
- Insert Side & Sleeve Seams
- Fold the cardigan so the front panels meet the back panel, and the sweater is inside out. Align the bottom edges of the front and back panels.
- Whip stitch along the sleeve edge and then continue seamlessly across the body up to the armpit. Ensure the motifs align properly.
- Do this for both sides.
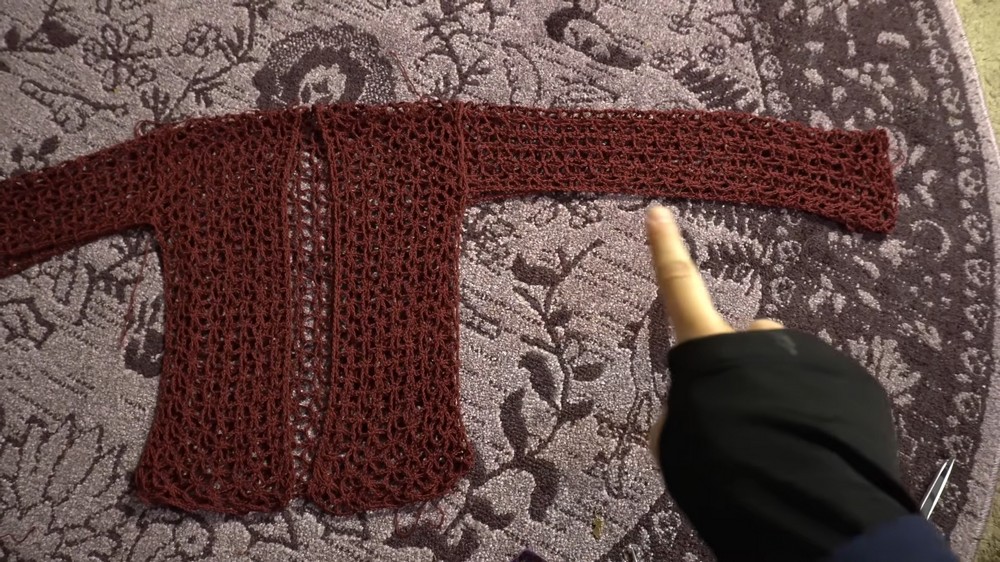
- Front Tie and Closure
- Chain tightly to create a 28-inch (or customized length) rope for the front tie.
- Secure the tie to the neckline opening of the cardigan at your desired position to allow for tying at the front.
Conclusion
Congratulations! Your beautiful lacy flower crochet cardigan is complete. Its floral motifs give it a sophisticated and elegant look, making it a versatile piece to style casually or for special events.
- Customization Tips:
- Adjust panel lengths to make a cropped, elbow-length, or floor-length cardigan.
- Experiment with colors to suit your personal style.
- Share Your Work: Tag Hannah (tutorial creator) or share it online to showcase your unique creation.