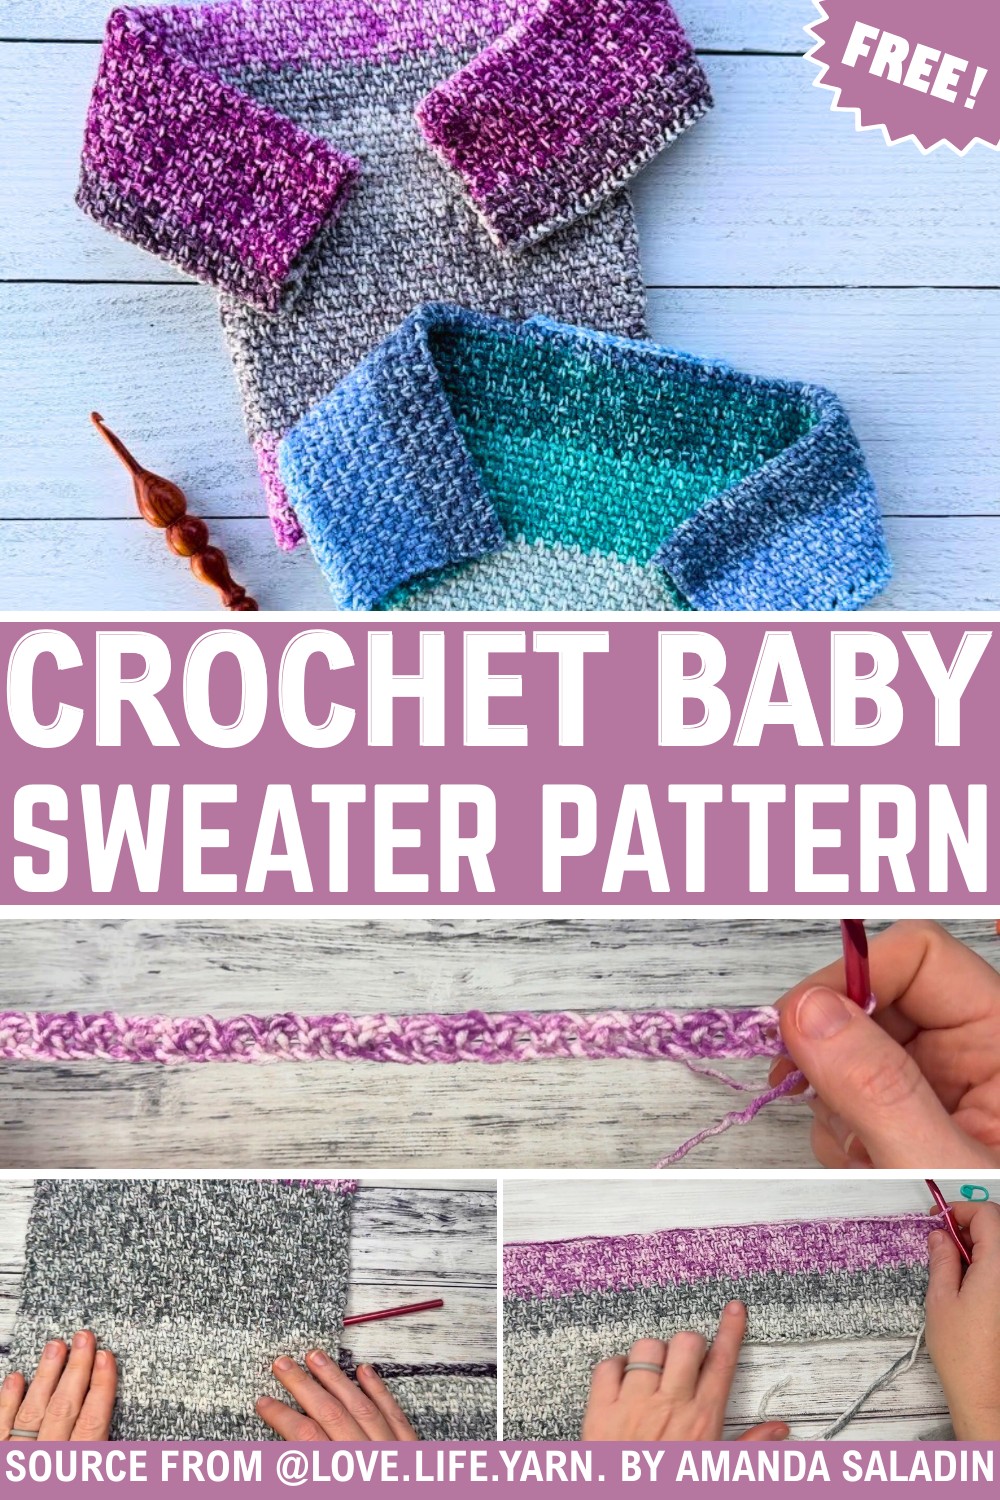
Crochet Seamless Baby Sweater Design Using Moss Stitch
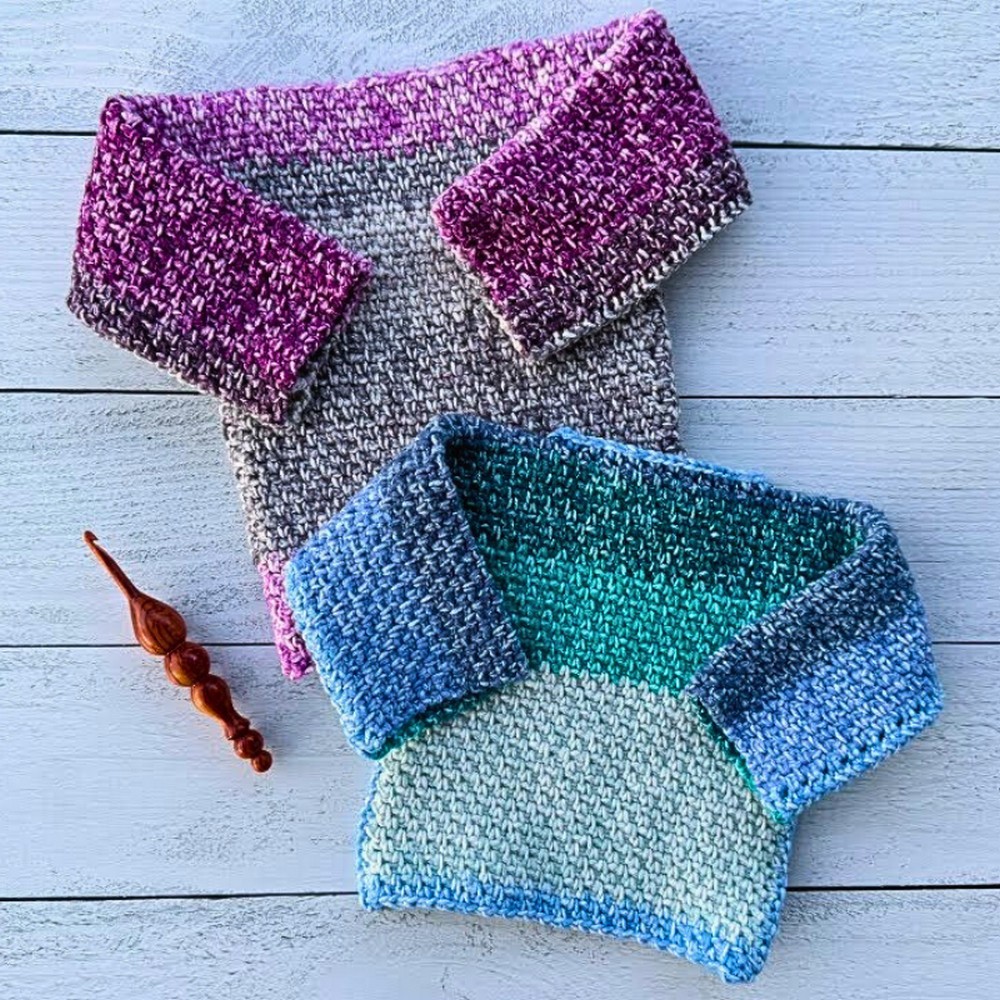
Nothing feels more special than creating a handmade baby sweater that looks beautifully finished without complicated assembly. This seamless crochet piece uses the classic moss stitch to build a soft texture that is light, cozy, and comfortable for everyday wear.
The decorative slip-stitch join adds a polished touch while keeping the overall crochet design neat and practical. Whether you choose a solid shade or a gentle ombre yarn, the finished item has a timeless charm.
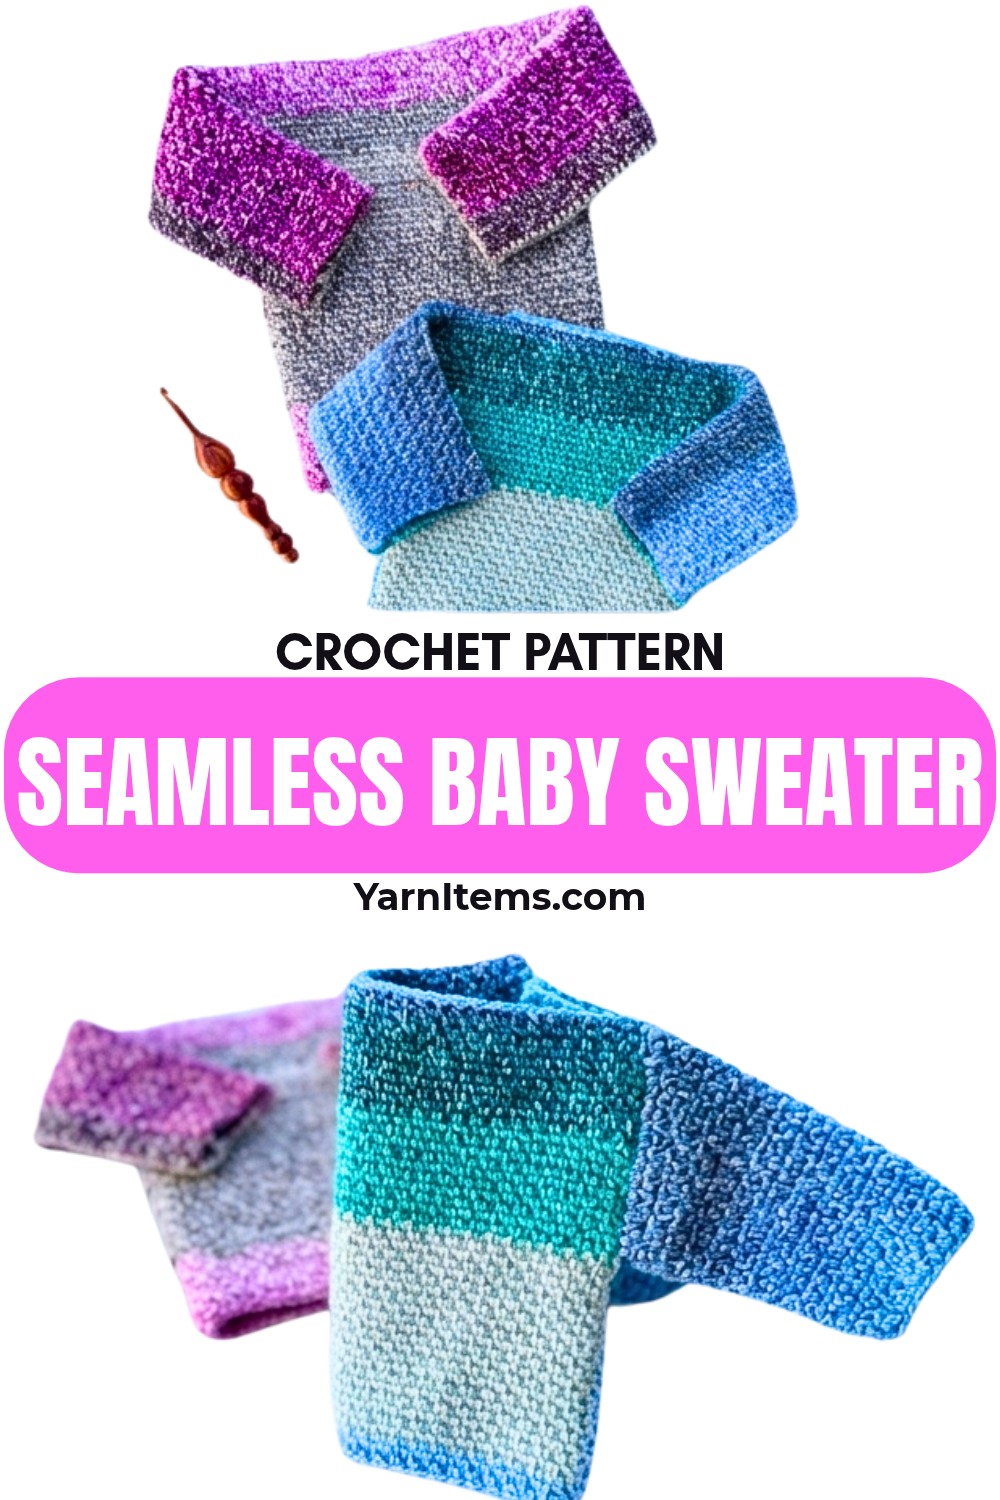
Designed with simplicity in mind, this crochet pattern walks through shaping the body, sleeves, and neckline using easy stitch combinations. The sample is made in a newborn size, while the stitch counts and shaping can be adjusted for larger sizes without changing the overall construction. Optional neckline edging and small finishing details let you personalize the piece to suit your style. The result is a comfortable crochet baby sweater that makes a thoughtful handmade gift and a lovely addition to any little wardrobe.
Credit love.life.yarn. by Amanda Saladin
Materials That Make All the Difference
- Yarn: Lion Brand Mandala Ombre, 1 skein (smallest size; more for larger sizes)
- Hook: Size I (5.5 mm) crochet hook
- Tools: Yarn needle and scissors
Gauge
- 20 stitches and 20 rows = 4 inches (5 stitches per inch) in Moss Stitch.
The Pattern Formula for Success
- Stitch Used:
- The Moss Stitch (also known as Seed Stitch).
- This stitch alternates between single crochet and chain-1 spaces, creating a textured design.
- Construction:
- The sweater is worked seamlessly, meaning no additional sewing is required to piece it together.
- Instead of sewing, the sections of the sweater are connected using slip-stitching for a decorative finish.
- Sizes Available:
- The tutorial itself demonstrates the creation of a newborn-sized sweater.
- The written pattern includes instructions for alternative sizes.
Tips for Success:
- Understanding Moss Stitch:
Make sure you’re comfortable with the Moss Stitch/Seed Stitch before starting. Practice alternating single crochets and chain spaces to maintain a consistent texture throughout. - Slip-Stitch Assembly:
Pay attention to slip-stitching techniques. The decorative effect depends on uniform, neat slip-stitches. - Size Adjustments:
For sizes other than newborn, consult the written pattern for specific stitch counts and measurements.
Finish Size Secrets Revealed
Newborn Size (Sample Shown)
- The sweater shown begins with a foundation of 43 stitches.
- This count is then adjusted to shape:
- The neck opening
- The sleeves
- The body width
Note: This starting stitch count is sized for a newborn. Adjusting the chain/stitch count will allow you to customize for larger or smaller sizes.
Small Changes, Big Customization Results
- Color Choices
- Work the entire sweater in a single solid color for a classic look.
- Use ombre or gradient yarn (as shown) to create soft color transitions without changing yarns.
- Neckline Options
- Add extra rows around the neckline to create a mock neck or slightly higher collar.
- Use a ribbed or textured stitch for the edging for added structure and detail.
- Sizing Adjustments
- Modify the starting chain/stitch count to adjust:
- Chest width
- Sleeve length
- Overall length
- Always keep the pattern’s shaping logic (placement of increases/decreases and openings) consistent when changing stitch counts.
- Modify the starting chain/stitch count to adjust:
- Additional Personal Touches (Optional)
- Add buttons or a tie closure at the neck.
- Work a contrast color edging on cuffs and hem.
- Embroider simple motifs (stars, hearts, initials) after the sweater is finished.
Technical Words Made Easy
- ch = chain
- st(s) = stitch(es)
- sc = single crochet
- sl st = slip stitch
- sp = space
- yo = yarn over
- sk = skip
- RS = Right Side
- WS = Wrong Side
US crochet terminology is used in this pattern.
The Fastest Way to Learn the Step-by-Step Process
Part 1: Starting the Body
- Foundation Chain (Row 1):
- Ch 43 for the newborn size. (Adjust size as needed using the written pattern.)
- Begin in the 2nd ch from the hook:
- Sc, ch 1, sk 1 ch. Repeat until 1 chain remains.
- Sc in the last ch. (Ensure 2 scs are at the ends of the row.)
- Stitch Count: 42 sts in total.
- Turn.
- Row 2 to Row 36 (Body):
- Ch 1, sc in the first sc from the previous row.
- Ch 1, sk the next sc, sc in the next ch-1 sp. Repeat across.
- At the end, sc in the last sc from the previous row.
- Stitch Count: 42 sts for every row.
- Continue in the Moss Stitch pattern until you reach Row 36.
Part 2: Adding Sleeves
- Creating the First Sleeve:
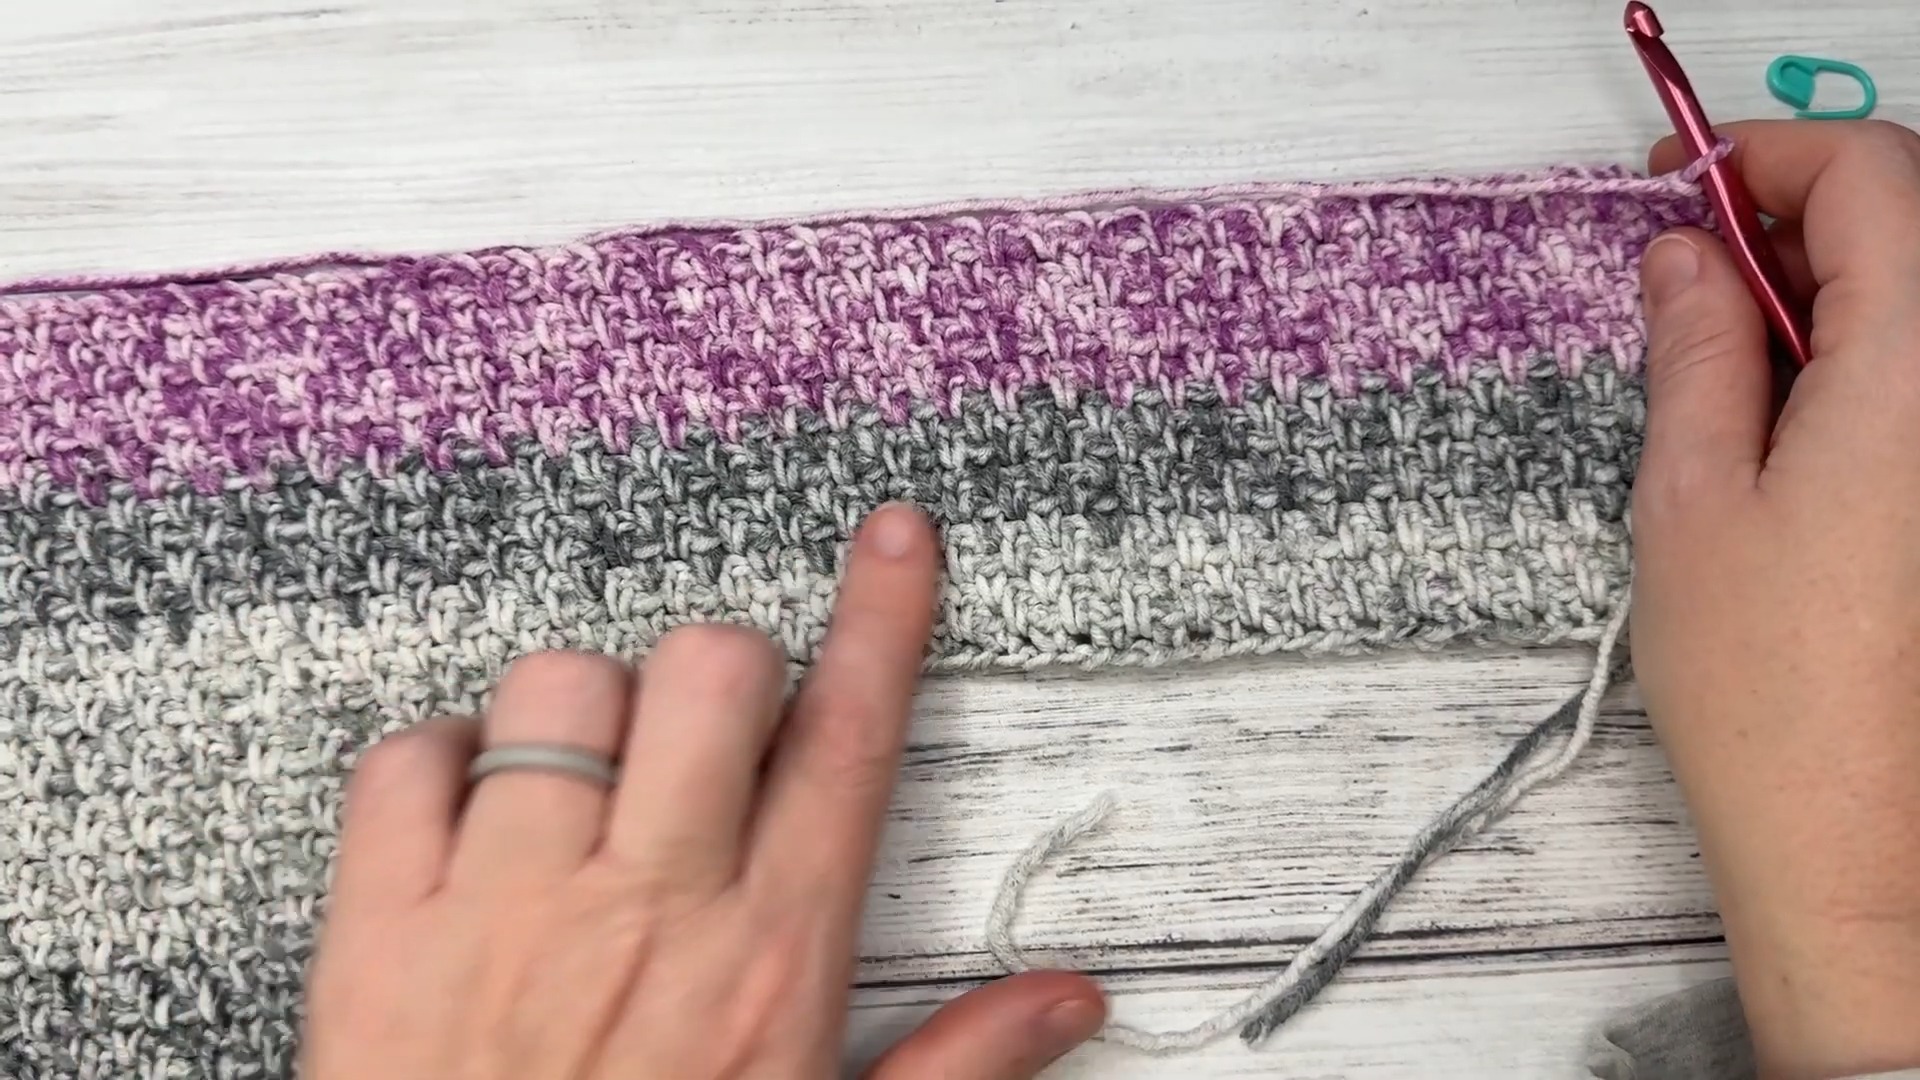
- Ch 35 at the end of Row 36.
- Work back across the chain as follows:
- Skip the first ch, sc in the second ch from the hook, ch 1, skip 1, sc in the next ch. Repeat to the end of the chain.
- Sc in the first st of the body. Continue the Moss Stitch across the body.
- Stitch Count after adding first sleeve: 76 sts.
- Creating the Second Sleeve:
- At the end of Row 37, ch 35 again.
- Work back down the chain and across the body, just as you did for the first sleeve.
- Continue working rows in Moss Stitch across both sleeves and the body until the sleeves reach 17 rows.
Part 3: Shaping the Neckline
- Creating the Neck Opening:
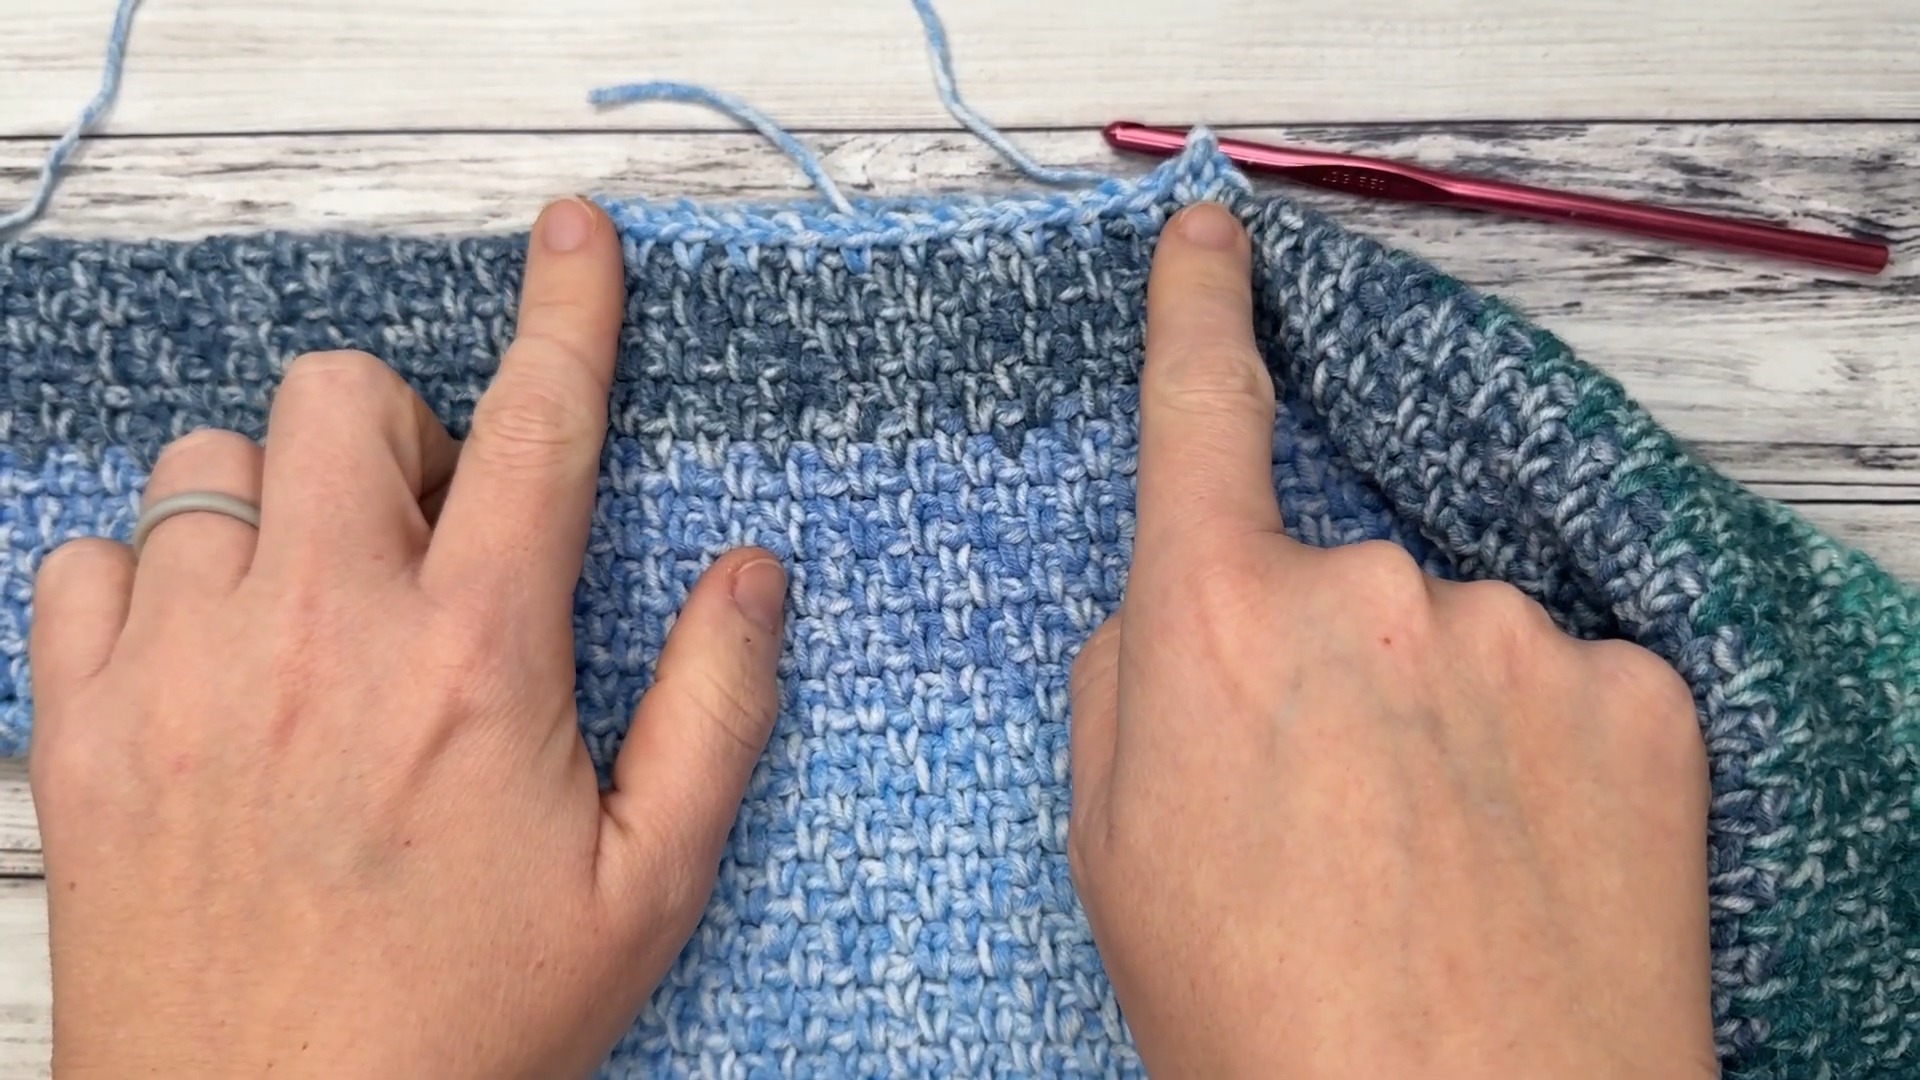
- Work in pattern (Moss Stitch) across 43 sts (first sleeve + part of the body).
- Ch 23 for the neck opening and skip the next 23 sts.
- Join into the next ch-1 sp with a sc, and continue the Moss Stitch pattern across the rest of the sweater.
- Working the Neck Rows:
- Work across the neckline opening using the back loops of the chain for your Moss Stitch pattern.
- Ensure a total of 17 rows for the neckline portion.
Part 4: The Front
- Splitting for the Front Body:
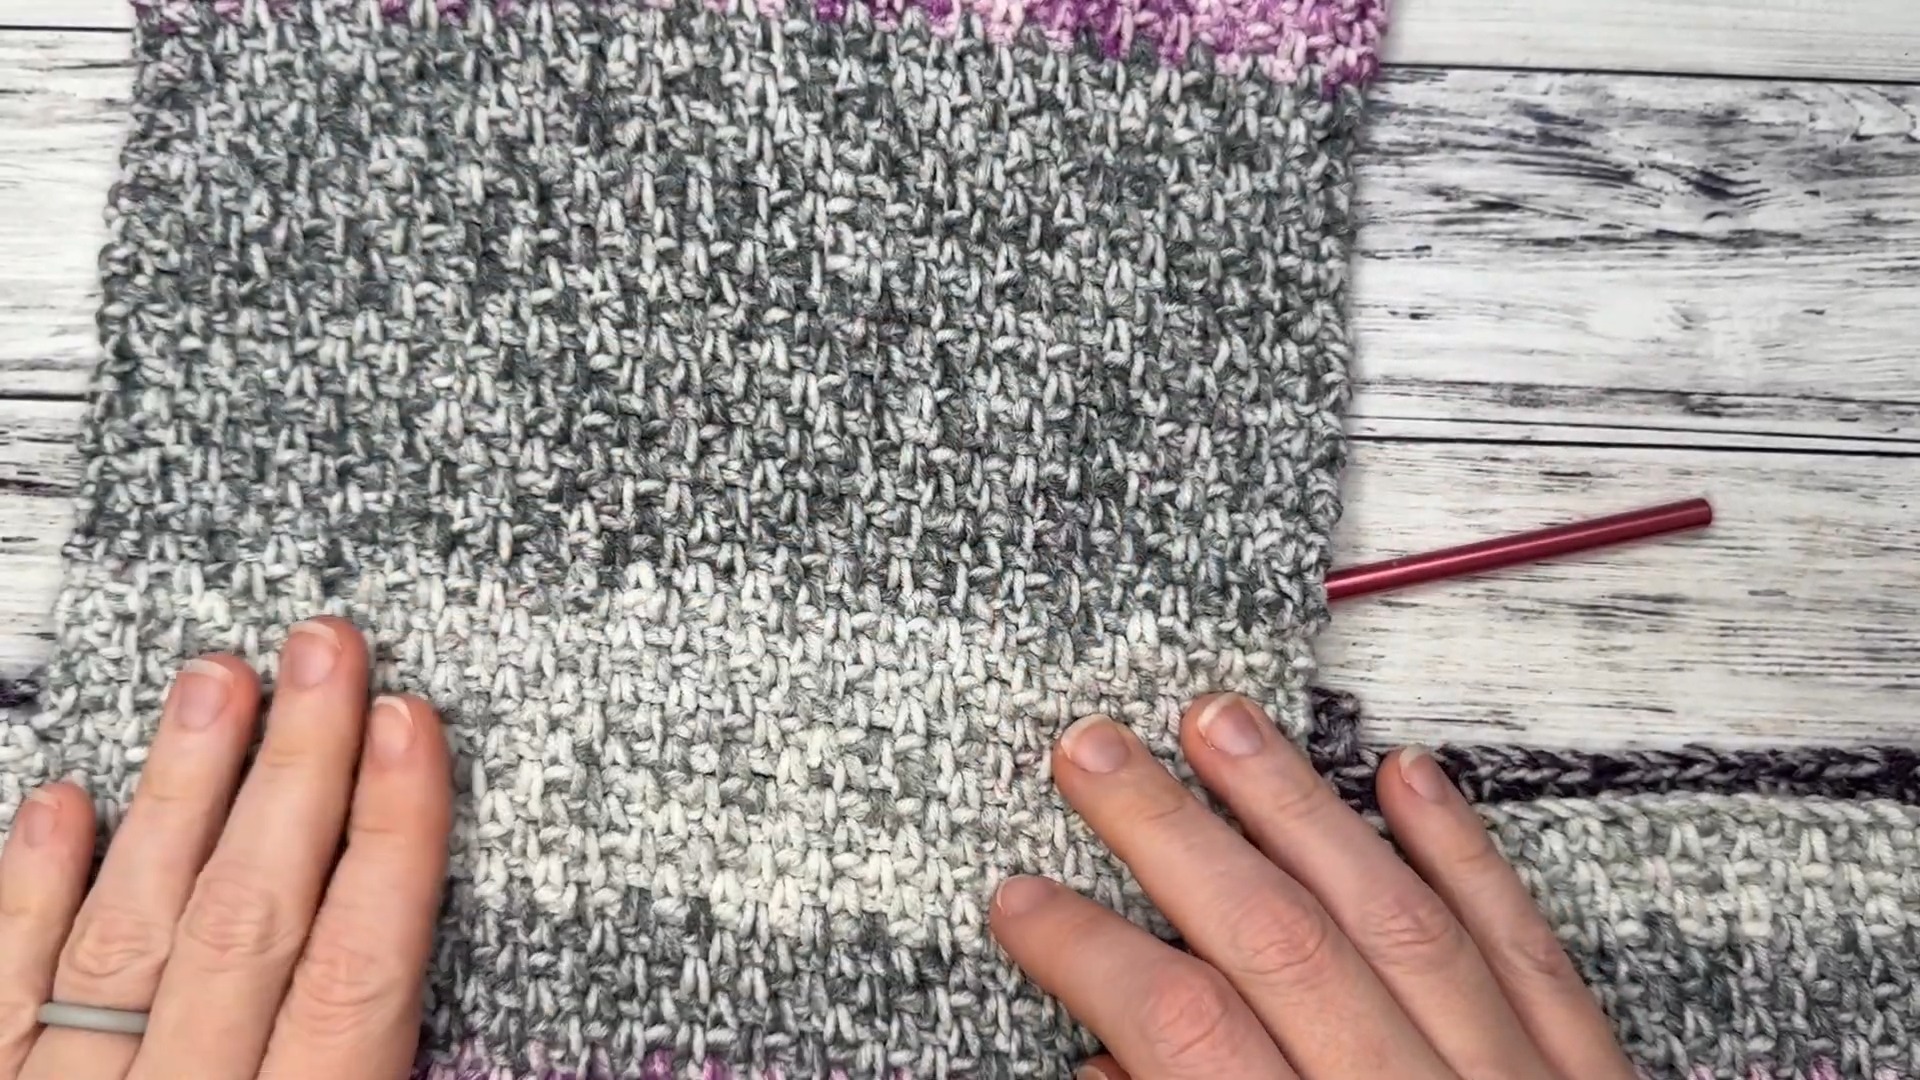
- After completing the neckline, sl st across 34 sts of the sleeve to rejoin at the body edge.
- Work in Moss Stitch across 42 sts (to match the lower portion of the body).
- Continue for 36 rows to match the back panel. Leave the remaining stitches of the sleeve unworked.
Part 5: Assembly
- Joining the Sides:
- Fold the piece in half, matching the sides of the body and sleeves.
- Use a zigzag slip stitch to join:
- Insert the hook top-to-bottom through each row end and slip stitch together.
- Alternate rows between the front and back panels for a decorative pattern.
- Slip stitch across the sleeves and body sides, ensuring even alignment.
Part 6: Neckline Edging (Optional)
- Adding Neckline Edging:
- Join yarn at a shoulder seam in a ch-1 sp.
- Work in Moss Stitch around the neckline:
- Sc in the first ch-1 sp, ch 1, sk next sc or ch-sp. Repeat around.
- Sl st to join at the end of the round.
- Optionally, repeat for 1 or 2 more rounds to create a mock neck effect.
- Finishing:
- Fasten off and weave in all ends.
- Block if needed for an even finish.
Final Touches That Instantly Upgrade the Look
- The sweater is seamless and reversible. Choose whichever side you prefer as the “front.”
- Pair with matching accessories or embellish with buttons or appliqués for extra flair.