Free Crochet Christmas Tree Pattern For Holiday Decor
Not every Christmas decoration needs lights or glitter to stand out. A handmade crochet Christmas tree brings its own charm with clean stitches, simple shaping, and endless color possibilities.
Whether you make a single tree for a quiet corner or several to display together. Each one adds a warm handmade touch that fits beautifully into holiday decorating. The clever way this little crochet tree comes together is what makes it so satisfying to create.
Easy Crochet Christmas Tree Pattern
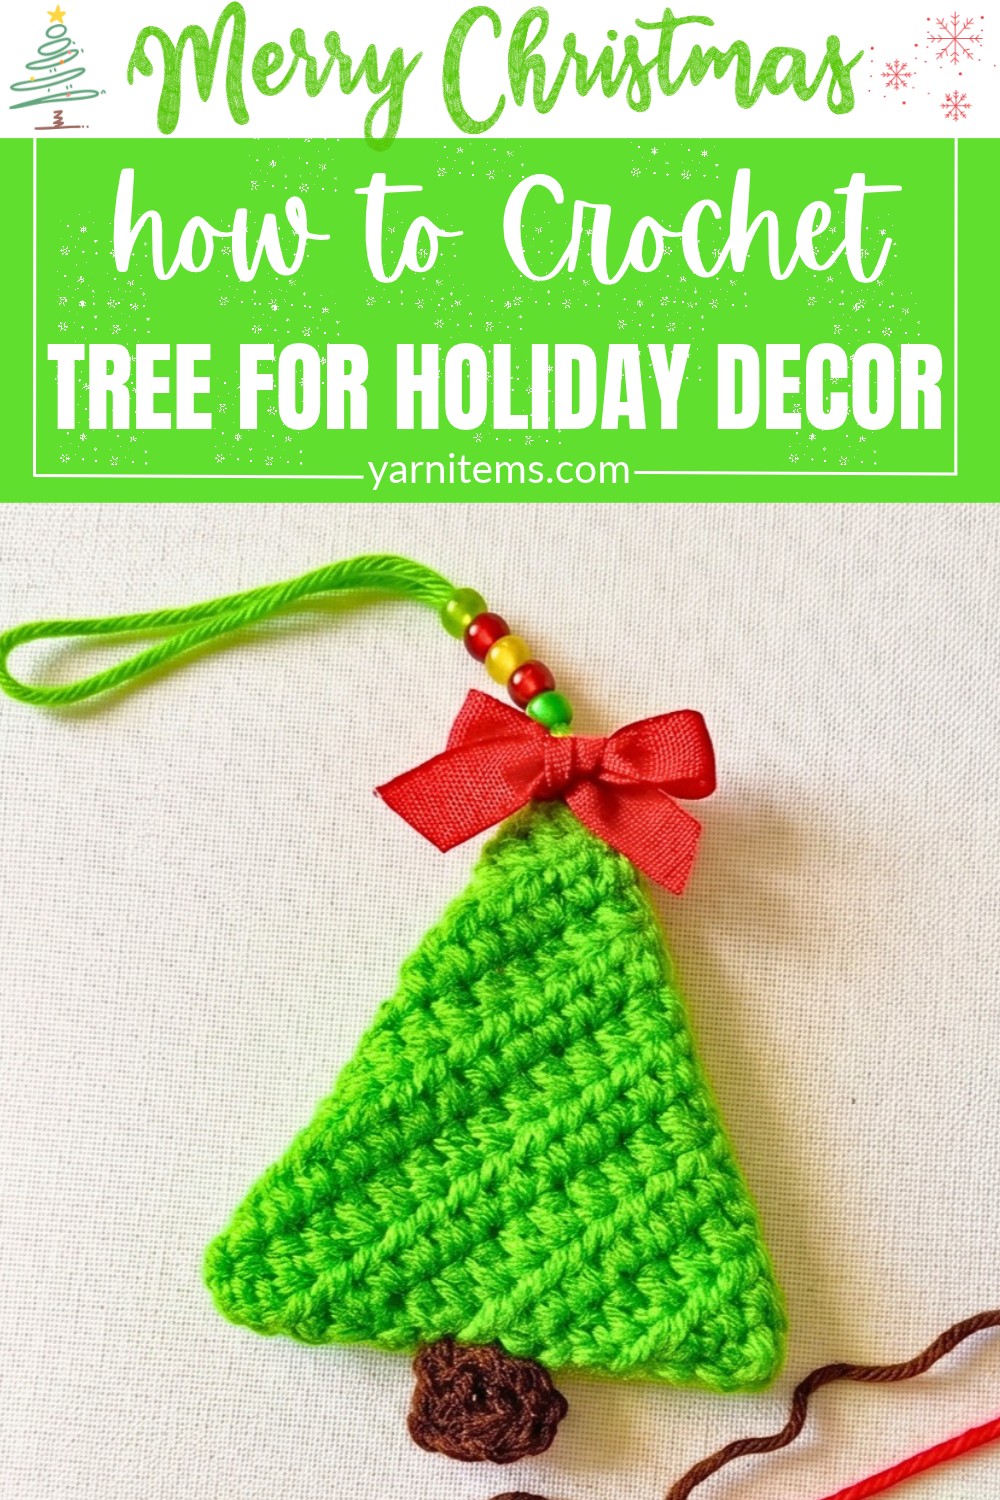
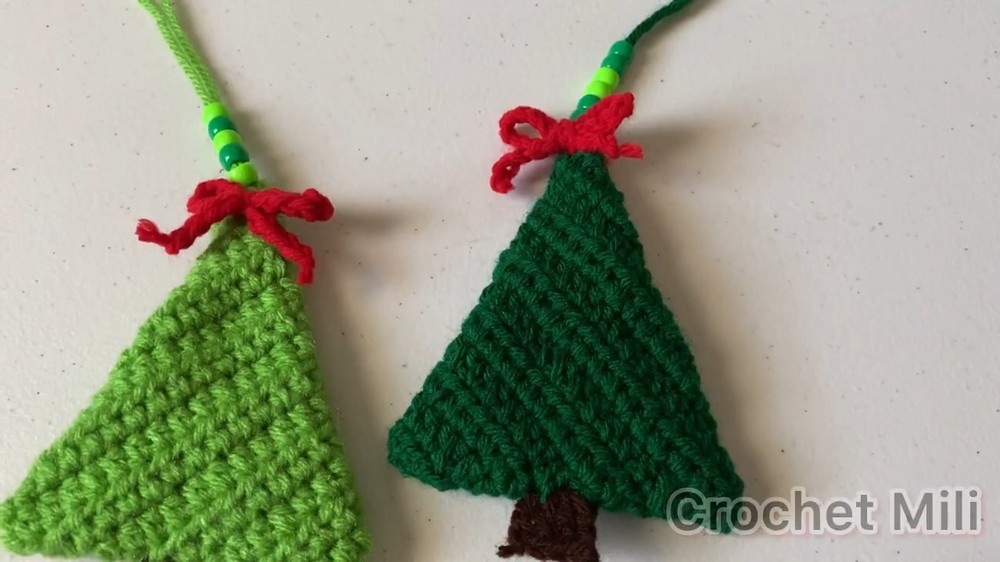
This pattern focuses on an easy construction that anyone can enjoy, even if you’re new to crochet. You’ll build the tree one section at a time until the familiar evergreen shape appears. Then finish it your own way with simple decorations or leave it beautifully minimal. Before long, you’ll have a festive crochet piece that’s ready to brighten a shelf, tabletop, mantel, or thoughtful handmade gift.
Credit Crochet Mili
Materials & Tools Needed
- Yarn (Medium-weight/worsted weight):
- Color A (Green): Main tree body
- Color B (Brown): Tree trunk/stem
- Color C (Red): Decorative bow
- Crochet Hook: 4.0 mm (US G/6)
- Craft Beads: Small green and yellow/gold beads (for hanging loop)
- Additional Tools:
- Yarn needle / Tapestry needle
- Scissors
Finished Size & Customization Ideas
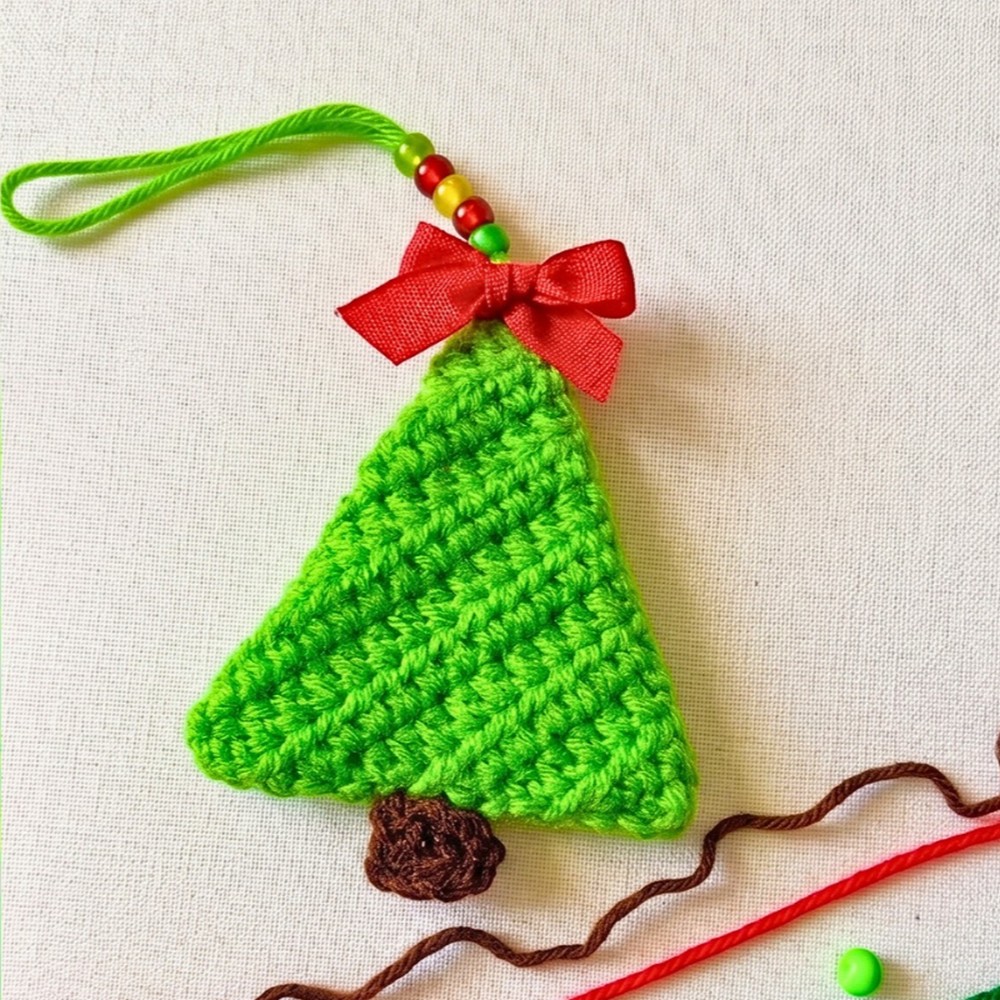
- Size: Approximately 3.5 to 4 inches tall (excluding the hanging loop).
- Customization Options:
- Change Size: Adjust the starting chain to make the tree bigger or smaller.
- Add Sparkle: Use metallic or glittery yarn for added shimmer.
- DIY Garland: Crochet multiple trees and string them along twine for a Christmas garland.
Crochet Abbreviations (US Terms)
- ch: Chain
- st(s): Stitch(es)
- hdc: Half Double Crochet
- dc: Double Crochet
- sl st: Slip Stitch
Step-by-Step Crochet Instructions
Part 1: Main Tree Body (Color A: Green)
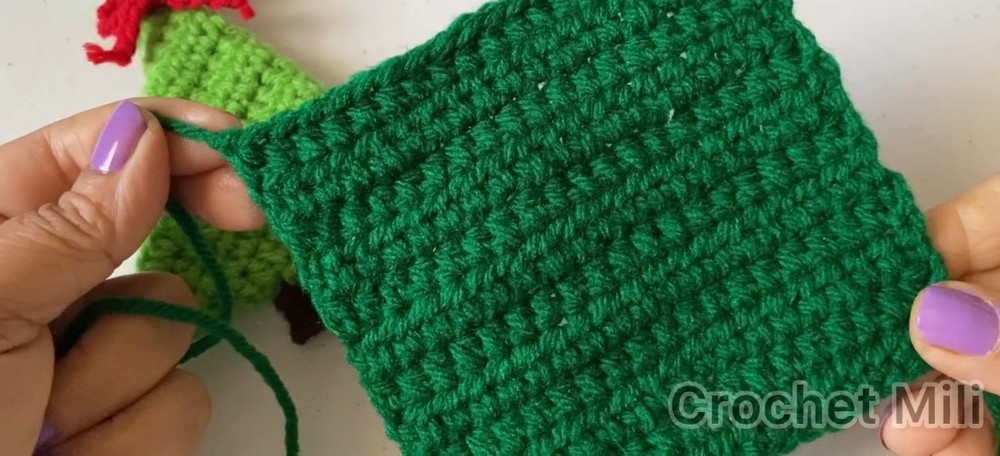
This forms the flat rectangle to be folded into a triangle.
Instructions:
- Row 1:
- Slip knot and ch 20.
- Work hdc in the 3rd chain from the hook.
- Work hdc across the remaining chains. (Total 18 hdc)
- Rows 2–11:
- Turn, ch 2 (does not count as a stitch).
- Work 1 hdc in each stitch across. (18 hdc per row)
- Repeat for Rows 3–11.
- Once finished, fasten off and leave a yarn tail for sewing.
Part 2: Folding & Sewing the Triangle
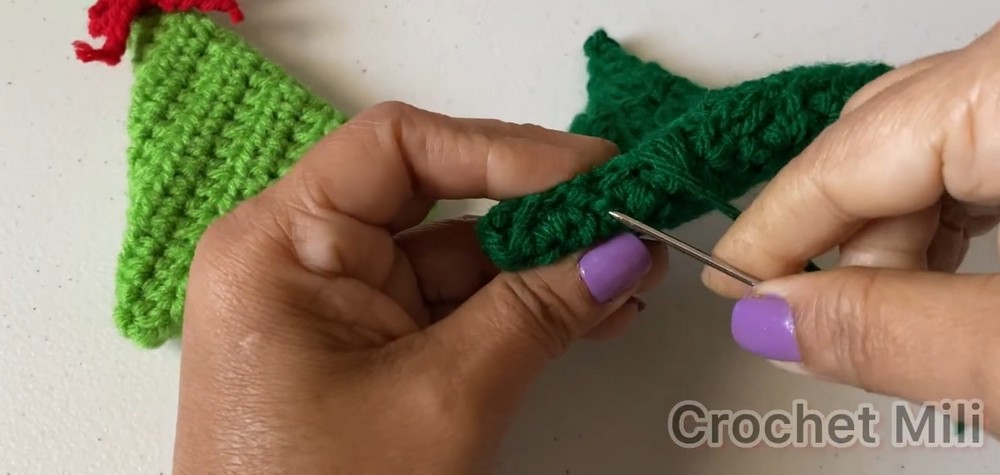
This step transforms your flat rectangle into a 3D flat triangle.
Instructions:
- Find the Center Fold:
- Lay the rectangle flat.
- Fold both vertical edges inward so they meet at the center to create a seam.
- Sew the Back Seam:
- Thread a tapestry needle with green yarn and whipstitch the folds together along the center.
- Do not cut the yarn yet.
- Form the Triangle:
- Flatten the sewn “tube” so the vertical seam is at the back.
- Use the remaining green yarn to sew the top edge closed horizontally.
- Shape the tree into a flat triangle by pressing the corners down and secure the bottom layers with a few stitches.
- Cut and weave in green yarn tails.
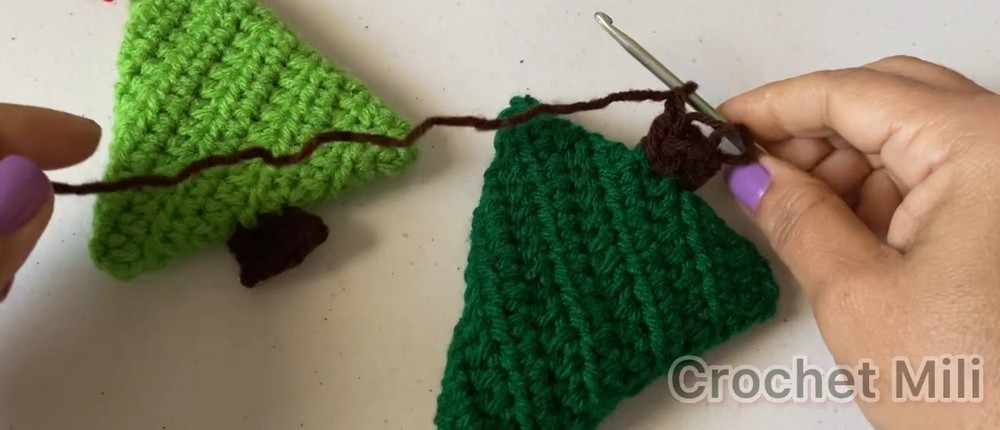
Part 3: Adding the Tree Trunk (Color B: Brown)
The brown trunk is added to the bottom center of the tree.
Instructions:
- Join Brown Yarn:
- Identify the center 3 stitches at the bottom edge.
- Attach brown yarn with a slip knot and ch 2 (counts as first dc).
- Crochet the Trunk:
- Dc in the same stitch as the slip knot.
- Work:
- 2 dc in the next stitch.
- 1 dc in the last stitch. (4 dc total)
- Fasten off and weave in ends.
Part 4: Bow & Hanging Loop (Colors C: Red & Green)
A red bow and beaded green yarn loop finish the ornament.
Instructions:
- Create the Bow (Red Yarn):
- Make a slip knot and ch 26.
- Fasten off.
- Tie the chain into a neat bow with 2 loops, trimming the ends evenly.

- Make the Hanging Loop (Green Yarn):
- Cut an approx. 10–12 inch piece of green yarn.
- Fold it in half and thread both loose ends through a needle.
- Thread beads (green and yellow/gold).

- Assemble the Top:
- Insert your crochet hook through the very top point of the triangle.
- Pull the folded green loop thread partially through.
- Place the red bow over the front of the triangle.
- Use the threaded green loop ends to sew through the center of the bow knot.
- Secure everything with a double knot at the back.
- Trim excess yarn tails.