Crochet Christmas Tree Skirt Pattern For Festive Design
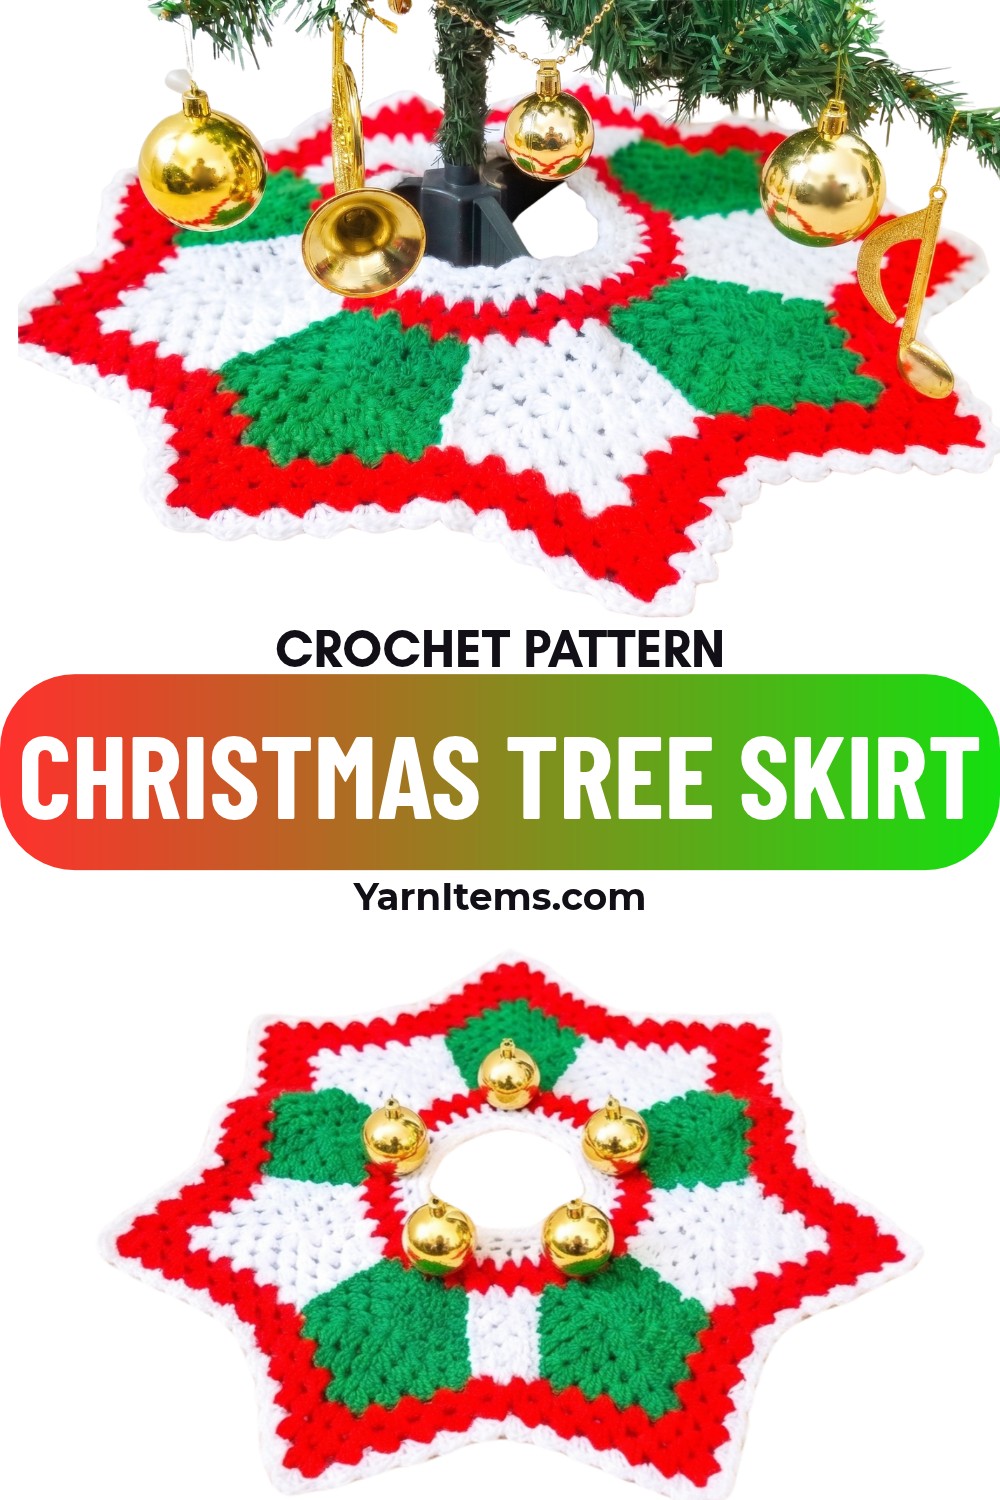
A handmade Christmas tree skirt changes the whole look of a holiday display without needing complicated decorations. This design builds that festive centerpiece from eye-catching pentagons in green and white.
Finished with cheerful red accents that frame the crochet tree beautifully. The pattern is approachable yet striking, making it a rewarding piece for anyone looking to add a handcrafted touch to their seasonal décor.
Crochet Christmas Tree Skirt Pattern
The construction comes together one section at a time, with each crochet pentagon joining the next as the skirt grows into its final shape.
You’ll also learn how to add the bold border and decorative edging that give the finished crochet piece its polished appearance. Keep reading to follow the pattern and see how these simple shapes transform into a Christmas tree skirt you’ll enjoy bringing out year after year.
Credit Ravella Design
Materials & Tools Needed
- Yarn:
- Green yarn (for the pentagons).
- White yarn (for alternating pentagons).
- Red yarn (for the border and finishing touches).
- Hook: Crochet hook suitable for your yarn weight (check yarn label recommendations).
- Scissors.
- Tapestry needle: For weaving in ends.
Finished Size & Customization Ideas
- Size: The final skirt size will depend on the number of rounds and pentagon pieces you make. You can increase the size by adding additional rounds to each pentagon or larger yarn hooks for taller stitches.
- Customization Ideas:
- Add decorative edging (shells in contrasting colors).
- Use glitter or metallic yarn for festive sparkle.
- Personalize with embroidered initials or appliques.

Pattern Abbreviations & Terminology
Here are helpful abbreviations used in the pattern:
- ch: Chain
- sl st: Slip stitch
- dc: Double crochet
- granny cluster: Group of 3 double crochets worked in the same space
- sp: Space
- rep: Repeat
Step-by-Step Detailed Crochet Instructions
Step 1: Create Each Pentagon Shape
Round 1:
- Start with a slip knot and chain 5.
- Join the chain with a sl st to create a ring.
- Into the ring:
- Chain 2 (counts as the first dc).
- Work 2 dc to form the first granny cluster (3 dc total).
- Chain 1, then create another granny cluster (3 dc) into the ring.
- Rep (granny cluster + chain 1) until you have 5 granny clusters total.
- Finish: Chain 1 and join with a sl st at the top of the chain-2 from the beginning.

Round 2:
- Sl st into the next dc, sl st into the next space (goal is to reach the chain sp between clusters).
- Each chain space will get:
- Granny cluster (3 dc) + chain 1 + Granny cluster (3 dc).
- Repeat for all chain spaces.
- Finish: Sl st into the chain-2 by the start of the round, then sl st into the chain space to move to the next round.
Round 3+: Adding Corners
- From this point onward, treat corners as follows:
- Granny cluster + chain 1 + Granny cluster.
- Non-corner spaces get only 1 granny cluster (3 dc).
- Continue adding rows until the pentagon grows to your desired size.
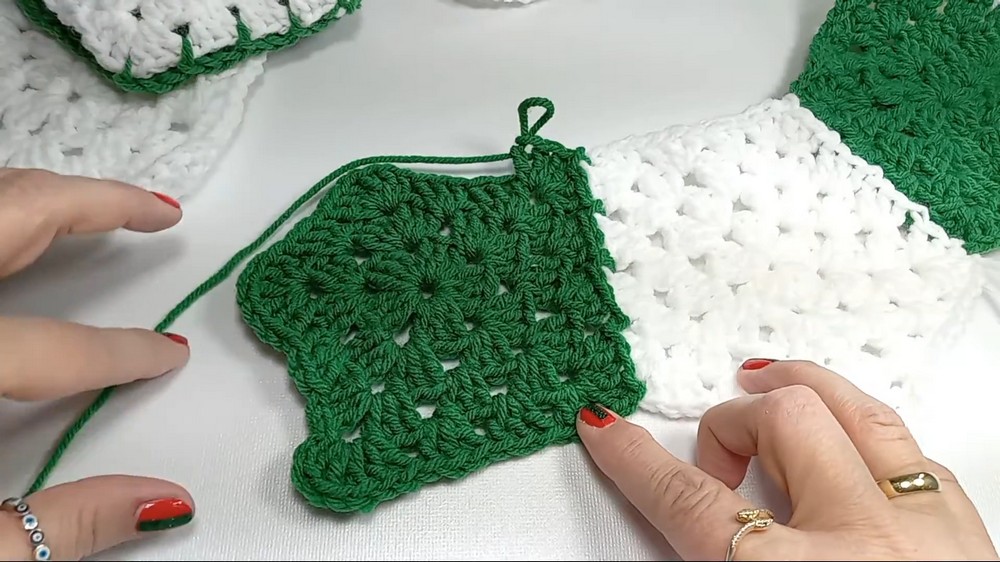
Step 2: Join Pentagons
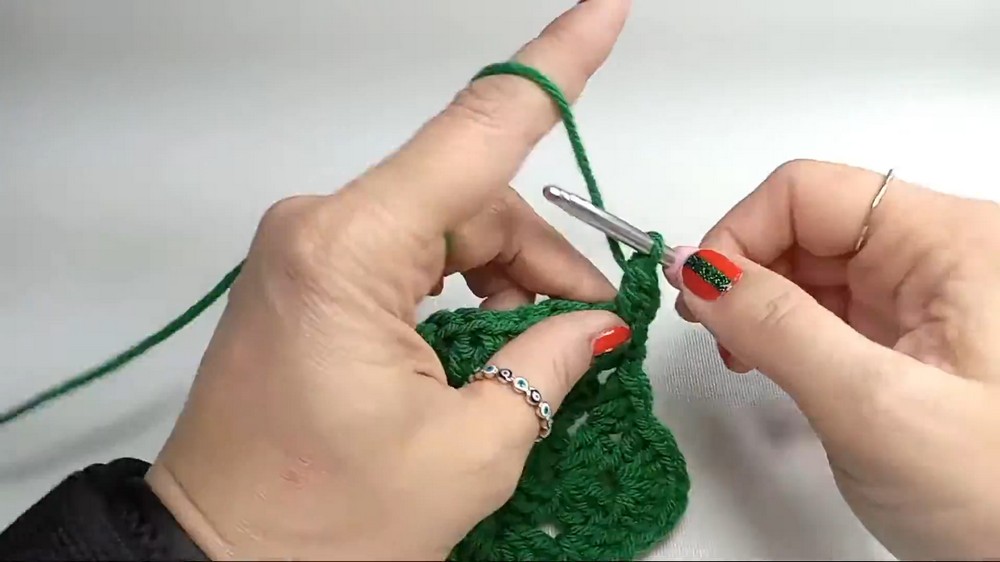
As you finish your pentagons, begin joining them as you go:
- Place the completed pentagon next to the new one you’re working on.
- At the corners of the pentagons, insert your hook into the adjoining corner space of the finished pentagon and make a sl st to attach.
- Continue crocheting the new pentagon while periodically joining corners.
Step 3: Build the Skirt Shape and Leave an Opening
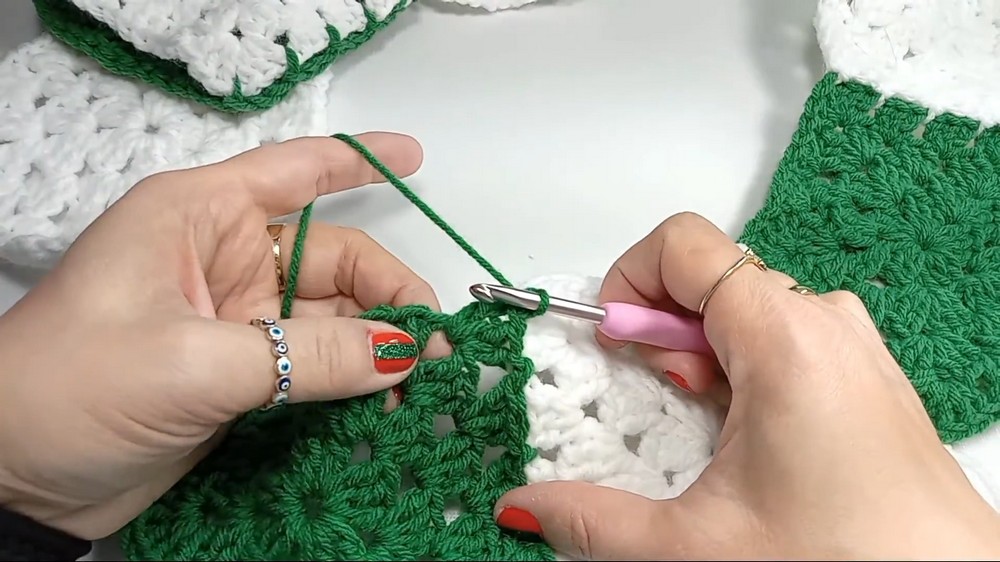
- Join the pentagons together into a circular shape, leaving one side open for the skirt to wrap around the tree.
- Alternatively, you can fully join all sides to create a closed mat-like base.
Step 4: Add the Red Border
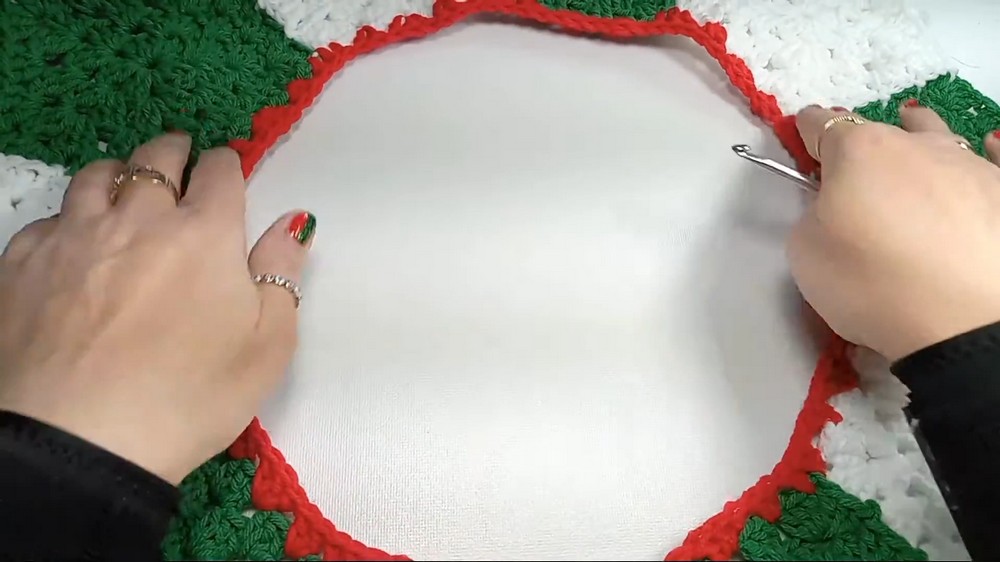
Row 1:
- Switch to red yarn and start from one of the corners.
- Work granny clusters along the sides of the pentagons and corners as follows:
- Corners: Granny cluster + chain 1 + Granny cluster.
- Sides: Granny cluster (3 dc) in each space.
- Keep working all around the skirt shape.
Row 2:
- Continue with red yarn.
- Work 2 dc into each space between clusters to decrease and form a smoother curve.
- Avoid chain spaces between clusters.
Step 5: Create White Edging
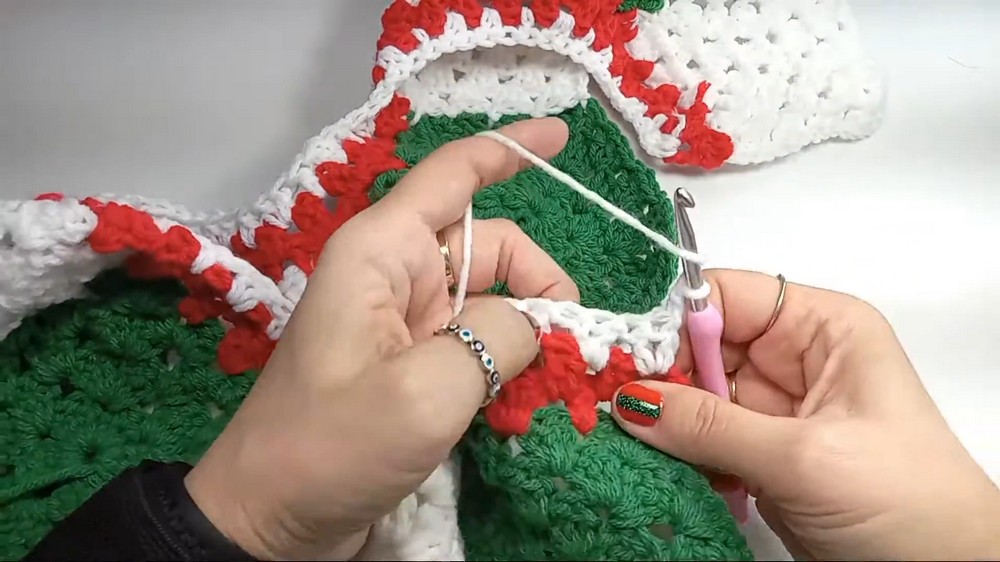
Row 1:
- Switch to white yarn.
- Alternate between 2 dc and 1 dc per space to further tighten and shape the skirt.
Row 2:
- Continue decreasing with white yarn using the same technique.
Step 6: Finishing Shell Edges
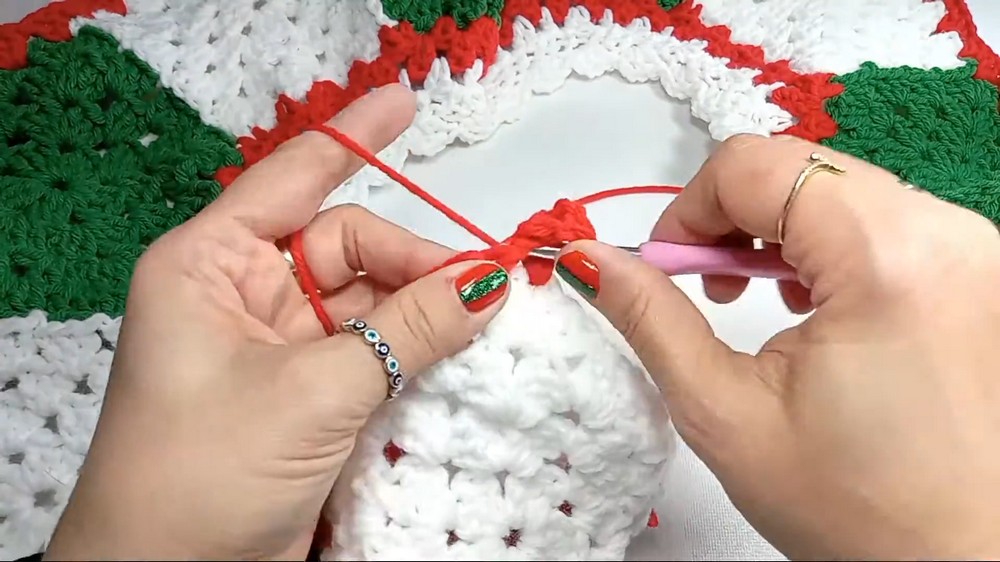
- Switch back to red yarn for decorative edging.
- For each shell:
- Chain 2, work 2 dc into the same space.
- Skip the next 2 stitches, then work a single crochet into the third stitch.
- Repeat across the entire edge for a scalloped shell pattern.
Final Touches
- Weave in all yarn tails using a tapestry needle.
- Block the finished tree skirt to smooth out the pentagons and ensure a professional finish.
Customization Ideas
- Color Changes: Alternate colors more frequently to create striped pentagons.
- Personalize Shapes: Experiment with hexagons instead of pentagons for a different look.
- Add Movement: Attach tassels or pompoms to the skirt edge for extra flair.