Crochet Christmas Tree Ornament For Quick & Festive Decor
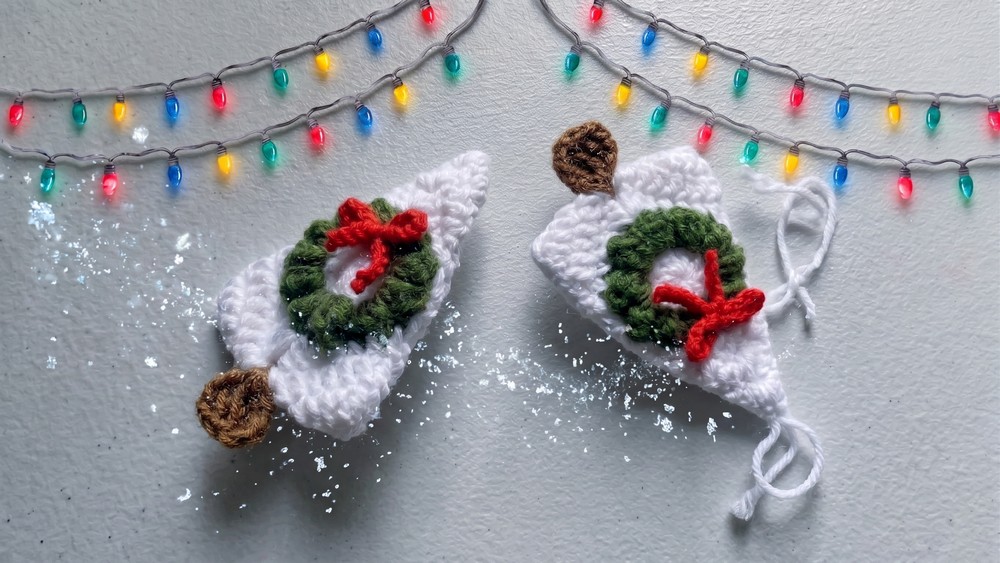
Some of the most memorable Christmas decorations are the smallest ones. This simple crochet Christmas tree ornament is a perfect example.
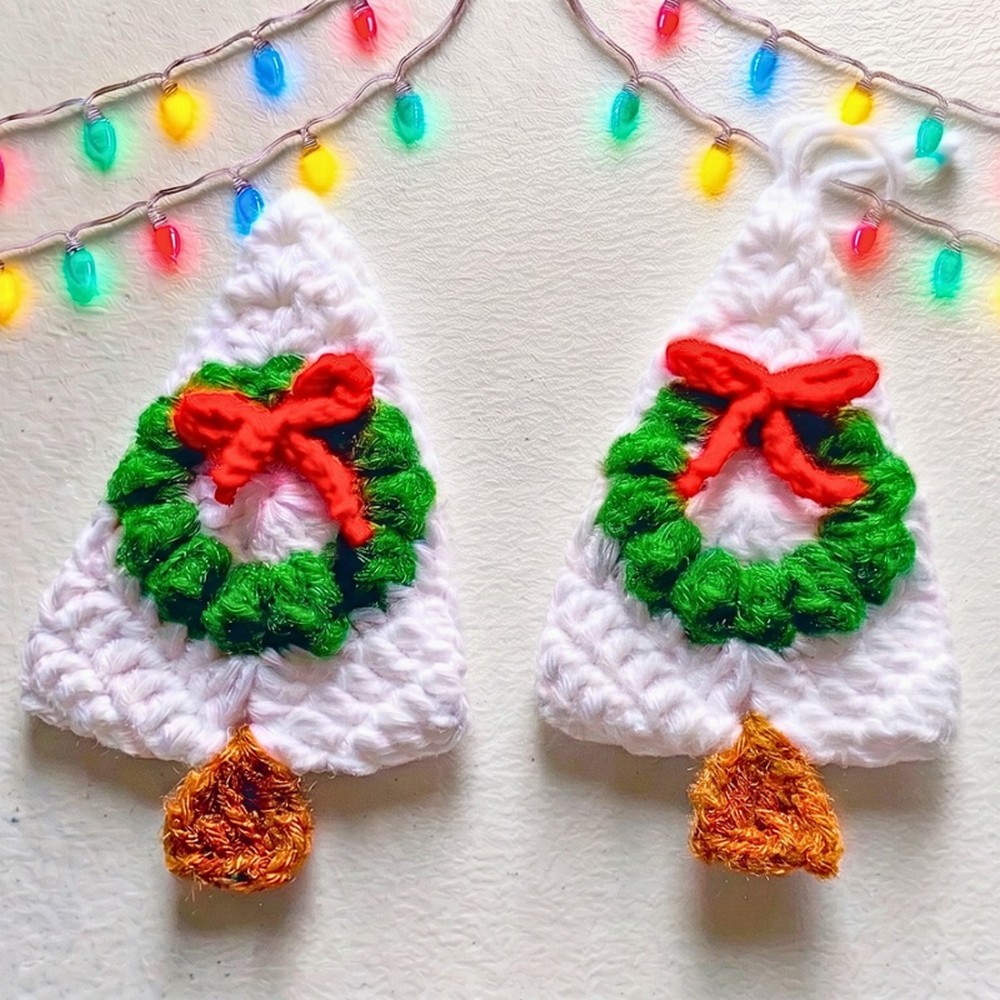
Its classic tree shape instantly brings a festive touch to your holiday décor while taking up very little yarn or time. Whether you hang one on the tree, tie it onto a gift, or display several together. Each crochet ornament adds a handmade detail that feels special.
Crochet Christmas Tree Ornament
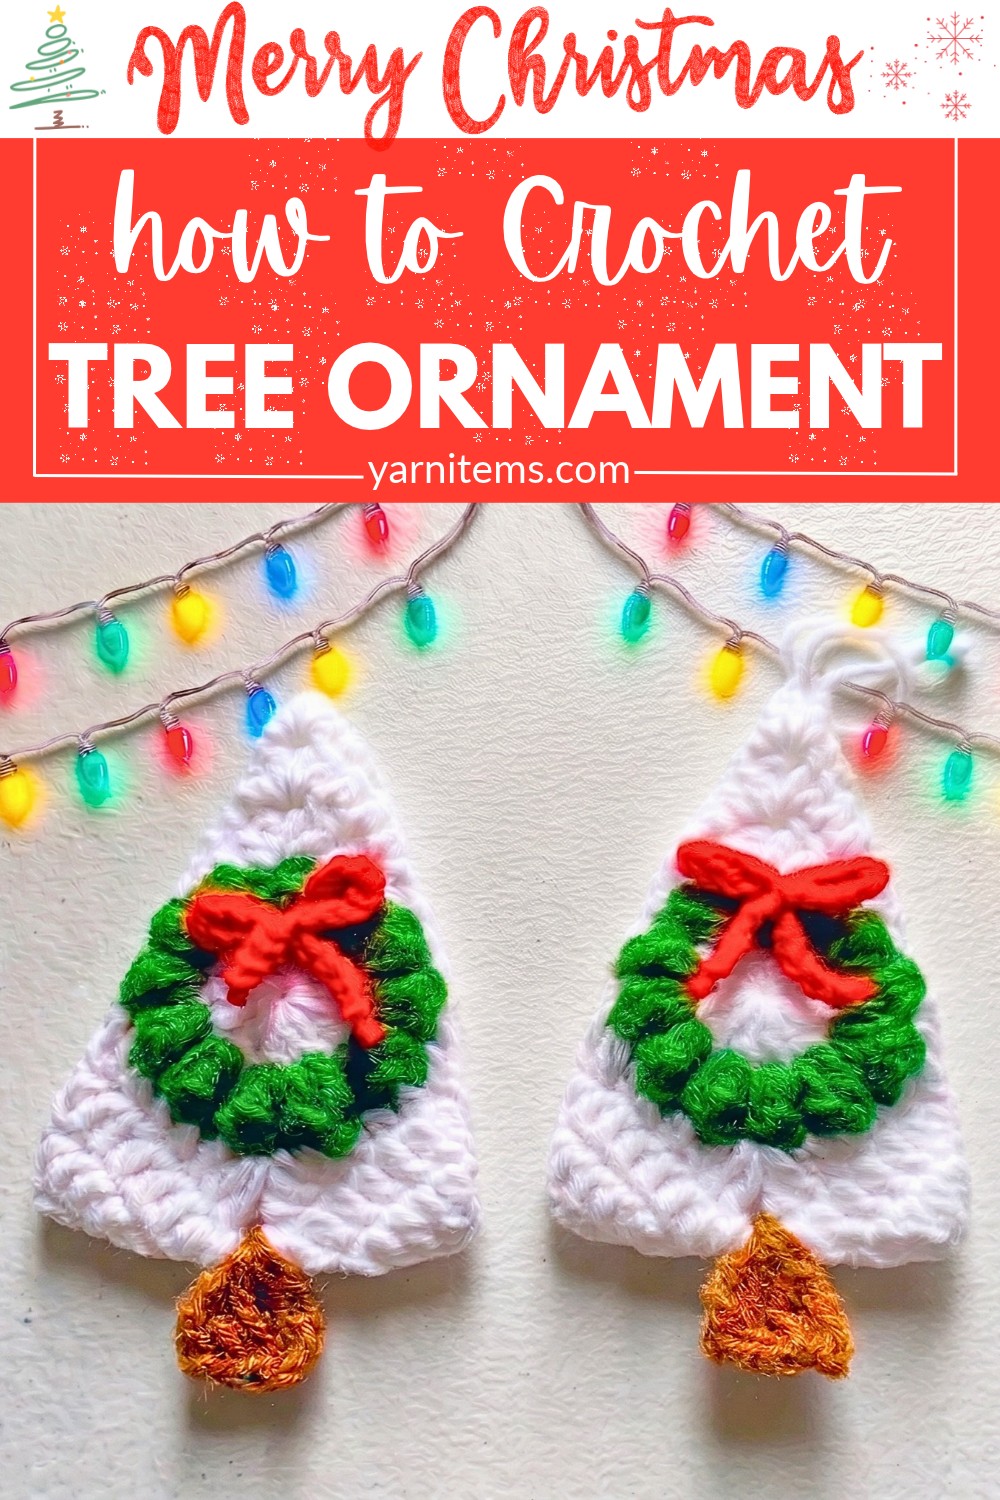
This pattern keeps the process easy without sacrificing charm, making it suitable for both first-time and experienced crocheters. You’ll work through a few simple stitches to create a neat little tree that can be customized with different colors or tiny embellishments. Before long, you’ll have a collection of festive crochet ornaments ready to brighten every corner of your Christmas celebrations.
Credit Crochet Mili
Materials & Tools Needed
- Yarn: Medium-weight 4-ply yarn in 4 colors:
- White (Main Color)
- Green (Wreath Color)
- Brown (Stem Color)
- Red (Bow Color)
- Crochet Hook: 4.0 mm
- Tools: Yarn needle, scissors
Finished Size & Customization Ideas
- Finished Size: Approximately 4 to 5 inches tall (standard ornament size).
- Customization Ideas:
- Traditional Look: Use a classic green for the main tree body and white for the center wreath for a reverse snow-covered tree effect.
- Beaded Garland: Attach small metallic or pastel seed beads onto the white rows to mimic string lights.
Pattern Abbreviations & Terminology (US Terms)
-
ch: Chain
-
sc: Single crochet
-
hdc: Half double crochet
-
dc: Double crochet
-
tc: Treble crochet
-
sl st: Slip stitch
-
st(s): Stitch(es)
-
popcorn stitch: Work 3 dc into the same stitch, drop the loop from your hook, insert the hook from front to back through the top of the first dc made, grab the dropped loop, and pull it through.
Step-by-Step Detailed Crochet Instructions
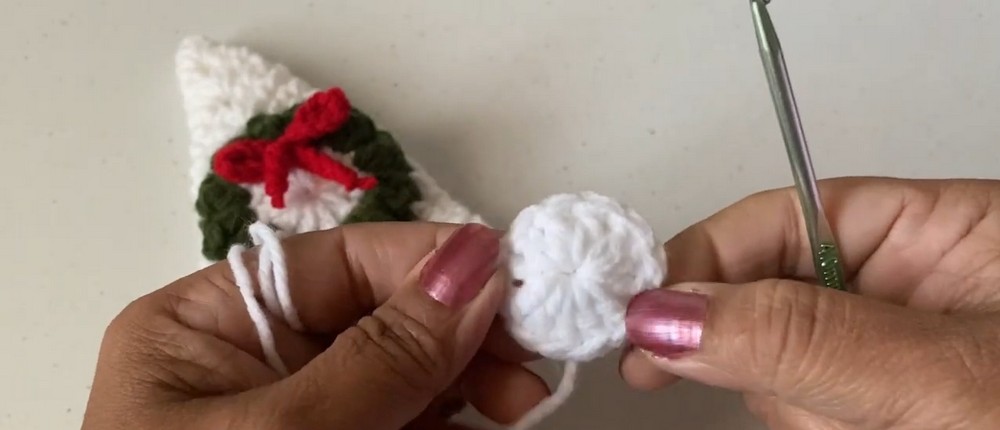
Row 1: The Inner Circle (White)
- Make a magic ring.
- Chain 3 (counts as your first double crochet).
- Work 11 dc into the ring.
- Pull the magic ring tight to close the center hole.
- Slip stitch into the 3rd chain of the starting chain-3.
- Cut the yarn and fasten off. (12 total double crochets)
Row 2: The Mistletoe / Wreath Ring (Green)
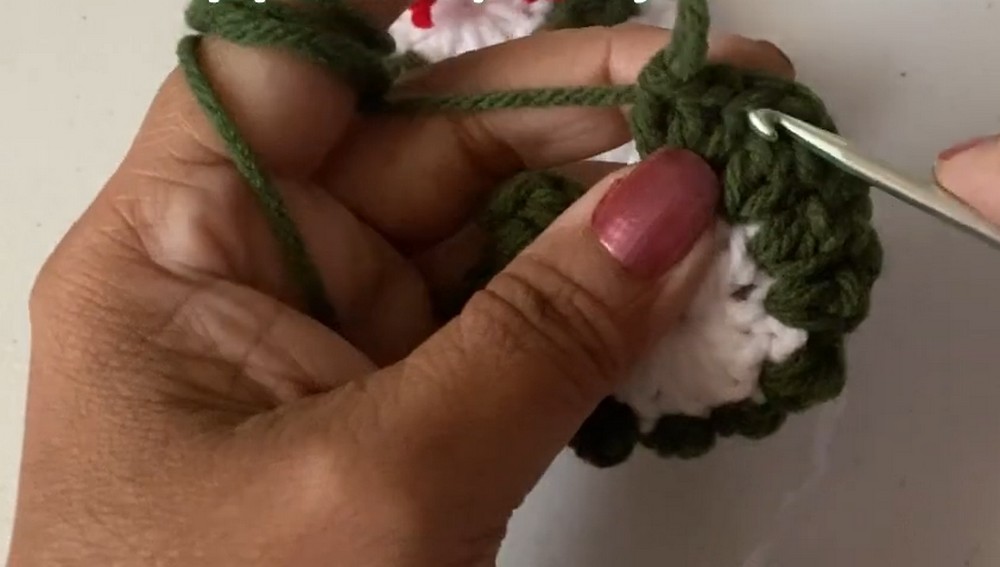
- Join Green yarn into any stitch from Row 1.
- Work a 3 dc popcorn stitch into that first stitch, then chain 1.
- Move to the next stitch: work a 3 dc popcorn stitch, then chain 1.
- Repeat this pattern (3 dc popcorn stitch, ch 1) into every stitch around.
- Slip stitch into the top of the first popcorn stitch.
- Cut the yarn and fasten off. (12 popcorn stitches total)
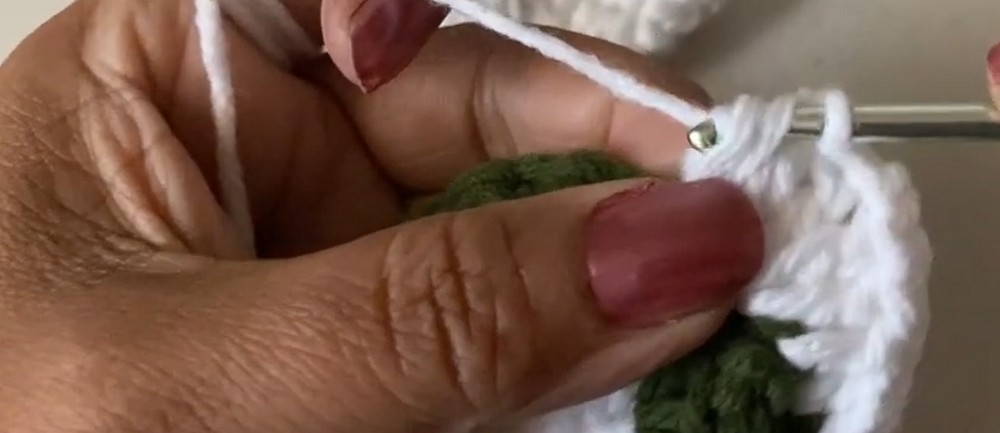
Row 3: Squaring the Circle (White)
- Join White yarn into any chain-1 space from the previous row.
- Work as follows in the spaces:
- 1 sc, 1 hdc, 1 dc.
- In the next space, create the first corner: 2 dc, chain 2, 2 dc into the same space.
- Then: 1 dc, 1 hdc, 1 sc into the following spaces.
- Repeat the sequence for four corners to form a square:
1 hdc, 1 dc, 2 dc (ch 2) 2 dc, 1 dc, 1 hdc, 1 sc. - Slip stitch into the first sc to join.
Row 4: Granny Square Expansion (White)
- Chain 3 (counts as first dc).
- Work 1 dc in every stitch across the straight edges.
- At each corner (ch-2 space), work 2 dc, ch 2, 2 dc.
- Continue until the square is complete and slip stitch into the 3rd chain of the starting chain-3.
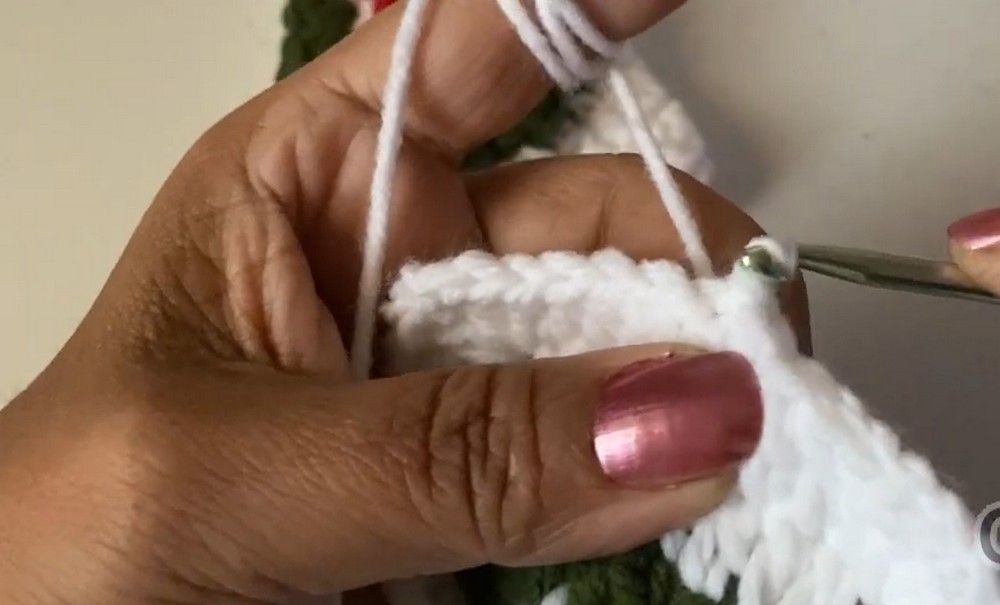
Row 5: Final Square Row (White)
- Chain 3 (counts as your first dc).
- Work 1 dc in each stitch along the straight edges.
- At corners, work 2 dc, ch 2, 2 dc.
- Repeat this sequence until the square is complete.
- Slip stitch into the 3rd chain of the starting chain-3.
- Cut yarn, weave in ends, and fasten off.
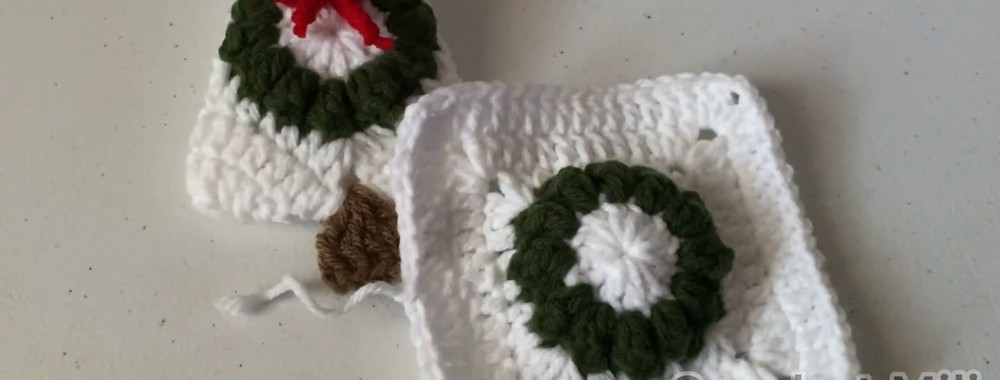
Assembly & Finishing Touches
1. Folding the Tree
- Lay the finished granny square flat with the green wreath side facing up.
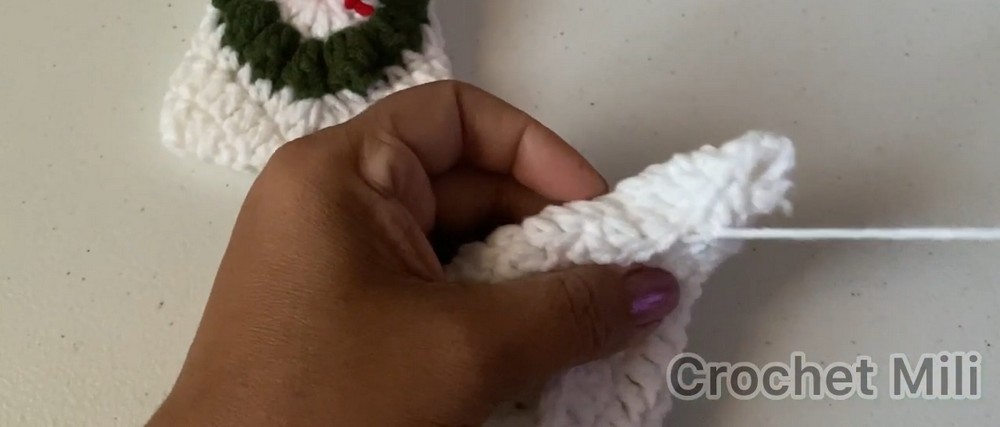
- Fold the left side and right side corners inward evenly to meet at the center back.
- This will create a triangle-shaped tree.
- Thread a yarn needle with White yarn and sew the triangle’s back seam (using the back loops only) to secure.
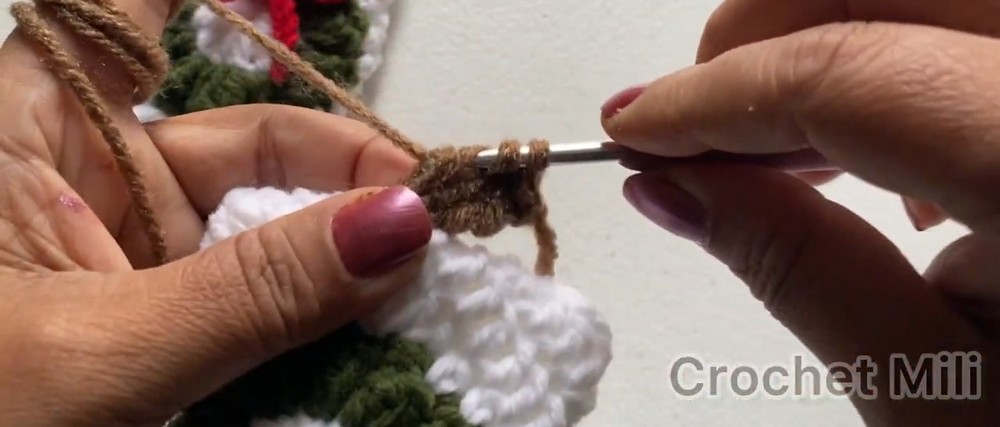
2. Adding the Stem (Brown)
- Join Brown yarn at the bottom center edge of the folded tree.
- Work 4 tc (treble crochets) next to each other to form a sturdy trunk.
- Cut yarn, tie off, and weave in ends.
3. Adding the Festive Bow (Red)
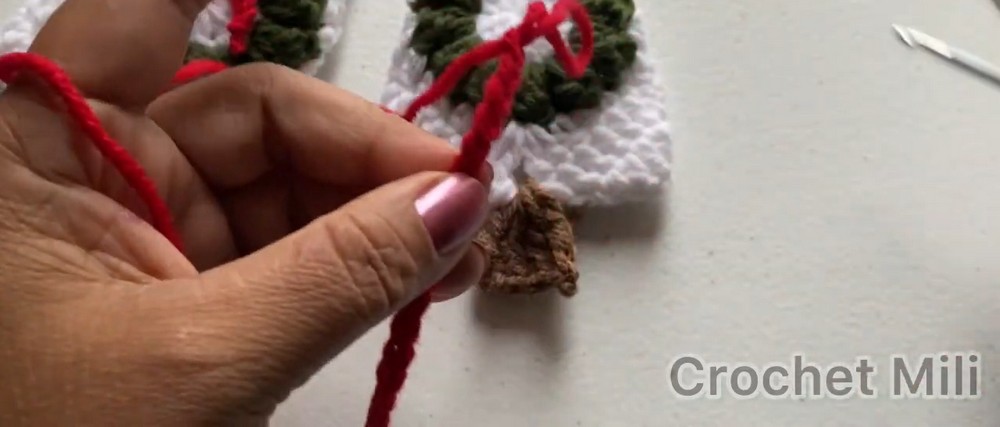
- Make a slip knot with Red yarn.
- Chain 27, cut the yarn, and pull it tight.
- Tie the chain into a decorative bow shape.
- Sew or glue the bow to the top center of the green wreath area.
4. Adding the Ornament Hanger Loop
- Insert the hook into the top point corner of the tree.
- Pull a strand of White yarn through and tie into a secure loop.
- The ornament is now ready to hang!