Crochet a Charming Snow White Hat with Ease
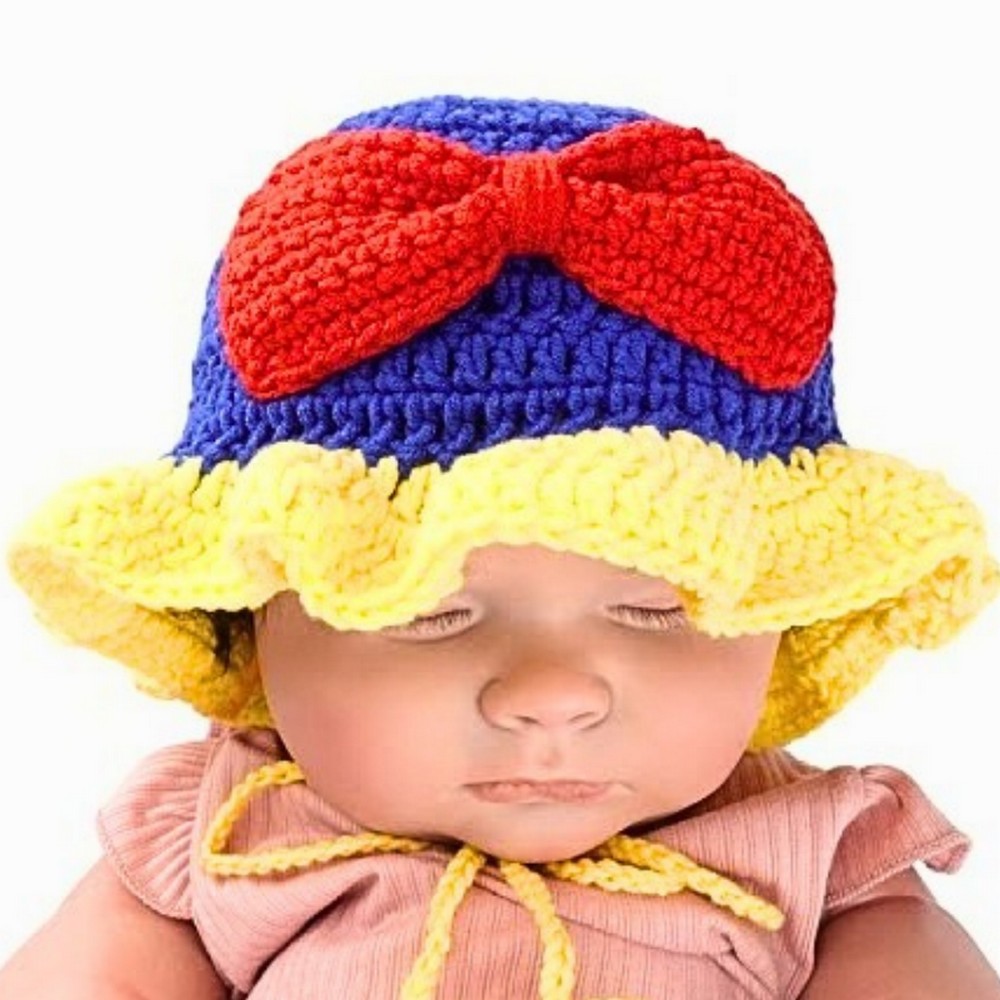
A touch of fairytale charm can completely transform an ordinary crochet piece. This Snow White hat combines cheerful colors with a timeless design that feels both playful and elegant.
The finished item is comfortable to wear, easy to style, and suitable for everyday use or themed occasions. It also makes a thoughtful handmade crochet piece that reflects creativity in every stitch.
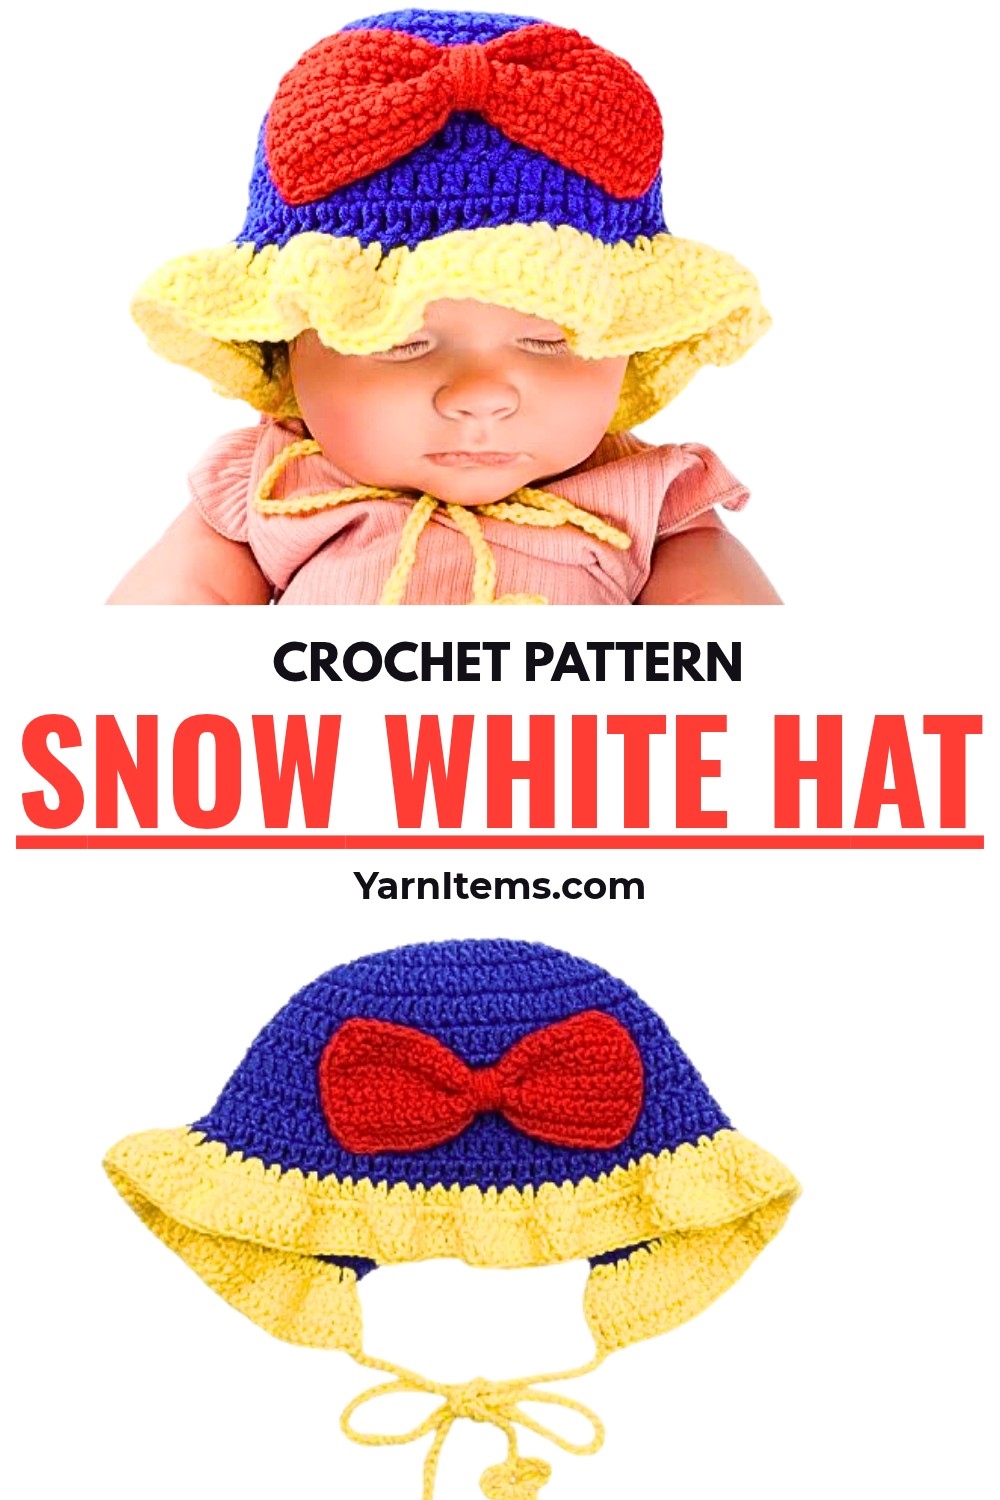
Classic inspiration meets cozy craftsmanship most delightfully. This crochet Snow White hat is designed to be approachable for beginners while still producing a polished and eye-catching result.
From selecting the right yarn colors to shaping the hat with clean, even stitches, every step contributes to a beautiful finished piece. Whether you are making it for yourself or as a heartfelt gift, this crochet item brings warmth and storybook charm together.
Credit Little Apple
Materials
- Yarn: Milk Cotton Yarn (Fingering weight / 2.5 mm thickness)
- Color A: Royal Blue
- Color B: Yellow
- Color C: Red
Tools
- Crochet Hook: Size 4.5 mm (No. 7.5/0)
- Notions:
- Stitch markers
- Yarn/Tapestry needle
- Measuring tape
- Scissors
Gauge & Sizing
Here’s the hat sizing reference chart presented sequentially instead of in columns:
- Premature Baby
- Hat Circumference: 12″–13″ (30.5–33 cm)
- Hat Depth: 4″ (10 cm)
- 0–3 Months
- Hat Circumference: 13.4″–15″ (34–38 cm)
- Hat Depth: 5″–5.5″ (12.5–14 cm)
- 3–6 Months
- Hat Circumference: 15.7″–17.3″ (40–44 cm)
- Hat Depth: 5.9″ (15 cm)
- 6–12 Months
- Hat Circumference: 17.3″–18.1″ (44–46 cm)
- Hat Depth: 6.3″ (16 cm)
- 1–2 Years
- Hat Circumference: 18.1″–18.9″ (46–48 cm)
- Hat Depth: 6.3″–6.9″ (16–17.5 cm)
- 2–5 Years
- Hat Circumference: 18.9″–19.7″ (48–50 cm)
- Hat Depth: 6.9″–7.5″ (17.5–19 cm)
- 6–10 Years
- Hat Circumference: 20.1″–20.9″ (51–53 cm)
- Hat Depth: 7.5″–7.9″ (19–20 cm)
Finished Size
- Suitable Age: 3–6 months
- Hat Circumference: 16.7 inches (42.5 cm)
Pattern Notes
- Turning Chains: Beginning ch 2 does not count as a stitch unless noted.
- Construction:
- The hat is made top-down, starting with the crown, followed by flat rows for the hat body, finishing touches with a ruffled brim, chin ties with flower accents, and a central butterfly bow.
- Joining Rounds: Use a slip stitch (sl st) to join into the first stitch of the round (not the turning chain).
Abbreviations
-
ch: Chain
-
sl st: Slip stitch
-
sc: Single crochet
-
dc: Double crochet
-
st(s): Stitch(es)
-
MR: Magic Ring
-
(2dc): 2 double crochet in the same stitch (Increase)
Step-by-Step Instructions
Part 1: Hat Crown (Rounds 1–5)
Color A (Royal Blue).
- Round 1:
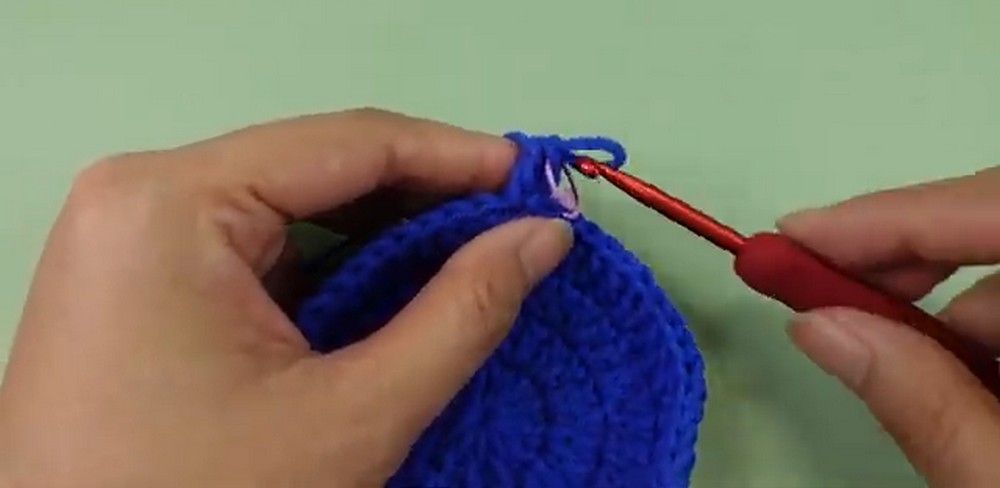
Start with a Magic Ring. Ch 2, work 12 dc into the ring. Pull the tail tight to close. Join with a sl st to the first dc.
(12 sts) - Round 2:
Ch 2, work (2dc) in each stitch around. Join with a sl st to the first dc.
(24 sts) - Round 3:
Ch 2, [1 dc, (2dc)] 12 times. Join with a sl st.
(36 sts) - Round 4:
Ch 2, [1 dc, (2dc), 1 dc] 12 times. Join with a sl st.
(48 sts) - Round 5:
Ch 2, [3 dc, (2dc)] 12 times. Join with a sl st.
(60 sts)
Part 2: Hat Body (Rounds 6–12)
Still using Color A (Royal Blue).
- Round 6:
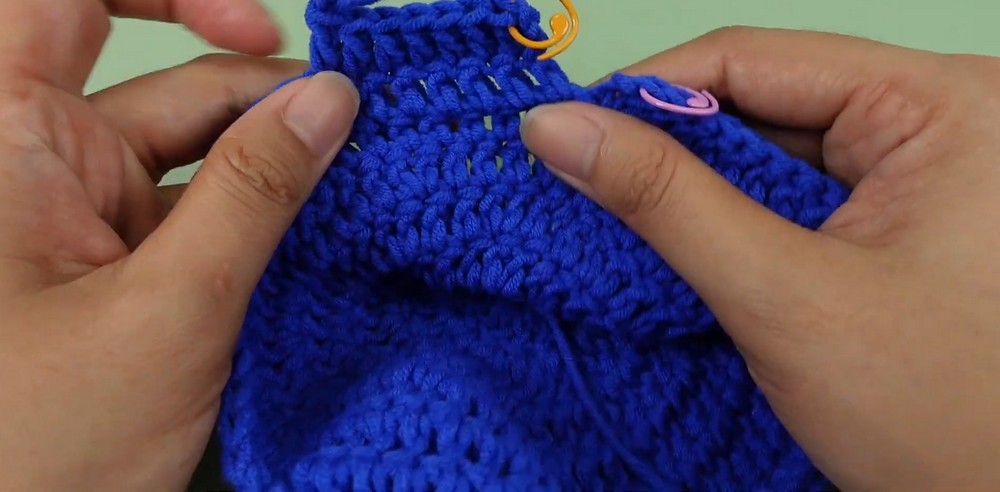
Ch 2, work 1 dc in each stitch around. Join with a sl st.
(60 sts) - Repeat Round 6 for Round 7.
- Rows 8–12:
Ch 2, turn. Work 1 dc in each stitch across. After Row 12, fasten off.
(60 sts per row)
Part 3: Hat Brim (Rounds 13–15)
Switch to Color B (Yellow).
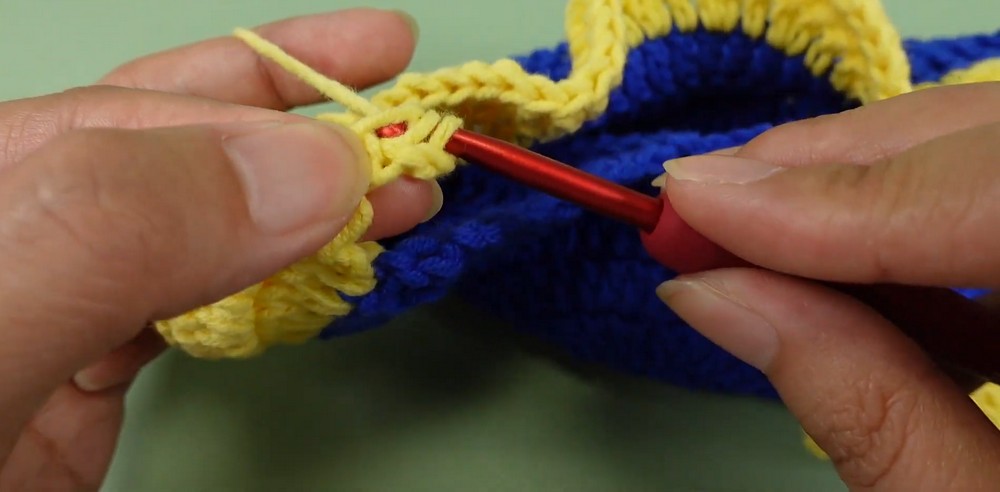
- Attach Color B to one corner:
Ch 2, work [1 dc, (2dc)] around for a flared ruffle. - Round 15:
Ch 2, turn. Work 1 dc in each st across. Fasten off.
Part 4: Hat Strings / Chin Ties
Color B (Yellow).
- Attach Color B:
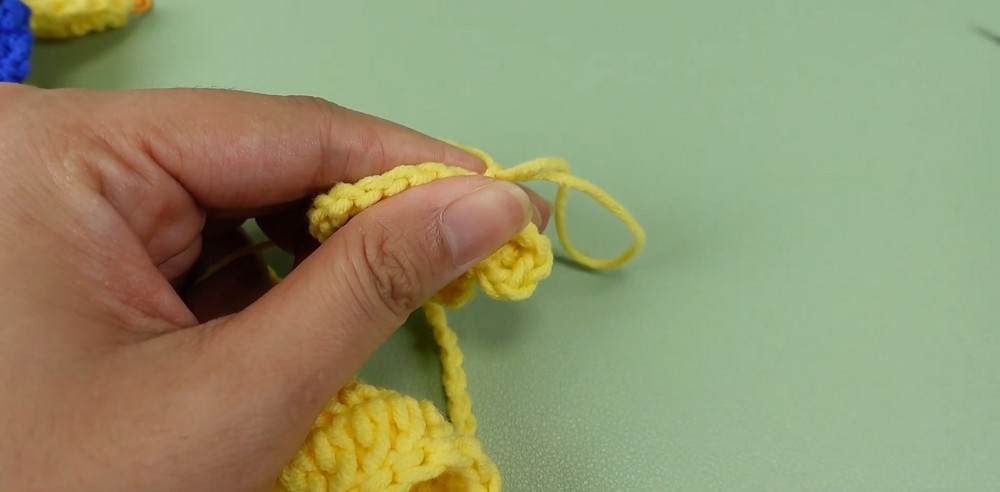
To the bottom front brim corner, ch 60. - Flower Accent (at the last ch stitch of the tie):
In the last chain, work the following 3–4 times: (ch 3, 1 dc, ch 3, 1 sl st). This creates a small flower/clover. - Fasten off and repeat on the opposite brim corner to make the second tie.
Part 5: Butterfly Bow
Color C (Red).
- Bow Rectangle:
- Row 1: Ch 20.
- Rows 2–9: Turn, ch 1. Work 20 sc in each row.
- Round 10 (Border): Ch 1, sc evenly around all 4 sides of the rectangle, working 2 sc into each corner.
- Shaping the Bow:
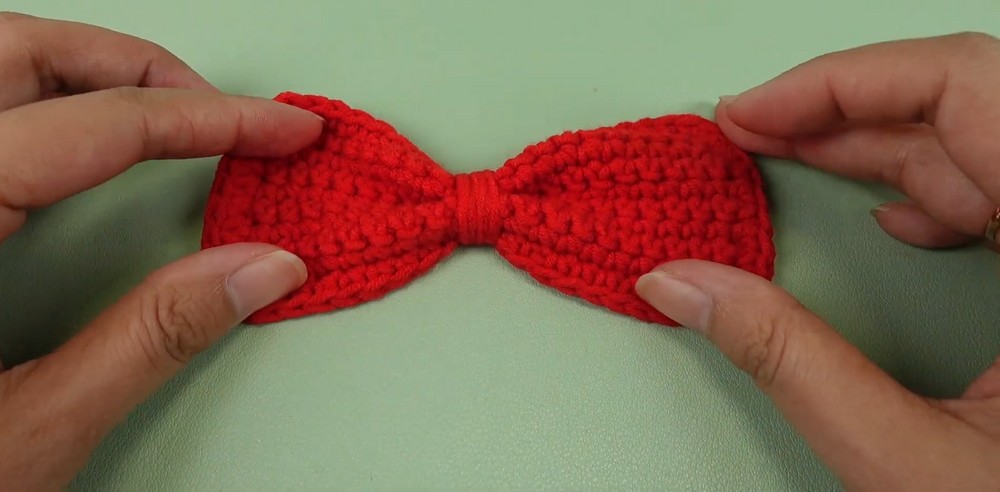
- Leave a long tail (~20–24 inches). Pinch the middle of the rectangle to shape the bow.
- Wrap the long tail tightly around the center several times.
- Secure by tying a knot at the back.
Assembly
- Position & Attach Bow:
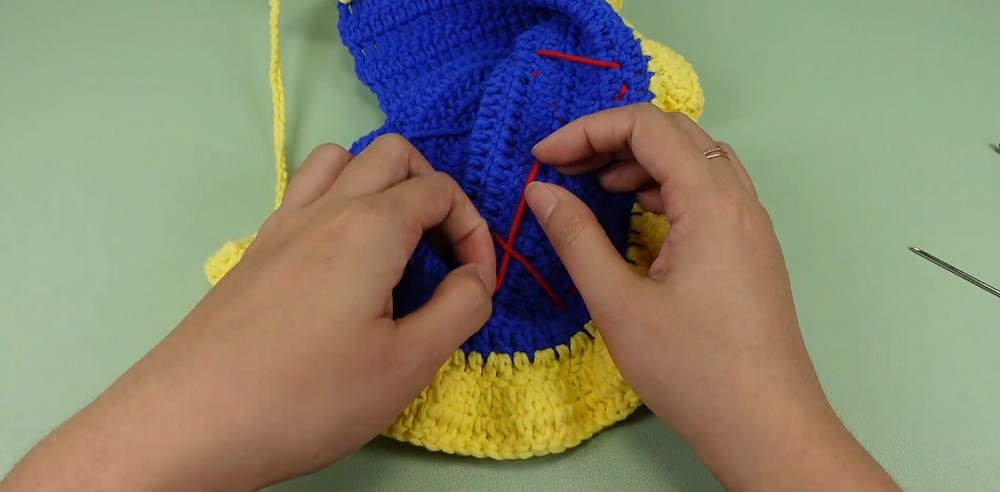
Center the red butterfly bow above the brim. Sew it securely in place using a yarn needle. - Weave in any loose ends, trim excess yarn, and clean up the final piece.
Customization Ideas
- Size Adjustments: For larger sizes, add increase rounds to the crown, following the 12-stitch increment rule (e.g., Round 6: [4 dc, (2dc)] * 12).
- Color Variations: Create pastel or holiday-themed colorways.
- Alternative Embellishments: Replace the bow with stars, flowers, or other appliqués.