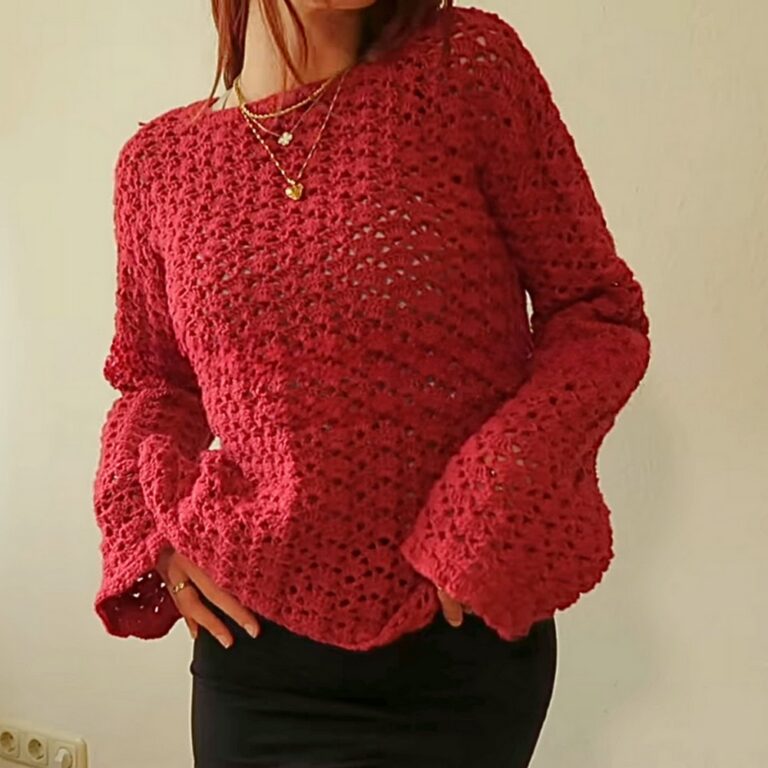
Textured Square Crochet Coaster Pattern for Beginners
Need a practical handmade coaster with extra texture? This simple square crochet pattern combines classic stitches and raised ribs for a neat finish.
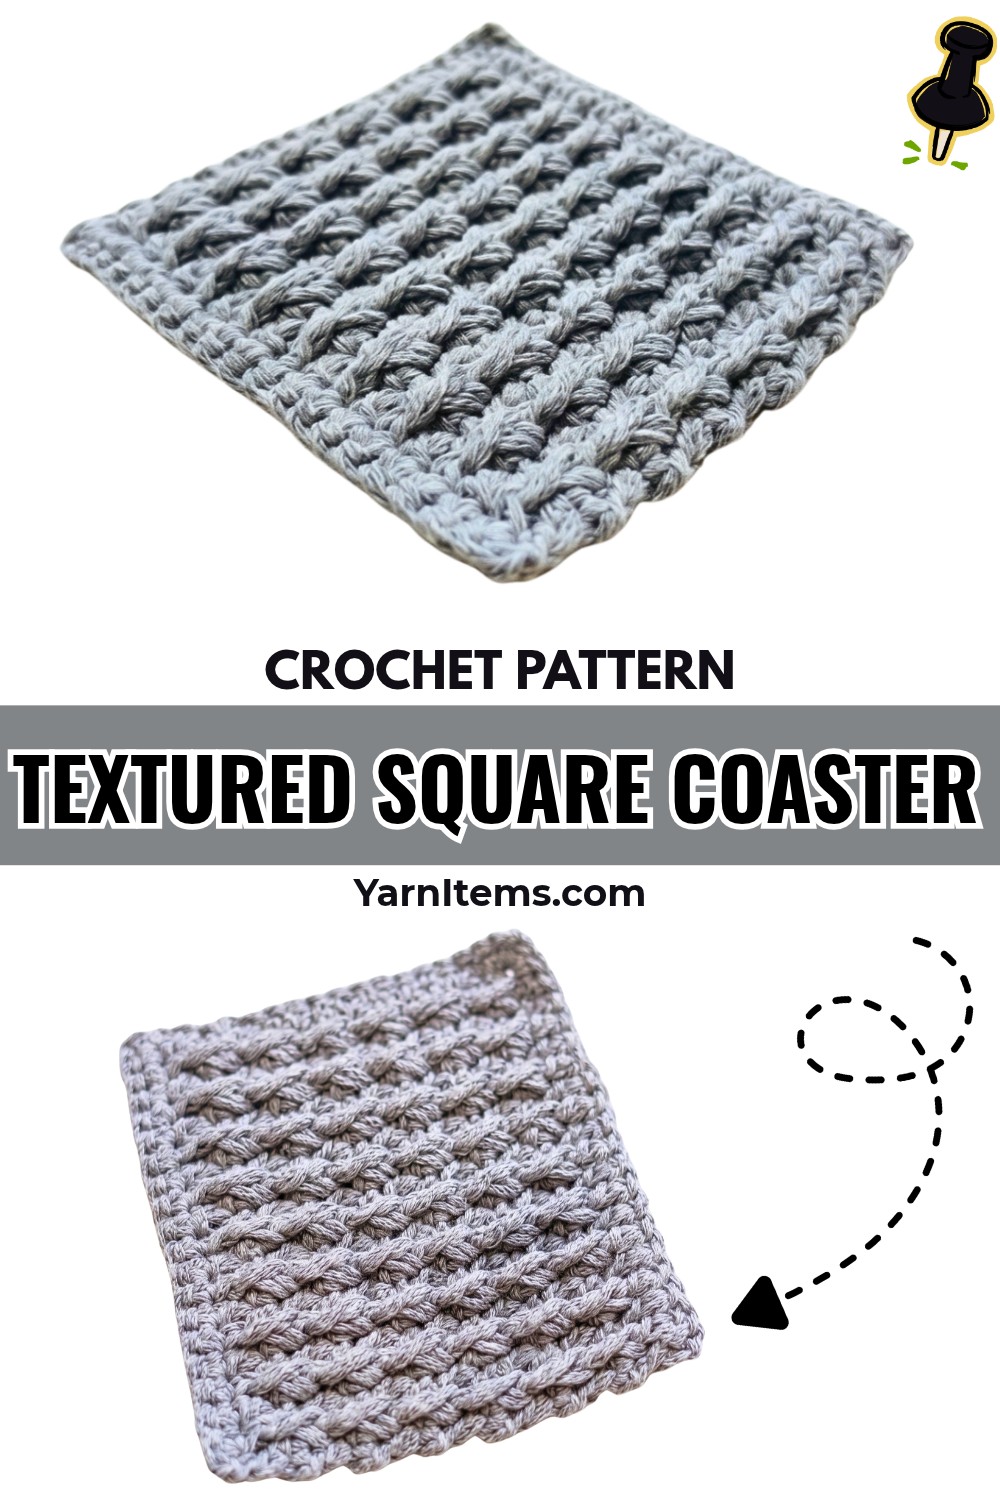
Everyday drinkware deserves a soft landing, and a compact coaster is useful for cups, mugs, and teapots. This crochet design is especially appealing for beginners who want to practice basic stitches while learning how front post stitches create raised texture.
This crochet tutorial walks you through the foundation, alternating stitch rows, ribbed pattern, and neat finishing. You’ll also find a foundation-chain alternative and simple ways to adjust the size or change colors. Let’s start with the base.
Credit Heavenly Crochet Amigurumi
Materials & Tools
- Yarn: Medium-weight cotton or acrylic yarn; heather grey is shown in the tutorial.
- Crochet hook: 3.00 mm (5/0).
- Scissors: For cutting the yarn.
- Tapestry needle: For weaving in the finishing ends.
Helpful tip: Cotton yarn is generally a practical choice for drink coasters because it absorbs moisture well. If you use acrylic, keep the finished coaster away from very hot cookware.
Finished Size & Customization
The finished piece is a compact square suitable for cups, mugs, and teapots. Exact dimensions depend on your yarn, tension, and hook.
- Color variations: Try stripes, alternating shades, or self-striping yarn for a different look.
- Larger mug rug: Begin with a longer foundation and adjust the stitch pattern to fit the new stitch count.
- Hot pad: A larger version may be useful for warm items, but choose heat-appropriate materials and do not assume acrylic yarn is suitable for direct contact with hot cookware.
Crochet Abbreviations
- ch: Chain
- st/sts: Stitch/stitches
- sl st: Slip stitch
- sc: Single crochet
- FSC: Foundation single crochet
- dc: Double crochet
- FPDC: Front post double crochet
Understanding FPDC: Instead of inserting your hook beneath the top loops of a stitch, work around the post of the stitch from the front. This pushes the stitch forward and creates the raised ribbed texture.

Step-by-Step: Textured Square Coaster
This coaster is worked back and forth in one continuous piece. The foundation establishes the width, while alternating single-crochet and textured rows build the square fabric.
Step 1: Create the Foundation
Foundation row: 19 stitches
There are two ways to begin this coaster. Choose the foundation single crochet method if you are comfortable with it, or use the chain alternative.
Option A: Foundation Single Crochet (FSC)
- Make 19 foundation single crochet stitches.
- Keep the foundation edge relaxed and even.
- Count the stitches before beginning the next row.
Option B: Chain and Single Crochet
- Make a chain of 20.
- Insert your hook into the second chain from the hook.
- Work 1 sc in that chain.
- Continue working 1 sc in each remaining chain across.
You should have 19 sc stitches.
Teaching tip: The foundation edge should not be tighter than the rest of the fabric. If it pulls inward, loosen your tension so the coaster can lie flat.
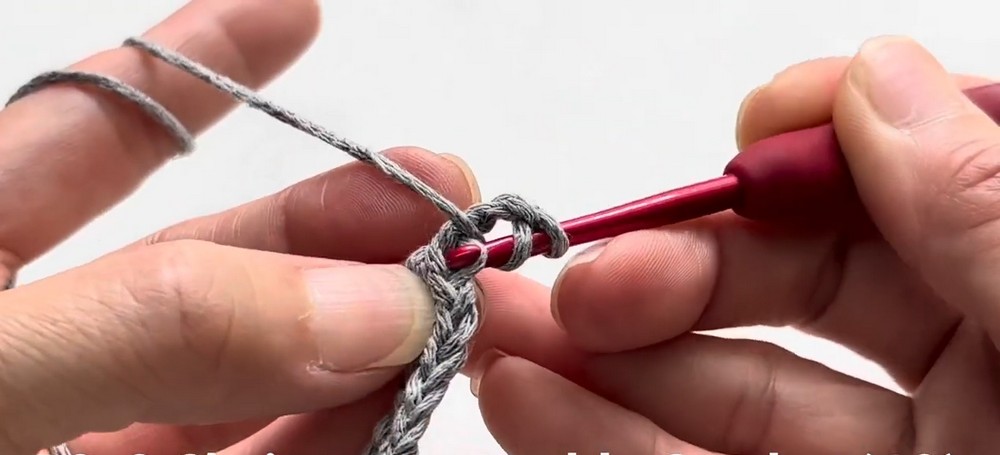
Step 2: Work the First Double-Crochet Row
Row 2
- Ch 3; this counts as the first dc.
- Turn your work.
- Work 1 dc into each stitch across, following the pattern’s stitch-count convention.
- Check that the row contains 19 stitches, counting the starting chain as instructed.
Teaching tip: Keep the turning chain consistent in height. A chain that is much tighter or looser than the other stitches can make the edge uneven.
Step 3: Add a Single-Crochet Row
Row 3
- Ch 1.
- Turn your work.
- Work 1 sc in each stitch across.
- Check the row for 19 stitches.
This shorter row creates a transition between the taller double-crochet row and the textured row that follows.
Check your work: The edges should remain reasonably straight, with no sudden increase or decrease in width.
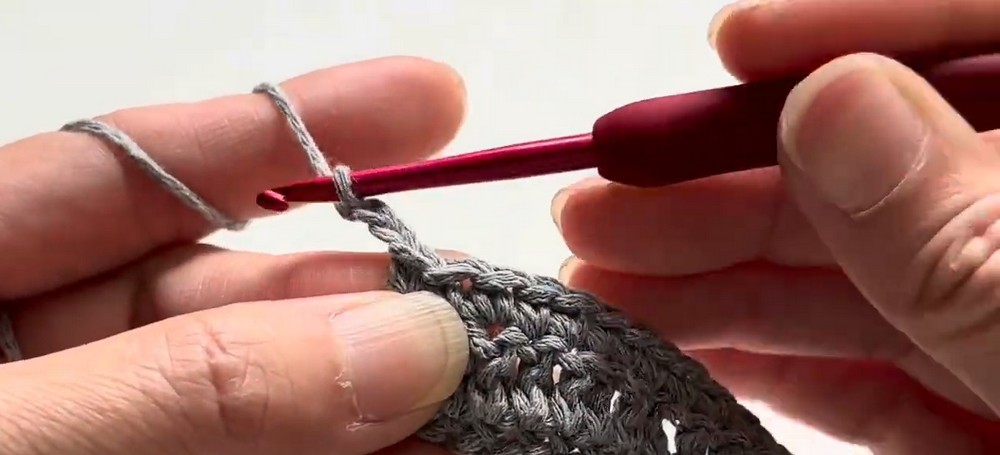
Step 4: Create the Raised Ribbed Texture
Row 4
- Ch 2; this chain does not count as a stitch.
- Turn your work.
- Work 1 dc in the first stitch.
- Work 1 FPDC around the post of the next stitch.
- Continue alternating (1 dc, 1 FPDC) across the row.
- Finish with 1 dc in the final stitch.
The row should contain 19 stitches.
How to work FPDC: Yarn over, insert your hook from the front around the post of the designated stitch, bring the hook back to the front, and complete the double crochet normally.
Teaching tip: Keep the FPDC stitches facing the same direction. They should stand out from the fabric rather than disappear into the regular stitch tops.
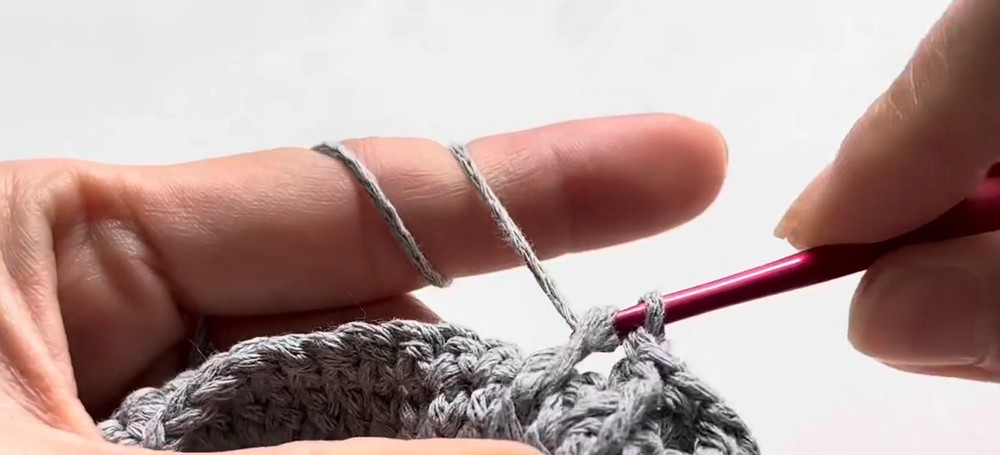
Step 5: Repeat the Pattern to Build the Square
Rows 5-14
Continue alternating the two pattern rows:
- Next single-crochet row: Repeat Row 3, working 1 sc across.
- Next textured row: Repeat Row 4, alternating dc and FPDC across and finishing with dc.
Continue this sequence through Row 14, keeping 19 stitches in every row.
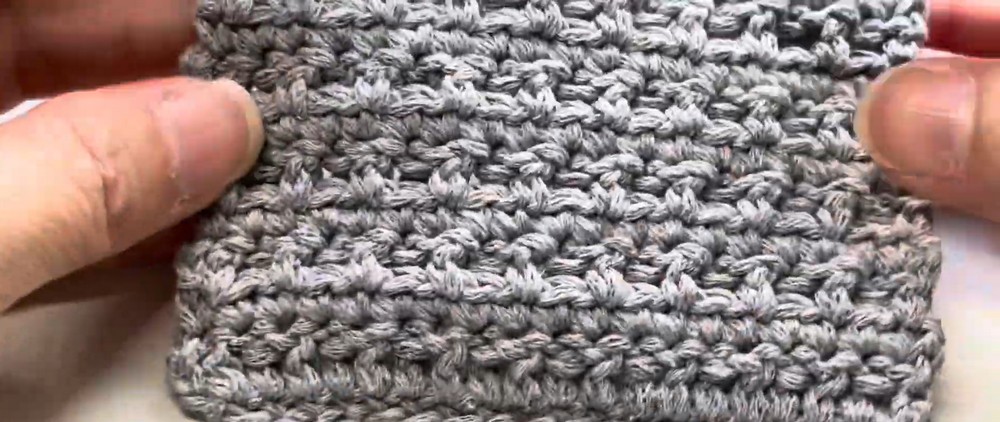
Progress check: The fabric should gradually develop visible raised ribs. Lay it flat occasionally to check that the sides remain straight and the texture is consistent.
Helpful tip: If the edges begin to narrow or widen, recount your stitches before continuing. Missing the final stitch or accidentally adding an extra stitch can change the square’s shape.
Step 6: Fasten Off the Yarn
Once Row 14 is complete, secure the final stitch.
- Cut the yarn, leaving a short tail.
- Pull the cut end completely through the final loop on your hook.
- Gently tighten the loop to secure it.
Avoid pulling so firmly that the corner becomes distorted.
Step 7: Weave in the Ends
Thread the remaining yarn tail onto your tapestry needle.
- Pass the needle through several stitches along the edge on the reverse side.
- Change direction and weave through nearby stitches to help secure the tail.
- Trim the excess yarn without cutting into the fabric.
Repeat for any remaining loose ends.
Finishing check: The coaster should lie flat, with no loose tails and a consistent raised texture across its surface.
Adjusting the Size
For a larger mug rug, increase the foundation length and maintain an odd stitch count so the alternating texture can finish with a dc as described. You will also need to work additional rows to achieve the desired dimensions.
For a smaller coaster, reduce the foundation length while preserving the stitch sequence and checking the first few rows for a balanced edge.
Changing yarn thickness or hook size can also affect the finished dimensions. Make a small test section first if you want a specific size.
Using and Caring for Your Coaster
This square coaster works well beneath everyday cups and mugs. A set in coordinating colors can also make a thoughtful handmade gift.
Follow the care instructions for your chosen yarn. Cotton versions are generally well suited to routine washing, while acrylic versions should be kept away from excessive heat.
Your textured square coaster is complete: a single-piece design with a neat foundation, alternating rows, and raised ribs that add detail without requiring separate pieces or sewing.