Crochet Bear Coaster Pattern – Step-by-Step Tutorial
Here’s how to crochet an adorable bear coaster with simple circular rounds, shaped ears, and beginner-friendly instructions for neat finishing.
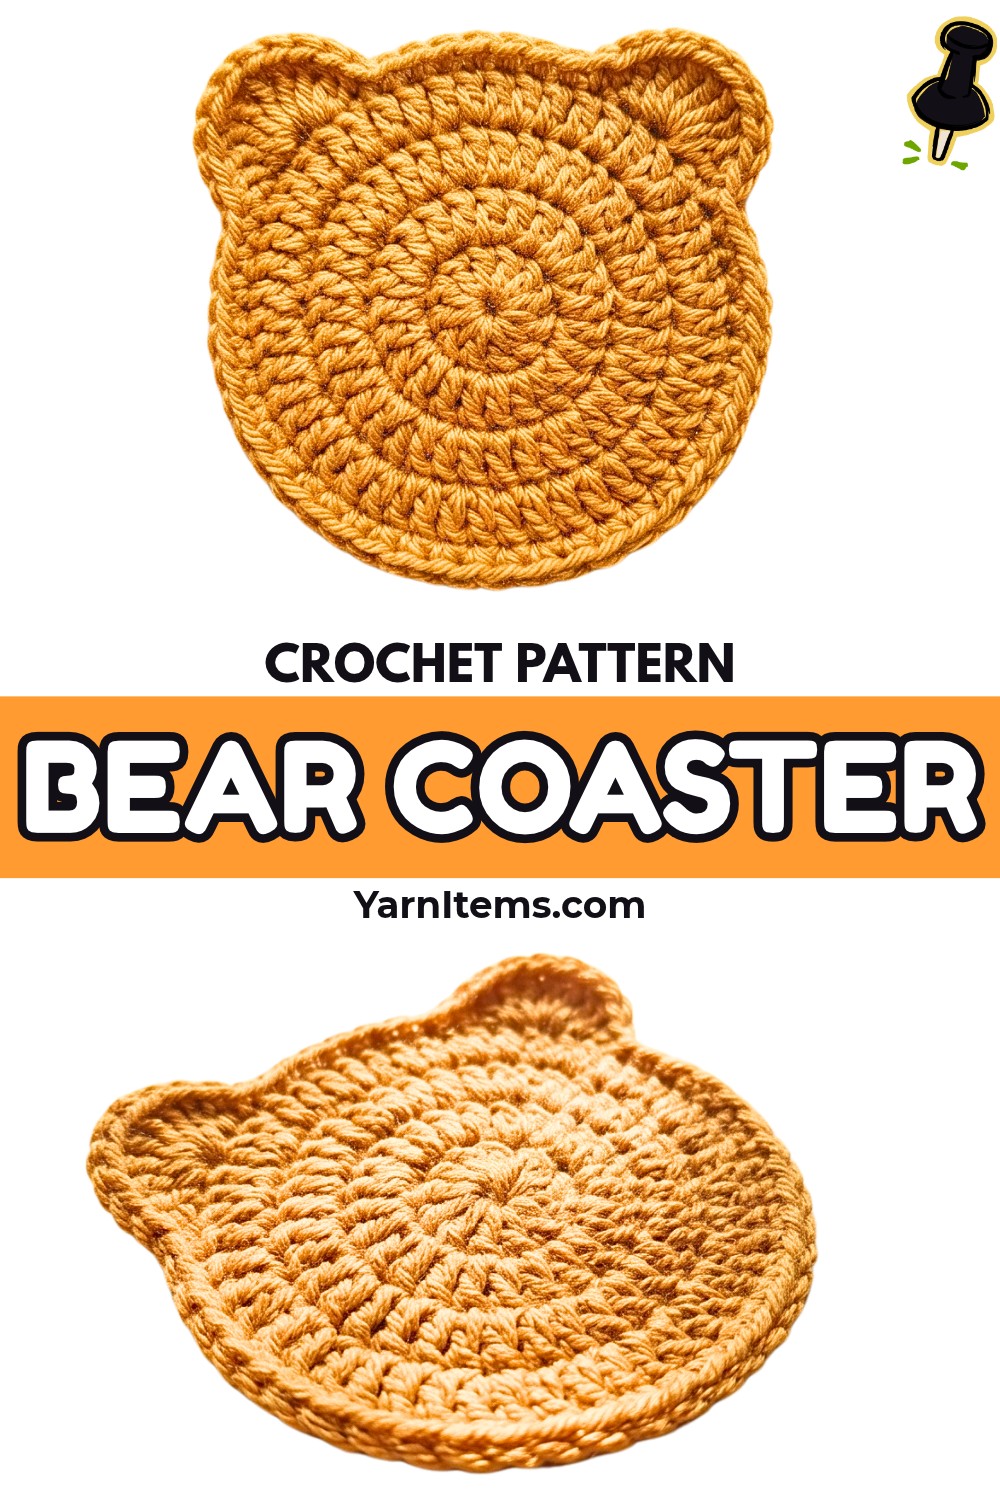
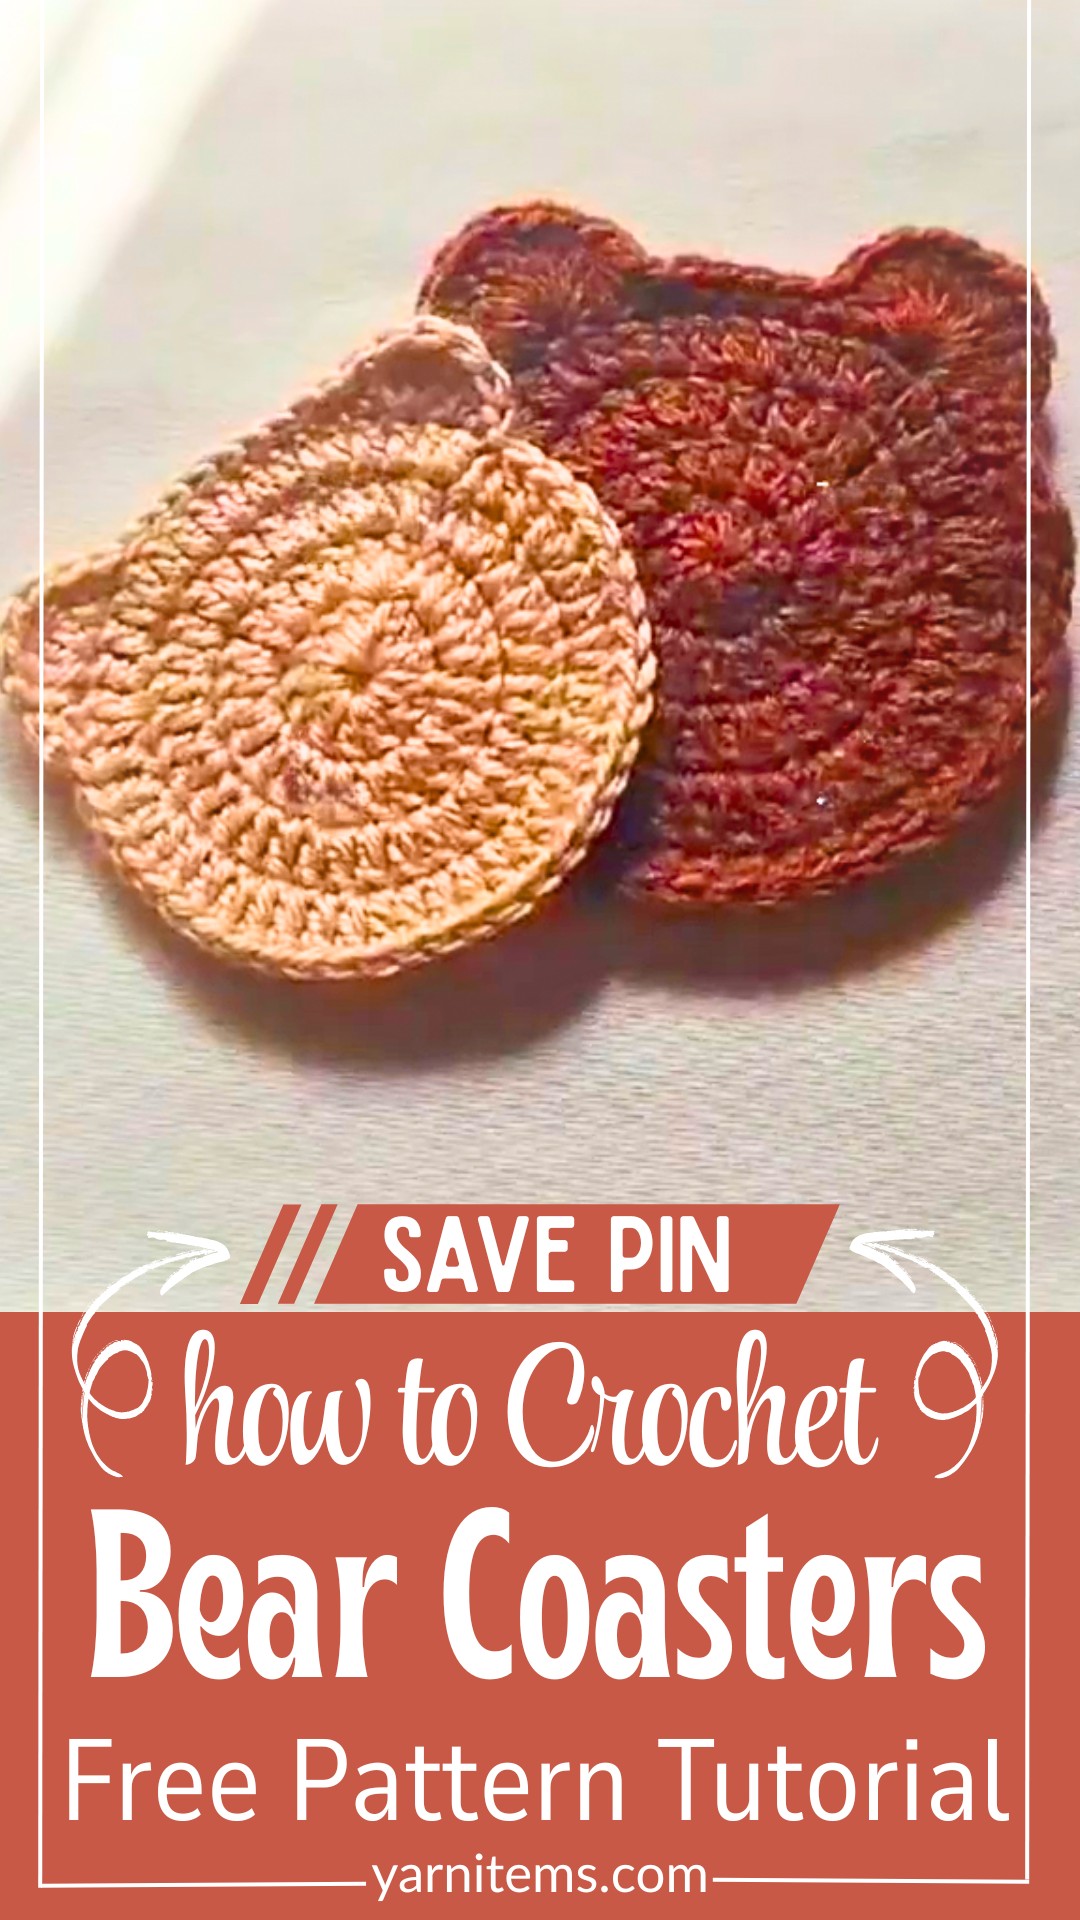
Cute bear-shaped crochet coasters bring playful character to everyday mugs and coffee tables. Shaping rounded ears can feel confusing for beginners, but building the circle first makes this crochet design easier to follow.
This crochet tutorial covers four circular rounds, two matching ears, stitch abbreviations, and finishing techniques. You’ll also find color ideas and practical tips for keeping your bear coaster neat and ready to use or gift.
Credit Kawaii Crochet
Materials & Tools Needed
-
Yarn: Brown or beige cotton or acrylic yarn in DK or Aran weight.
-
Crochet hook: 3.0 mm.
-
Stitch marker: To identify the first stitch of each round.
-
Scissors: For cutting yarn.
-
Darning needle: For weaving in loose ends.
Finished Size and Customization
This bear coaster is designed for small to medium mugs and cups. Its final size will depend on your yarn thickness, hook tension, and individual stitching.
Try different shades of brown, tan, or cream for a classic teddy-bear look. Pastel yarn can create a softer decorative style, while a tiny embroidered pink nose or bow adds an extra personal touch.
Crochet Abbreviations
-
Ch: Chain
-
Sl st: Slip stitch
-
Sc: Single crochet
-
Dc: Double crochet
-
Tr: Treble crochet
-
Inc: Increase – work two stitches into the same stitch
-
St(s): Stitch(es)
-
Rnd: Round
-
MR: Magic ring
Note: The pattern uses US crochet terminology. In UK terminology, US single crochet is called double crochet, US double crochet is called treble crochet, and US treble crochet is called double treble crochet.
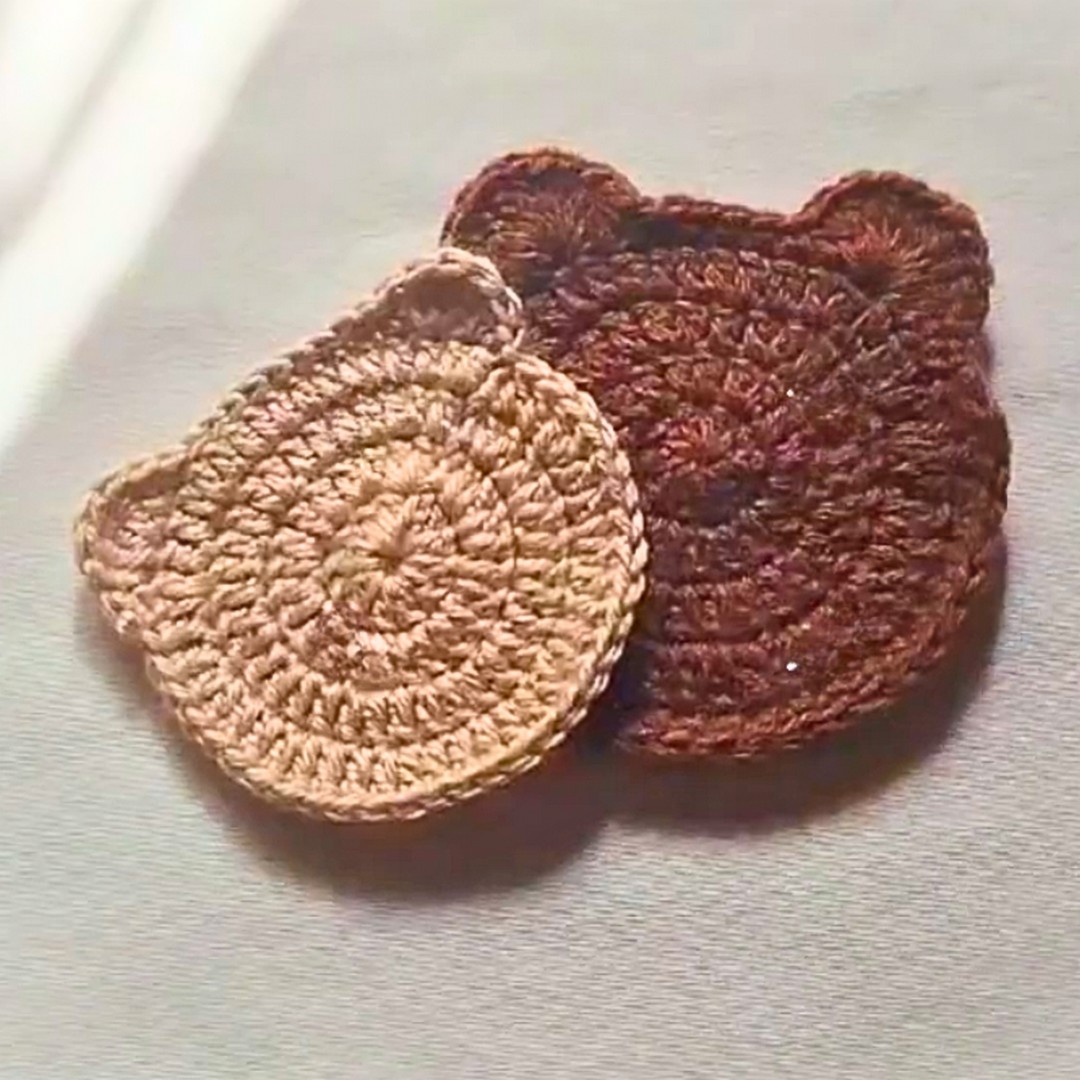
How to Crochet a Bear Coaster
Step 1: Make the Center of the Coaster
Begin with a magic ring. This adjustable loop creates a closed center without leaving a hole in your coaster.
-
Form a magic ring.
-
Ch 1, then work 12 dc into the ring.
-
Pull the yarn tail firmly to close the center.
-
Join with a sl st to the first dc.
Stitch count: 12 dc.
Check that the center is tightly closed before moving on. Keep your stitches even so the circle lies flat rather than curling upward.
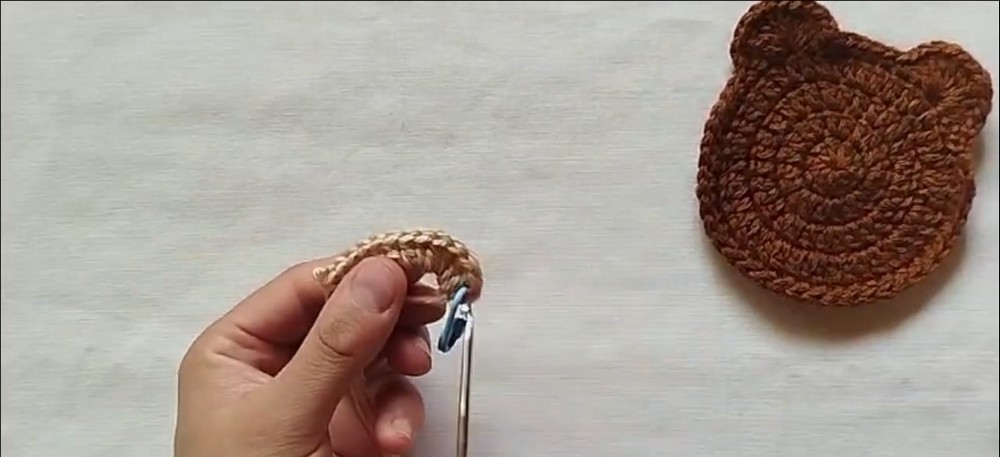
Step 2: Increase the Circle in Round 2
The second round expands the center and begins building the coaster’s width.
-
Ch 2.
-
Work 2 dc into every stitch around.
-
Place a stitch marker in the first stitch to help track your progress.
-
Join with a sl st to the first stitch.
Stitch count: 24 dc.
Each stitch from the previous round receives two double crochets. Count your stitches before joining, especially if you tend to work extra stitches into the joining area.
Step 3: Shape the Circle in Round 3
Now increase at regular intervals to keep the coaster growing evenly.
-
Ch 2.
-
Work 1 dc in the next stitch.
-
Work 2 dc in the following stitch.
-
Repeat this sequence around the circle.
-
Join with a sl st to the first stitch.
Stitch count: 36 dc.
The repeated increase pattern adds width while helping maintain a rounded shape. If your circle begins to ripple, check your stitch count and tension before continuing.
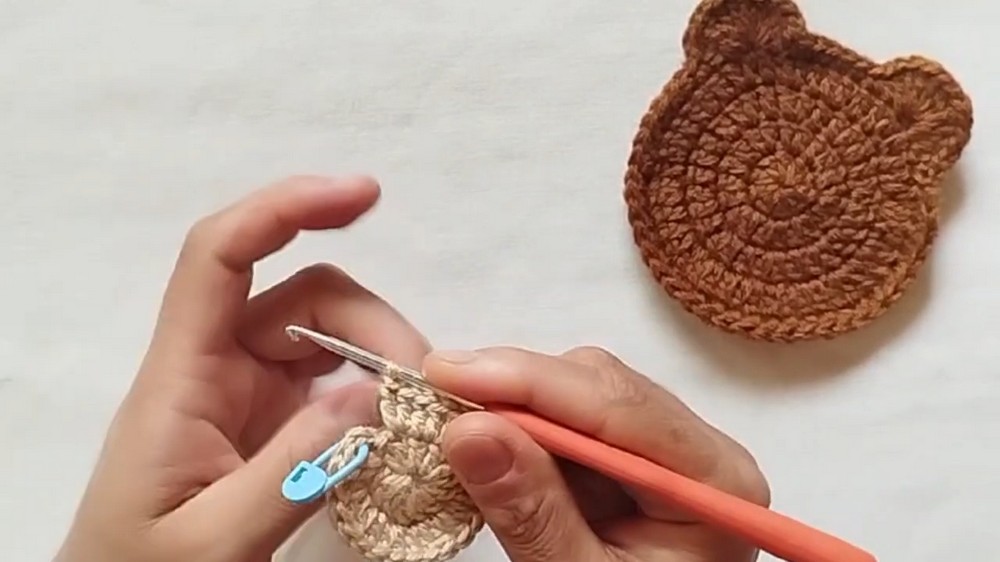
Step 4: Complete the Coaster Base in Round 4
The fourth round creates the final size of the circular base and provides the edge where you will shape the bear’s ears.
-
Ch 2.
-
Work 1 dc in each of the next two stitches.
-
Work 2 dc in the following stitch.
-
Repeat this sequence around the circle.
-
Join with a sl st to finish the round.
Stitch count: 48 dc.
Lay your circle on a flat surface. It should sit relatively flat, with no pronounced waves or cupping. Once the base is ready, you can add the ears along its outer edge.
Step 5: Crochet the First Bear Ear
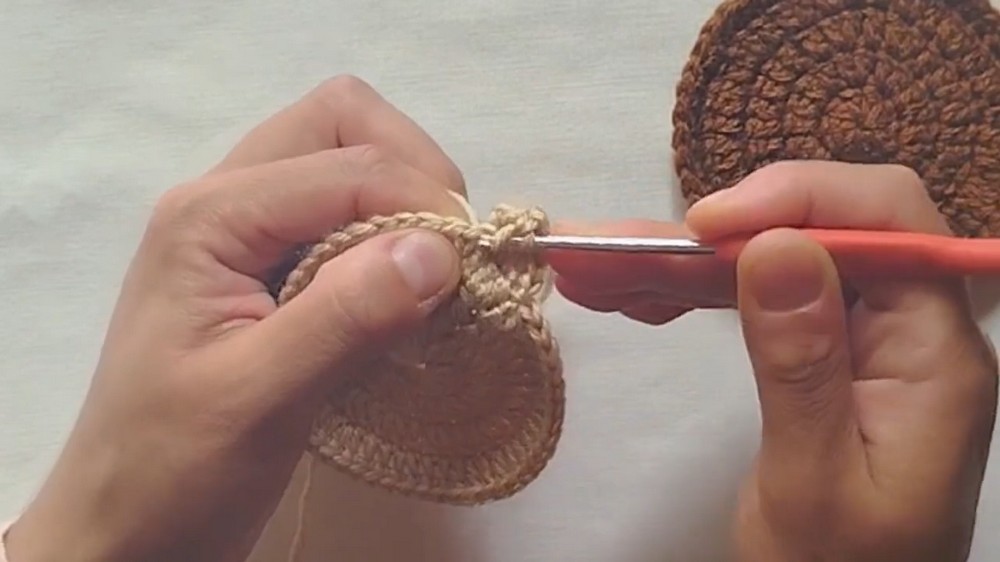
The ears are formed directly along the outer edge of the circular base. Use the following sequence across six consecutive stitches.
-
Work 1 sc in the first stitch.
-
Work 1 dc in the second stitch.
-
Work 3 tr in the third stitch.
-
Work 3 tr in the fourth stitch.
-
Work 1 dc in the fifth stitch.
-
Work 1 sc in the sixth stitch.
The taller treble crochet stitches create the rounded, raised portion of the ear, while the shorter stitches help it blend into the coaster’s edge.
Keep the stitches grouped within their designated base stitches. Avoid accidentally spreading the treble crochets across several stitches, as this can change the ear’s shape.
Step 6: Space and Crochet the Second Ear
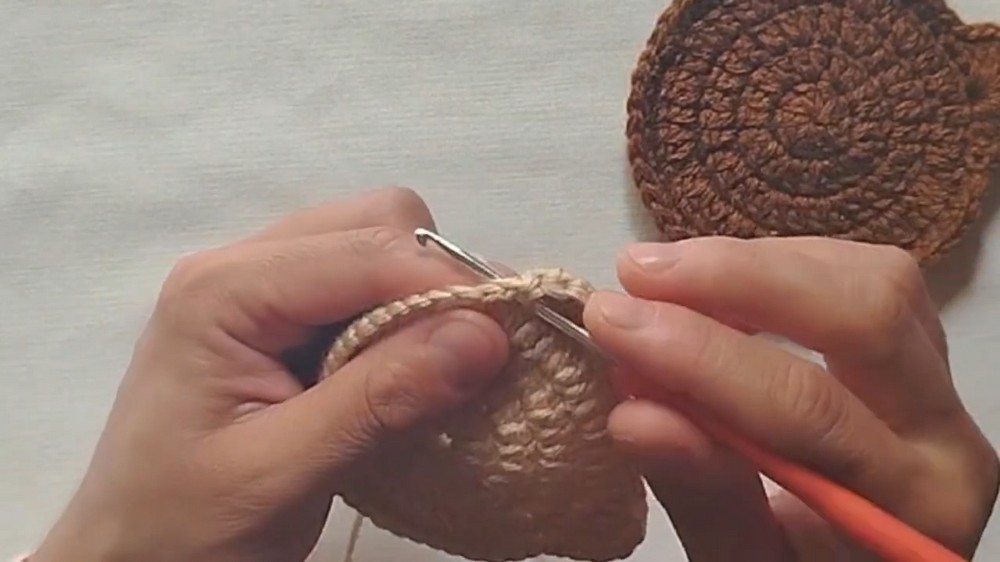
After finishing the first ear, work 8 slip stitches across the top edge of the coaster to reach the position for the second ear.
Repeat the same six-stitch sequence:
-
Work 1 sc in the first stitch.
-
Work 1 dc in the second stitch.
-
Work 3 tr in the third stitch.
-
Work 3 tr in the fourth stitch.
-
Work 1 dc in the fifth stitch.
-
Work 1 sc in the sixth stitch.
Both ears should have matching stitch sequences and similar height. Before fastening off, check their placement visually to make sure the coaster resembles a bear rather than having one ear noticeably closer to the center.
Pattern-check note: The supplied instructions specify eight slip stitches between the ears, but do not fully clarify the exact starting stitch for the first ear or how the spacing aligns with the 48-stitch base. If matching the original tutorial precisely is important, verify the ear placement against the video before fastening off.
Step 7: Fasten Off and Secure the Yarn
Once both ears are complete, cut the yarn, leaving a long tail for weaving in.
-
Pull the cut yarn through the final loop.
-
Tighten gently to secure the last stitch.
-
Thread the yarn tail onto a darning needle.
-
Weave the tail through the backs of nearby stitches.
-
Secure any remaining loose ends and trim excess yarn.
Keep the back of the coaster as smooth as possible. Loose ends should be secured without creating bulky knots that could make the coaster sit unevenly on a table.
Finishing Touches and Personalization
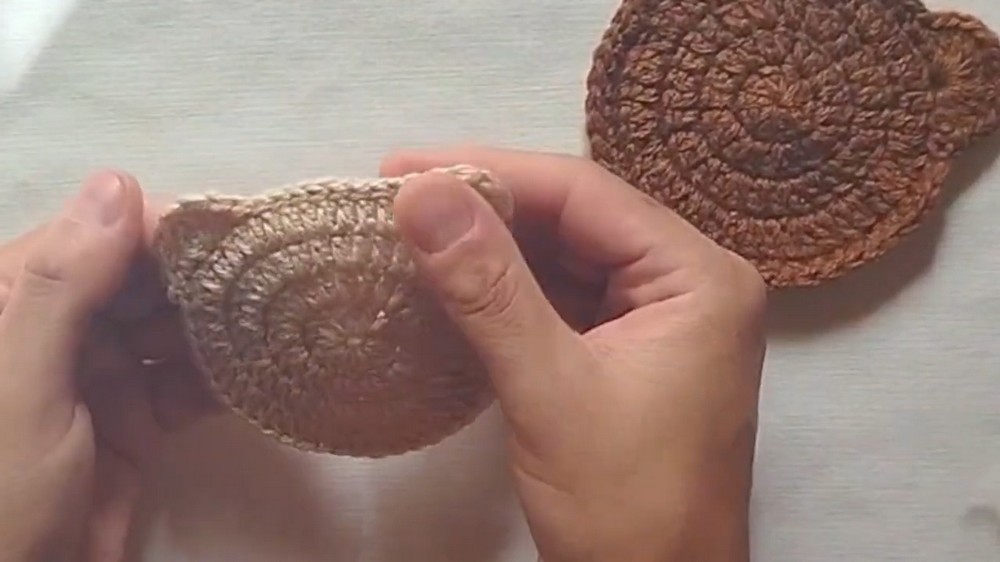
Your bear coaster is ready once all loose ends are secured. For extra character, consider embroidering a small pink nose or adding a tiny bow with yarn. Keep embellishments firmly attached, particularly if the coaster will be handled frequently.
For everyday use, cotton yarn is a practical choice because it is generally absorbent and handles routine use well. Acrylic yarn can also work for decorative coasters, but always check its care instructions and avoid placing hot cookware on a crocheted coaster.
Enjoy your finished bear coaster as a sweet addition to your coffee table, a handmade desk accessory, or a small gift for someone who loves cute crochet creations.