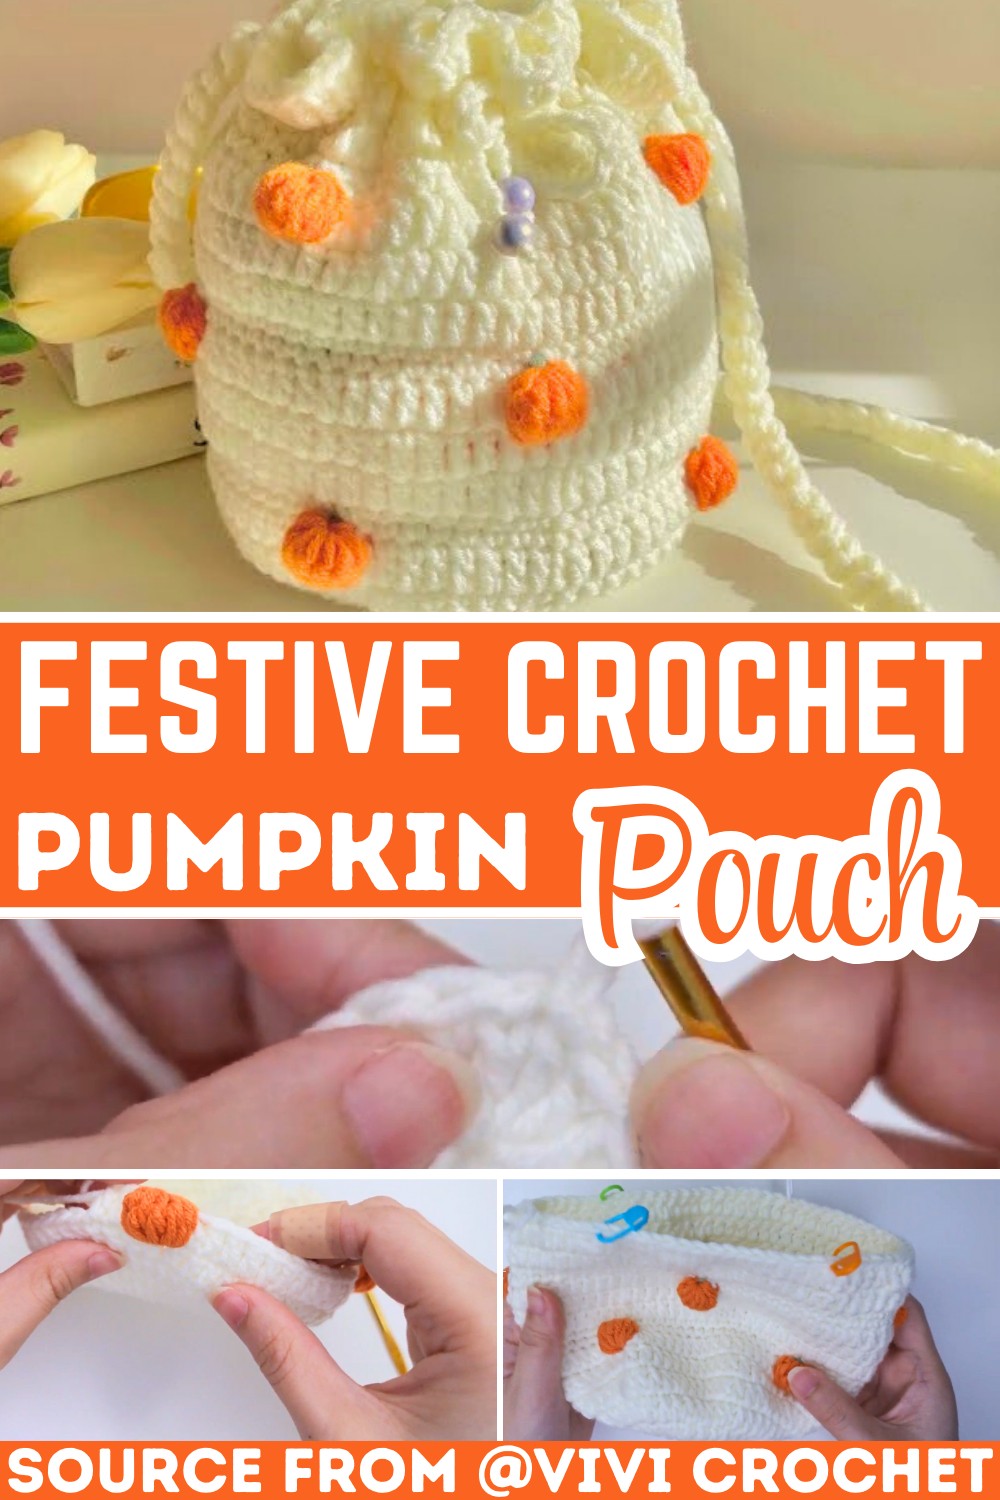
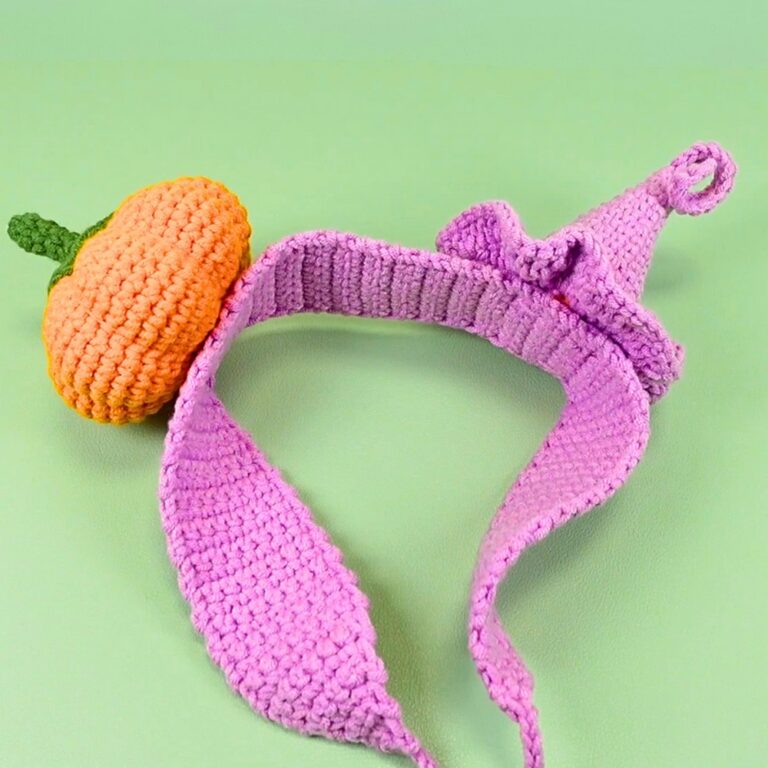
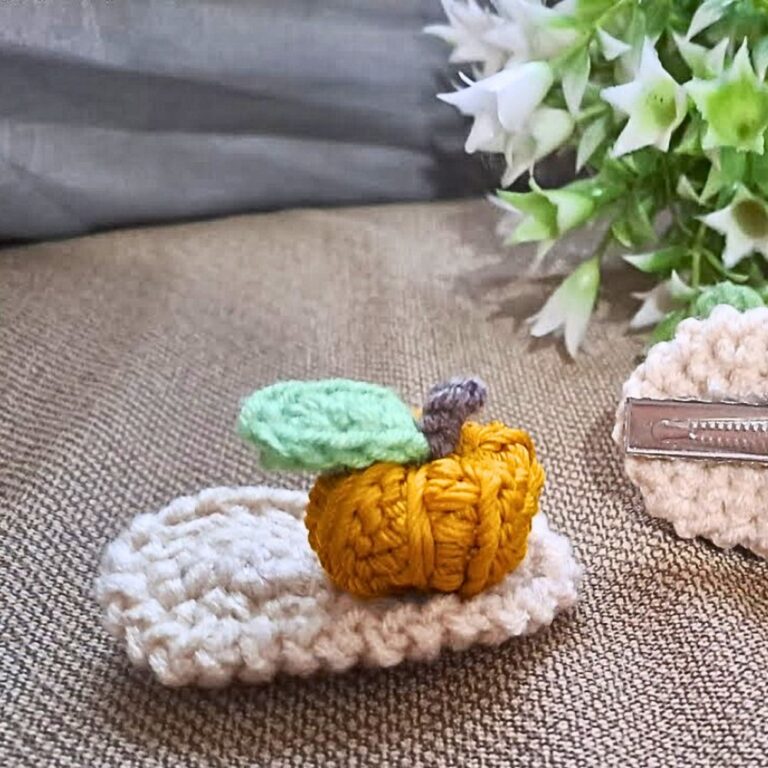
Festive Crochet Pumpkin Pouch Pattern For Thanksgiving Gift Bag
A crochet pumpkin pouch is one of those small pieces that instantly feels useful the moment it’s finished. Fill it with Thanksgiving treats, tuck in a tiny gift, or place it on your table as a festive accent. Its drawstring pumpkin shape brings cozy autumn charm while giving you a creative way to package little surprises. If you’d like to make one yourself, this pattern walks you through the process with clear, beginner-friendly crochet steps.
Crochet Pumpkin Pouch Pattern
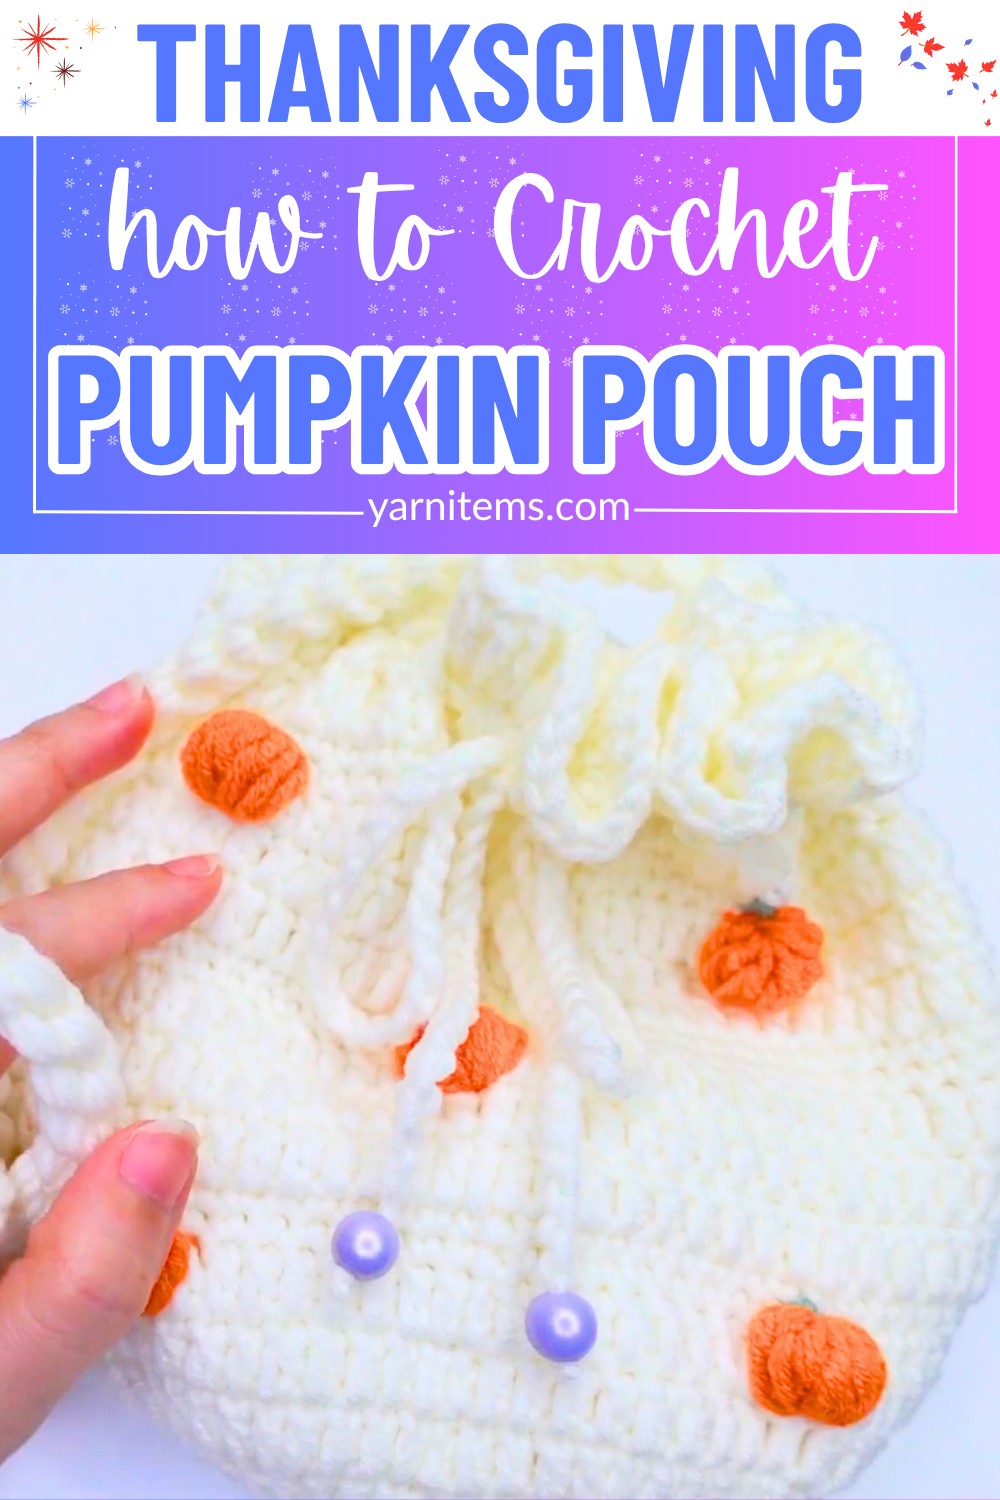
The fun begins as a simple crocheted circle gradually transforms into a plump pumpkin pouch with just a few shaping details. The instructions are easy to follow, making it a relaxing crochet piece. Whether you’re crafting for your home or preparing handmade gifts. Keep scrolling to see how each step comes together and turn a small amount of yarn into a festive fall favorite.
Credit Vivi Crochet
Materials & Tools Needed
Yarn:
- 5-ply milk cotton yarn (or sport/DK weight yarn)
- White/Cream: ~70g (Main Color)
- Pumpkin Orange: Small amount
- Green: Small amount (for stems)
Crochet Hook:
- Size 4.0 mm
Notions:
- Scissors
- Tapestry Needle
- Stitch Markers
- 2 Purple Decorative Beads (optional, for drawstring ends)
- Measuring Tape
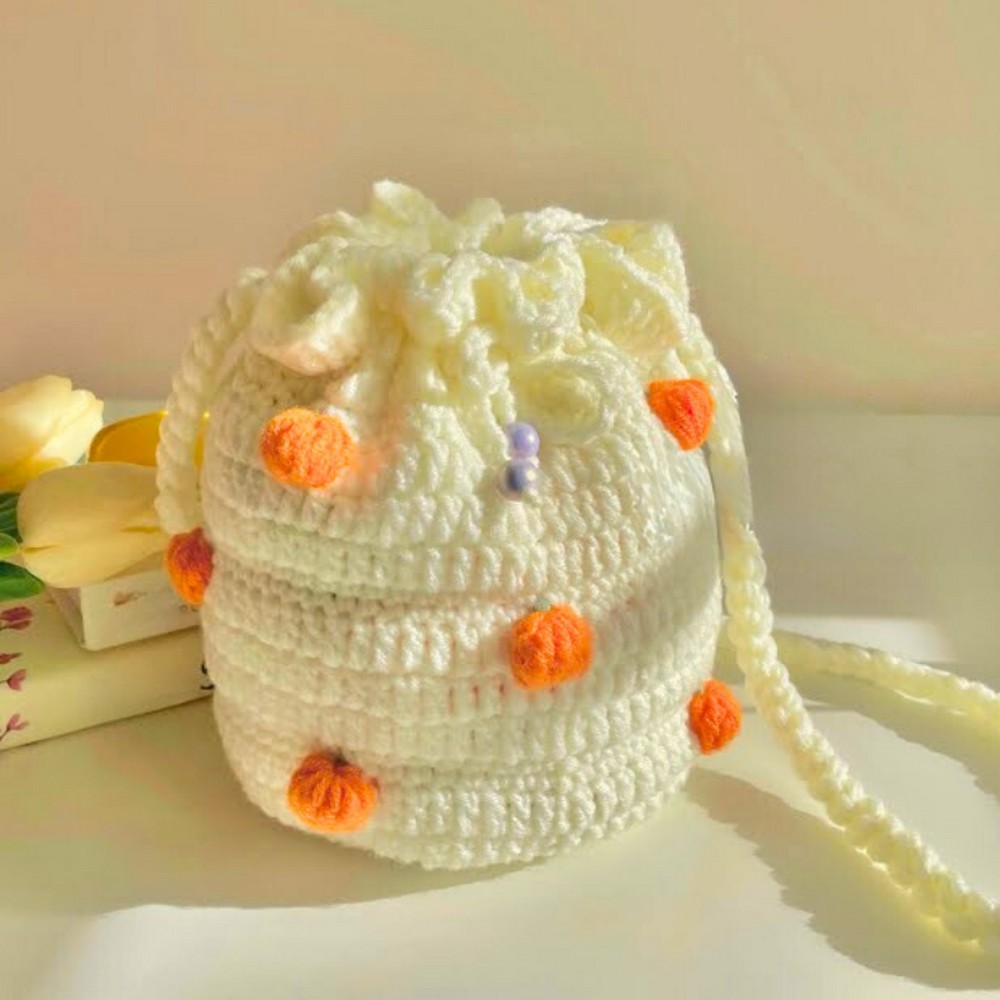
Finished Size
Approximate Dimensions:
- 6.5–7 inches wide (flat circle base)
- 7 inches tall
Customization Ideas:
- Adjust width: Modify the number of increase rounds in the flat base.
- Aesthetic tweaks: Add or vary pumpkin puff stitches as desired.
Pattern Abbreviations
-
MR: Magic Ring
-
CH: Chain
-
SC: Single Crochet
-
DC: Double Crochet
-
ST: Stitch
-
SL ST: Slip Stitch
-
YO: Yarn Over
Step-by-Step Crochet Instructions
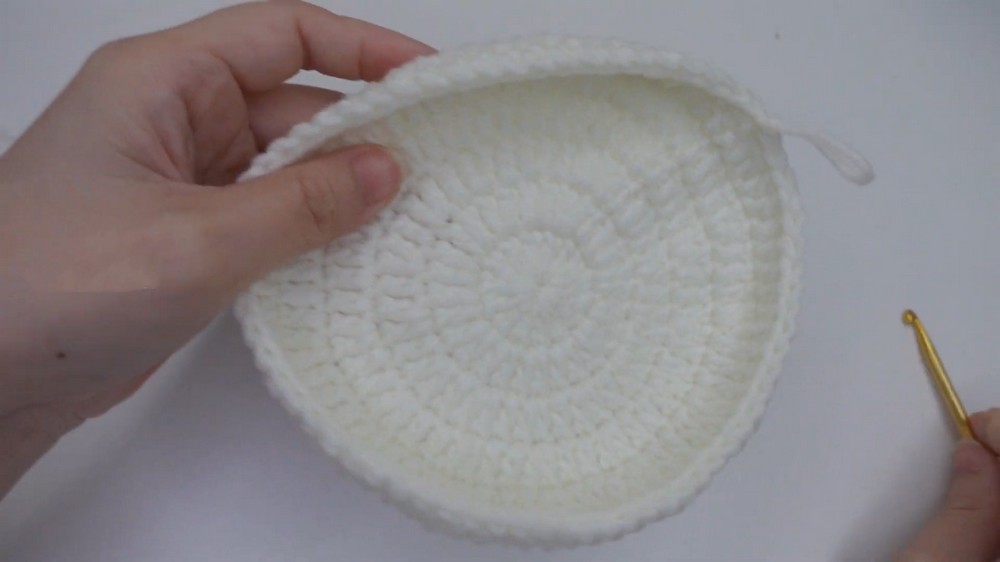
Component 1: Flat Circle Base (White Yarn)
Round Instructions:
- Round 1: MR, CH 2, 14 DC into MR. Tighten center hole and join with SL ST. (14 sts)
- Round 2: CH 2, 2 DC into each stitch. Join with SL ST. (28 sts)
- Round 3: CH 2, 1 DC in first st, 2 DC in next st around. Join with SL ST. (42 sts)
- Round 4: CH 2, 1 DC in each of next 2 sts, 2 DC in next st around. Join with SL ST. (56 sts)
- Round 5: CH 2, 1 DC in each of next 3 sts, 2 DC in next st around. Join with SL ST. (70 sts)
Component 2: Pouch Body & Pumpkin Bobbles
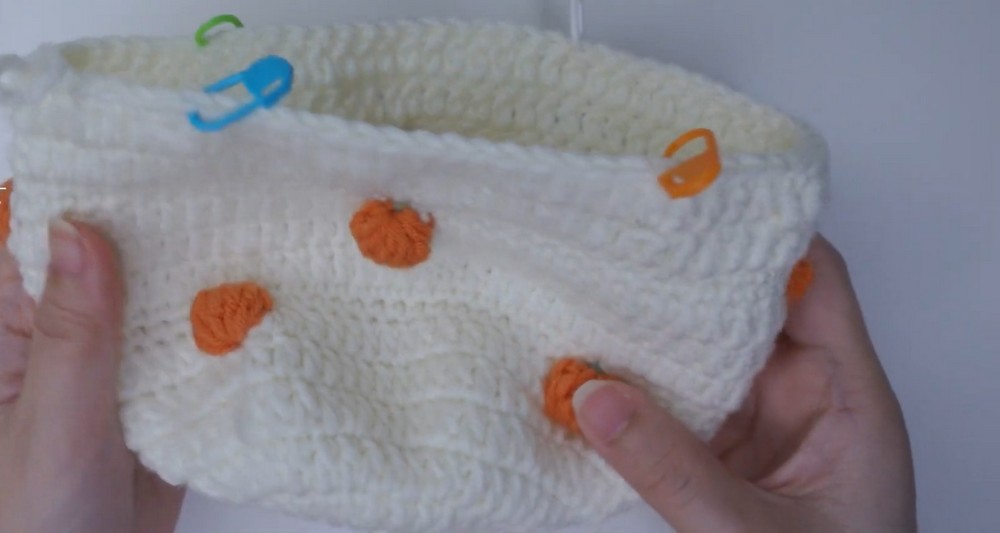
- Row 1: CH 2, 1 DC into every stitch. Join with SL ST. (70 sts)
- Row 2 (Adding Pumpkins):
- CH 2, DC across until pumpkin placement.
- Pumpkin Stitch Method:
- Switch to Orange Yarn:
- YO, insert hook in stitch, YO, pull through 2 loops (repeat × 7).
- Total 8 orange loops on hook. YO, pull yarn through all loops & secure. CH 1 / SL ST.
- Switch to Orange Yarn:
- Switch back to White Yarn, DC to next pumpkin placement. Repeat across the row. SL ST to join.
- Row 3 (Adding Leaves/Stems):
- CH 1, SC across.
- When atop a pumpkin: Switch to Green Yarn, SC on pumpkin top. Switch back to White Yarn and continue SC. SL ST to join.
- Row 4: CH 1, SC across. Over stems: CH 1, skip 1 chain, SC in next stitch. SL ST to join.
- Rows 5–6: CH 2, DC across. SL ST to join.
- Row 7 (Second Pumpkin Tier): Follow Row 2 instructions, stagger pumpkins between lower tier. Join with SL ST.
- Row 8: Repeat Row 3 for green stems. Join with SL ST.
- Row 9: Repeat Row 4 (skip and CH 1 over stems). SL ST to join.
- Rows 10–11: CH 2, DC across. SL ST to join.
- Rows 12–16: Repeat Rows 2–6 (Third Pumpkin Tier).
Component 3: Upper Top Ruffle
- Row 17 (Ruffle Edge):
- CH 2 (first DC), 3 DC into every stitch. SL ST to join. Secure ends.
Component 4: Assembly & Accessories
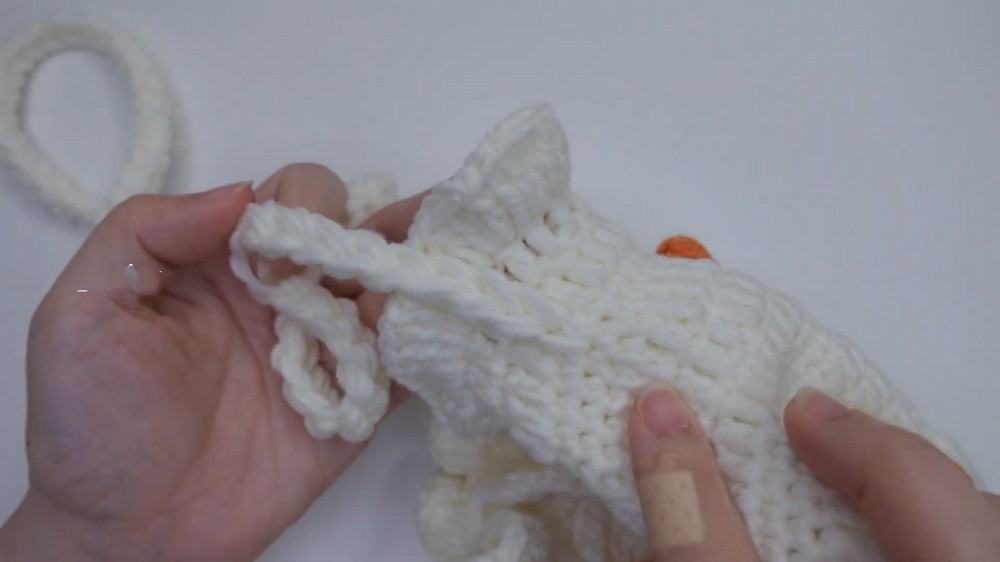
- Cross-body Strap:
- Attach a double strand of White Yarn to one side below Row 17 ruffle.
- CH 130. Secure opposite side with SL ST, weave in ends.
- Drawstring Cord:
- CH 100 with a single strand of White Yarn, cut & secure ends.
- Weave cord through Row 15 stitches using a tapestry needle.
- Optional: Add decorative purple beads to the drawstring ends, knot securely, and trim excess yarn.