Crochet Mini Pumpkin Hair Clip Pattern for Fall Style
A tiny pumpkin can completely change the feel of a hairstyle, especially when it’s crocheted by hand. This mini pumpkin hair clip captures the warmth of fall in a fun, wearable accessory that’s just as cute with everyday outfits.
It is perfect for crochet pumpkin patch visits, autumn festivals, or Halloween celebrations. Its compact size and textured shape make it a small detail that naturally draws attention.
Free Crochet Pumpkin Hair Clip Pattern
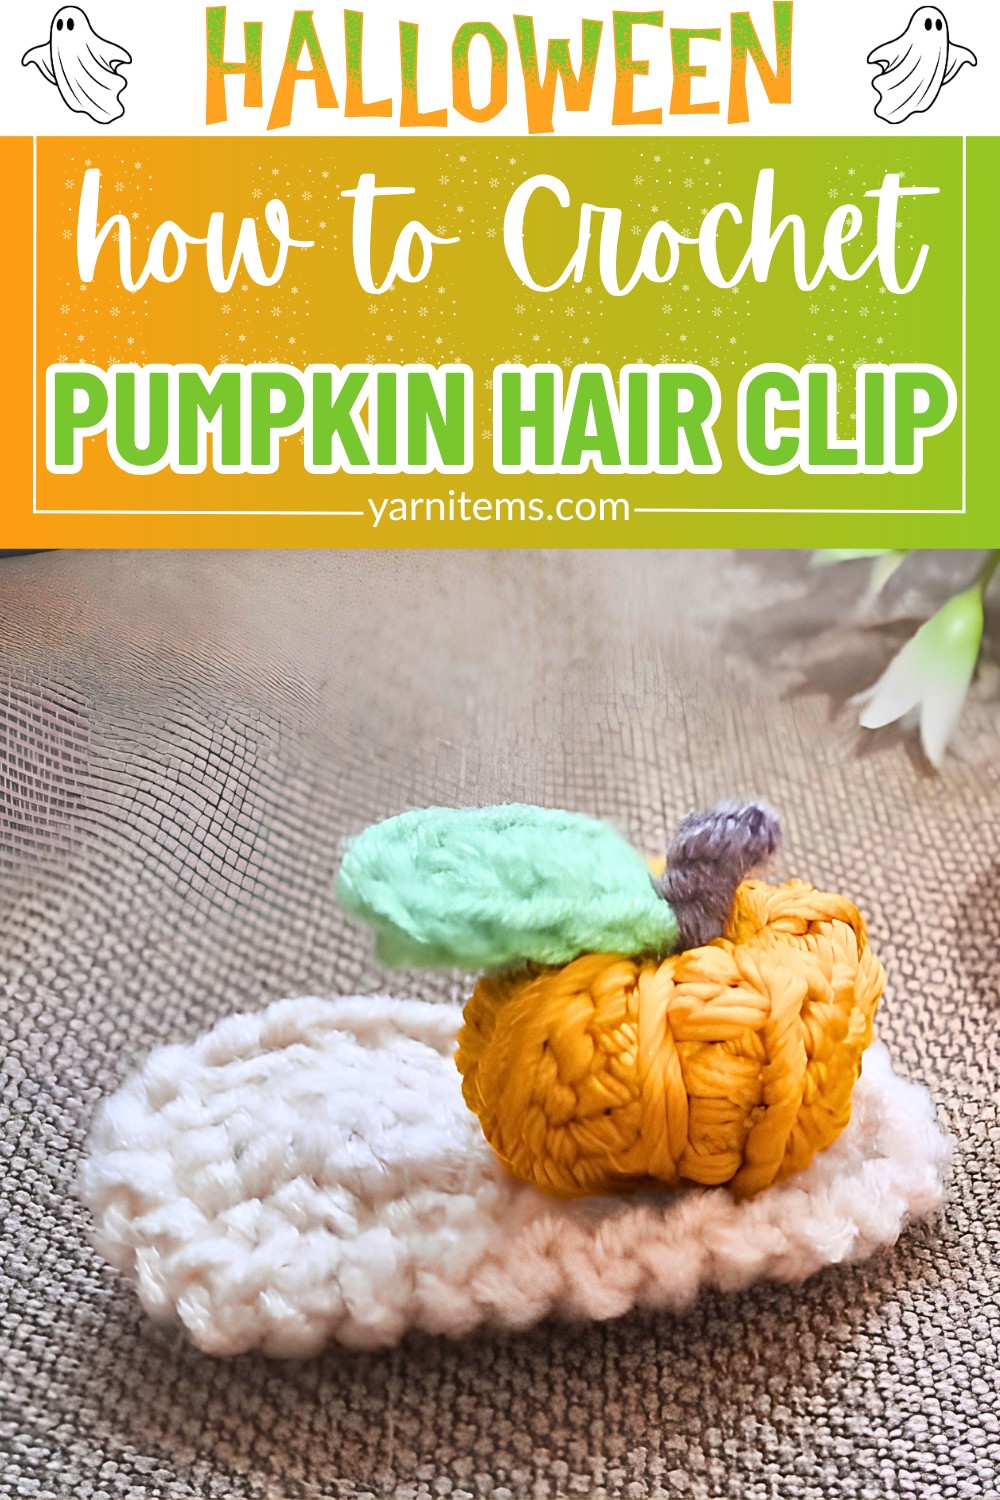
Whether you’re new to crochet or simply looking for a quick seasonal piece. This pattern guides you from start to finish with easy-to-follow instructions. Using just a few basic supplies and beginner-friendly stitches, you’ll create a charming hair clip in no time. Keep reading to see how this adorable crochet mini pumpkin fall accessory comes together.
Credit Mimosa Handmade
Materials & Tools Needed
Yarn:
- Main pumpkin color (e.g., Mustard Yellow or Orange)
- Green yarn (leaf)
- Brown yarn (stem)
- Cream/Beige yarn (hair clip cover base)
Crochet Hook: 5/0 (3.0 mm)
Other Supplies:
- Standard metal alligator hair clip (snap clip)
- Polyester fiberfill stuffing
- Yarn needle (tapestry needle)
- Scissors
- Hot glue gun & glue sticks

Finished Size & Customization Ideas
- Finished Size: ~1.5 inches wide—perfectly sized for a 2-inch (5 cm) clip.
- Customization Ideas:
- Mix and match yarn colors (e.g., sage green, cream, burnt orange, muted burgundy) for a fall aesthetic.
- Add black safety eyes and an embroidered smile for a fun Halloween design.
Pattern Abbreviations & Terminology
- ch: Chain
- st(s): Stitch(es)
- sc: Single crochet
- hdc: Half double crochet
- BLO: Back Loop Only
- slt: Slip stitch

Step-by-Step Crochet Instructions
1. The Pumpkin Body
- Foundation Row:
- Using the main pumpkin color yarn, ch 8.
- Skip the first chain from the hook, and work 1 hdc into each remaining chain. (7 sts)
- Rows 2–7:
- ch 1, turn. Work 7 hdc (BLO) across each row. (7 sts per row)
- Row 8 (Joining):
- Fold the rectangle into a cylinder shape by aligning the short edges.
- ch 1 and work 7 slt through both layers across to join.
- Finishing:
- Fasten off, leaving a long tail (~30–40 cm) for sewing and shaping.
2. Stuffing & Shaping the Pumpkin
- Thread the long yarn tail on your yarn needle.
- Weave the needle around the bottom edge opening. Pull tail tight to cinch it closed. Knot securely.
- Lightly stuff the pumpkin with fiberfill.
- Weave the needle along the top edge, pull tight, and cinch closed. Knot securely.
- Shaping:
- Insert the needle through the pumpkin center from top to bottom.
- Wrap the yarn around the outside to form a ridge. Repeat this 5–6 times to define segments. Knot and trim excess yarn.

3. The Leaf (Crochet)
- Foundation: Using the green yarn, ch 5.
- First Side of Leaf:
- Skip the first chain from the hook. Work:
- 1 sc, 2 hdc, 1 sc along the chain.
- Skip the first chain from the hook. Work:
- Turn & Work on the Opposite Side:
- 1 sc, 2 hdc, 1 sc down the opposite side.
- Close: slt into the first stitch to finish the circle.
- Fasten off, leaving a tail for assembly.

4. The Stem
- Foundation: Using brown yarn:
- Leave a 20 cm tail before starting.
- Make a slipknot and ch 4.
- Work 4 sc back down the chain. Fasten off, leaving another long tail.
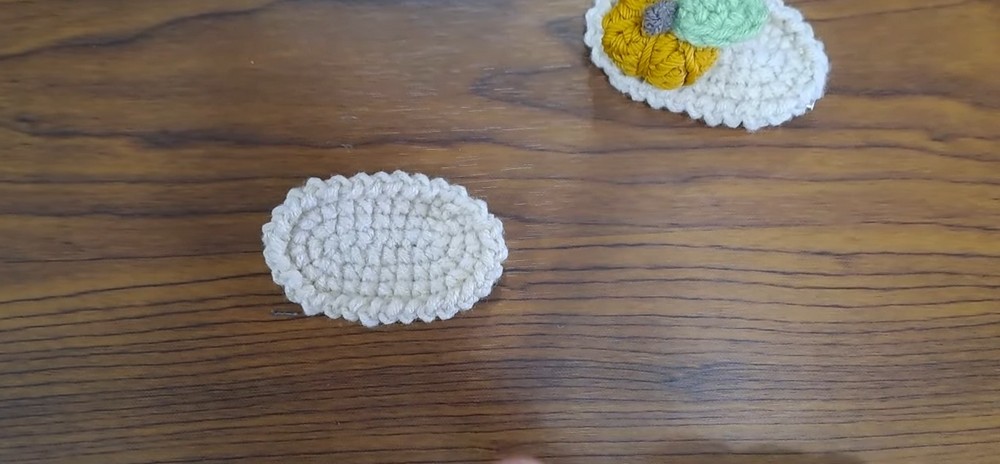
5. The Hair Clip Cover Base
- Using cream/beige yarn, ch 8–10 (length should match the length of the metal clip).
- Work single crochets in rows or continue crocheting around both sides of the chain in an oval shape, increasing at the curves for 2–3 rounds.
Assembly Guide
1. Attach the Stem & Leaf
- Sew the stem and leaf onto the pumpkin:
- Thread the tails of the brown stem and green leaf into a yarn needle.
- Insert them through the top center of the pumpkin and pull them to the bottom.
- Tie the yarn tails securely underneath the pumpkin. Trim excess yarn.
2. Attach the Hair Clip Cover
- Use a hot glue gun to apply glue evenly across the top flat surface of your hair clip.
- Press the crocheted cream base firmly onto the clip until the glue sets.

3. Mount the Pumpkin
- Add a generous dot of hot glue to the flat top of your cream base cover.
- Press the bottom of the crochet pumpkin onto the glue and hold until secure.