Easy Crochet Pumpkin Granny Square For Fall Decor
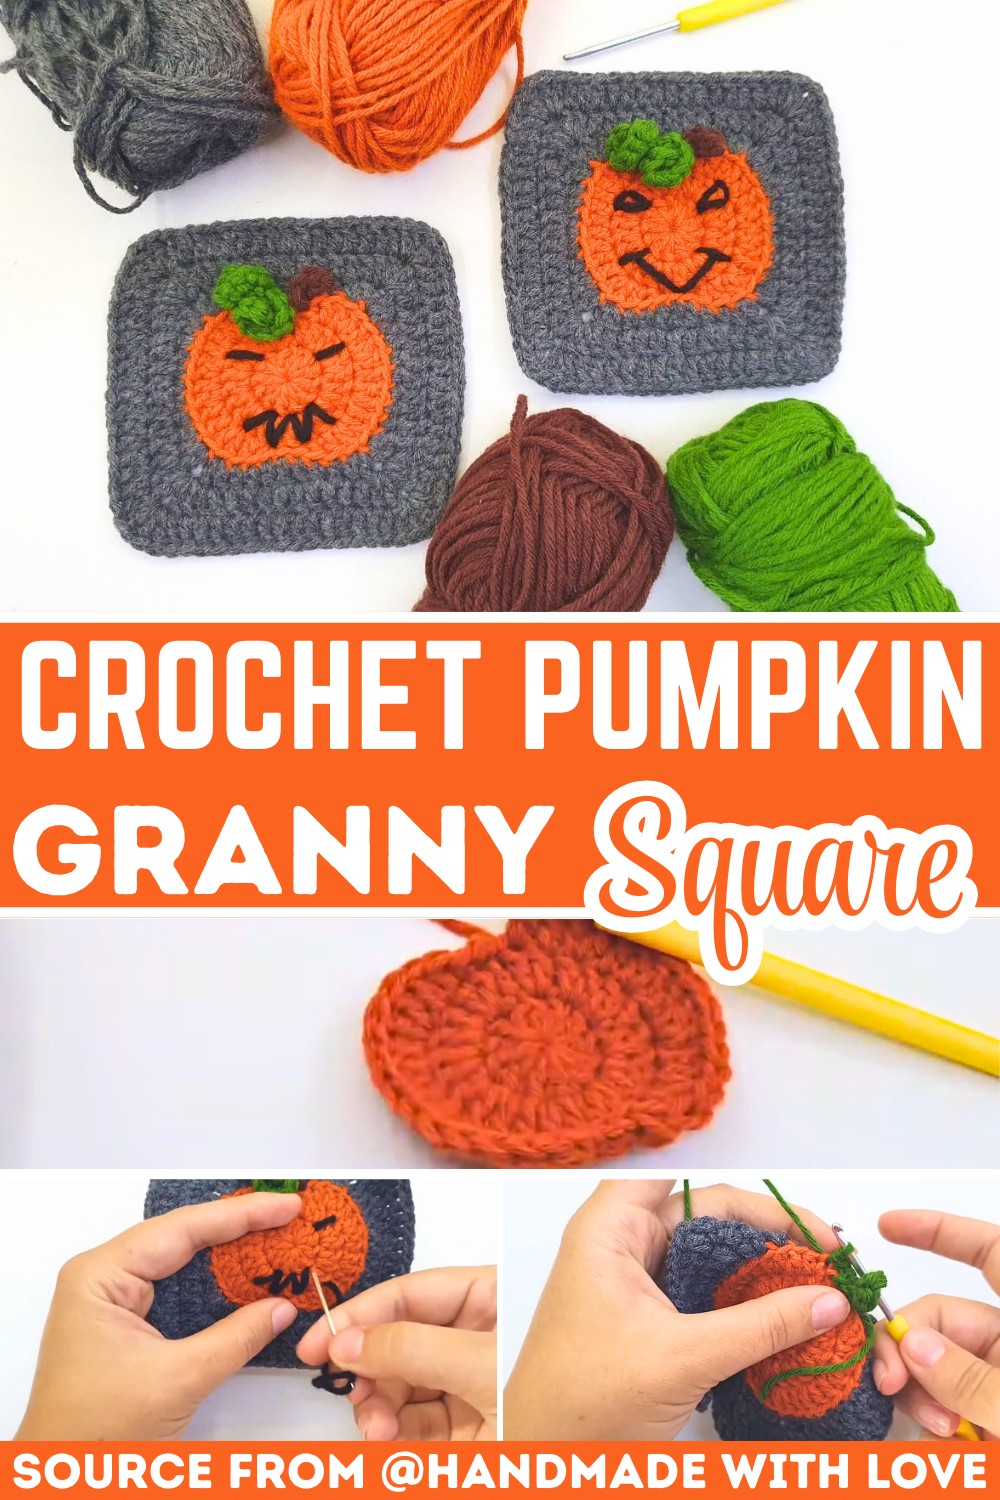
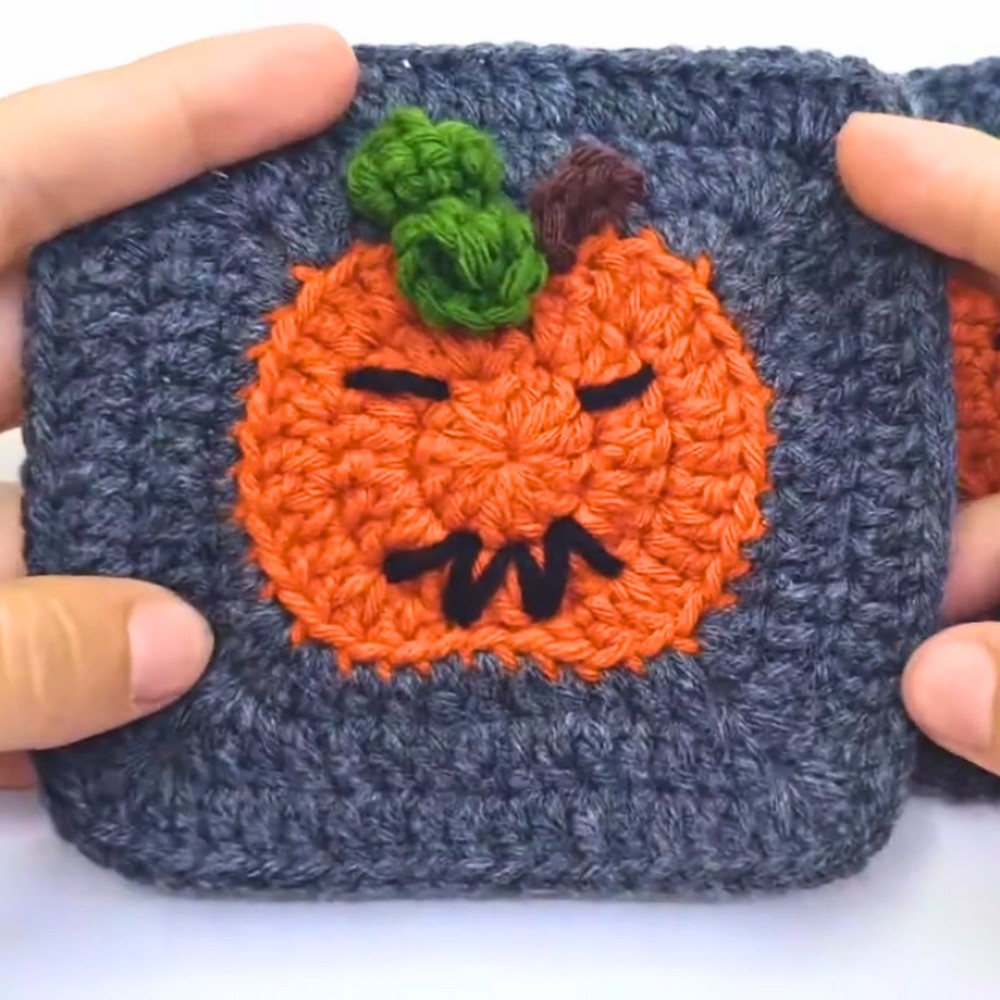
Autumn decorating doesn’t have to mean filling every corner with large pieces. A Crochet Pumpkin Granny Square adds a festive fall touch in a compact design that’s both decorative and practical.
Its crochet pumpkin motif brings warmth to blankets, table runners, pillow covers, and seasonal wall hangings. Making it an easy way to carry the charm of Thanksgiving throughout your home.
Crochet Pumpkin Granny Square
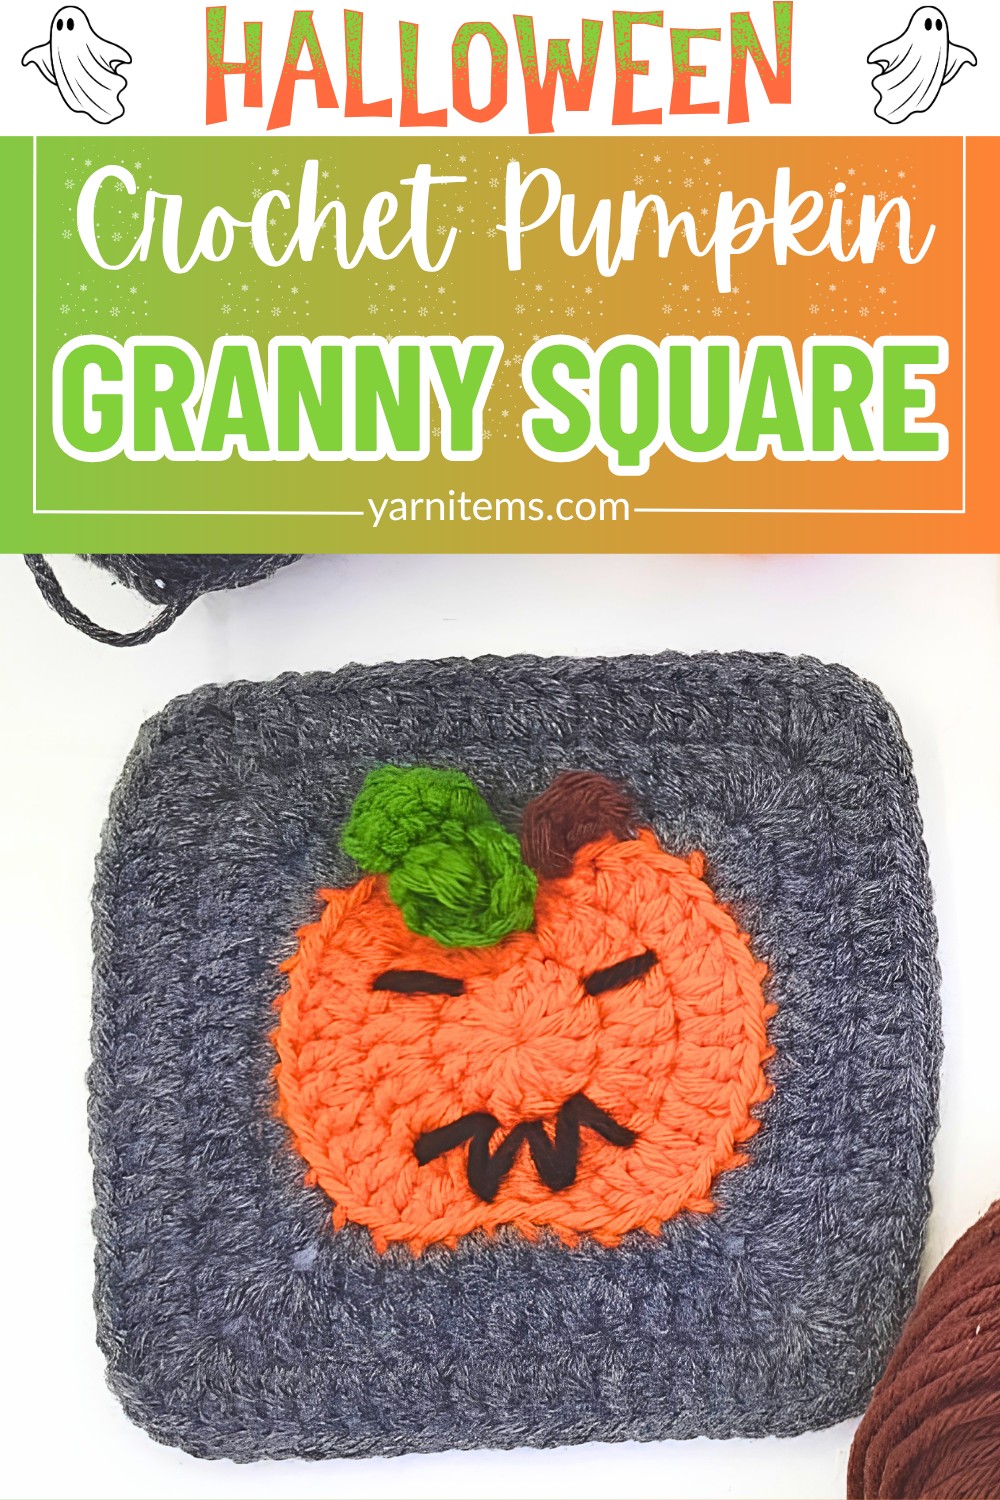
The best part is how quickly one square comes together before becoming part of something even bigger. This step-by-step crochet pattern breaks the process into simple stages. Making it approachable for confident beginners and experienced crocheters alike. Keep scrolling to see how a handful of stitches transforms into a cheerful pumpkin square you’ll want to make again and again.
Credit Crochet Squares
Materials & Tools Needed
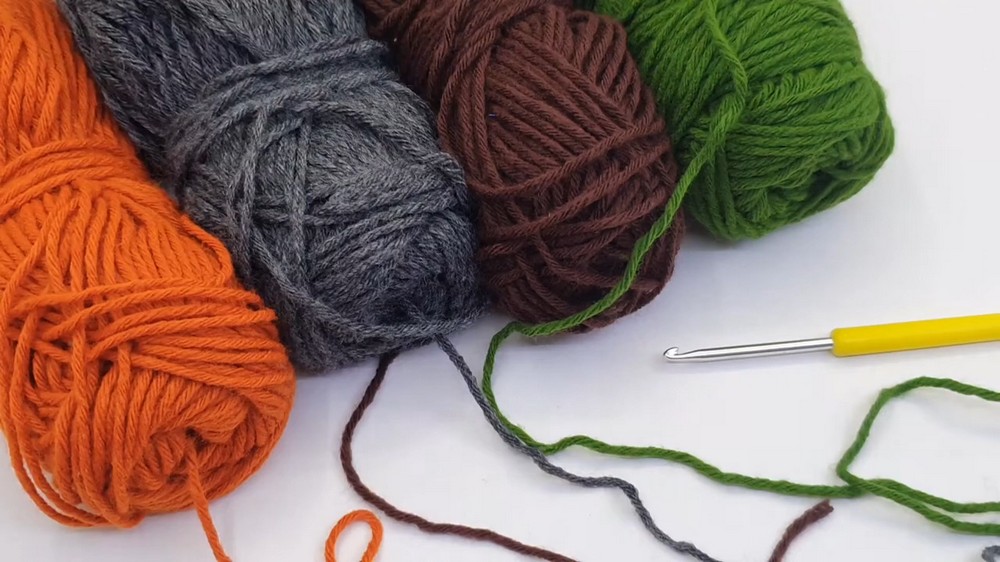
- Yarn: Medium-weight yarn in 4 colors:
- Orange (Pumpkin)
- Charcoal Grey/Dark Gray (Background)
- Green (Vine & Leaf)
- Brown (Stem)
- Hook: 3.0 mm
- Other Tools: Scissors, yarn needle (for weaving in ends and embroidery)
Pattern Abbreviations & Terminology
- ch: Chain
- sl st: Slip stitch
- sc: Single crochet
- hdc: Half double crochet
- dc: Double crochet
- inc: Increase (2 stitches worked into the same space)
- st(s): Stitch(es)
Step-by-Step Crochet Instructions
Component 1: The Pumpkin Center
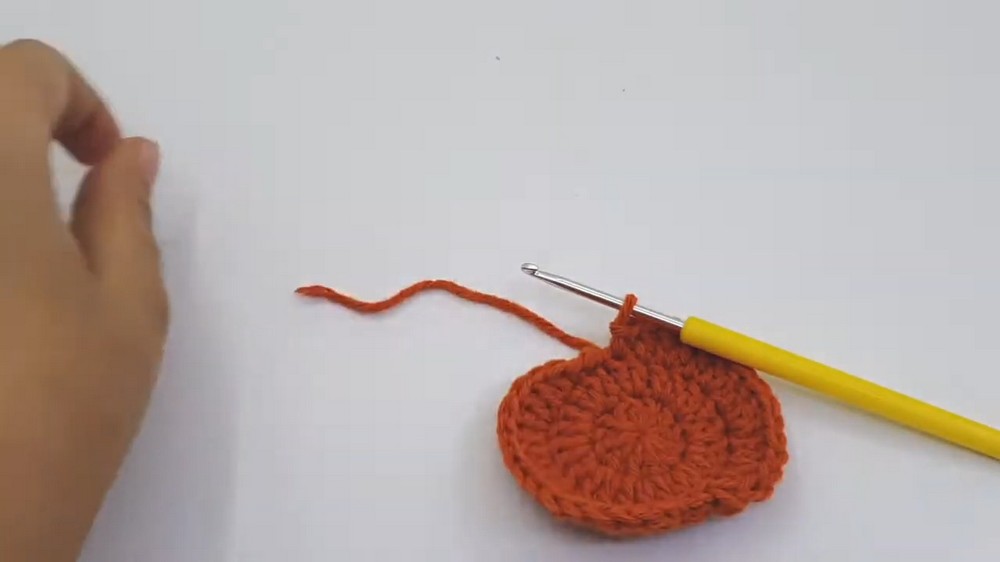
Using Orange Yarn.
Round 1:
- Make a magic circle and ch 2 (Note: The ch 2 does not count as a stitch).
- Work 12 dc into the circle.
- Pull the magic circle tail tight to close the center hole.
- Join with a sl st into the top of the first dc. (12 sts)
Round 2:
- Ch 2, then work 2 dc into the same stitch as your joining sl st.
- Work 2 dc into every stitch around.
- Join with a sl st to the top of the first dc. (24 sts)
Round 3 (Shaping the Pumpkin):
- Ch 2, then make 1 hdc & 1 sl st directly into the same stitch as the join.
- In the next 5 stitches, repeat this sequence:
- [1 dc, then an increase with 2 dc in the following stitch] 4 times, followed by 1 dc in the next stitch.
- In the next stitch, make 1 hdc & 1 sl st.
- Repeat the symmetry on the other side:
- [1 sl st, 1 hdc] into the next stitch, then work the same sequence [1 dc, inc with 2 dc] 4 times, followed by 1 dc.
- In the final stitch, work 1 hdc & 1 sl st.
- Fasten off the orange yarn and cut a tail to weave in later.
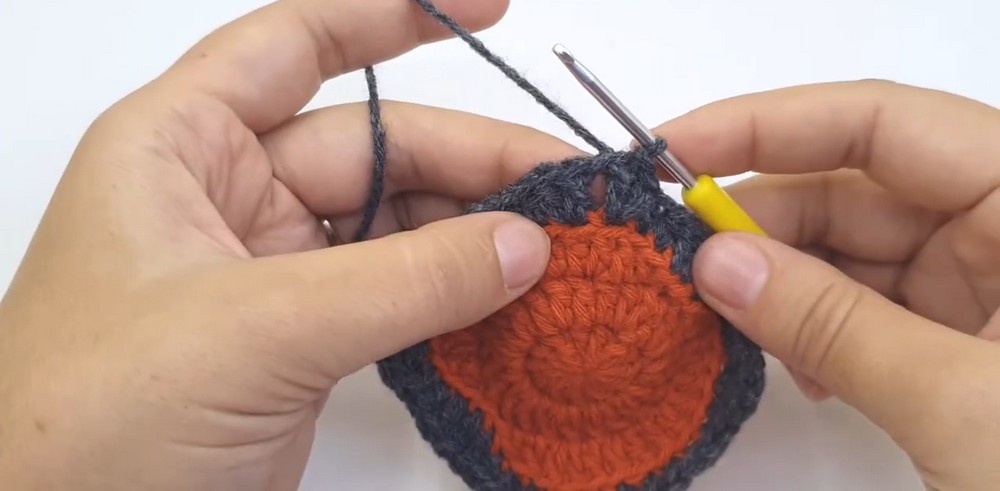
Component 2: Squaring Off the Background
Using Grey/Charcoal Yarn.
Round 4:
- Secure grey yarn into the back loop of any stitch from Round 3.
- Ch 3 (counts as your first dc), make 1 dc into the same stitch, then ch 1, and make 2 more dc into the same stitch (this forms your first corner).
- Work the following sequence for the side:
- 2 hdc into the next 2 stitches, 3 sc into the next 3 stitches, and 2 hdc into the next 2 stitches.
- For the corner: Work [2 dc, ch 1, 2 dc] into the next stitch.
- Repeat the side sequence around the other 3 sides:
- 2 hdc, 3 sc, 2 hdc, then another corner of [2 dc, ch 1, 2 dc].
- Complete all 4 sides symmetrically and join to the top of your initial ch 3 with a sl st.
Round 5:
- Sl st over the next 2 stitches until you reach the ch-1 corner space.
- Ch 3 (counts as dc), work 1 dc, ch 1, 2 dc directly into the corner space.
- Work 11 dc across the side stitches until you hit the next corner space.
- Corner: Work [2 dc, ch 1, 2 dc] into the ch-1 space.
- Repeat the sequence:
- [11 dc along the side, corner in the space] 3 more times to complete the square.
- Join with a sl st, fasten off, and weave in your ends.
Component 3: Stem & Vines
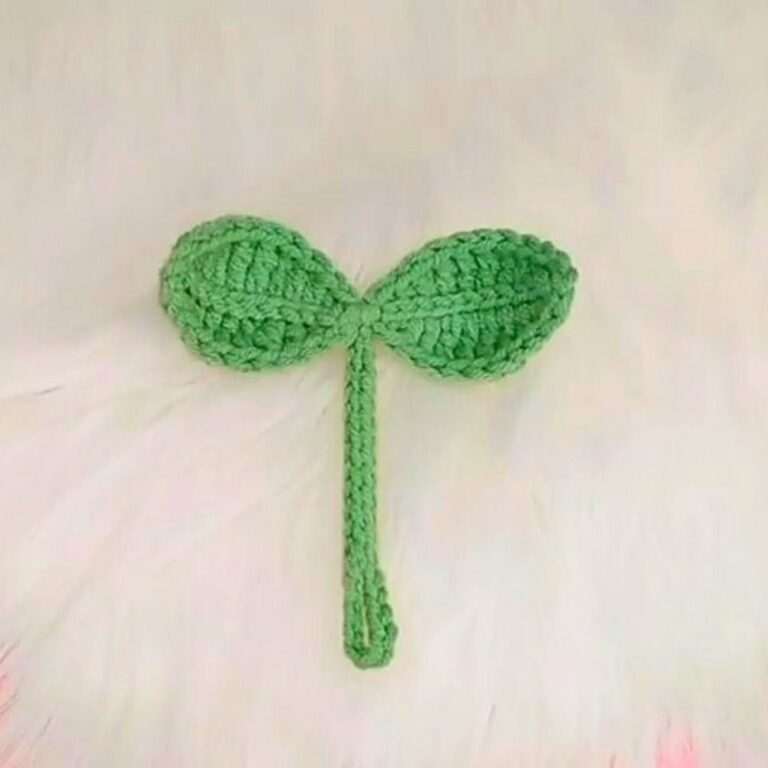
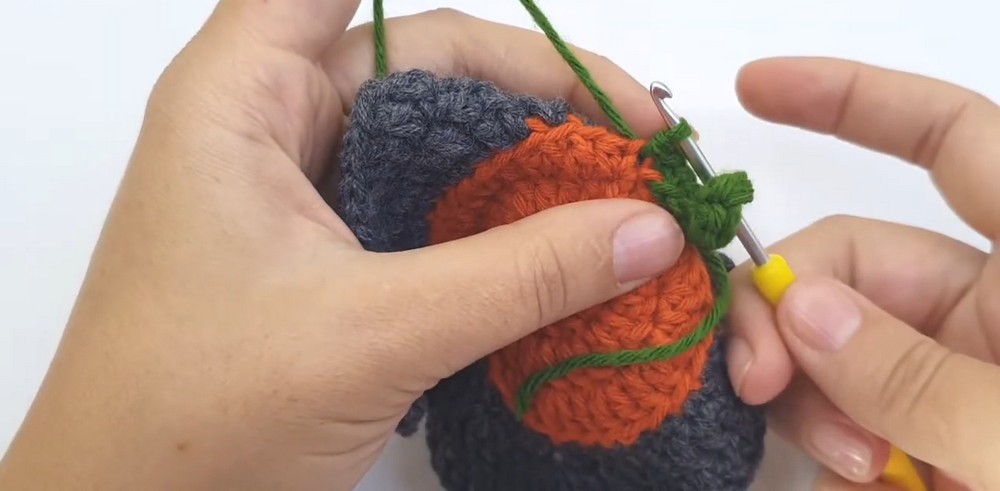
The Leaf & Vines (Using Green Yarn):
- Join green yarn near the top indentation of your orange pumpkin.
- Ch 6, then work an inc with 2 sc into the 2nd chain from your hook.
- Continue making 2 sc into each of the remaining chains back down (forms a curly vine of 10 sc total).
- Sl st back into the base.
- Repeat the same sequence for a second vine:
- Ch 6, work 2 sc into each chain down, and sl st into the base.
- Fasten off and secure.
The Stem (Using Brown Yarn):
- Secure the brown yarn near the green vines at the top center.
- Ch 4, then turn and work 3 sc back down the chain starting from the second chain loop.
- Sl st back into the base of the square, tie off, and use your yarn needle to weave the tails out of sight on the back.
Component 4: Finishing Touches & Embroidery
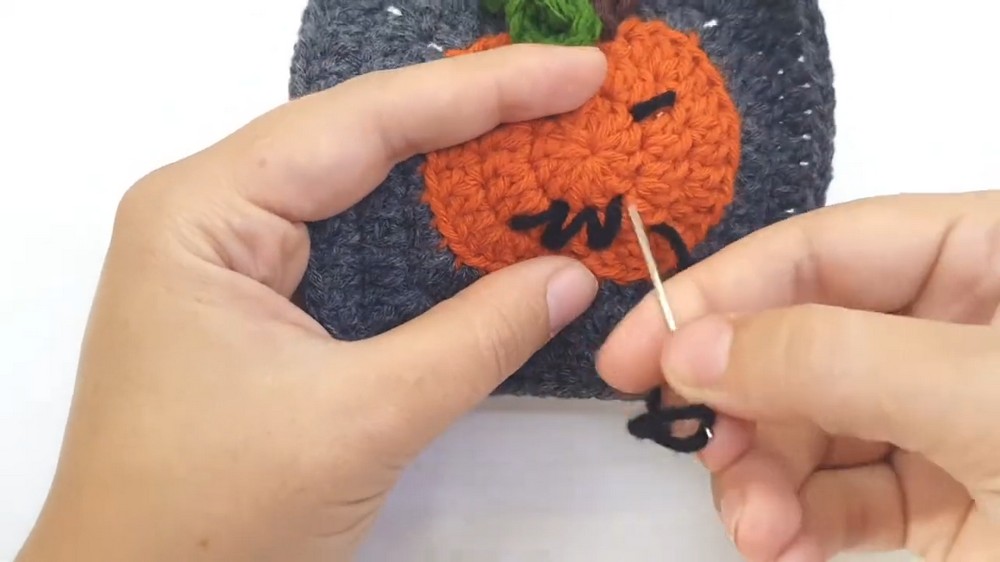
Adding a Face (Optional, Using Black Yarn):
- Eyes: Thread your needle with black yarn and create 1 or 2 diagonal or curved stitches on Round 2 of the orange pumpkin center.
- Mouth: Sew a classic zig-zag mouth across the lower third of the pumpkin.
Customization Ideas
- Garland: String several pumpkin granny squares onto a long piece of twine for autumn decor or a festive Thanksgiving mantle piece.
- Coasters: Make single squares and use them to protect your coffee table during cozy fall gatherings.