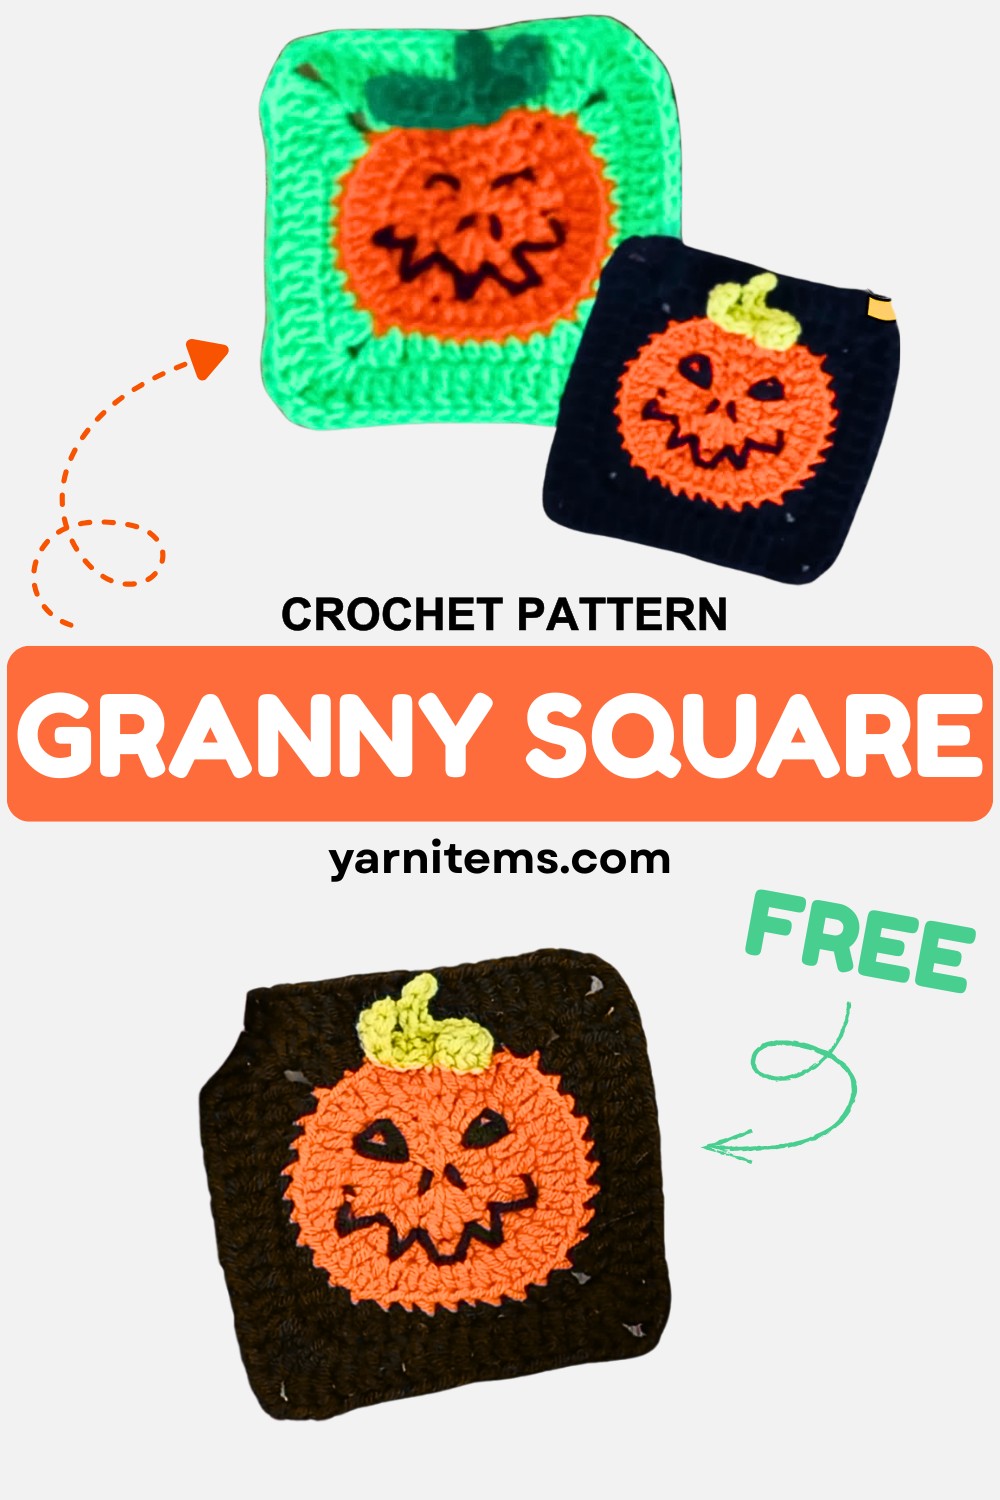
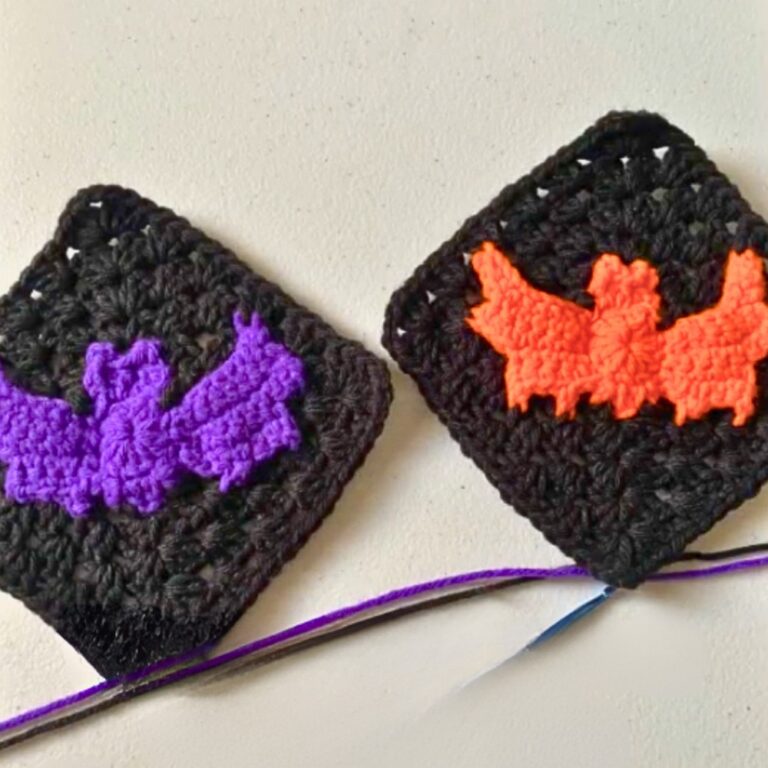
Free Crochet Halloween Pumpkin Granny Square Tutorial
A bright pumpkin at the center of a granny square is all it takes to give your Halloween crochet pieces a fun seasonal twist.
This Crochet Halloween Pumpkin Granny Square adds a cheerful pop of fall charm to blankets, pillows, tote bags, wall hangings, and other festive makes without feeling complicated. Keep scrolling to discover how this eye-catching design comes together and how easily it can become a favorite part of your Halloween collection.
Crochet Halloween Granny Square Tutorial
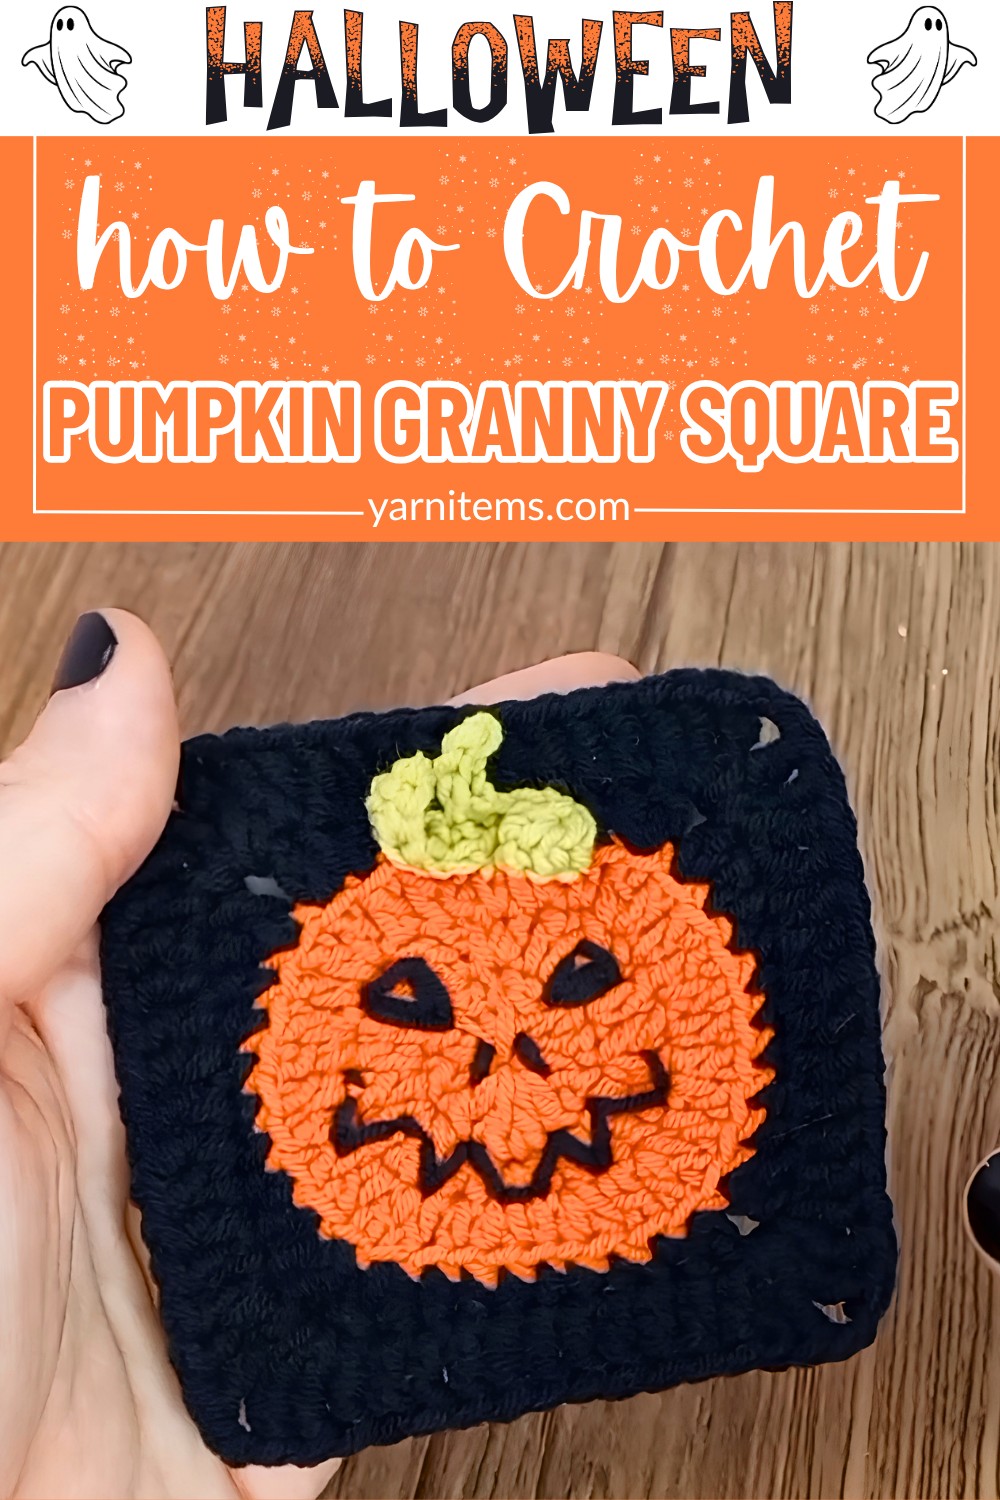
The crochet pattern is simple to follow and enjoyable from the first stitch to the last. Each square works up quickly and stays the same size, making it easy to join several together for larger pieces like cardigans, throws, or bags. Once you’ve completed one, you can make every crochet pumpkin uniquely yours. By experimenting with different colors, leaves, or playful facial expressions.
Credit Simple Crochet
Materials & Tools Needed:
- Yarn:
- Orange (for the pumpkin)
- Green (for the leaf)
- Black (for the face details)
- Crochet Hook: Recommended size based on the yarn thickness (refer to your yarn’s label).
- Scissors: To cut the yarn.
- Tapestry Needle: To weave in ends and sew details.
Finished Size & Customization Ideas:
- Size: Finished square dimensions depend on your yarn and hook size but can be adjusted by using different hook sizes or yarn weights.
- Ideas: Combine squares to create Halloween decorations such as:
- Blankets
- Bags
- Pillows
- Cardigans
- Table Runners
Pattern Abbreviations & Terminology:
Note: This pattern uses US terminology.
- ch: Chain
- sl st: Slip Stitch
- sc: Single Crochet
- hdc: Half Double Crochet
- dc: Double Crochet
- tr: Treble (Triple) Crochet
- st(s): Stitch(es)
- [ ]: Instructions in brackets are repeated.
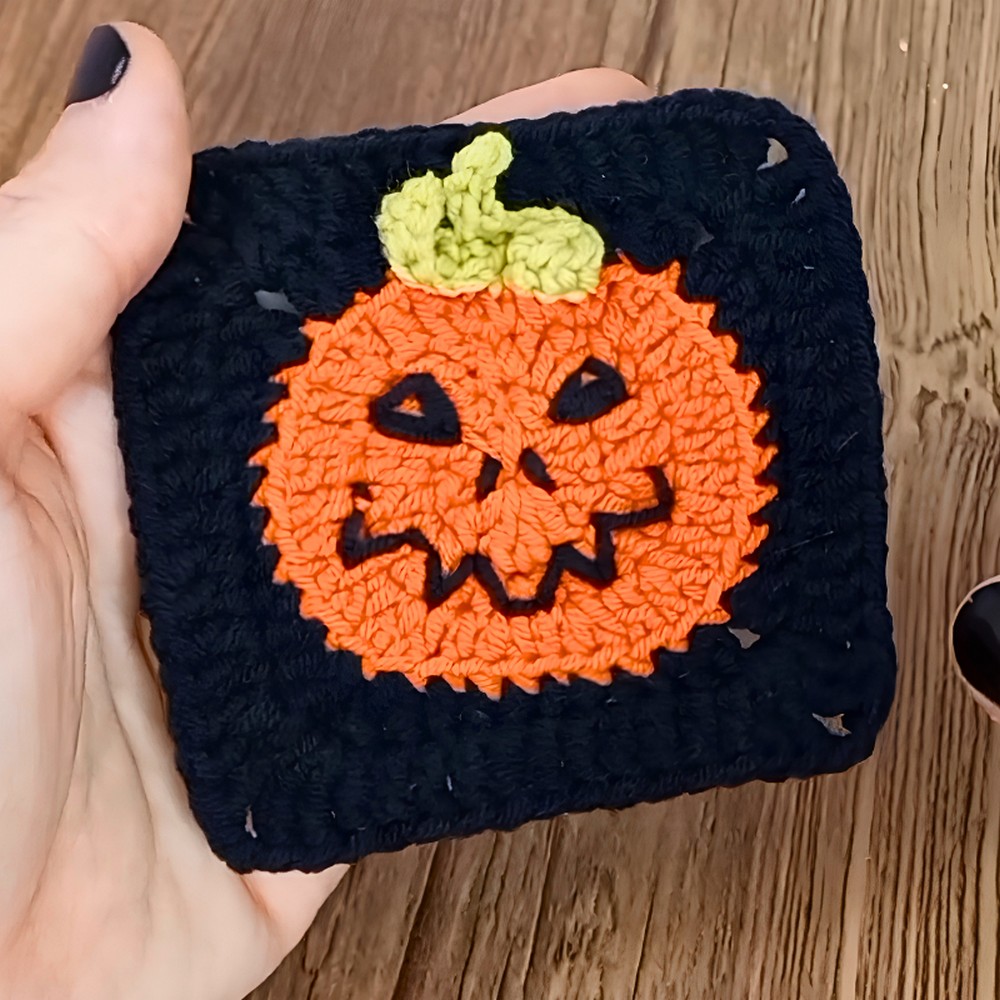
Step-by-Step Detailed Crochet Instructions:
1. Pumpkin Center:
Round 1:
- Make a magic ring.
- Chain 3 (counts as the first dc).
- Crochet 11 dc into the magic ring. (12 dc total, including the starting chain 3.)
- Pull the magic ring tight and join with a slip stitch into the top of the starting chain.
Round 2:
- Chain 3 (counts as a dc), dc in the same stitch.
- Dc 2 times in the next 3 stitches.
- [2 hdc in the next stitch, 2 sc in the next stitch, 2 hdc in the next stitch].
- [2 dc in each of the next 4 stitches].
- [1 hdc, 1 sc in the next stitch]; slip stitch into the starting chain 3.
Round 3:
- Chain 3, dc in the same stitch.
- Alternate between 1 dc in the next stitch and 2 dc in the next (repeat 4 times).
- [1 hdc, 2 hdc]—repeat this.
- Follow the next sequence: [1 dc, 2 dc] (repeat 4 times).
- Finish with the pattern [1 hdc, 1 hdc, 2 hdc].
- Slip stitch into the first chain 3. Fasten off and cut the yarn.
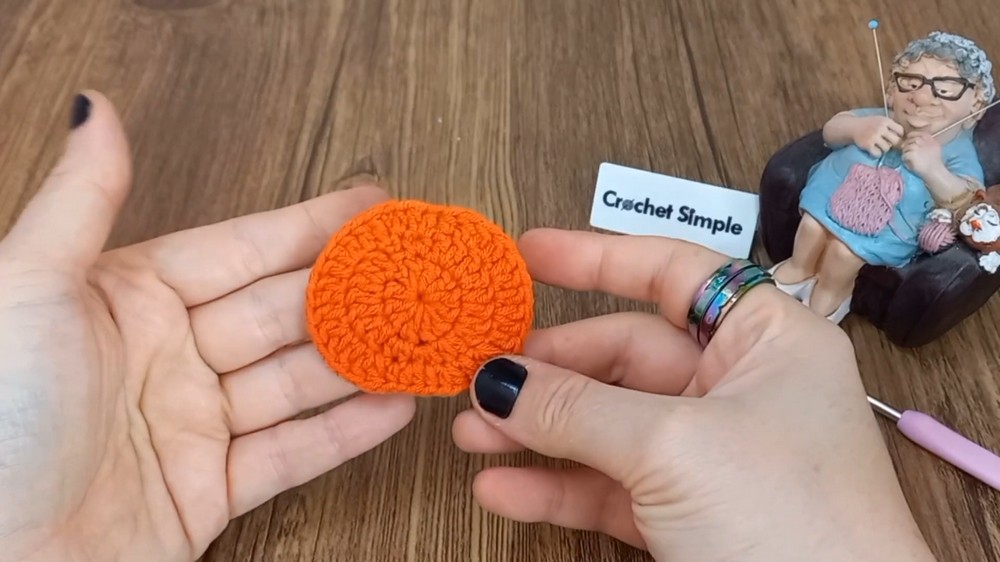
2. Ribbed Effect Around the Pumpkin:
- Attach a contrasting yarn into the 3rd stitch.
- Working on both back loop and third loop:
- Chain 5.
- Crochet 2 dc in the next stitch, 1 hdc in the next stitch, and 1 sc in the next 4 stitches.
- Follow this sequence to wrap around: hdc, dc, [2 dc, ch 2, 2 dc] for corners.
- Continue the pattern around, maintaining consistent corners with [2 dc, ch 2, 2 dc].
- Fasten off and weave in your ends.
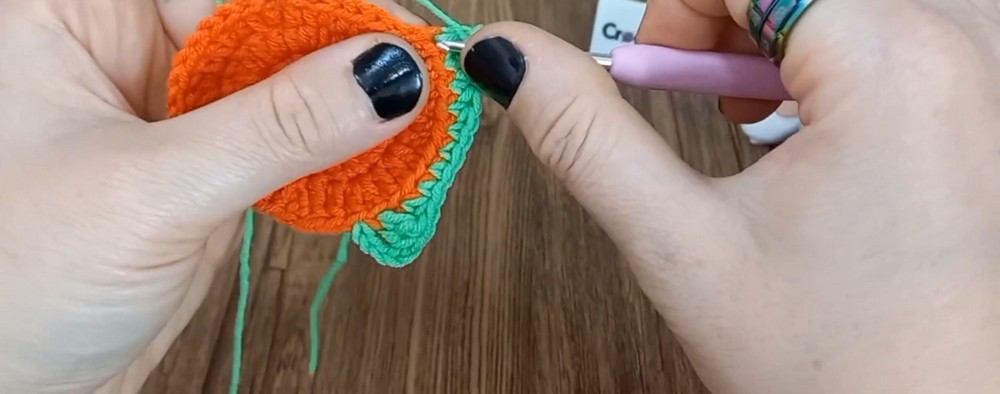
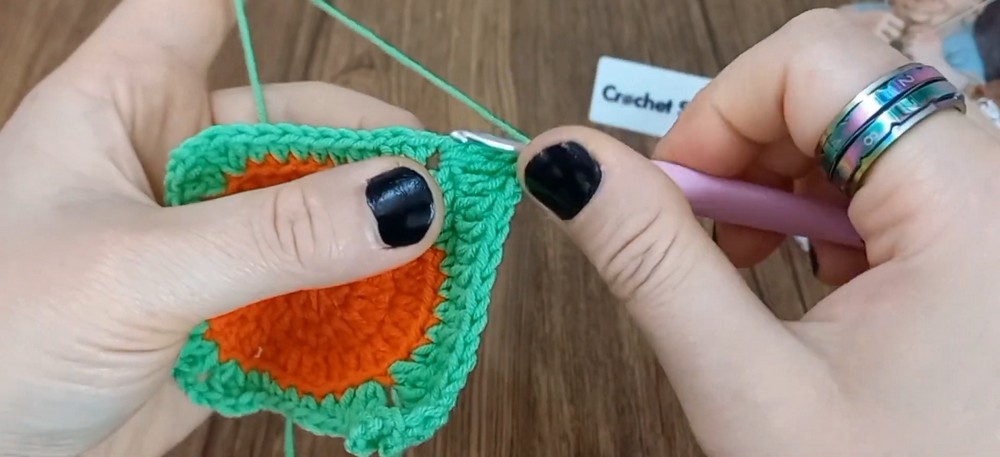
3. Granny Square Base:
- Attach yarn in any corner (ch 2 space).
- Chain 6 (counts as tr + ch 2).
- Work 2 tr into the same space.
- Crochet 1 dc into each stitch along the side.
- At each corner: [2 tr, ch 2, 2 tr].
- Slip stitch to the starting chain and fasten off.
4. Leaf:
- Make a slip knot and chain 7.
- Starting in the 2nd chain from the hook:
- sc in the first stitch.
- hdc in the next 3 chains.
- sc in the next chain.
- Slip stitch in the last chain.
- Chain 4, slip stitch down the chain (3 slips).
- Repeat steps 1-3 to create a second half for the leaf.
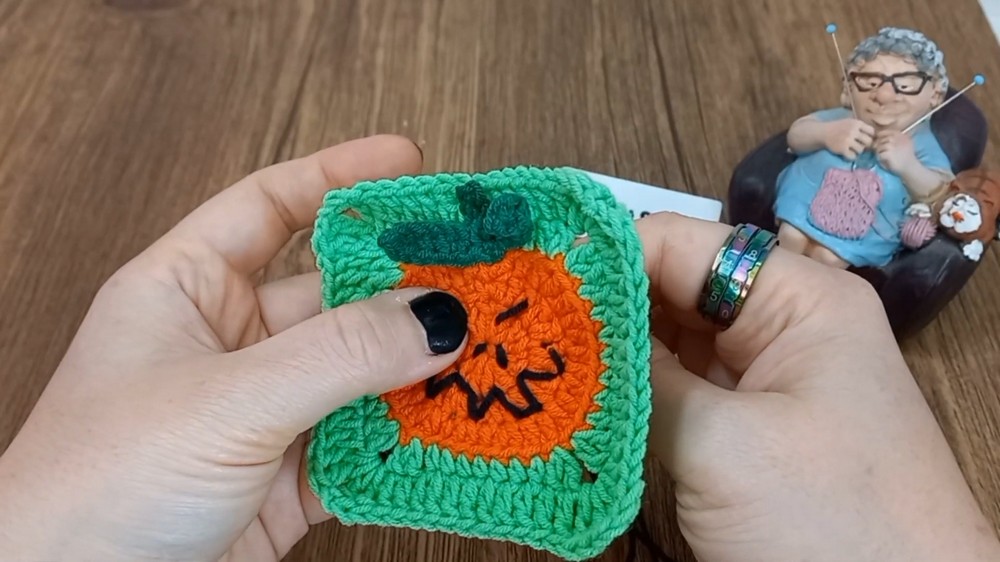
- Sew the leaf with a tapestry needle to the top center of the pumpkin.
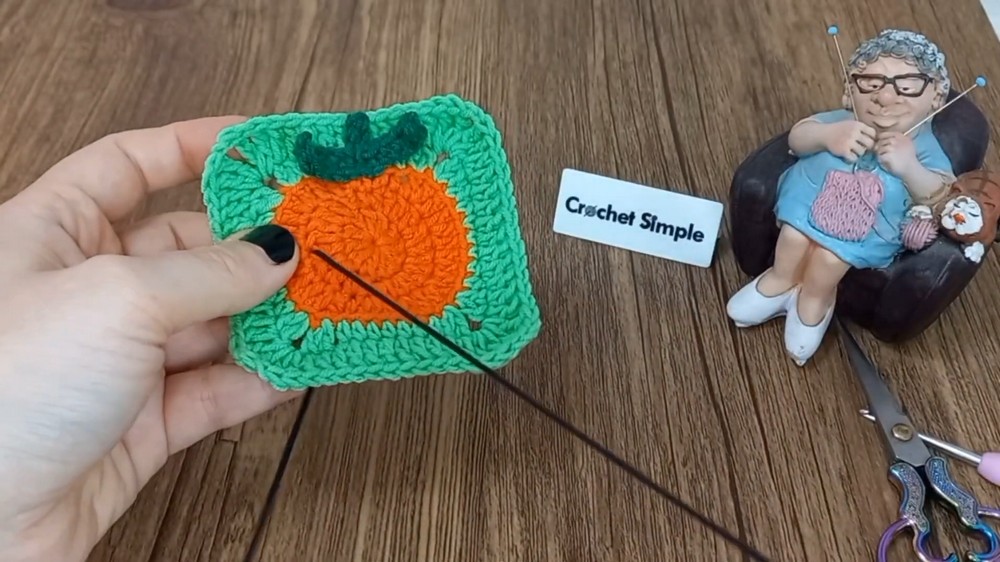
5. Face Details (Optional):
- Use black yarn and a tapestry needle to embroider the pumpkin’s facial features.
- For the eyes: Create small triangle shapes.
- For the mouth: Stitch an irregular “grin” or any expression you like.
Finishing:
- Ensure all yarn ends are neatly woven in.
- Block the square (optional) by pinning it into place and lightly steaming or dampening it to shape evenly.
- Combine your squares into your desired Halloween project!