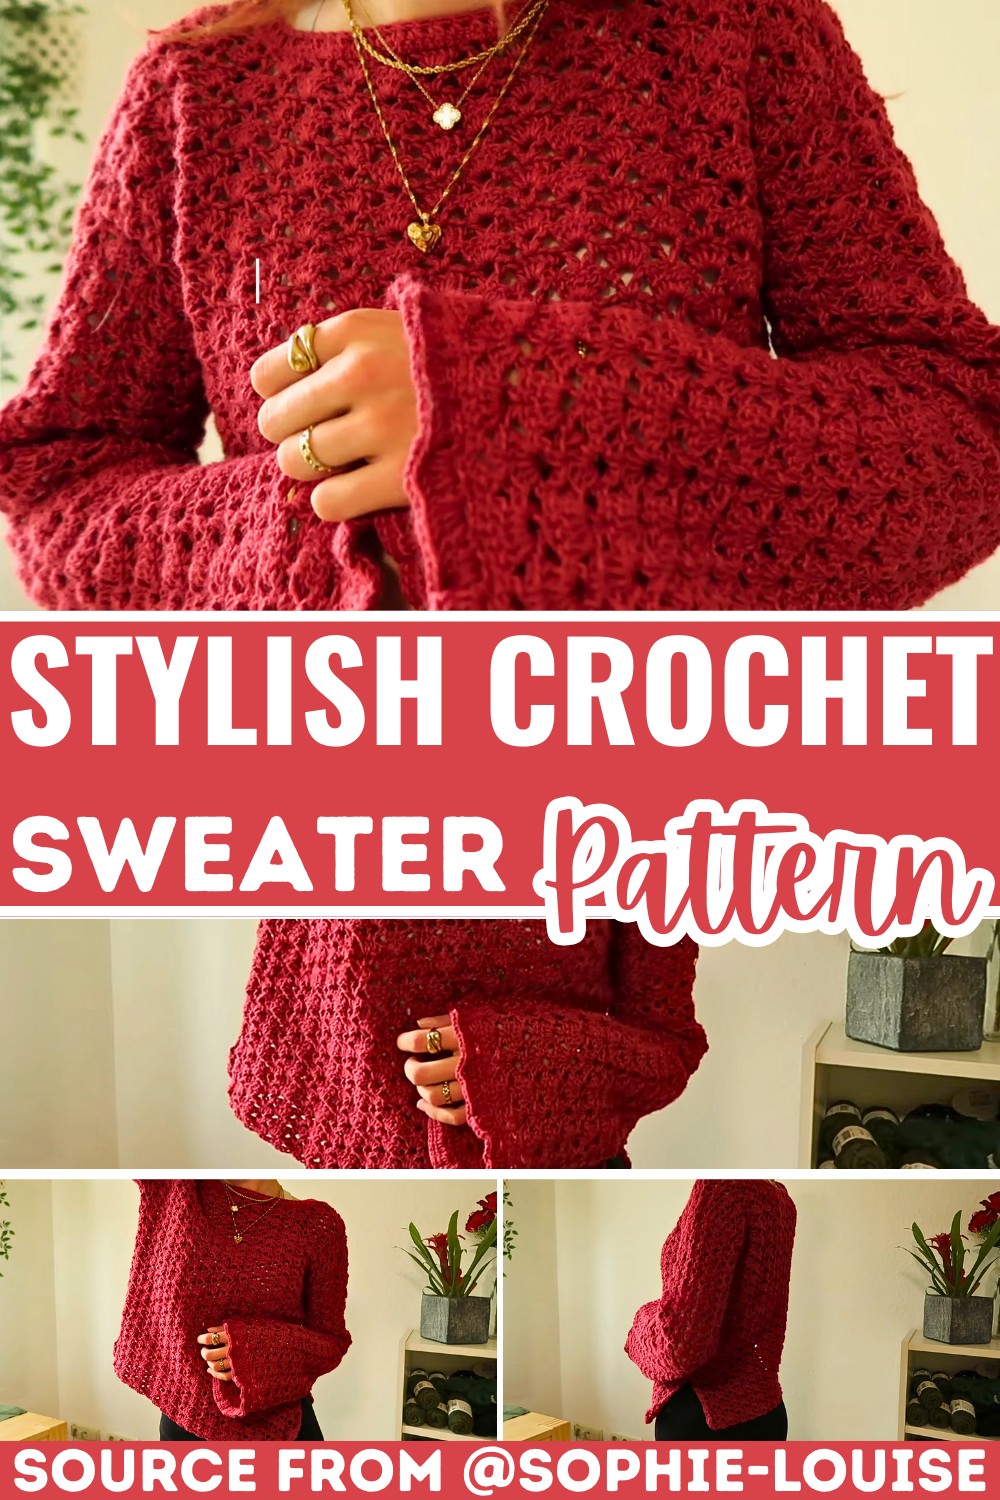
How to Crochet Sweater With Detailed Instructions
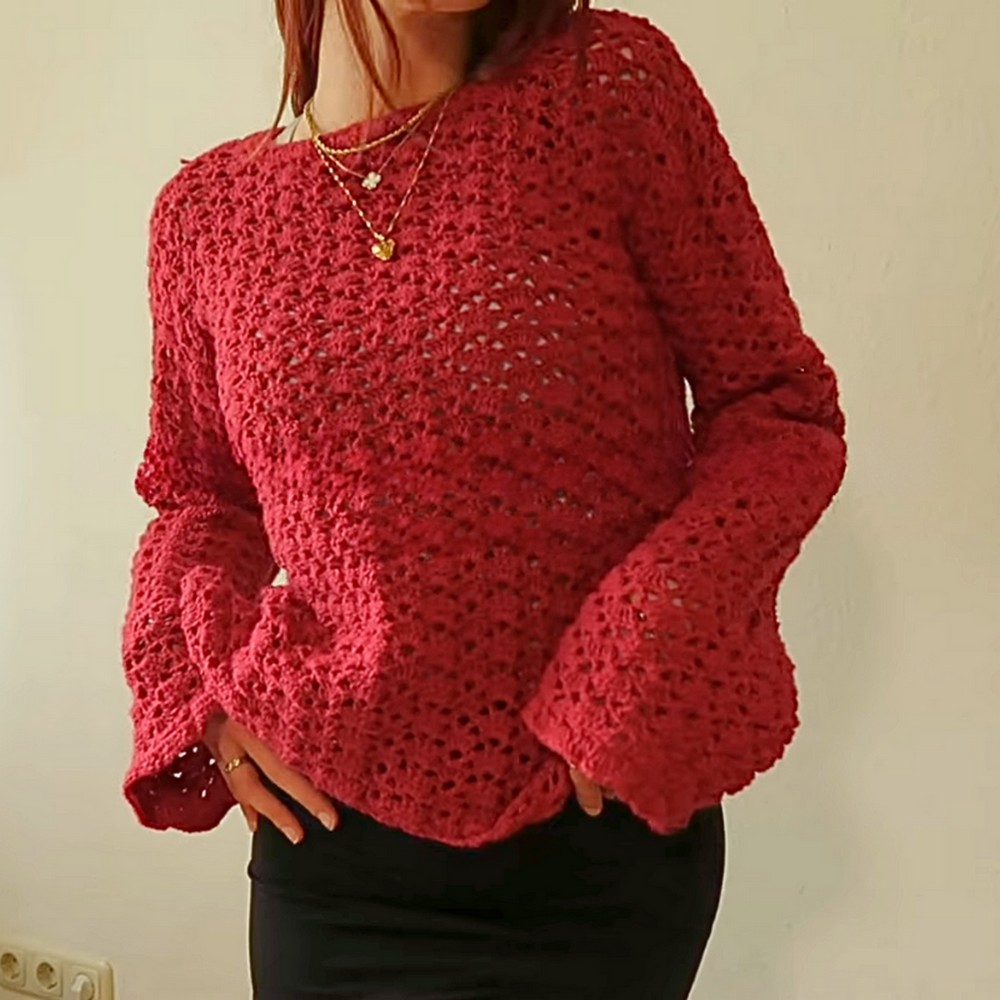
A beautifully textured crochet sweater can become the standout piece in any handmade wardrobe. Delicate shell stitches and graceful V-stitch details come together to create a design that feels both timeless and comfortable.
Its lightweight warmth makes it easy to wear on cool days while adding a polished handmade touch to everyday outfits. This versatile crochet piece is just as enjoyable to create as it is to wear.
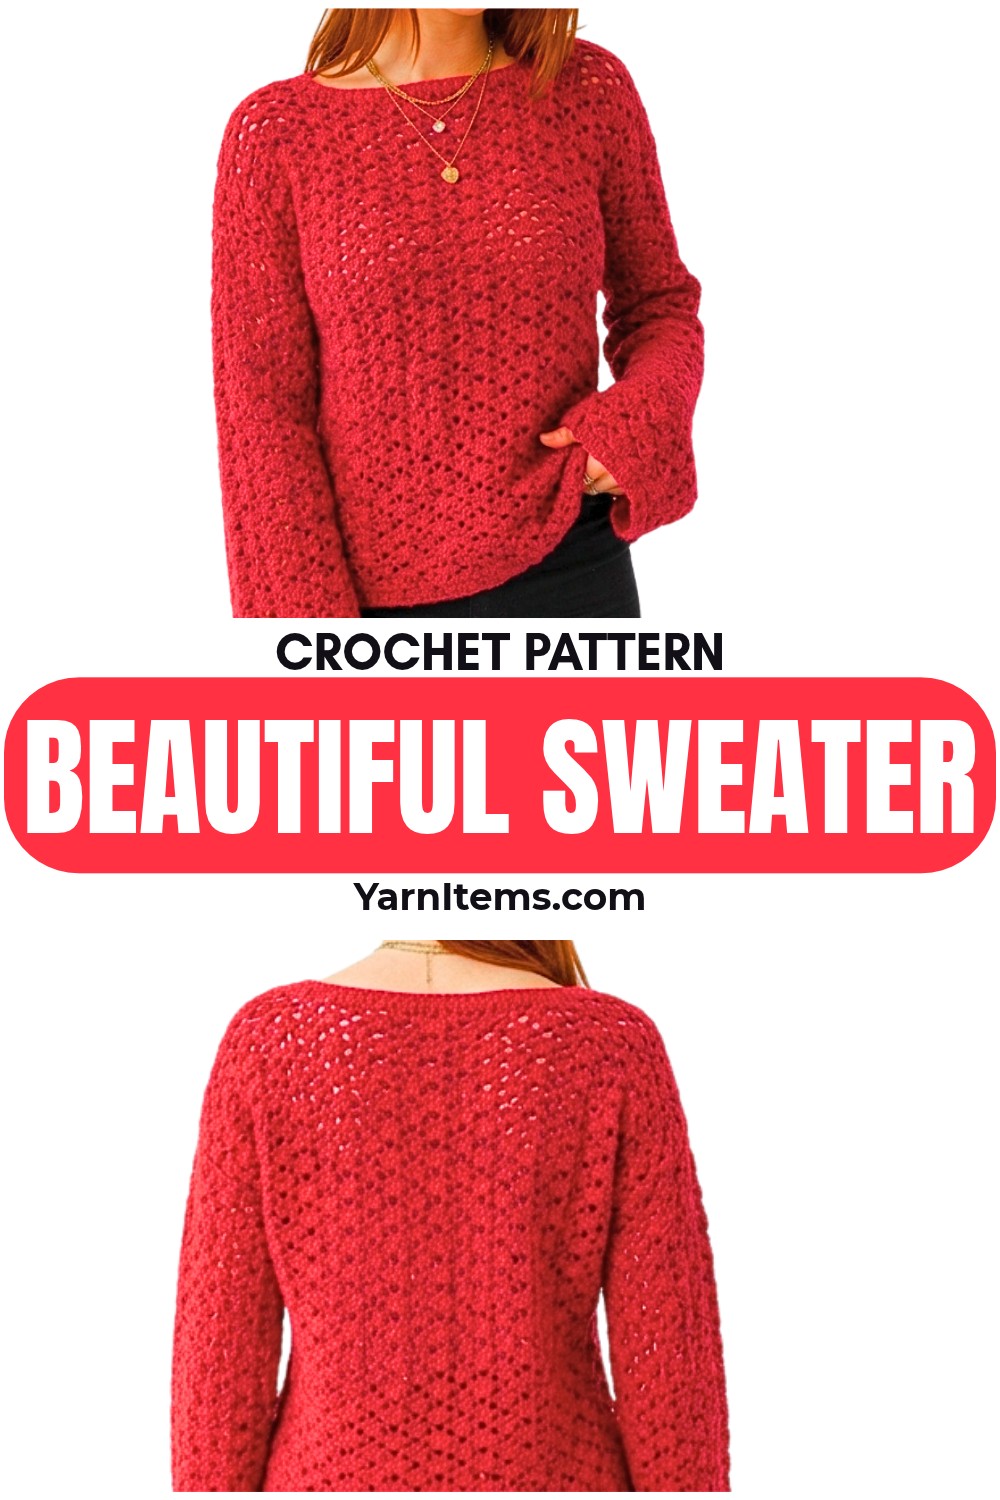
Carefully repeated stitch crochet patterns shape the front, back, sleeves, and neckline into a sweater with a neat, professional finish. The guide below includes the materials, gauge details, sizing information, customization options, assembly steps, and complete stitch instructions to help you crochet each section with confidence. Whether you prefer a classic fit or want to adjust the length and width, this piece offers plenty of flexibility to match your personal style.
Credit Sophie-Louise
Why Handmade Makes a Difference
- Every stitch adds character – Handmade items carry a personal touch, showcasing the effort and care poured into crafting them.
- Better attention to detail – Artisans devote extra time and focus on each element, ensuring high quality in every piece.
- Custom sizing is possible – Unlike mass-produced items, handmade pieces can be tailored to fit your specific needs and preferences.
- A unique piece that reflects your creativity – Handmade creations often stand out and can be a true reflection of your individuality.
Materials & Tools Needed
- Yarn: ~750 g / 1230 meters of Fine Weight Yarn (Category 2 / Fine)
- Crochet Hook: 3.5 mm (US E-4 / E-3.5 mm)
- Additional Tools: Stitch markers, yarn needle, scissors, measuring tape
Gauge & Stitch Details
- Gauge Pattern: Alternates between rows of shell clusters (5 dc) and V-stitch/chain-space rows.
- Foundation Chain Multiple: Multiple of 8 + 1 chain
Size
Model Size
- Size: Medium (M)
- Sleeve Dimensions:
- Width: ~35 cm (14.2 in)
- Length: ~52 cm (20.5 in)
Customization Options
- Adjust Width
- Modify the foundation chain.
- Ensure the foundation chain is a multiple of 8 + 1 (e.g., if you’d like to increase or decrease the width, adjust the size of the chain while maintaining this pattern).
- Modify Body Length
- Add or remove Row 2/3 repeats to adjust the overall length of the body of the garment.
- Alter Sleeve Length
- Change the total number of sleeve rows to make the sleeves longer or shorter.
- Create Side Splits
- Leave the bottom 9 rows unseamed to create side splits at the hem.
Pattern Abbreviations (US Terms)
- ch: chain
- sl st: slip stitch
- sc: single crochet
- hdc: half double crochet
- hdc dec: half double crochet decrease
- dc: double crochet
- st (sts): stitch (stitches)
- ch-sp: chain space
Step-by-Step Instructions
1. Front & Back Panels (Make 2 Identical Panels)
Foundation Chain
- Begin with ch 89 or desired multiple of 8 + 1.
Row Instructions
- Row 1:
- Ch 4 to turn (counts as 1 dc), 1 dc in 5th ch from hook.
- (Skip 3 chs, 5 dc in the next; skip 3 chs, [1 dc, ch 2, 1 dc] in the next). Repeat across.
- End with (1 dc, ch 1, 1 dc) in the last ch.
- Row 2:
- Ch 3 to turn (counts as 1 dc), 2 dc in the ch-1 sp.
- (1 dc, ch 2, 1 dc) in the 3rd dc of the 5-dc cluster; 5 dc in the next ch-2 sp. Repeat across.
- End row with: (1 dc, ch 2, 1 dc) in 3rd ch of turning chain; 2 dc in last ch-1 sp, 1 dc.
- Row 3:
- Ch 4 to turn (counts as 1 dc + ch-1 sp), 1 dc in the same st.
- 5 dc in the next ch-2 sp, (1 dc, ch 2, 1 dc) in the 3rd dc of next 5-dc cluster. Repeat across.
- End with: 5 dc in last ch-2 sp, (1 dc, ch 2, 1 dc) in the 3rd ch of turning chain.
- Rows 4–41: Alternate between Row 2 and Row 3 until reaching ~41 rows (or desired length).
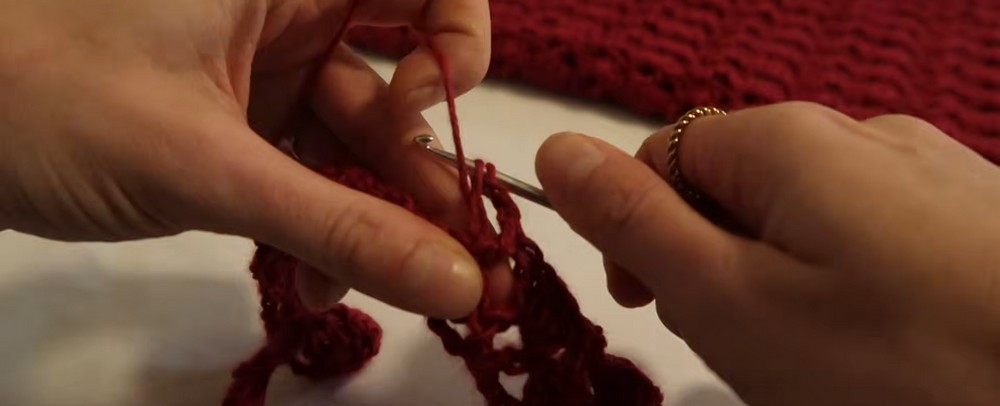
2. Shoulder Extensions (4 Rows per Side)
- Each shoulder extension spans 3 shell pattern sets at the panel tops.
- Follow 4-row instructions for both shoulders on each panel:
- Row 1: Attach yarn. Ch 3 (counts as 1 dc), 2 dc in ch-1 sp. Continue across 3 shell clusters. End with 4 dc in ch-2 sp + 1 dc (5 dc total).
- Row 2: Ch 4 (counts as 1 dc + ch-1 sp), 1 dc in same st. Continue pattern across, ending with (1 dc, ch 1, 1 dc) in last st.
- Row 3: Ch 3, turn, 2 dc in ch-1 sp. Continue pattern across, ending row with 2 dc in ch-2 sp + 1 dc.
- Row 4: Ch 4, turn, 1 dc in same st. Work across, ending with (1 dc, ch 1, 1 dc) in last st. Fasten off.
3. Sleeves (Make 2)
Foundation Chain
- Create ch 65 (multiple of 8 + 1).
Rows 1–40:
- Follow body stitch pattern (Row 1 foundation, then alternate Row 2 & Row 3) for ~40 rows (~52 cm length).
Cuff Edging (Rows 41–43):
- Row 41: Ch 1, work 1 sc in each st across row.
- Row 42: Ch 1, turn. Repeat (1 sc, ch 2, skip 2 sts, 1 sc in next st) across.
- Row 43: Ch 1, turn. Work 5 dc into each ch-2 space across. Sl st to last st, fasten off.
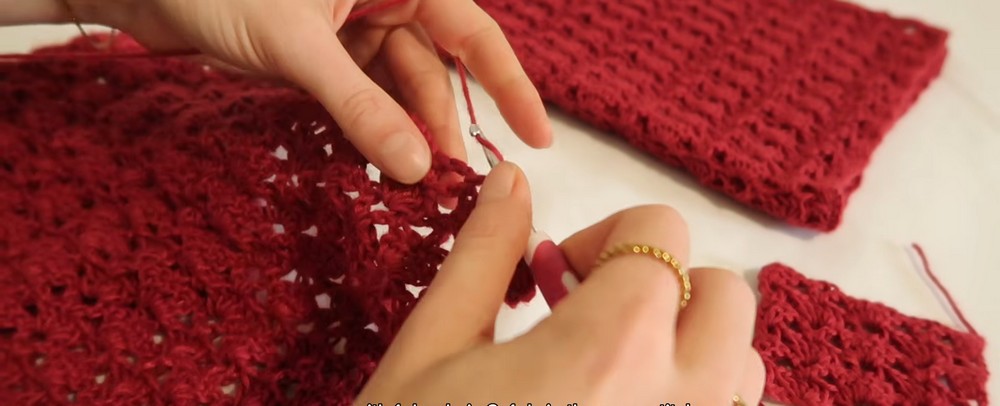
Assembly Instructions
Seaming Panels:
- Shoulder Seams: Place Right Sides together; join shoulder extensions using sl sts across shoulder edges.
- Side Seams: Seam sides from underarm to bottom, leaving 9 rows unjoined for side slits.
Adding Sleeves:
- Center folded sleeve edge onto shoulder seam.
- Attach sleeve to armholes with sl sts. Complete for both sleeves.
- Seam underarm to cuff.
5. Neckline Finishing
- Attach yarn to the neckline edge.
- Round 1: Ch 1, sc evenly around the neckline. Sl st to close.
- Round 2: Ch 1, work hdc decreases (2 hdc together) across the entire round.
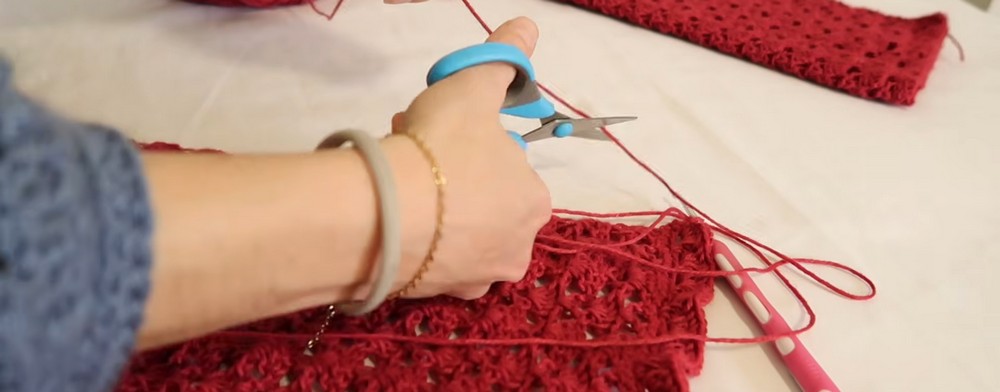
- Sl st to close, cut yarn, and weave in ends.
Comfort Highlights
- Soft and breathable fabric
Designed to keep you feeling fresh and cozy all day. - Comfortable for extended wear
Ideal for long hours without any discomfort. - Relaxed fit for easy movement
Provides flexibility and freedom of motion. - Suitable for everyday use
A versatile choice for any daily routine. - Lightweight without sacrificing warmth
Perfect balance between warmth and weight.
Perfect for Every Season
- Ideal for autumn and winter: Provides warmth without being overly bulky.
- Layer-friendly: Can be easily layered during colder months for extra coziness.
- Lightweight versatility: Perfect for those cool spring evenings.
- Effortless styling: Easy to pair with a variety of seasonal outfits.