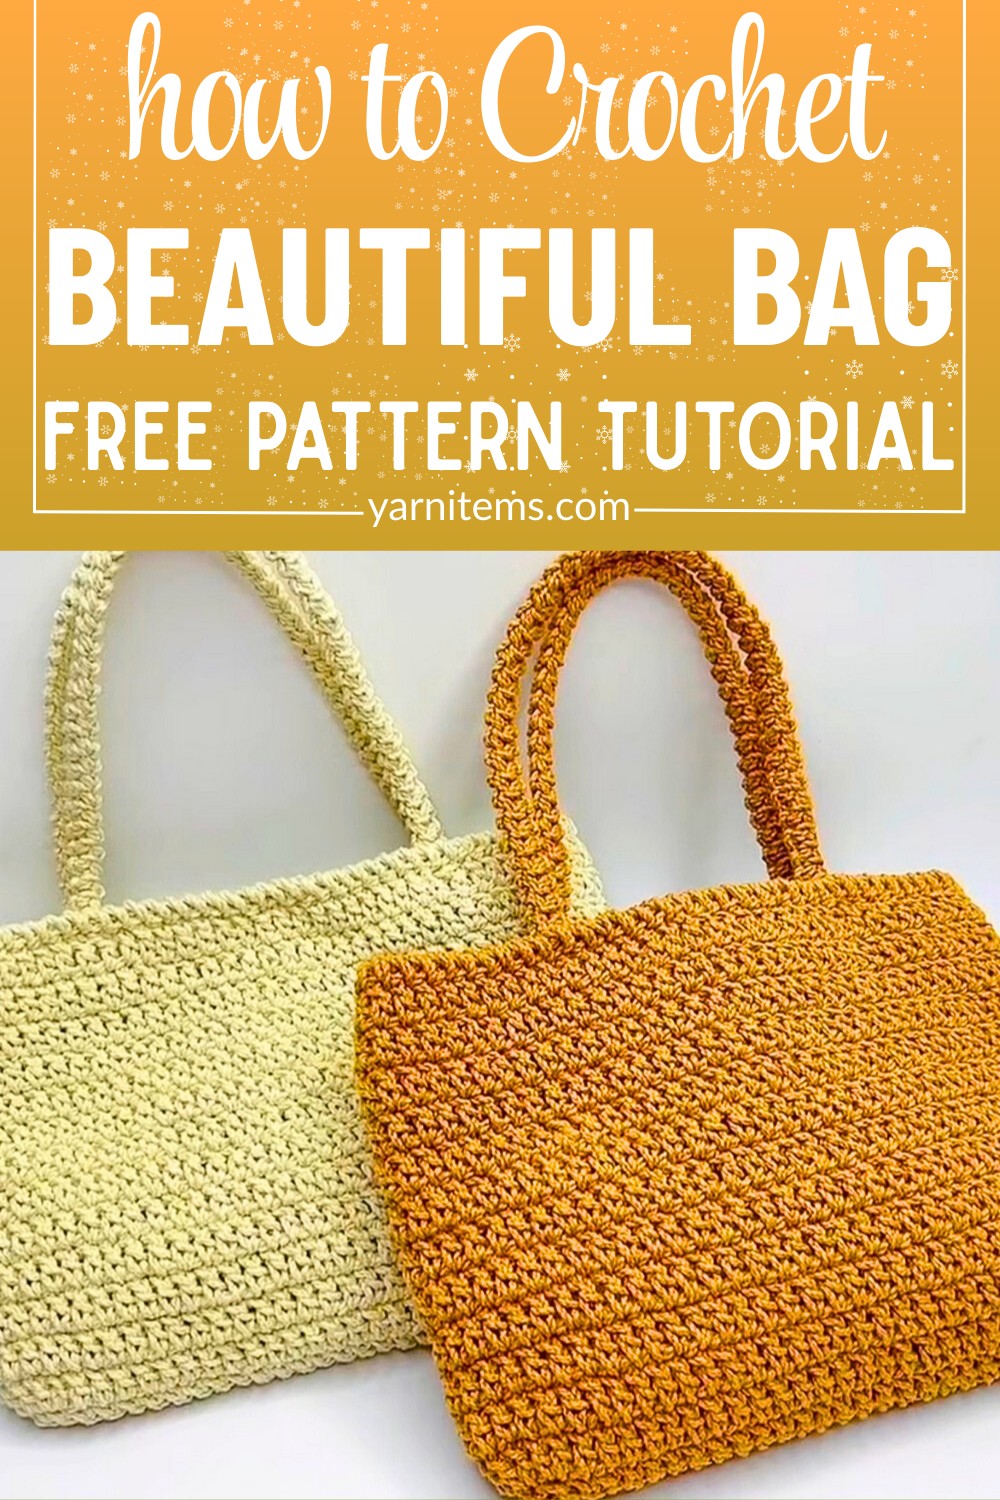
Simple Crochet Bag Pattern with Straps – Step-by-Step
Here’s how to crochet a compact handmade bag with simple shaping, sturdy straps, textured edging, and easy customization for everyday essentials.
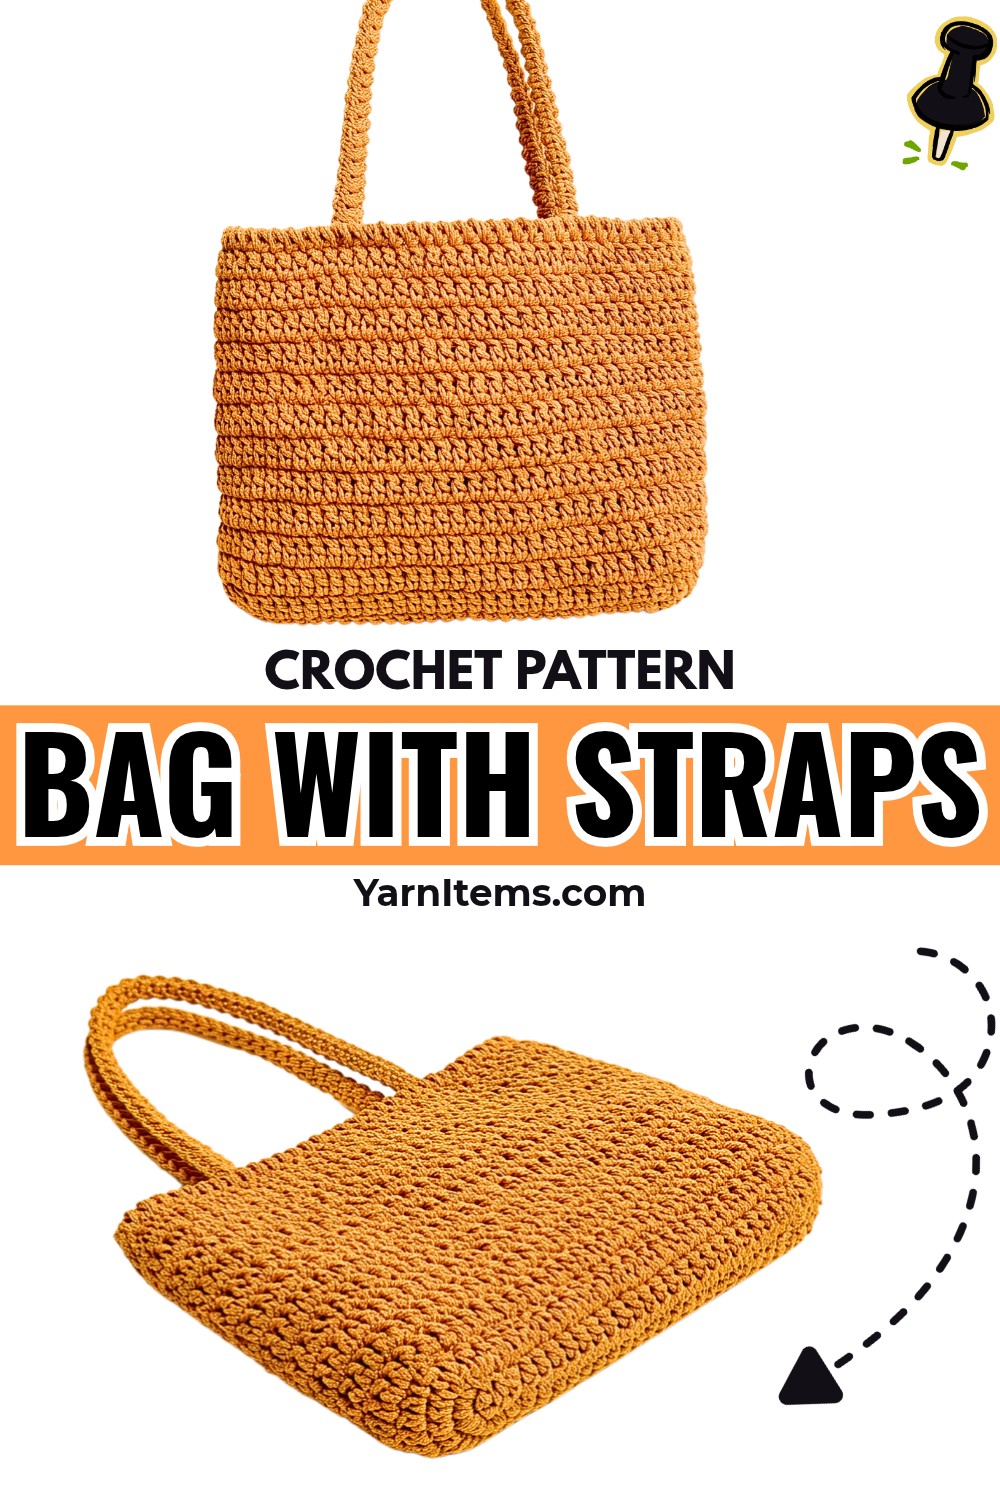
Compact crochet bags bring handmade style into everyday carrying without needing an oversized design. For beginners, shaping curved ends, keeping increases even, and joining straps neatly can feel confusing, so clear guidance makes each stage easier to follow.
This crochet bag tutorial walks through its oval base, expanding curves, 14 body rounds, textured rim, and two 32 cm straps. You’ll also find customization ideas and assembly guidance for creating neat, balanced finishing. Let’s begin.
Credit Xuxu Crochet
Materials & Tools
- Yarn: One roll of Simple yarn or comparable sport/DK-weight yarn in beige or preferred color.
- Crochet Hook: 3.5 mm crochet hook.
- Stitch Marker: For identifying important stitches while working rounds.
- Tapestry Needle: For weaving ends and attaching straps.
- Optional Magnetic Snap: For securing bag opening.
Finished Size & Customization
This design creates compact handheld bag size suitable for holding phone and small daily essentials. Straps measure approximately 32 cm each.
For color variation, use contrasting shades between body rows or choose different strap colors. Add magnetic snap or wooden toggle at inner rim for closure. For extra structure, sew fabric lining inside.
Pattern Abbreviations & Terminology
- ch: Chain stitch
- sl st: Slip stitch
- sc: Single crochet
- dc: Double crochet
- inc: Increase – work 2 double crochets into same stitch or space
- st(s): Stitch(es)

Step-by-Step Crochet Bag Instructions
Step 1: Create Foundation Chain
Begin with slip knot, then chain 30 ch.
This chain establishes length of bag base, so keep chain stitches even without pulling them too tightly.
Next, skip first 2 chains and prepare to work into back bump of 3rd chain from hook. Working through back bump helps prevent loose-looking gaps along base.
Step 2: Build First Side of Base
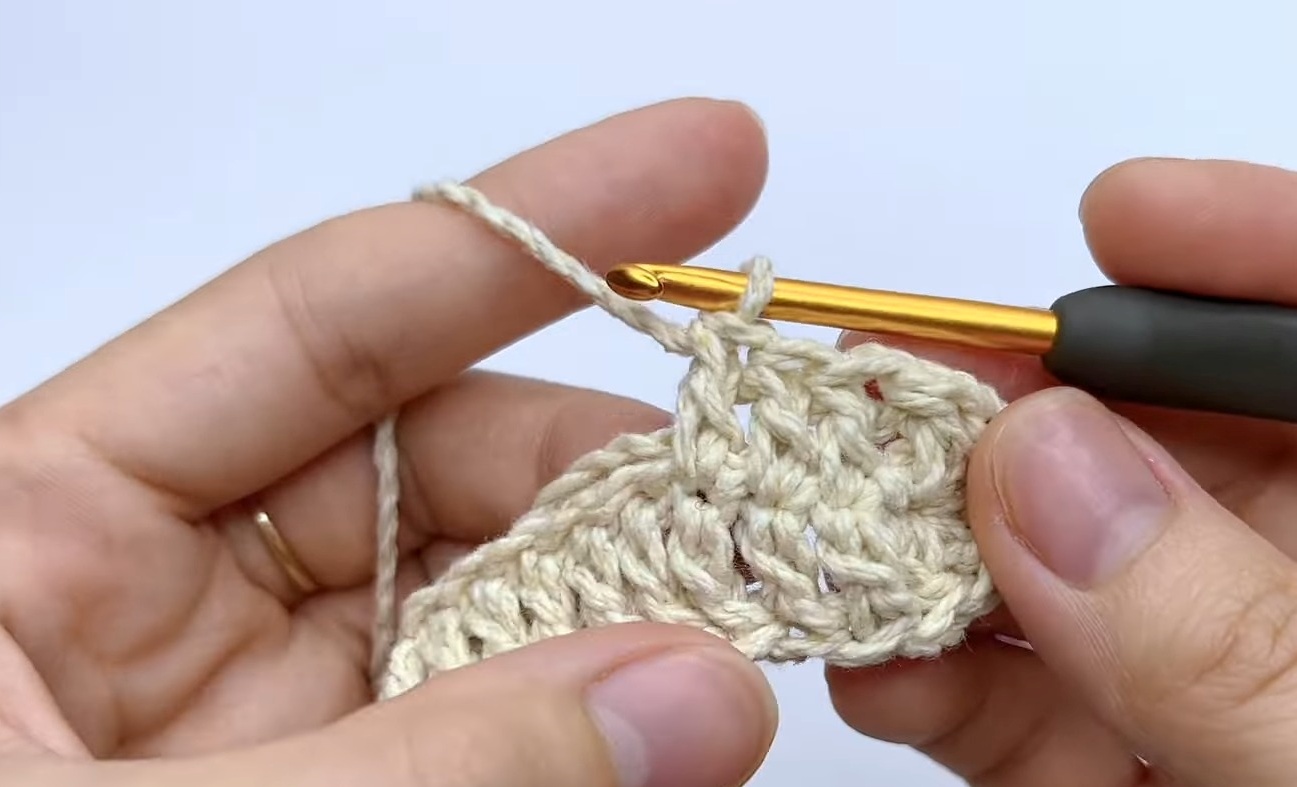
Work 3 dc into 3rd chain from hook.
Place stitch marker into very first stitch among these 3 double crochets. This marked stitch will help identify joining point later.
Continue with 1 dc in each of next 26 stitches.
At final remaining chain, work 5 dc into same stitch. These stitches create curved end needed for turning around foundation chain.
Step 3: Work Back Along Opposite Side
Continue along opposite side of foundation chain, working directly over yarn tail so tail becomes hidden and secured within stitches.
Work 1 dc in each of next 26 stitches.
In final remaining stitch, work 2 dc to complete increase at opposite curve.
Remove stitch marker, then slip stitch into first marked stitch to join Round 1.
Check your shape: Base should now form long center section with rounded curves at both ends rather than remaining as straight chain.
Step 4: Expand First Curve
For Round 2, chain 2 ch.
Work an increase in same stitch where you joined: place 2 dc into same stitch. Put stitch marker into first stitch of this increase.
Work another increase in each of next 2 stitches.
You should now have 3 total increases along first curve. These increases give rounded end enough room to expand without pulling inward.
Step 5: Extend First Straight Edge
After completing first curve increases, work 1 dc in each of next 26 stitches.
Keep stitches even along this straight section. Avoid adding extra increases here because this section is meant to extend length rather than widen curve.
Step 6: Expand Opposite Curve
Work an increase — 2 dc in same stitch — in each of next 5 stitches along wide curved end.
These five increases build matching expansion around opposite end of base.
Shape check: Both curved ends should now look fuller while long sides remain comparatively straight.
Step 7: Complete Round 2
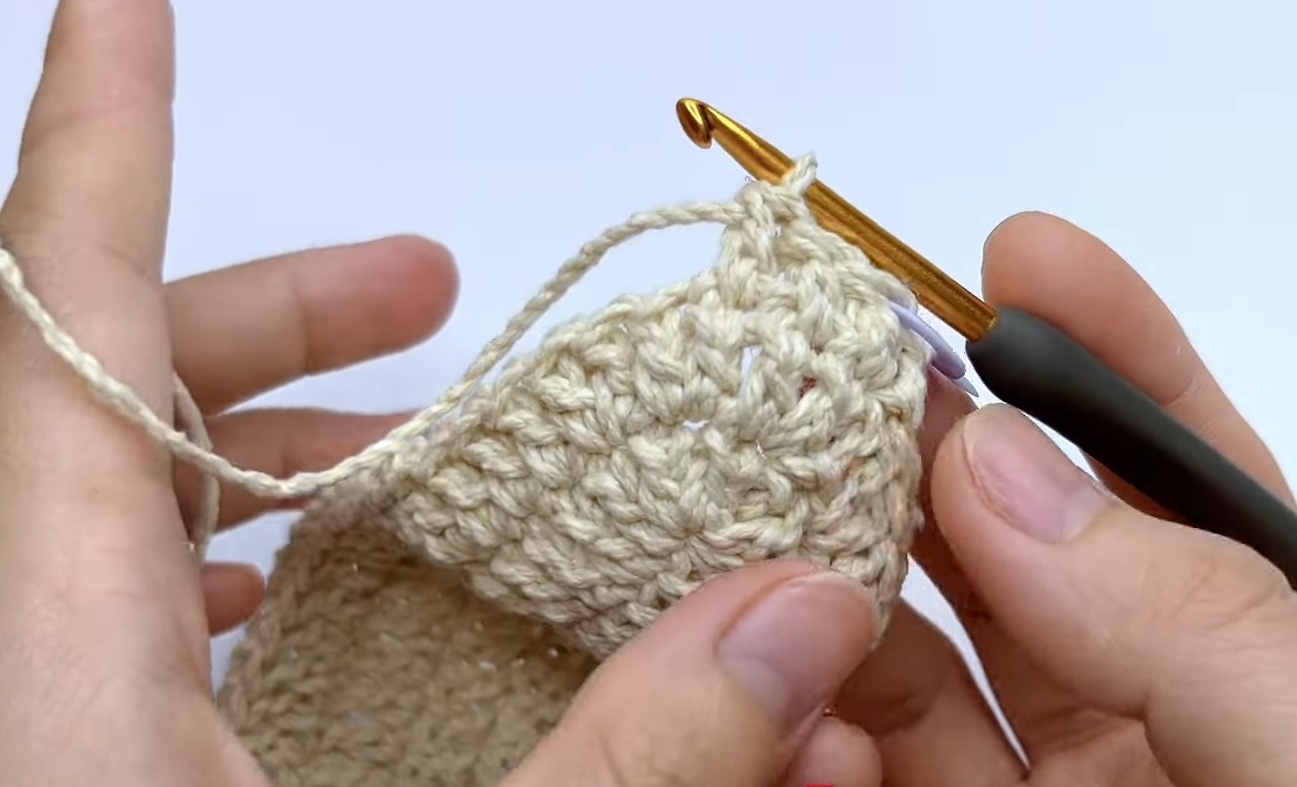
Work 1 dc in each of next 26 stitches along second straight edge.
At final 2 stitches, work an increase in each stitch.
Slip stitch into first stitch to join Round 2.
At this stage, expanded base is ready to support vertical body rounds.
Step 8: Establish Main Body
For Round 3, chain 2 ch, then work 1 dc in exact same base stitch.
Continue with 1 dc in every stitch around.
Slip stitch into first stitch to join.
This round begins vertical height, so maintain same stitch count and avoid adding increases.
Step 9: Continue Body Height
Repeat same process for Rounds 4 through 14.
For each round:
- Chain 2 ch.
- Work 1 dc in same stitch.
- Work 1 dc in every stitch around.
- Slip stitch into first stitch to join.
Continue stacking rounds until 14 total body rounds are complete.
Progress check: Bag walls should now rise evenly from oval base. If sides begin flaring outward, check whether extra stitches have been added accidentally.
Step 10: Prepare Textured Rim
For Round 15, join with sl st to first stitch, then chain 1 ch.
This round creates textured finish along upper edge, so work carefully through each stitch rather than rushing through repeated motions.
Step 11: Work First Textured Rim Stitch
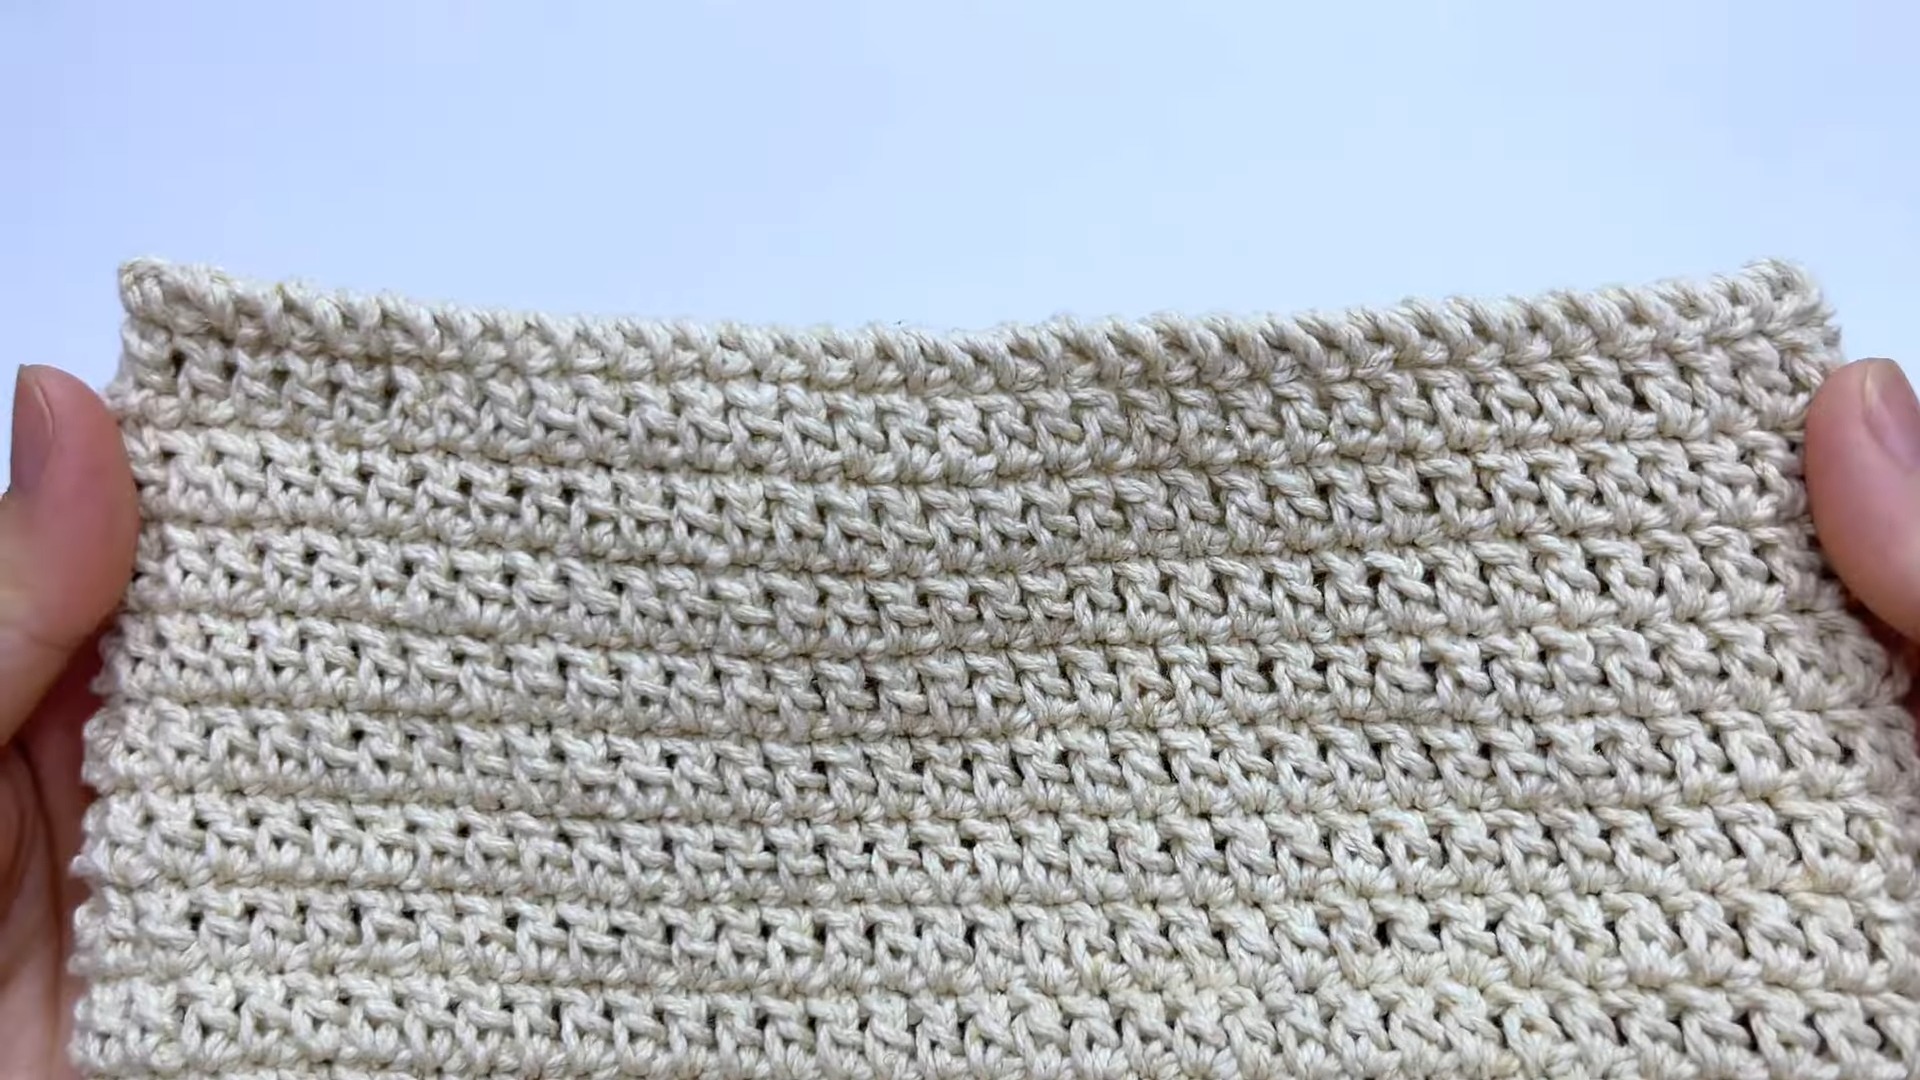
Insert hook into first stitch and pull up loop.
Draw loop slightly tall so it remains easy to manipulate.
Twist hook through one full 360-degree rotation.
Yarn over, then pull yarn through both loops currently on hook.
This completes one textured rim stitch.
Technique check: Keep lifted loop tall enough for comfortable twisting, while maintaining consistent tension from stitch to stitch.
Step 12: Continue Texture Around Rim
Repeat same twist-and-pull stitch into every stitch around entire rim.
Keep loop height and tension as consistent as possible so textured edge develops evenly.
Once entire rim has been worked, fasten off while leaving comfortable yarn tail.
Thread tapestry needle and use it to close and weave in end of round neatly.
Step 13: Begin First Strap
Make 2 straps using same construction.
For first strap, leave long starting tail for later sewing.
Create slip knot and chain 2 ch.
Skip first chain and work 1 sc into second chain.
Then locate side curved-edge loop in last stitch and work 1 sc into it.
This creates starting point for continuous strap construction.
Step 14: Build Strap Length
Continue working consecutive single crochets directly through paired side-loop rails as demonstrated in source tutorial.
Keep strap construction consistent as it grows so finished strip remains even.
Continue until strap reaches approximately 32 cm.
Chain 1 to lock final stitch, fasten off, and leave long tail for attachment.
Repeat same process to make second identical strap.
Length check: Place both straps side by side before assembly. Matching lengths will make final bag placement more balanced.
Step 15: Position Straps
Before sewing, measure approximately 5 cm inward from outer side edges on both front and back panels.
Mark matching attachment positions.
Place strap ends over marked spots.
Make sure each strap lies flat and remains untwisted before securing.
This positioning step is important because even strap placement keeps bag balanced when carried.

Step 16: Sew Straps Securely
Thread tapestry needle using reserved yarn tail.
Firmly whipstitch each strap end to inner wall or rim of bag.
Repeat for all four strap attachment points.
Work through attachment area securely rather than relying on only surface stitches, since straps will carry weight during use.
Final check: Lift bag gently by straps and confirm that each attachment remains secure and straps sit evenly.
Step 17: Finish Loose Ends
Fasten off securely and weave in every remaining loose yarn end.
If using optional closure, attach magnetic snap button at inner rim according to placement needed for bag opening.
For extra structure, fabric lining can also be sewn inside after crochet body and straps are fully finished.
Your simple crochet bag is now ready for everyday essentials, with compact shaping, textured edging, and handmade straps completing its finished look.