
Gorgeous Crochet Floral Lace Cardigan Pattern Free
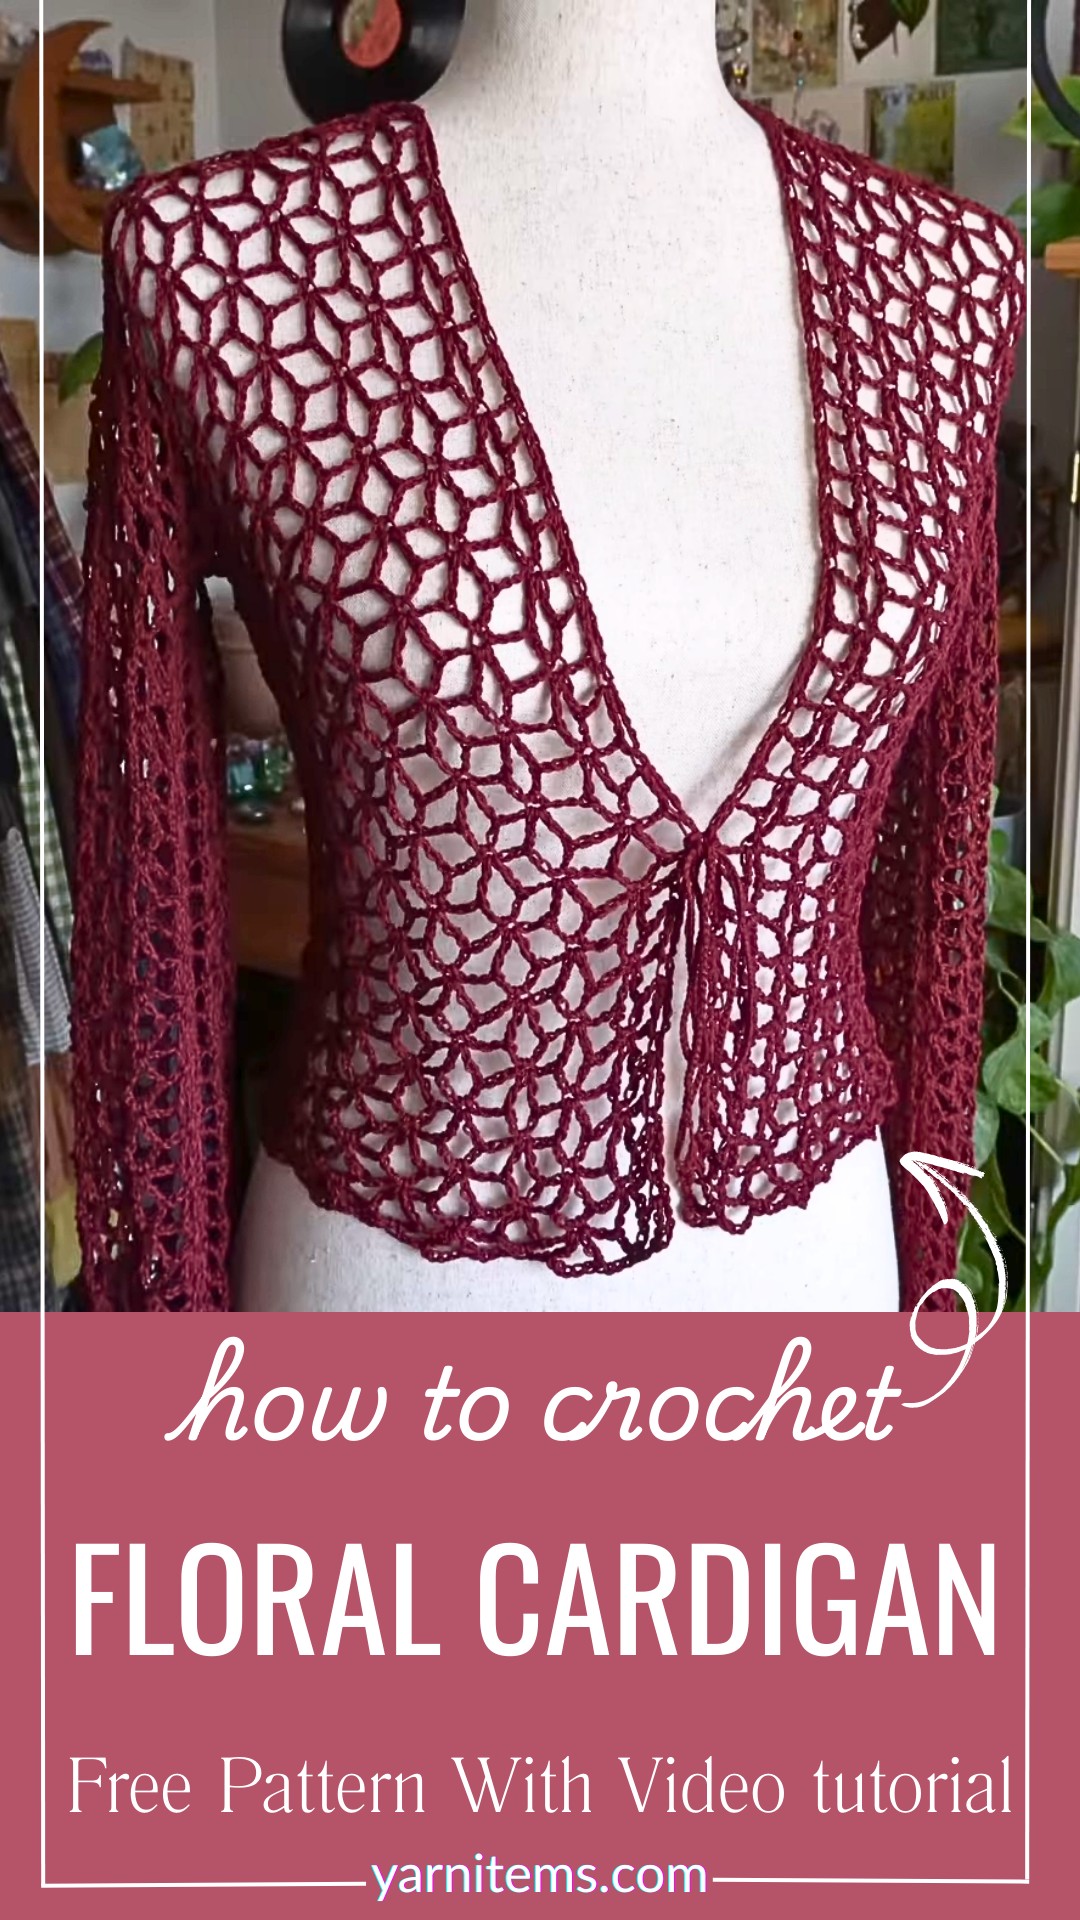
A cardigan this graceful instantly transforms the look of any handmade wardrobe. Delicate crochet floral lace creates an airy texture that feels light, elegant, and comfortable throughout the day.
This beautiful piece pairs effortlessly with dresses, jeans, or simple tops, making it suitable for both casual moments and special occasions. Soft neutrals highlight its timeless charm, while brighter shades give the crochet item a fresh and eye-catching personality.
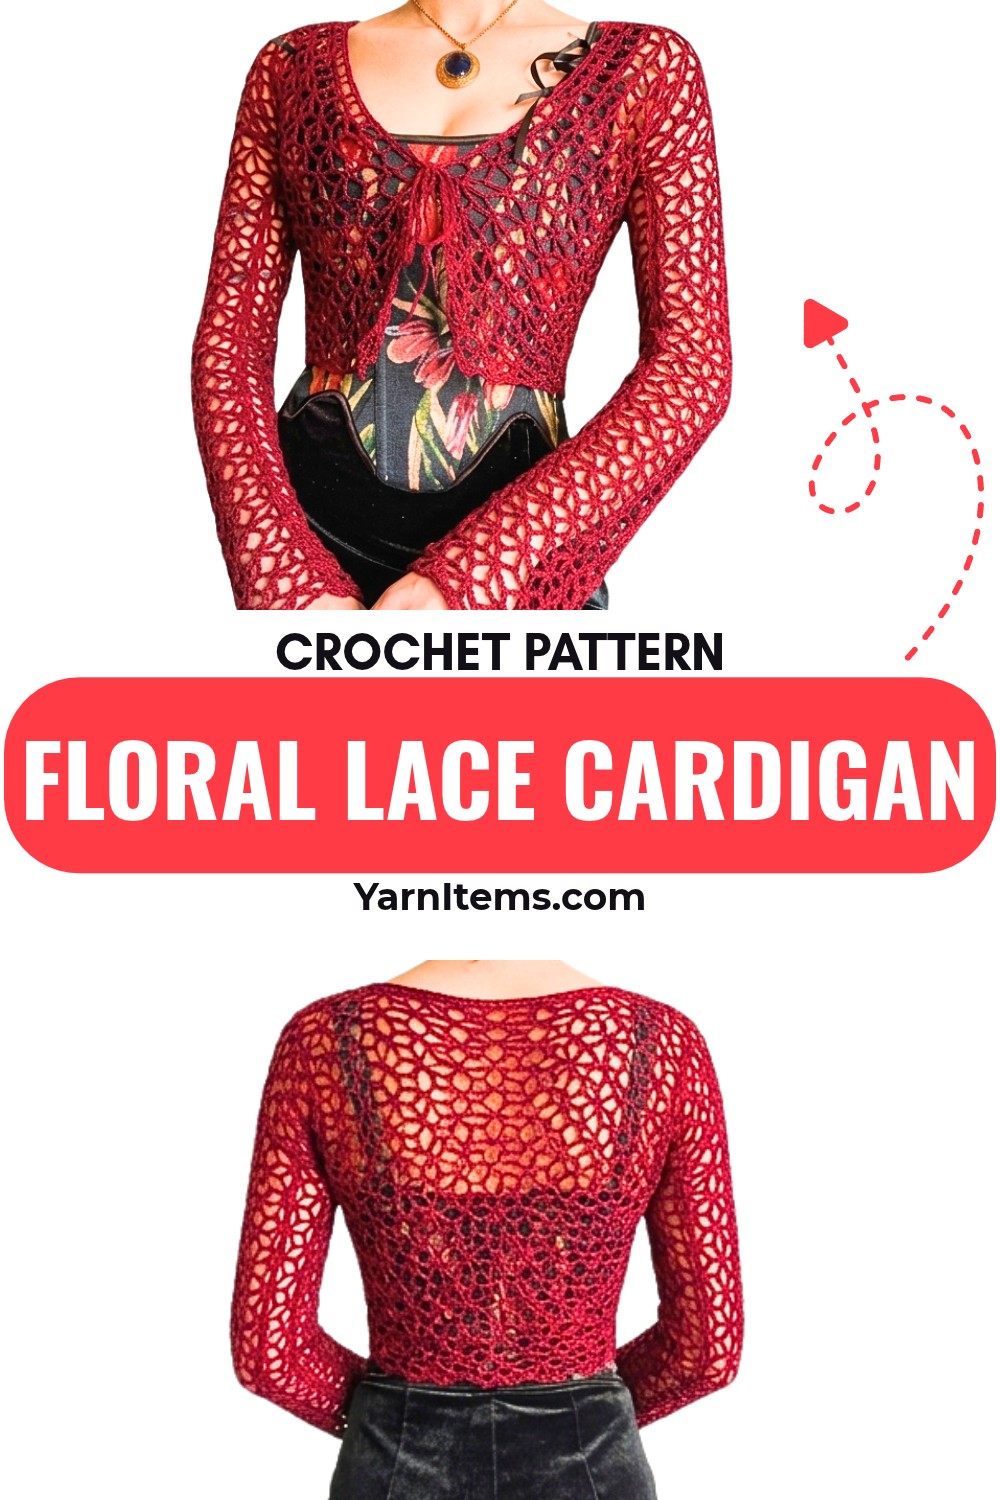
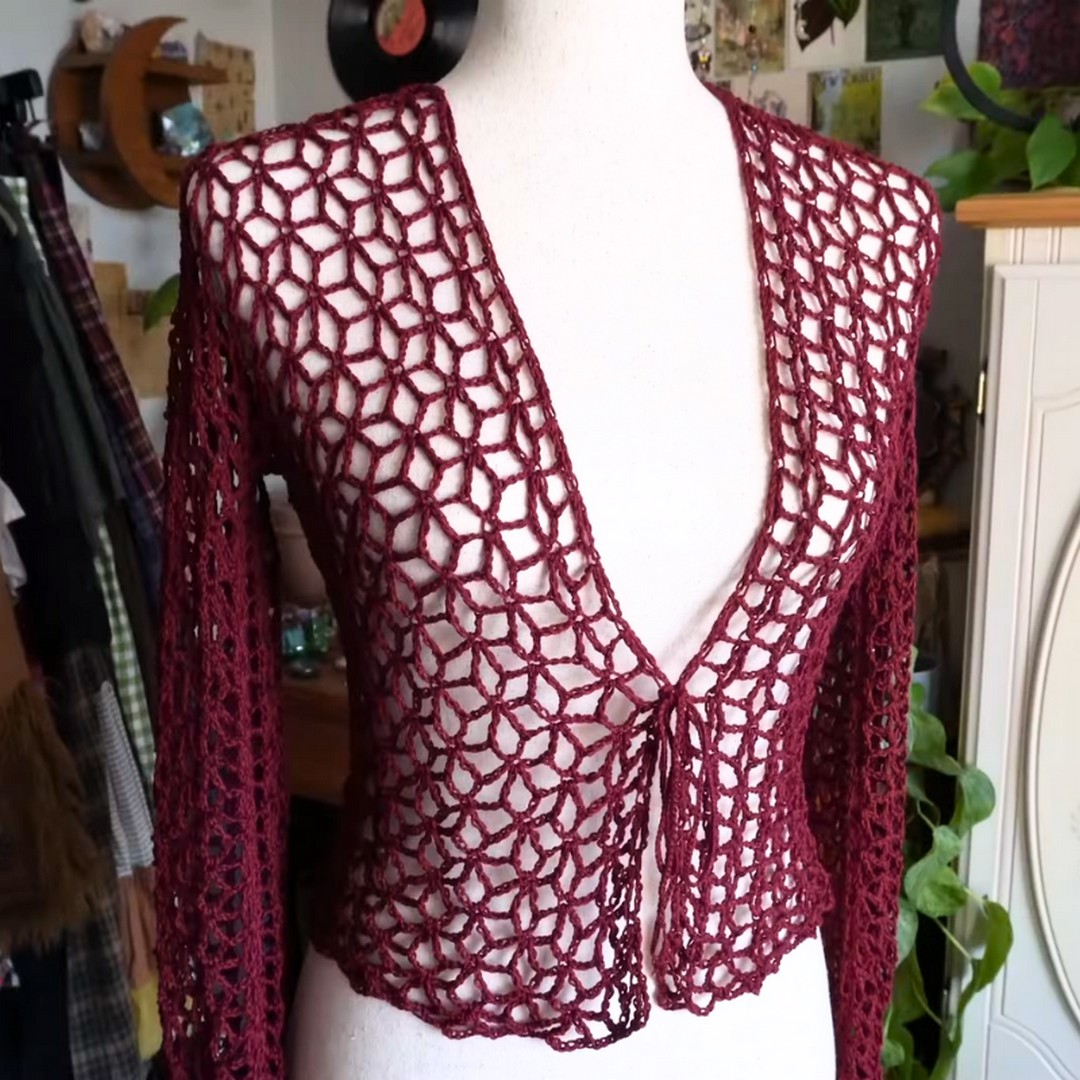
Every thoughtful detail makes this floral crochet cardigan even more enjoyable to create and wear. Its adaptable design allows the same piece to become a sweater, a short-sleeve layer, or even a stylish dress with a few personal adjustments. The repeating floral pattern keeps every section relaxing to crochet while offering plenty of room for creative customization. Whether you’re making it for yourself or as a heartfelt handmade gift, this elegant piece blends beauty, comfort, and versatility with ease.
Credit Hannah Drapinski
Materials & Tools Needed
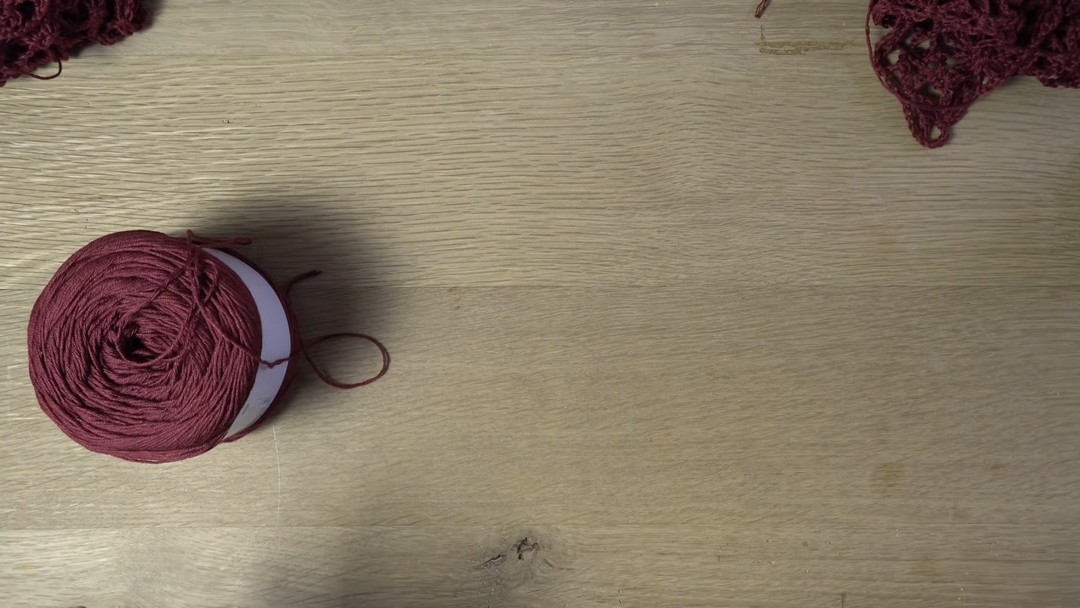
- Yarn:
- 55% Cotton, 45% Acrylic Blend, Size 2 fine yarn.
- Recommended: A lightweight yarn for a delicate, drapey look.
- Color suggestion: Wine (or any color of your choice).
- 55% Cotton, 45% Acrylic Blend, Size 2 fine yarn.
- Hook: 4.5 mm crochet hook.
- Extras:
- Yarn needle for seaming.
- Scissors.
- Stitch markers.
Finished Size & Customization Ideas
- Finished size:
- The back panel measurements fit shoulder-to-shoulder (approximately 17–18 inches wide).
- Each front panel is half the back panel’s width.
- The sleeves are customizable depending on the fit you want (tight or flowy). Tutorial example: 12 inches wide and 40 rows in length.
- Customization Ideas:
- Cardigan Length: You can adjust the number of rows to make it longer or shorter as desired.
- Sleeves: Adjust the starting chain to create a tighter or looser fit.
- Sleeve Style: Make them short, long, or bell-shaped.
- Closure Detail: The cardigan is finished with a tie, but feel free to add buttons, toggles, or leave it open-front.
- Color: The lace pattern looks exquisite in light-colored pastels, white, or rich colors like wine or deep blue.
Pattern Notes
- The pattern is made up of panels (back, front, and sleeves) joined at the seams.
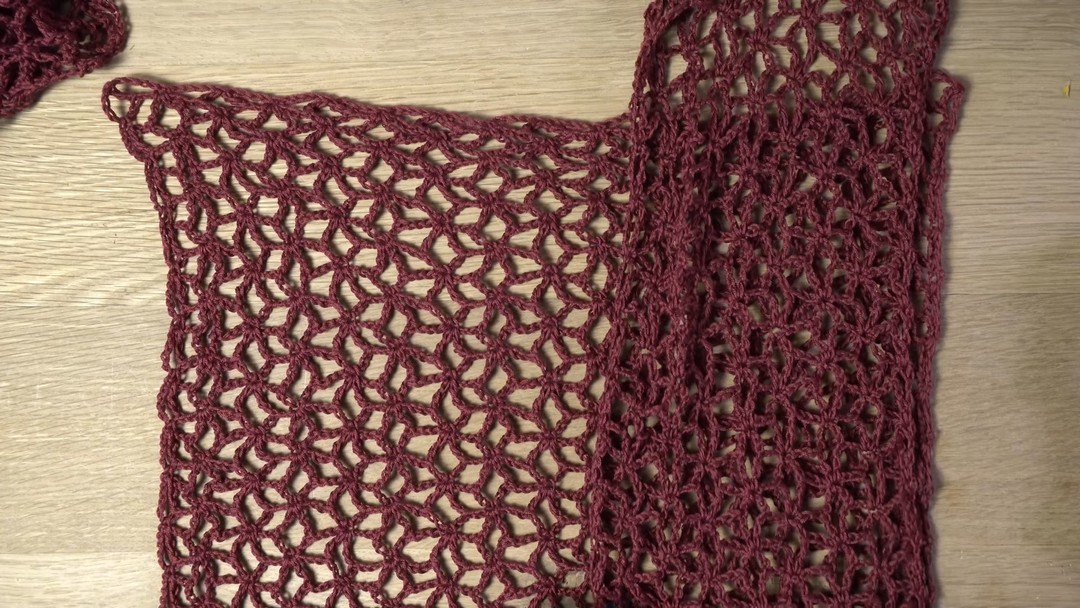
- The floral lace motif is the basis of the design and is constructed using rows of V stitches and chains.
- Rows 2 and 3 are the repeating pattern, alternating until the desired length is reached.
- The foundation chain should always be a multiple of 10 + 7.
Pattern Abbreviations & Terminology
US Terminology:
- ch: Chain
- tr: Treble Crochet
- sc: Single Crochet
- st: Stitch
- V-st: V Stitch (1 treble, ch 5, 1 treble in the same stitch).
- rep: Repeat
Tips Before You Start
- Use lightweight yarn (size 2 works best) for a delicate and flowy look.
- Always create panels that match in size; measure your chains according to your body.
- Add extra rows for the front panels to incorporate shoulder adjustments, as explained below.
- Use a whip stitch or any method you prefer for seaming the panels together.
- Work in a relaxed tension, but keep your foundation chain even, as the lace pattern can exaggerate unevenness.
Step-by-Step Detailed Crochet Instructions
Part 1: Creating the Lace Pattern
The floral lace is a repeating two-row pattern. Follow the steps below to create a rectangular panel (back, front, or sleeve).
Row 1 — Foundation Row
- Start by creating a slipknot on your hook.
- Chain a multiple of 10 stitches + 7 extra chains.
- Example: For a front panel with a width of 40 stitches, chain 47 (40 + 7).
- For the back panel (80 stitches wide), chain 87.
- For sleeves, chain according to circumference—you may start with 67 (60 stitches wide).
- Skip 6 chains; in the 7th chain, work:
- 1 treble crochet, ch 2, and 1 treble crochet (counts as a V-stitch at the end).
- [V-stitch Foundation Pattern (Repeat)]:
- ch 3.
- Skip the next 4 chains, and in the 5th chain, sc.
- ch 3.
- Skip the next 4 chains, and in the 5th chain, work a V-stitch (1 treble, ch 5, 1 treble in the same stitch).
- Repeat this pattern across the row; stop when you have 4 chains left.
- In the very last stitch, work 1 treble crochet, ch 2, and 1 treble crochet.
Row 2
- ch 4 (counts as sc and ch 3). Turn your work.
- Work a V-stitch (1 treble crochet, ch 5, 1 treble crochet) into the sc from the previous row.
- Repeat:
- ch 3.
- Place sc in the center of the V-stitch from the previous row.
- Repeat indefinitely by alternating treble and V-stitch rows.
Panel Details
You’ll need to create the following panels:
- Back Panel:
- Width: Chain a multiple of 10 + 7 that matches the shoulder-to-shoulder measurement.
- Length: Work alternating Row 2 and Row 3 until the total is 33 rows.
- Front Panels (Make 2):
- Width: Divide the back panel’s chain in half.
(e.g., Back chain = 80, so chain 40 for each front panel.) - Length: Match 33 rows, but add +5 rows for shoulders. (38 rows in total.)
- Width: Divide the back panel’s chain in half.
- Sleeves (Make 2):
- Width: Chain a multiple of 10 until the width comfortably wraps around your arm. (Tutorial example: 60 chains = ~12 inches.)
- Length: Alternate Row 2 and Row 3 for 40 total rows (customize for longer or shorter arms).
Final Assembly
Step 1: Joining Front Panels to Back
- Lay the front panels on top of the back panel, aligning at the shoulders.
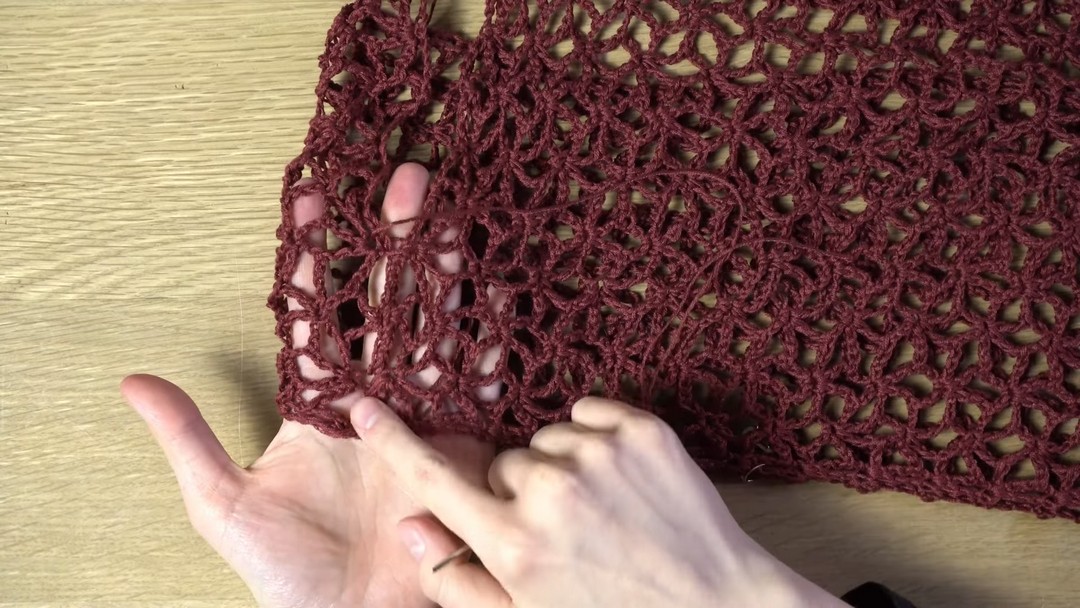
- Seam the panels at the shoulders using a whip stitch.
- Fold the shoulder allowance (approx. 5 rows).
- Start from one end and whip stitch across, ensuring rows line up evenly.
Step 2: Attach Sleeves
- Lay each sleeve panel against the cardigan (aligning the center of the sleeve with the shoulder seam).
- Secure both ends with stitch markers to keep alignment.
- Using the whip stitch, seam the sleeve panels to the armholes.
Step 3: Side Seams
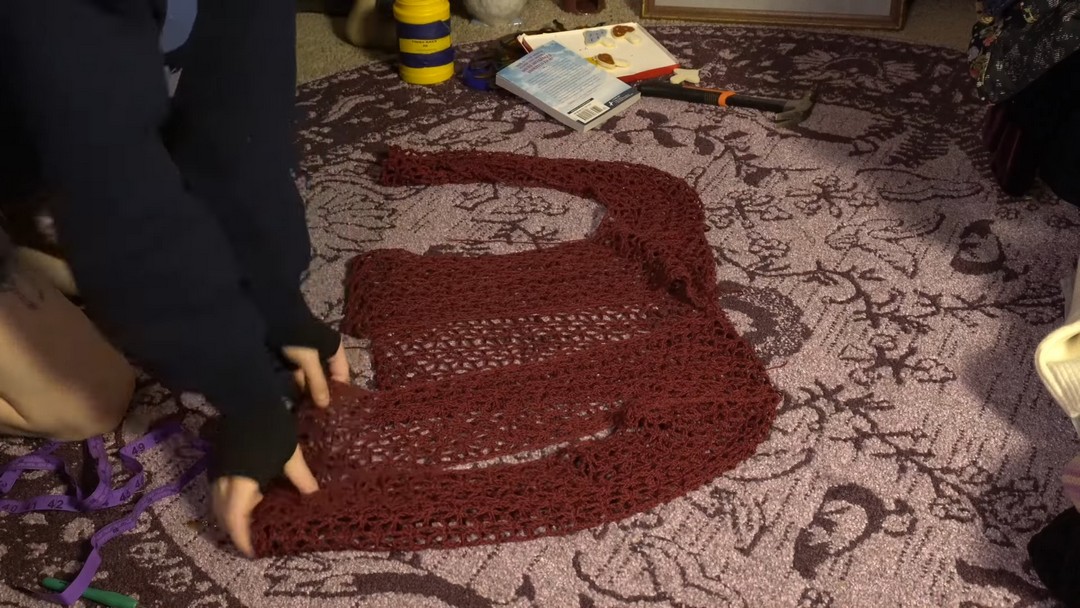
- Fold the cardigan in half along the shoulder seam.
- Whip stitch from the bottom edge of the body, under the armhole, and to the wrist of the sleeve.
- Line up rows to ensure clean seams.
Step 4: Front Tie
- Chain a tight chain to create a front tie. Suggested chain length: 28 inches (or adjust based on desired bow size).
- At the center of one front panel, securely attach the tie.
Conclusion
Your delicate floral cardigan is complete! Its lacey design and lightweight texture make it perfect for pairing with various styles. Adjust the fit, color, or length to suit your preference. Don’t forget to weave in loose ends and block your project for the best finish. Style it with your favorite outfit, and enjoy your beautiful handmade piece!


One Comment