Easy Crochet Top-Down Beanie Using the Fork Cluster Stitch
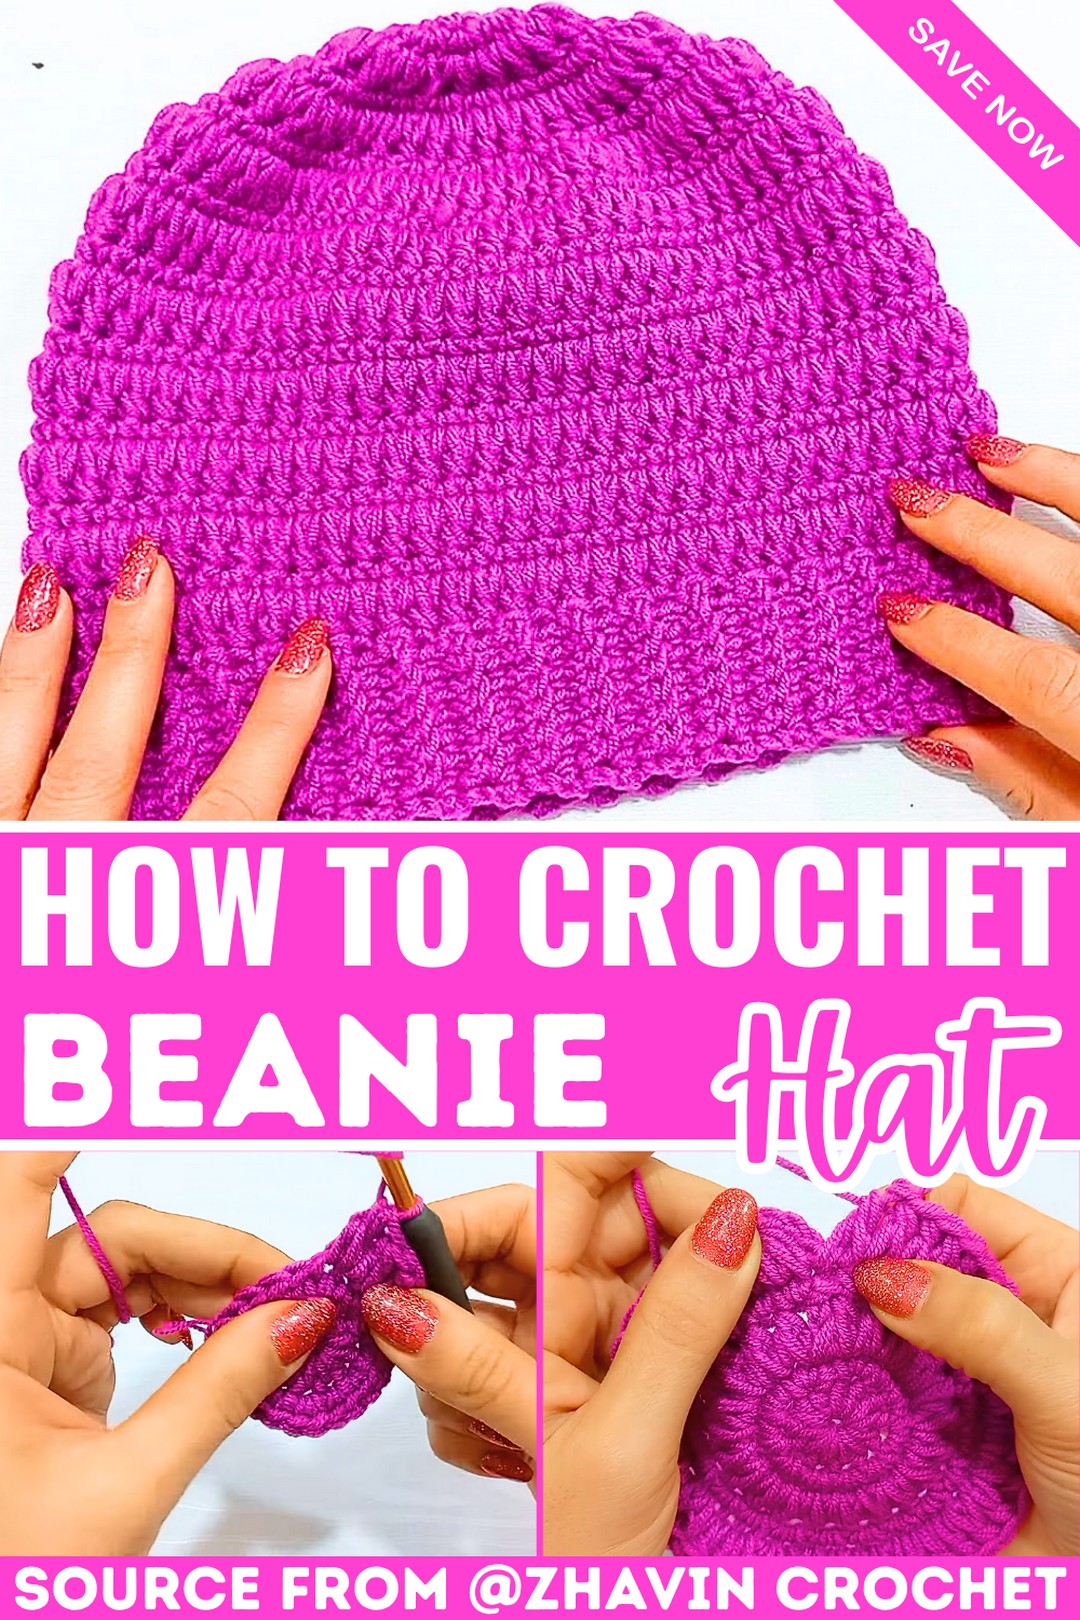
The perfect blend of texture and simplicity, this stylish top-down beanie is crocheted with the unique forked cluster stitch to provide warmth and flair.

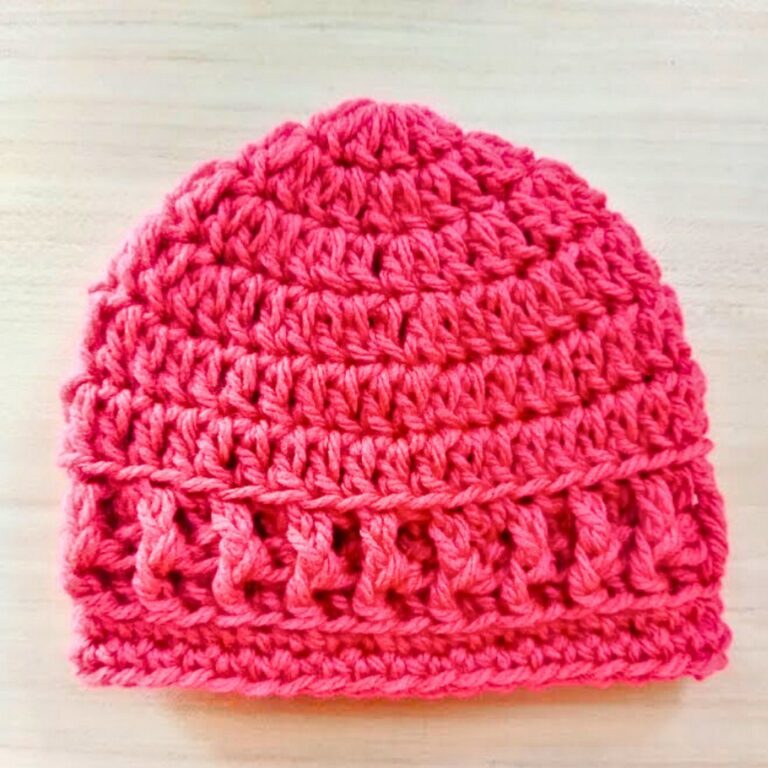
This lovely crochet beanie is made with a stitch called the “Fork Cluster Stitch,” resulting in a textured and elegant finish. Designed for adults, it’s perfect to wear on cold days, keeping your head warm while adding a touch of style. Its smooth, rounded top and stretchy ribbed brim make it both functional and fashionable. If you’re running errands, taking a stroll, or gifting it to a loved one, it’s a beautiful accessory for any occasion.
Easy Crochet Top-Down Beanie
The crochet hat is worked from top to bottom, beginning with a simple circular base that gradually grows in size. The textured stitch pattern then takes shape, giving it character and charm. The finishing band features a stretchy ribbed design for a snug fit. Crochet Top-Down Beanie Made with soft yarn, the process is simple but rewarding, especially for beginners eager to make something practical.
Credit zhavin crochet
Key Features and Construction at a Glance:
- Worked from the top down, starting with a magic ring or circle.
- Includes alternating rounds of forked cluster stitches and single crochet for texture.
- Shaping begins with increases to create the crown and transitions into height without increasing.
- Finished with a back-loop-only ribbed brim for comfort and stretch.
- Uses two different hook sizes for the body (5 mm) and brim (4.5 mm) for structure and fit.
Made with Textured Elegance from the Top Down
This beanie begins at the crown with a slip knot and a few starting chains that are joined to form a ring. Working in continuous rounds, increase the number of stitches evenly to form a flat circular crown. Using half-double crochets for the first round and single crochets with increases for subsequent rounds ensures a sturdy and smooth base. Once the hat’s circumference matches your size (approximately 6.5 inches in diameter for adult sizes), you’ll shift to working straight rounds without increases, alternating between single crochets and forked cluster stitches to create the signature texture.

The forked cluster stitch, the highlight of this pattern, gives the beanie an eye-catching look while maintaining its lightweight yet insulating quality. The clusters are created by combining loops from two stitches, working through them in a way that creates a “V” design across the rows. This stitch is repeated in specific rounds and alternated with simpler single-crochet rounds to balance complexity and structure.

Once the desired height is reached, the design transitions seamlessly into a ribbed brim. The brim is formed by working rows of back-loop-only single crochets that are attached to the hat’s base after each row using slip stitches. These slip-stitch joins ensure a snug and stretchy brim that securely hugs the wearer’s head.

The finishing touch is joining the edges of the ribbing with slip stitches to create a smooth, nearly invisible seam. After weaving in the ends, the completed beanie reveals a polished, textured masterpiece with a handmade charm.

Materials
You’ll need the following:
- Yarn: Worsted-weight yarn
- Hook Sizes:
- 5mm crochet hook for the hat body
- 4.5mm crochet hook for the brim
- Optional Tools:
- Stitch markers
- Yarn needle (for weaving in ends)
- Scissors
Pattern Instructions
Starting The Hat Body (Top-Down Circle):
Round 1:
- Begin with a slip knot and a 5mm hook.
- Create 4 chains (ch).
- Join into a ring with a slip stitch (sl st) in the first chain.
- From the ring, make 1 chain (ch) and crochet 11 half double crochets (hdc) into the ring.
- Join with a slip stitch to the top of the first hdc.
Round 2:
- Start with 1 chain (ch).
- Make 2 single crochets (sc) into the same stitch (increase).
- Continue making 2 single crochets in each stitch from the previous round.
- At the end of the round, you should have 22 stitches.
- Join with a slip stitch at the top of the first sc.
Round 3: (First Fork Cluster Stitch Round)
- Start with 2 chains (ch).
- Create the first fork cluster stitch (fcs):
- Yarn over, insert into the same stitch (joining stitch), pull up a loop.
- Yarn over, go to the next stitch and pull up a loop.
- Pull through the first 3 loops, then the next 3 loops.
- Continue making fork cluster stitches until you reach 21 stitches. (The first and last stitches will share the last fcs).
- Join with a slip stitch at the top of the first cluster stitch.
Round 4: (Increase Round)
- Start with 1 chain (ch).
- Make 2 single crochets (sc) into the first stitch.
- Continue making 2 sc’s into each stitch around (44 total).
- Join with a slip stitch.
Rounds 5–6:
- Alternate between fork cluster stitch rounds and single crochet rounds.
- Follow the pattern sequence:
- Fork cluster increases stitches slightly (44).
- Single crochet doubles the stitch count where instructed.
- Repeat this pattern until the diameter reaches 6.5 inches.
Building the Hat’s Height:
- Once the diameter is complete, stop increasing your stitches.
- Alternate between fork cluster stitch rounds and single crochet rounds without any increases.
- Repeat until the hat’s height, folded in half, matches the desired length.
Adding the Ribbed Brim:
- Switch to a 4.5mm hook.
- Chain 8 to determine the brim height (add or subtract chains for a shorter/taller brim).
- Row 1: Work 1 single crochet (sc) into the second chain from the hook and across the remaining 7 chains (7 stitches total). Slip stitch into the next 2 stitches of the hat body.
- Row 2 (Back Loop Only): Skip the first two slip stitches, work 1 blo sc across the 7 stitches. Work the last stitch under both loops.
- Turn, chain 1, and repeat this sequence for the length of the brim.
Joining the Brim:
- Once the brim is complete, join the first row of the ribbing to the last row using slip stitches. Work through the back loop of the last row and the unused loops of the first.
- Fasten off and weave in all ends.
Final Touches:
- Securely weave in any loose threads using the yarn needle.
- Adjust the brim if needed by gently stretching or blocking to shape.
Troubleshooting and Suggestions
- Fork Cluster Stitch Consistency: Beginners may find maintaining tension with the forked cluster stitches tricky. Practice pulling the loops uniformly to ensure neat, even stitches.
- Clean Join at the Brim: Slip-stitching the ribbed brim to the base can leave visible gaps if done in loose tension—keep your joins snug for a seamless finish.
- Size Adjustments: To resize the hat for a smaller head, reduce the number of initial increases or the height of the repeated texture rounds. For larger sizes, add another increase round and a few more alternations of single and cluster stitch rows.
- Color Combinations: Customize your hat by alternating colors between the textured cluster rounds and the single crochet rounds. This adds striking visual contrast.
- Creative Brim Alternatives: Swap the ribbed brim with a scalloped edge or a rolled brim for a playful twist.