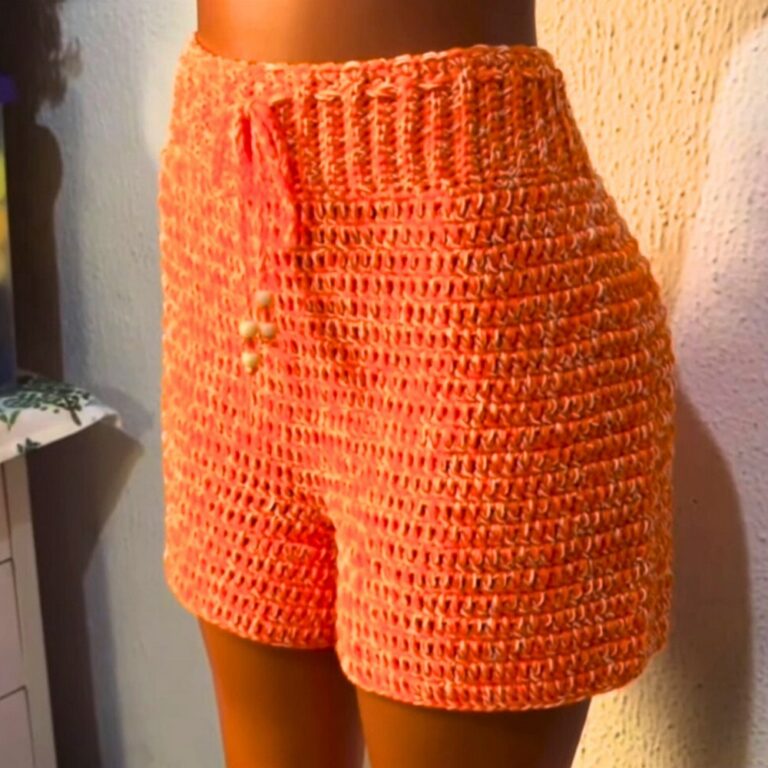
How to Crochet a Heart Granny Square for Beginners
A single heart can completely transform an ordinary granny square into something truly unforgettable. This beautiful crochet piece combines a classic square shape with a charming heart motif, creating a design that feels both timeless and creative.
The balanced structure makes it easy to use in a wide variety of handmade items while adding a warm, personal touch. It’s a lovely choice for anyone who enjoys making meaningful crochet pieces with lasting appeal.

The real beauty of this crochet heart design shines through its endless styling possibilities. A finished heart granny square can become part of a cozy blanket, a decorative cushion cover, a charming tote bag, or a colorful wall hanging.
By changing the yarn colors, you can create a piece that perfectly matches any season, celebration, or home décor style. With a few simple supplies and careful stitching, you’ll have a beautifully crafted crochet piece that’s both eye-catching and practical.
Credit Maddy Marie
Materials & Tools Needed
- Yarn: Medium-weight acrylic yarn
- Heart color: Maroon red
- Border color: Cream
- Hook: 5 mm crochet hook (US size H/8)
- Extras:
- Yarn needle for sewing in ends
- Scissors
Finished Size & Customization Ideas
- Finished Size: Approximately 4″ x 4″ (depending on yarn weight and crochet tension).
- Customization:
- Use different yarn colors for the heart and the square border to create unique combinations.
- Pair multiple squares for quilts, blankets, or garlands.
Pattern Notes
- This design starts with a magic ring to ensure a secure center for the heart.
- Crochet stitches include slip stitches, single crochets, half double crochets, double crochets, triple crochets, and an extended “large stitch” (yarn over 3 times).
- The granny square adds a structured frame to the heart.
- Always make sure tension is consistent.
Pattern Abbreviations & Terminology
For this pattern, here are the abbreviations used:
- Ch: Chain
- Sl st: Slip Stitch
- Sc: Single Crochet
- Hdc: Half Double Crochet
- Dc: Double Crochet
- Trc: Triple Crochet
- Yo: Yarn Over
All instructions follow US crochet terminology.

Don’t Pick Up Your Hook Until You Read This!
Avoid common beginner mistakes and create flawless heart-granny squares by keeping these tips in mind:
1. Practice Making a Magic Ring
- A secure magic ring is essential for the heart’s center.
- Spend time mastering the technique to ensure the foundation is strong and stable.
2. Tighten Stitches Evenly
- Uneven tension, especially at the corners, can cause crooked or misshapen squares.
- Focus on maintaining consistent stitch tightness throughout the project.
3. Count Carefully
- Always verify stitch counts for each section.
- Proper stitch proportion is key to keeping your heart and square symmetrical and balanced!
Step-by-Step Detailed Crochet Instructions
Heart (Round 1)
- Start with a magic ring:
- Wrap yarn around two fingers to create an “X.”
- Insert the hook under the first loop, grab the second loop, twist the hook upward, yarn over, and pull through the loop.
- Chain 3 (counts as the first dc).
- Add 12 double crochets into the magic ring:
- Yo, insert hook into the ring, pull up a loop (3 loops on hook).
- Yo, pull through two loops.
- Yo, pull through the final two loops (dc completed).
- Repeat for a total of 12 dcs.
- Tighten the magic ring by pulling the tail until the center closes seamlessly.
- Sl st into the top of the Ch 3 to complete the round.
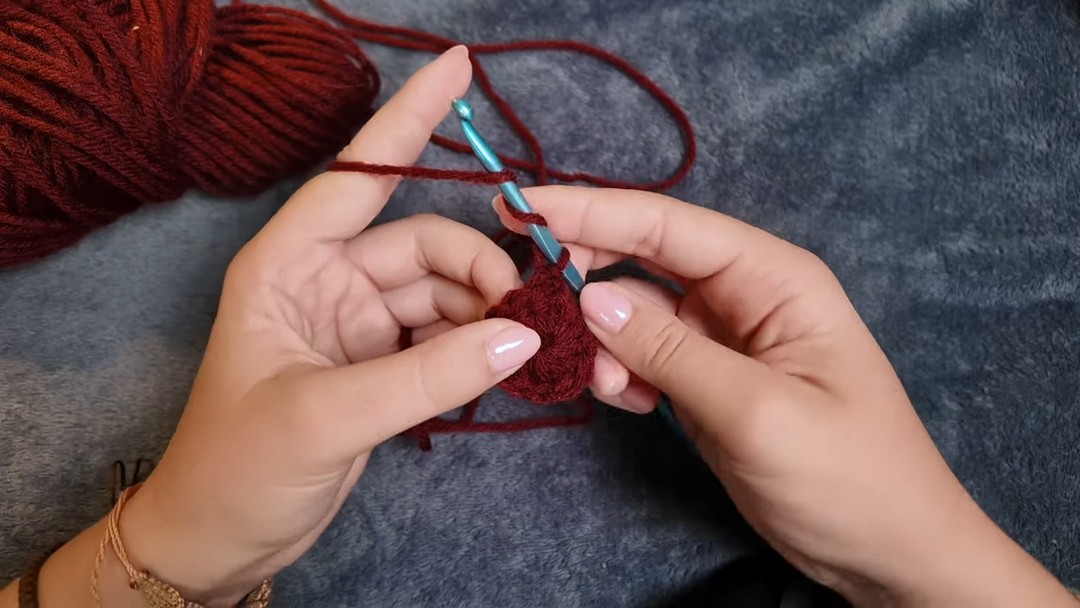
Heart (Round 2)
- Form the left lobe:
- Skip a stitch, work 7 Trc into the next stitch (yo twice for Trc).
- Work one Dc in the next stitch.
- Work 2 Dc in each of the next two stitches.
- Form the tip of the heart:
- Insert hook into the front loop of the last Dc, Sl st.
- Work 2 Dc in the same stitch as the Sl st.
- Repeat symmetry for the right lobe:
- Work 2 Dc in each of the next two stitches.
- Work 1 Dc in the next stitch.
- Work 7 Trc into the next stitch.
- Skip the next two stitches, Sl st into the center’s slip stitch to finish the heart shape.
- Trim yarn, pull hook through, and tighten.
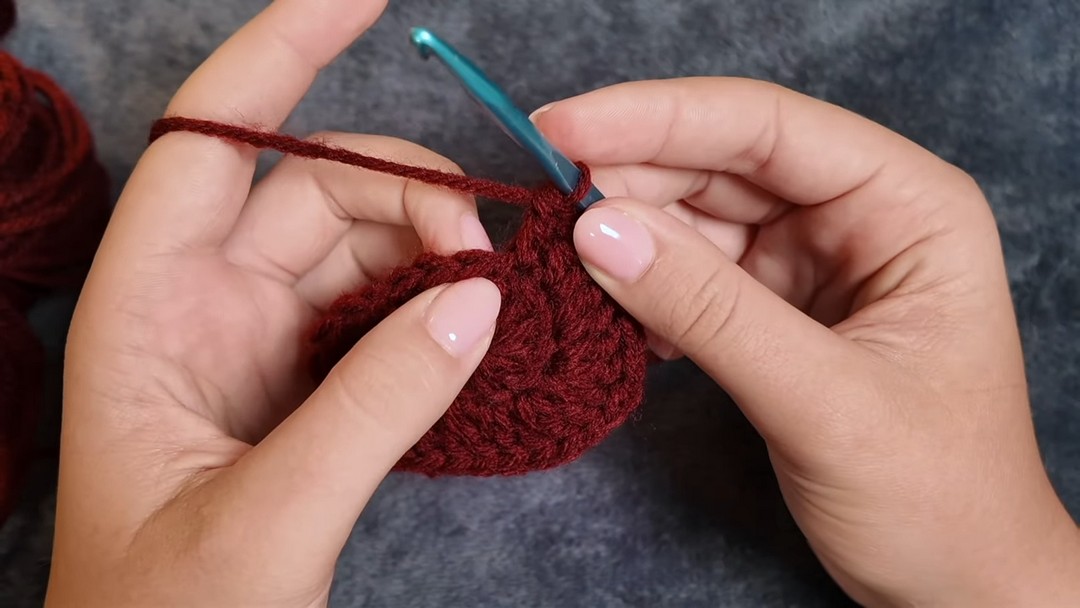
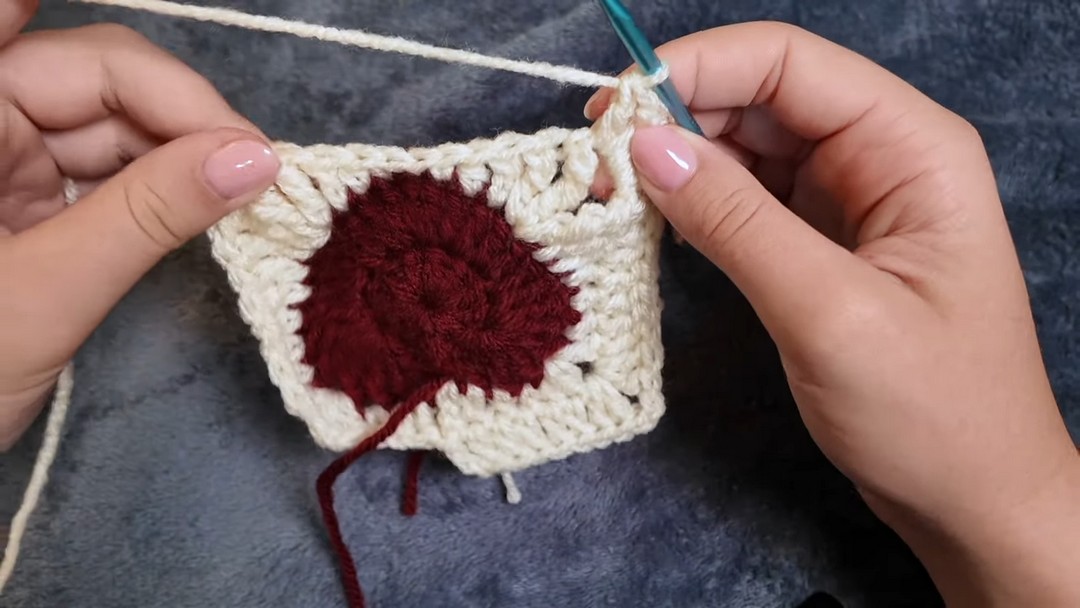
Granny Square Border (Round 3)
- Attach the border color:
- Insert hook into the slip stitch at the heart tip.
- Pull through the cream yarn.
- Tighten with a knot.
- Chain 3 (counts as 1 Dc).
- Work around the heart:
- Dc into the first stitch.
- Hdc in the next stitch, then Sc in the next stitch.
- Work 2 Dc into the next stitch, chain 2, add 1 Dc (corner).
- Hdc in each of the next three stitches, followed by Dc in the next stitch.
- In the next stitch: Work a Trc, large stitch (yo 3 times), chain 2, and another large stitch (corner point).
- Work a Trc and continue symmetry around the heart to complete the border.
- Fasten off:
- Sl st into the top of the chain 3 from the start of the round.
- Trim yarn, pull hook through, and tighten.
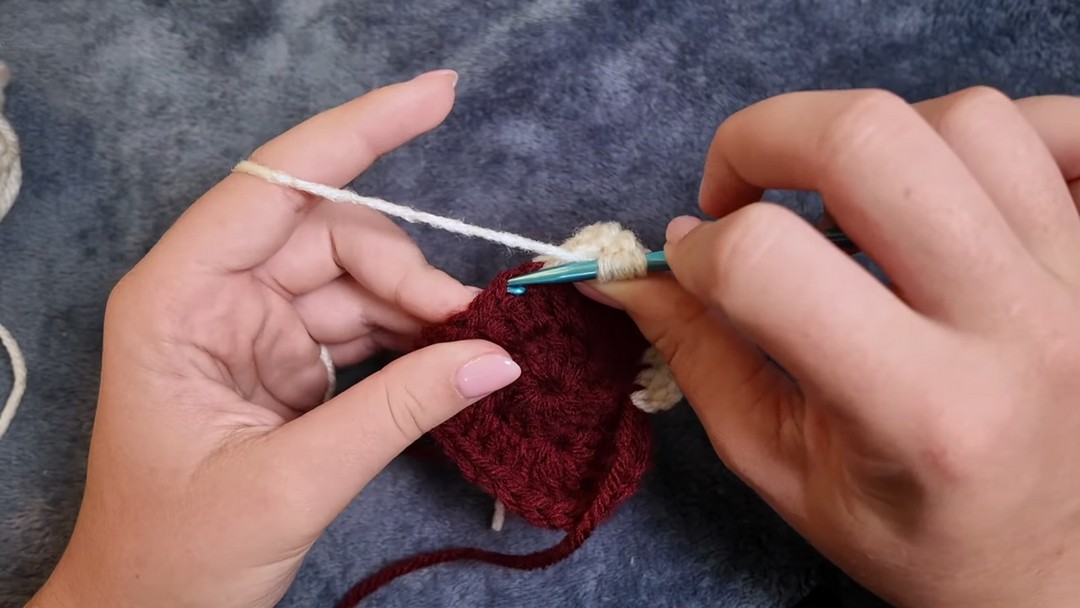
Granny Square Frame (Round 4)
- Chain 3 (counts as 1 Dc).
- Work Dc stitches around the square edges, adding 2 Dc, chain 2, 2 Dc into each corner’s chain space.
- Close the round by Sl st into the top of the chain 3.
Make It Look Handmade, Not Homemade
Here are some finishing tips to elevate the quality of your crochet work so it looks polished and professional:
Finishing Tips
- Weave in Ends Carefully
- Use a yarn needle to carefully weave in the loose yarn tails.
- Follow the path of tight stitches to secure the ends and prevent unraveling.
- Avoid leaving bulky knots by working the tail into multiple stitches in different directions and trimming excess yarn snugly.
- Avoid Knot Bulges
- Never leave large, visible knots in your work. They can make the piece feel amateurish.
- Always secure your ends by weaving them cleanly into the stitches.
- Trim tails close to the fabric without cutting into your project.
- Block Your Granny Square
- Blocking is essential to achieving a polished final look.
- Choose a method based on your yarn type:
- Wet Blocking: Lightly wet your completed square, shape it to the correct size, and pin it to a blocking mat. Allow it to dry completely.
- Steam Blocking: For heat-tolerant fibers, steam the piece (without direct contact from the iron!) using a steam iron.
- Pin it in place and let it cool down while maintaining its shape.
- Blocking helps even out your stitches, removes any curling, and gives your work a professional, handmade feel.
Final Assembly Instructions
- Joining Squares:
When assembling multiple squares, you can experiment with these techniques:- Slip Stitches: Insert the hook into the edge stitches of two squares and use slip stitches for a clean join.
- Whip Stitches: Use a needle and yarn to sew along the edges for an invisible or decorative seam.
- Single Crochet (SC) Join: Single crochet along the edges to create a sturdier, more visible border.
- Edge Alignment:
Ensure that the edges of all squares are aligned perfectly as you join them to avoid uneven gaps or puckering. - Color Layout:
Before joining:- Arrange squares on a flat surface to experiment with different layouts (e.g., gradient, checkerboard, stripes, etc.).
- Balance light and dark shades strategically to create visually appealing patterns.
- Block Squares (Optional):
If your squares aren’t perfectly uniform in size:- Block them before assembling.
- Pin them to a flat surface and lightly steam or dampen them, ensuring they match the shape and size.

Conclusion
This heart granny square is a versatile, beginner-friendly pattern perfect for Valentine’s Day gifts, blankets, or home décor. By blending a simple heart motif with classic granny-square construction, it strikes a balance between sentimental charm and structure. Happy crocheting!