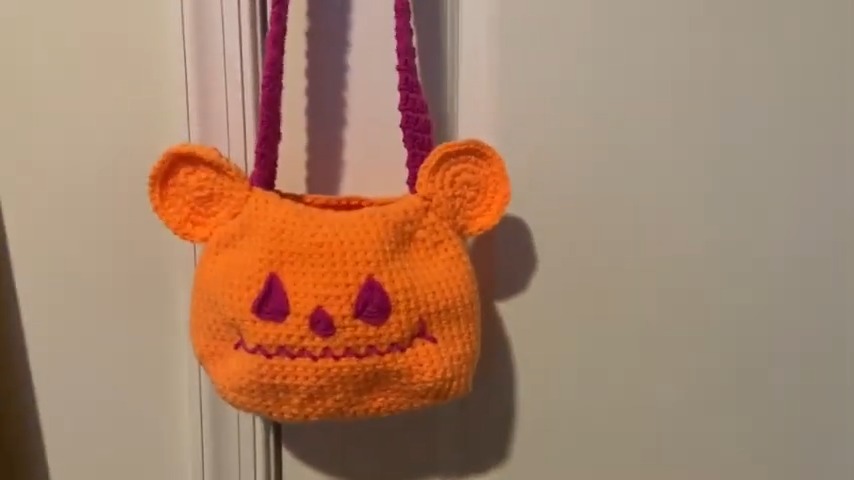
The Jack O’ Lantern Bear Bag is a cheerful and unique Halloween-inspired crochet design. It combines playful bear-like features with a pumpkin-themed vibe, making it perfect for fall festivities. This bag is versatile; you can use it to store treats, carry small essentials, or wear it as an adorable accessory for Halloween celebrations.
Crochet Jack O’ Lantern Bear Bag
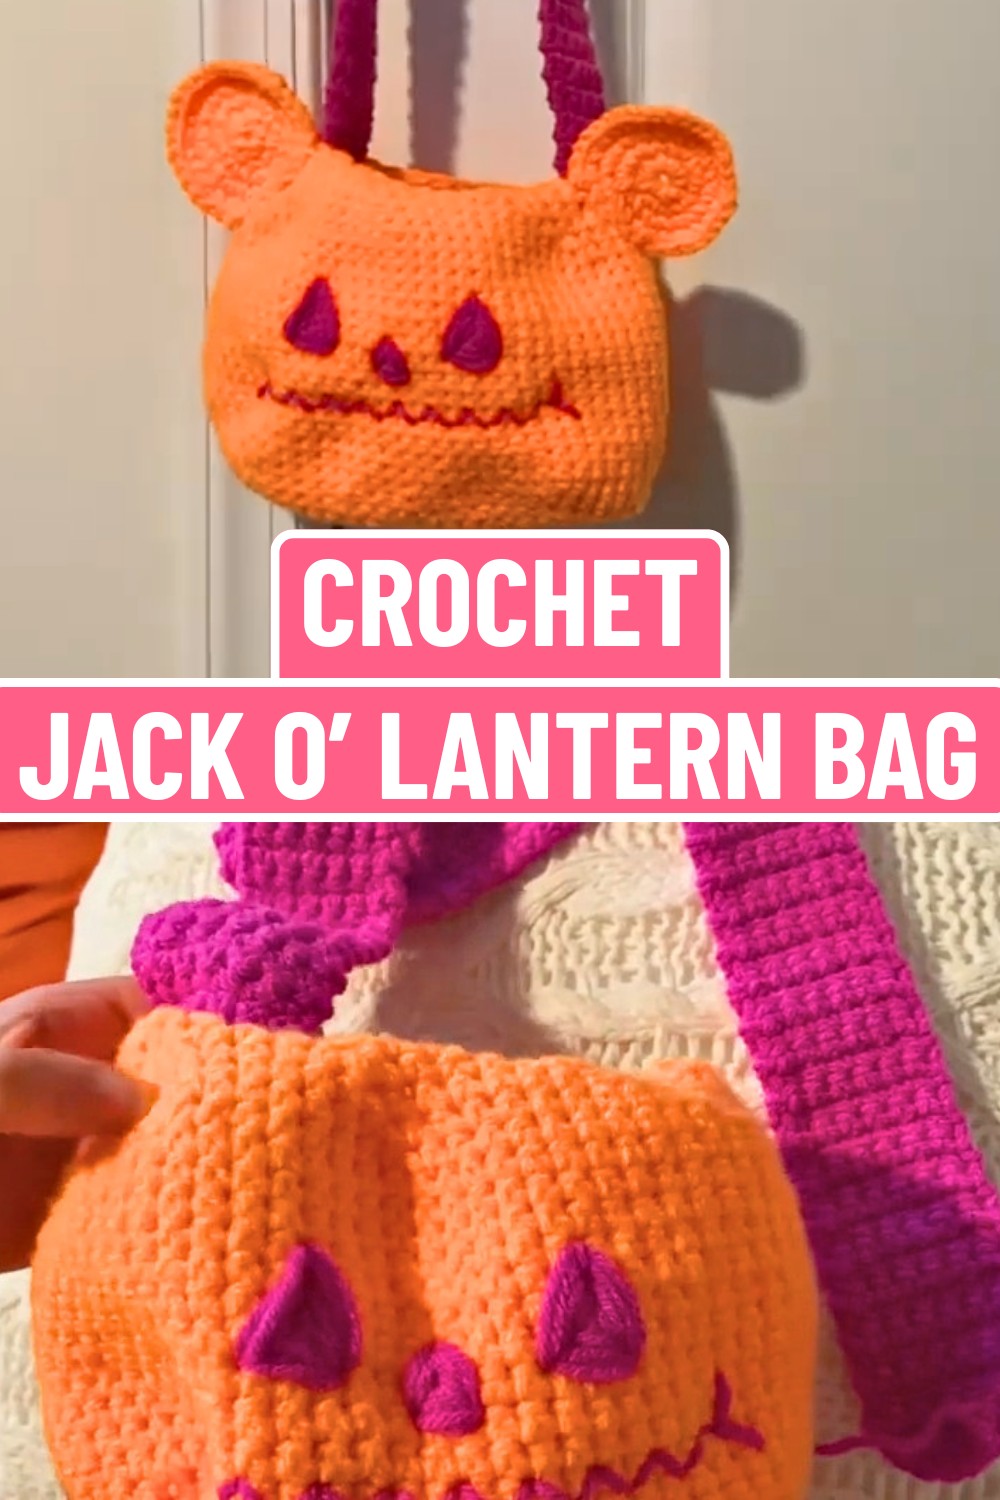
Creating this crochet bag is simple and fun. The crochet pattern uses bright orange and vibrant purple yarn to bring the pumpkin and bear details to life. The rounded shape, cute bear ears, and friendly stitched face give it a one-of-a-kind look. Beginners will enjoy experimenting with their own preferred sizes and colors, making it truly personal. The strap can be adjusted for a crossbody or shoulder style, giving you the freedom to match it to your outfit or comfort.
Credit Frayed KnotCo Tutorials
Materials & Tools Needed:
- Yarn:
- Loops & Threads Soft Classics (or a similar worsted-weight yarn)
- Color 1: Safety Orange (or a bright orange shade for the bag body)
- Color 2: Fuchsia (or purple for the face detailing and strap)
- You’ll need less than one skein of each color.
- Loops & Threads Soft Classics (or a similar worsted-weight yarn)
- Hook: 5 mm crochet hook
- Other Tools:
- Stitch markers (optional but helpful for keeping track of rounds)
- Yarn needle (for sewing and embroidery)
- Scissors
Finished Size & Customization Ideas:
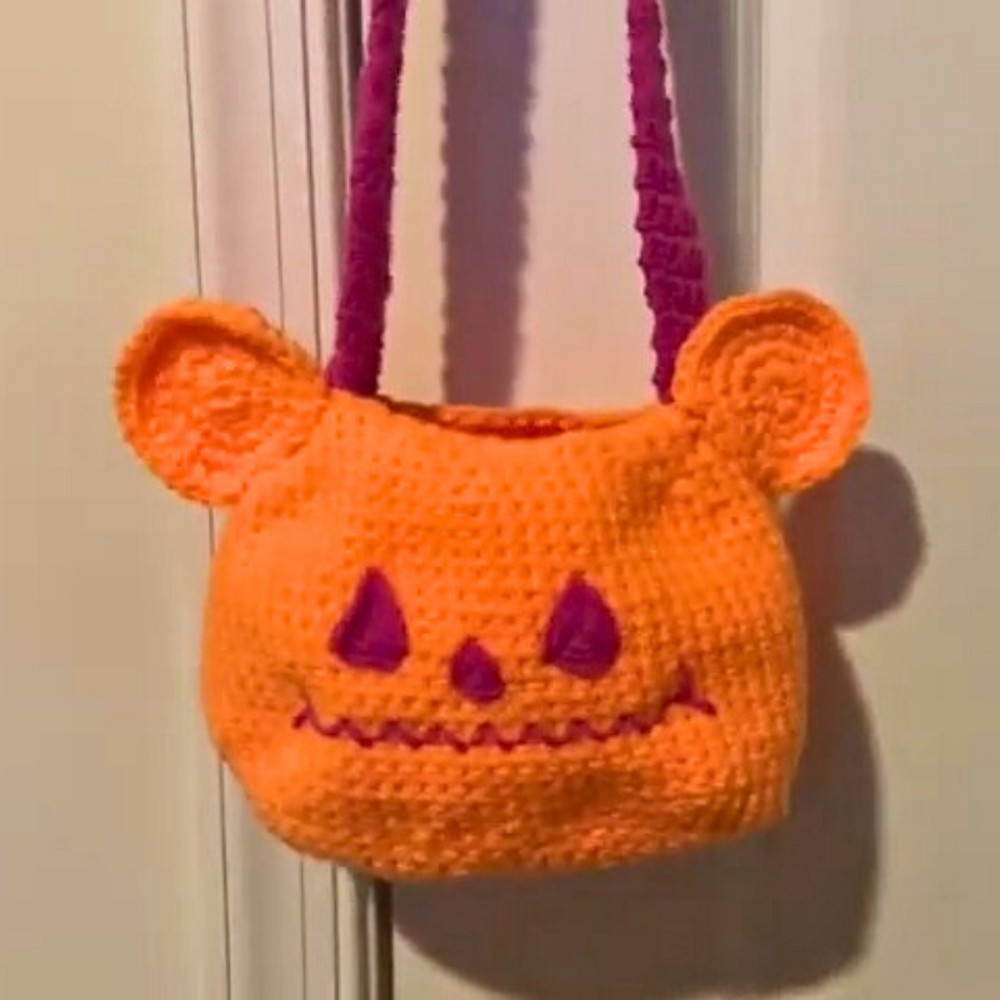
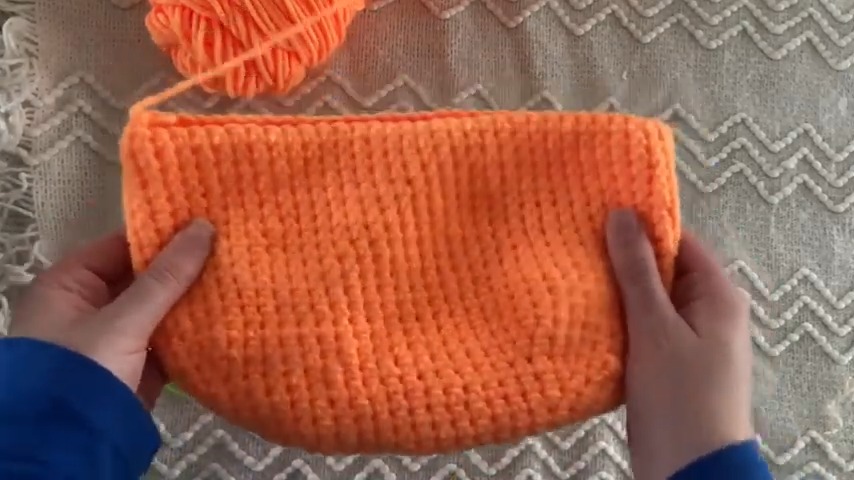
- The finished Jack-O-Lantern Bear Bag features a rounded body that tapers at the top, a bear-shaped face, and a shoulder strap.
- Final dimensions depend on your gauge and strap length. Customize by:
- Adjusting the strap length for a shoulder or crossbody bag.
- Using different color combinations for seasonal or personal flair (e.g., black and orange for Halloween, pastel tones for spring).
- Adding stuffing if you want to turn it into a plush rather than a bag.
Pattern Abbreviations & Terminology:
| Abbreviation | Meaning |
|---|---|
| ch | Chain |
| sc | Single Crochet |
| inc | Increase (2 sc in one stitch) |
| dec | Decrease (combine 2 stitches into 1) |
| st | Stitch |
| rnd | Round |
| sl st | Slip Stitch |
- Terminology: US Crochet Terms.
Step-by-Step Detailed Instructions
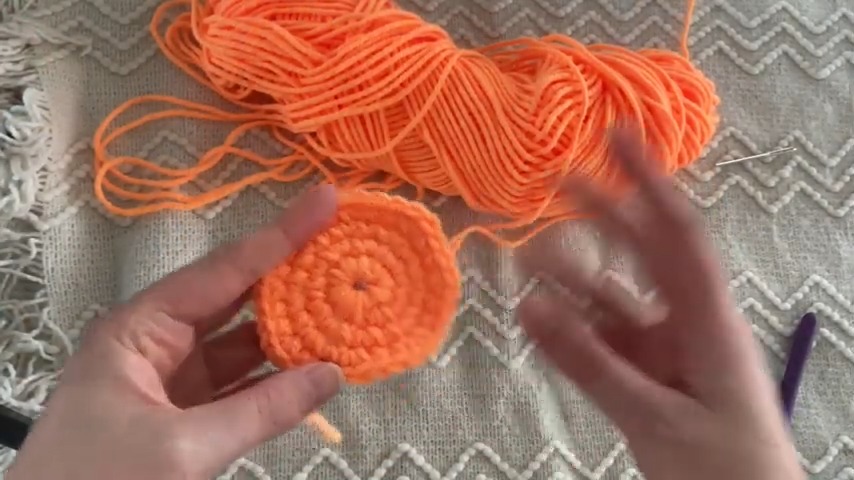
Bag Body:
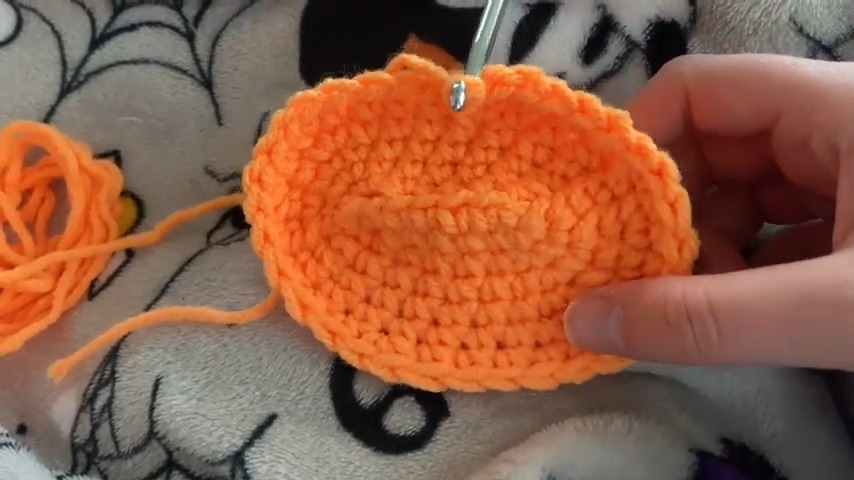
- Base – Oval Shape:
- Begin with ch 8.
- Rnd 1: Starting in the 2nd ch from the hook, sc across (6 sc). In the last ch, place 2 sc. Rotate to work on the other side of the chain; sc across the opposite edge of the chain (6 sc). Place 2 sc into the last ch. (Total: 16 sts)
- Rnd 2: Place 2 sc in the first st, 1 sc in the next 6 sts, 2 sc in each of the next 2 sts (corners), 1 sc in the next 6 sts, 2 sc in each of the last 2 sts. (Total: 22 sts)
- Rnd 3 onward: Alternate between rounds of:
- Increasing at the corners only (adding 2 sc at each corner).
- Working 1 sc across, ensuring the base flattens into an oval pattern.
- Continue this intuitively until you’re happy with the size of the bag’s base. In the tutorial, the creator stopped at Rnd 16.
Note: Adjust the number of increases on each round depending on how wide or narrow you want the base.
- Building the Bag Walls:
- Rnds 17-31: Work 1 sc in each stitch continuously without increases. This creates the bag’s vertical sides.
- Continue working until the desired height is achieved (~31 total rnds suggested in the tutorial).
Top Tapering:
- Switch to decreasing to create the rounded top.
- Decrease Rounds:
- Rnd 32: [Dec, sc in the next 10 sts] repeat till the end.
- Rnd 33: [Dec, sc in the next 8 sts] repeat till the end.
- Rnd 34: [Dec, sc in the next 6 sts] repeat till the end.
- Rnd 35: [Dec, sc in the next 4 sts] repeat till the end.
- Rnd 36: [Dec, sc in the next 3 sts] repeat till the end.
- Cut the yarn and fasten off once the opening is small enough to sew shut (or continue until 1 small hole remains).
Ears:
- Ear Shape (Make 2):
- Start with a magic circle or ch 4, sl st to form a loop.
- Rnd 1: Inside the circle, sc 8 sts. (Total: 8 sts)
- Rnd 2: Inc in every st (16 sts).
- Rnd 3: [Inc, sc in the next st] repeat around. (24 sts)
- Rnd 4: [Inc, sc in the next 2 sts] repeat around. (32 sts)
- Fasten off, leaving a long tail for sewing.
- Sew the ears onto the top rounded area.
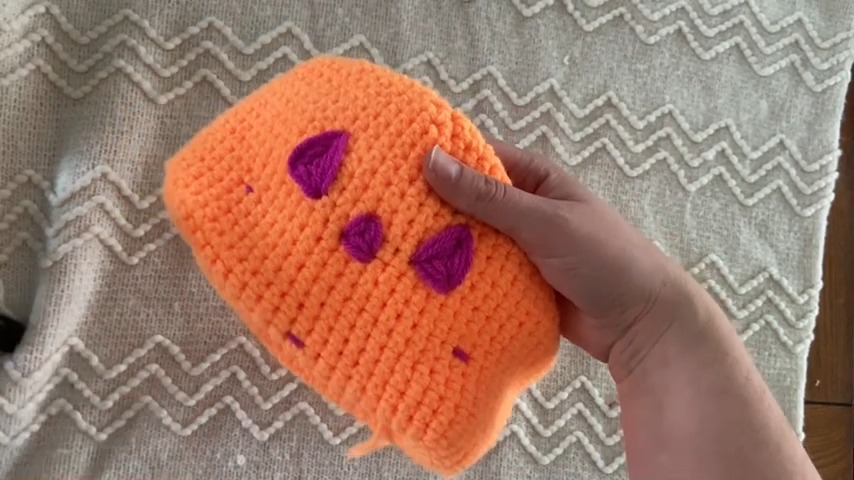
Face Embroidery:
- Use fuchsia yarn and a yarn needle.
- Eyes:
- Outline two teardrop shapes (or rounded triangle shapes) with the yarn.
- Fill in the outlines by embroidering horizontally back and forth until the shape is solid.
- Nose and Mouth:
- For the nose, embroider a small diamond shape.
- For the mouth, outline a smile and fill it in for a bold look, or opt to leave just the outline.
Strap:
- Strap Panel:
- Create a ch 8, then work 7 sc in each row.
- Make as many rows as needed for your preferred strap length. The creator worked 124 rows.
- Attach the strap ends to the bag body using sl st and matching yarn.

Finishing Touches:
- Secure all loose ends with a yarn needle.
- Adjust and sew the ears lower (if needed) for better positioning.
- Pinch the bag’s base for added shape.
Final Thoughts & Tips:
The finished bag is rounded at the top and bottom. If you prefer a more precise oval or wider base, you can adjust the placement of increases while working on the bag base. This design is budget-friendly, lightweight, and customizable to various needs!