How to Crochet a Chunky Beanie – Cozy and Beginner-Friendly
A chunky crochet beanie instantly transforms a simple winter outfit into something warm, stylish, and handmade. Thick stitches create a rich texture that feels soft while offering excellent protection from chilly weather.
This cozy piece is comfortable enough for everyday wear and polished enough to pair with almost any casual look. Its timeless crochet beanie design makes it an item you’ll enjoy reaching for throughout the colder months.
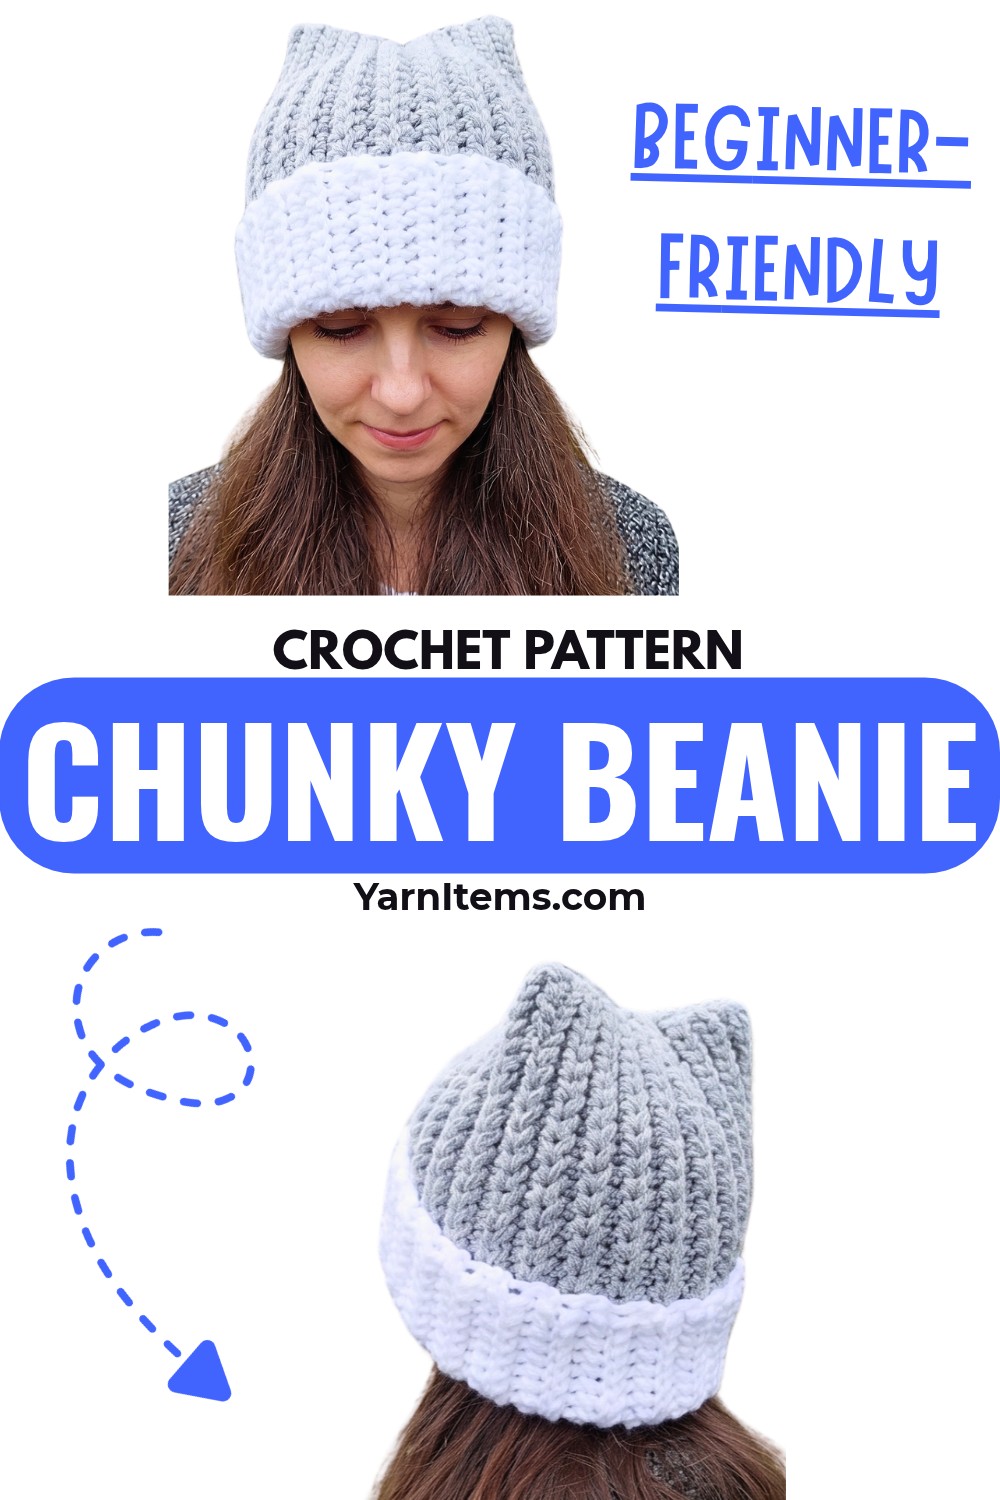
Nothing feels more satisfying than creating a wearable crochet piece that looks impressive without being complicated. This chunky beanie combines comfort, durability, and a clean finish, making it suitable for beginners as well as experienced crocheters. It also makes a thoughtful handmade gift for family and friends who appreciate practical winter accessories. With its quick construction and classic style, this piece is easy to enjoy season after season.
Credit Crochet & Yara
Materials & Tools
- Yarn:
- 2 skeins in Color A (White)
- 2 skeins in Color B (Grey)
- Crochet Hooks:
- 6.0 mm Hook: Used for the main hat body
- 4.0 mm Hook: Used for gathering/seaming the top section
- Notions:
- Scissors
- Tapestry needle
Finished Size & Customization Ideas
Style:
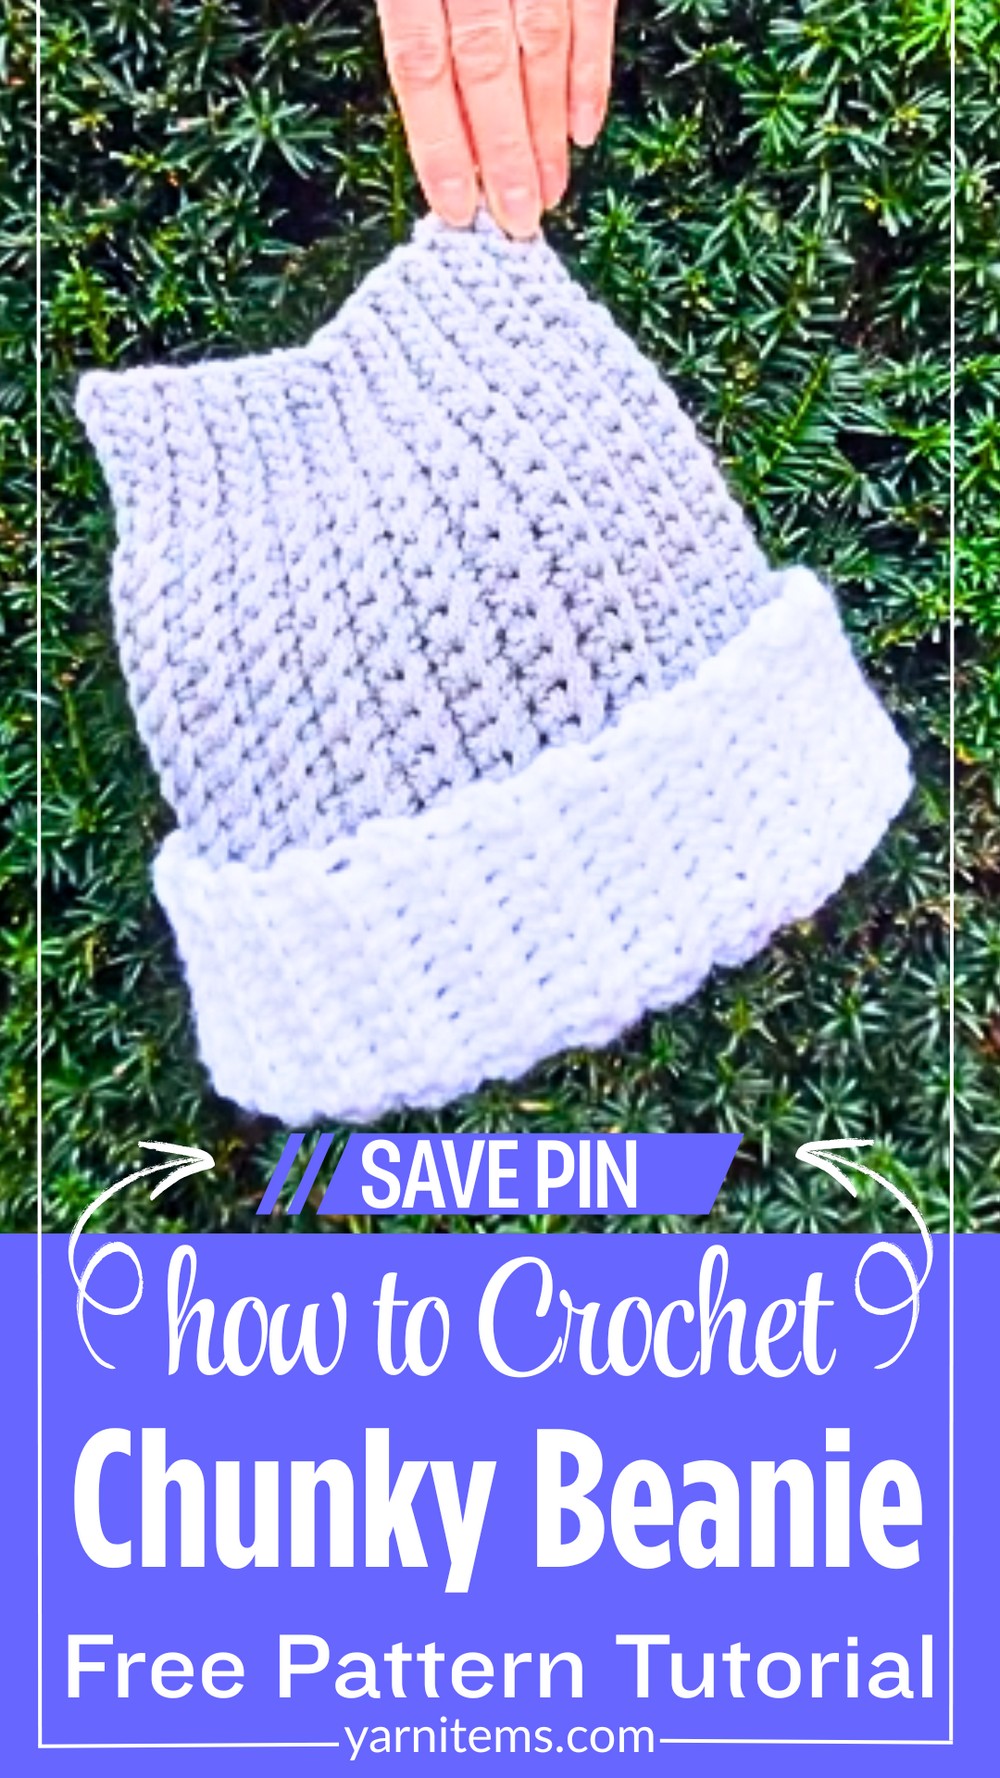
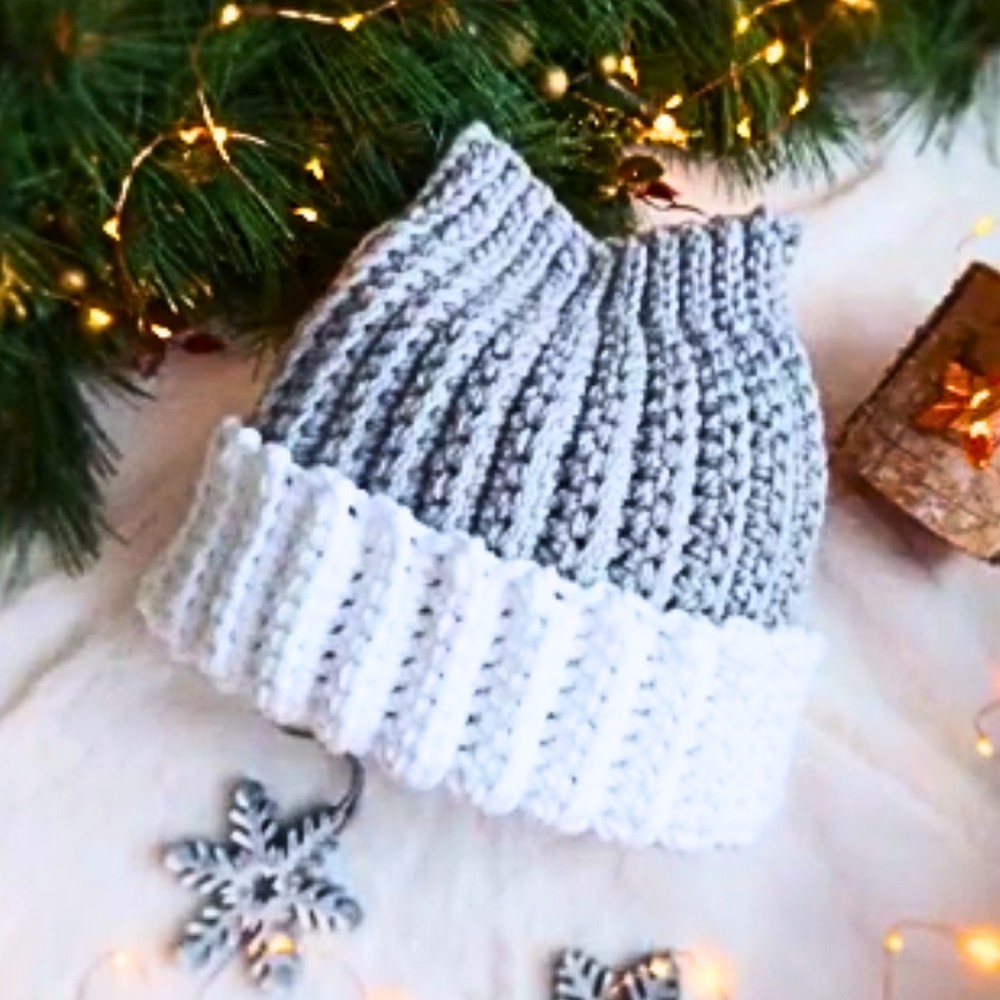
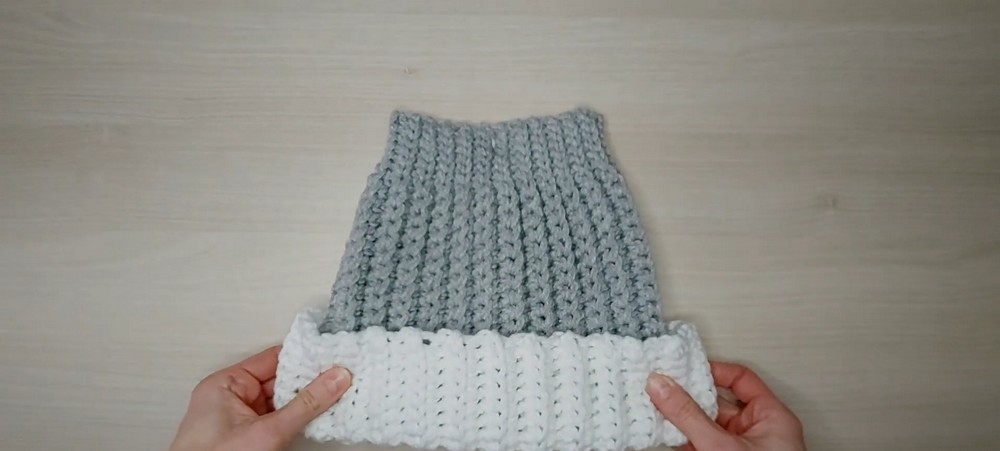
Two-tone ribbed beanie with a fold-over brim and cat-ear points created by gathering/stitching the top corners.
Customization:
- Width/Circumference: Adjust the number of repeat rows to fit your head circumference.
- Height/Length: Customize the starting chain count for a slouchier or snugger fit.
Pattern Notes
- Stitch Techniques:
The beanie is worked flat in rows using:- Back loop single crochets (BLOSC)
- Back loop slip stitches (BLOSLST)
- Texture:
A ribbed look is formed with back loop stitches. - Color Changes:
Seamlessly switch colors at junctions between sections of the beanie.
Abbreviations & Terminology
- Ch: Chain
- Sl st: Slip stitch
- Sc: Single crochet
- BLO: Back Loop Only (Insert hook only into the back loop of designated stitch)
- St(s): Stitch(es)
Tips Before You Start
- Tension: Keep slip stitches relaxed at the tapered top for easier stitching in subsequent rows.
- Color Transitions: Pull the new yarn color through on the last yarn-over of the final stitch for smooth transitions.
Step-by-Step Crochet Instructions
1. Foundation Chain
- Using Color A (White): Create a slip knot on your 6.0 mm hook.
- Chain 10 stitches.
- Change to Color B (Grey): Pull Color B through the active loop.
- Chain 25 with Color B (Total foundation chain = 35 chains).
2. Main Row Pattern
Row 1 (Color B & Color A):
- Top Taper Section (Color B):
- Skip 1 chain from hook.
- Slip stitch into the next 6 chains.
- Crown Body Section (Color B):
- Single crochet into the next 17 chains.
- Color Change:
- On the 17th single crochet, perform a final yarn-over with Color A (White).
- Brim Section (Color A):
- Single crochet into remaining 10 chains.
Row 2 (Color A & Color B):
- Start: Chain 1, turn your work.
- Brim Section (Color A):
- Skip 1 chain.
- Single crochet into BLO of next 10 stitches.
- Color Change:
- Change to Color B (Grey) on the last yarn-over of the 10th stitch.
- Crown Body Section (Color B):
- Single crochet into BLO of next 17 stitches.
- Top Taper Section (Color B):
- Slip stitch into BLO of final 6 stitches.
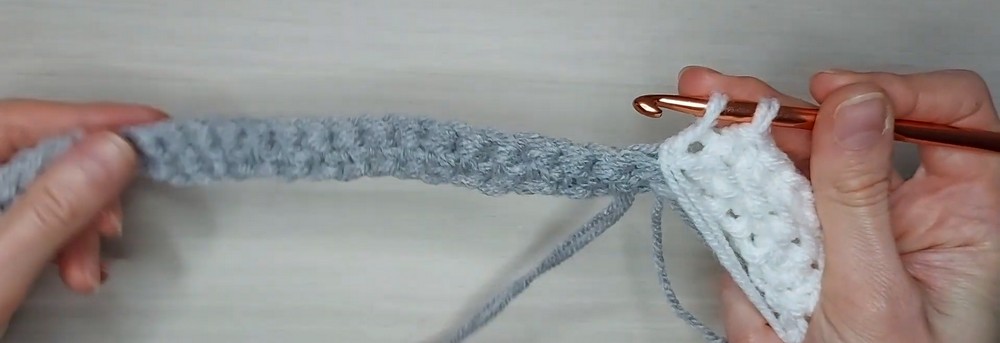
Row 3 (Color B & Color A):
Repeat similar steps as above:
- Chain 1, turn your work.
- Slip stitch into BLO for the Top Taper Section.
- Single crochet into BLO for the Crown Body Section.
- Change colors accordingly for the Brim Section.
Row Repeats
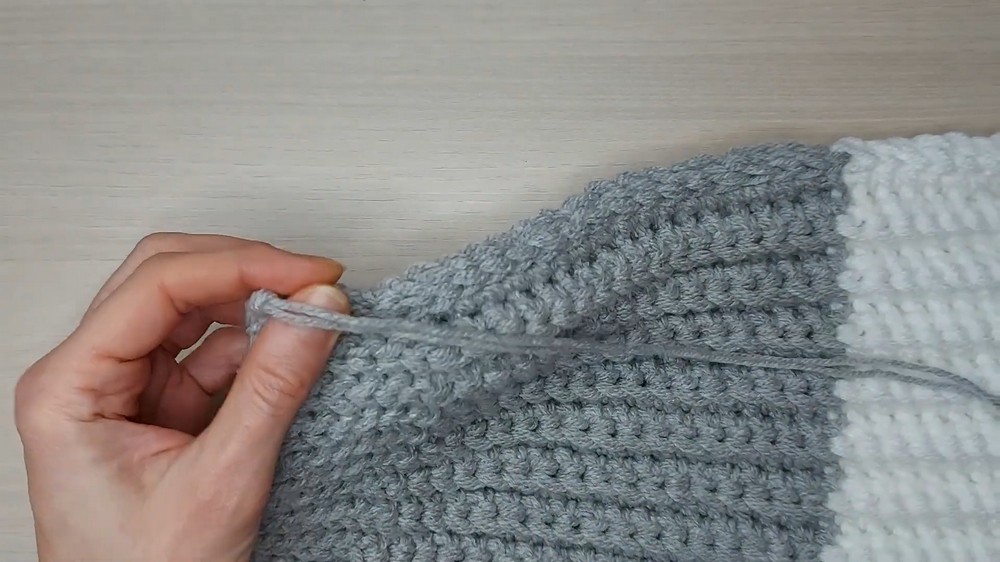
Continue repeating Row 2 and Row 3 until the flat panel is wide enough to wrap comfortably around your head.
Final Assembly
1. Seaming the Sides Together
- Fold the panel in half, right sides facing.
- Align the edges; slip stitch or single crochet them together using the matching yarn colors.
- Change colors along the seam as needed.
- Fasten off, leaving a long yarn string for gathering.
2. Gathering the Top & Shaping the Cat Ears
- Switch to a 4.0 mm Hook.
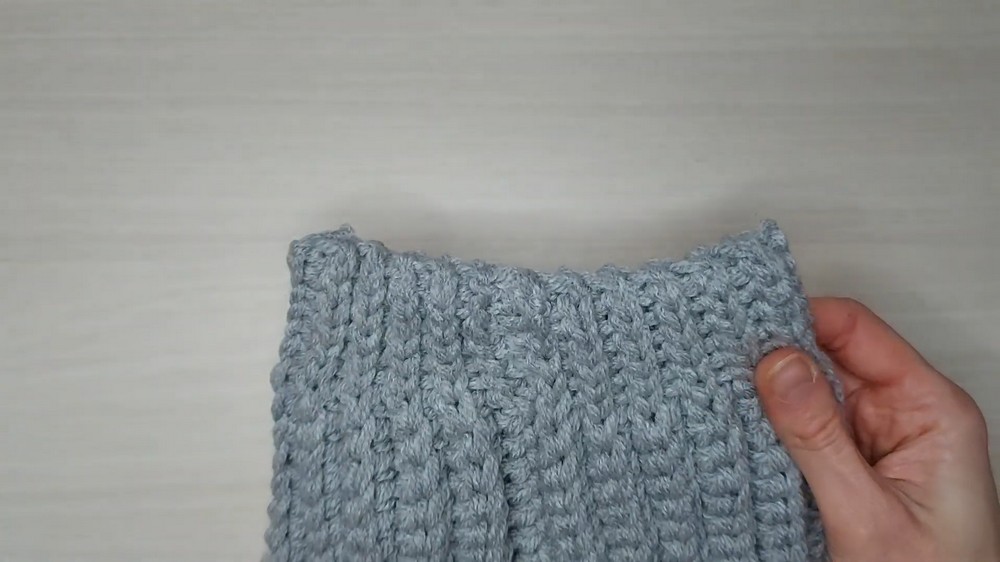
- Thread the yarn tail around the top edge loops and pull tight to gather the crown opening closed.
- Flatten the top edge with the seam running along the side or center back.
- Use a tapestry needle with Color B yarn to stitch the top edge together.
- Secure both corners to form pointed “ear” shapes.
3. Finishing Touches
- Weave in all remaining yarn tails into the inside of the beanie.
- Fold up the white brim.
Conclusion
Enjoy your cozy, ribbed, two-tone chunky cat-ear beanie! This versatile design is quick to make and perfect for customization.