Free Crochet Baby Hat 0-3 Months with Pom-Pom
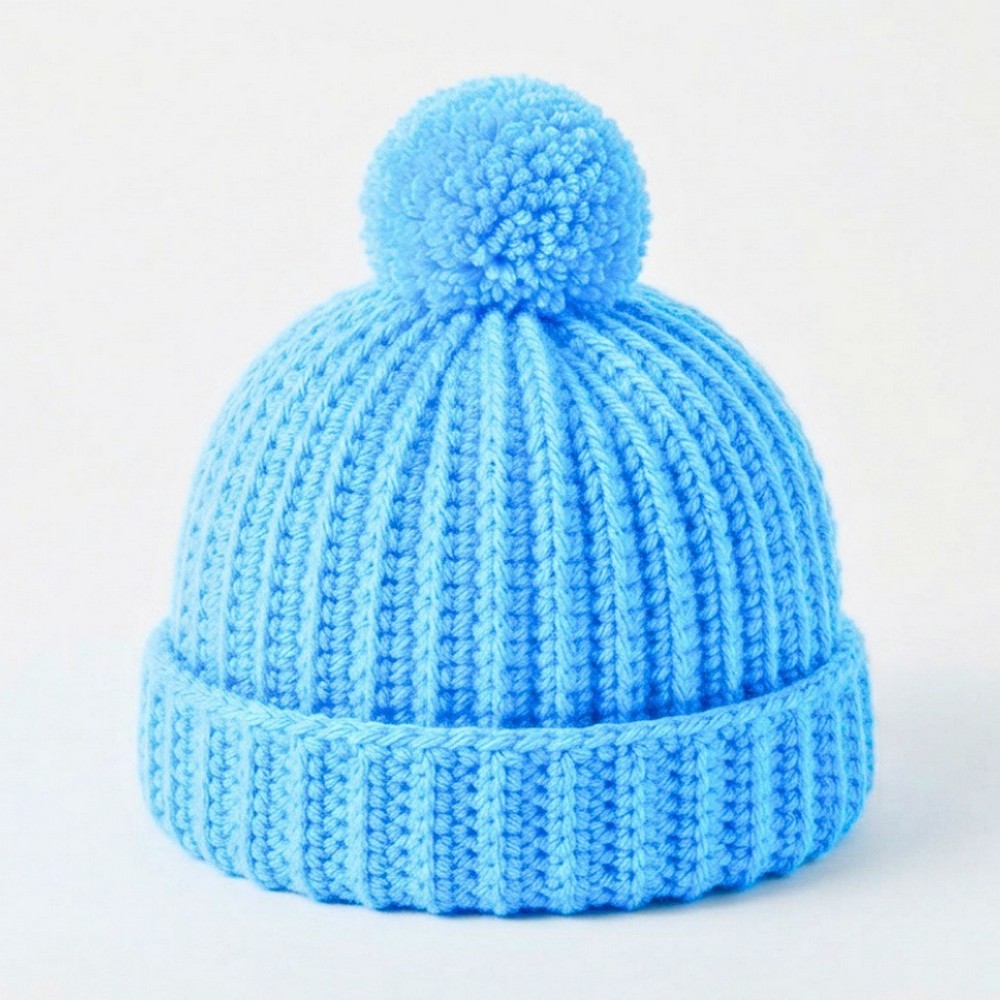
A tiny handmade hat can become the sweetest keepsake when every stitch is made with care. This charming crochet piece is designed for babies aged 0–3 months, combining a soft texture with a comfortable stretch for everyday wear.
The ribbed design gives it a beautiful finish while keeping the overall look simple and timeless. A fluffy pom-pom completes the crochet piece with a playful touch that makes it even more special.
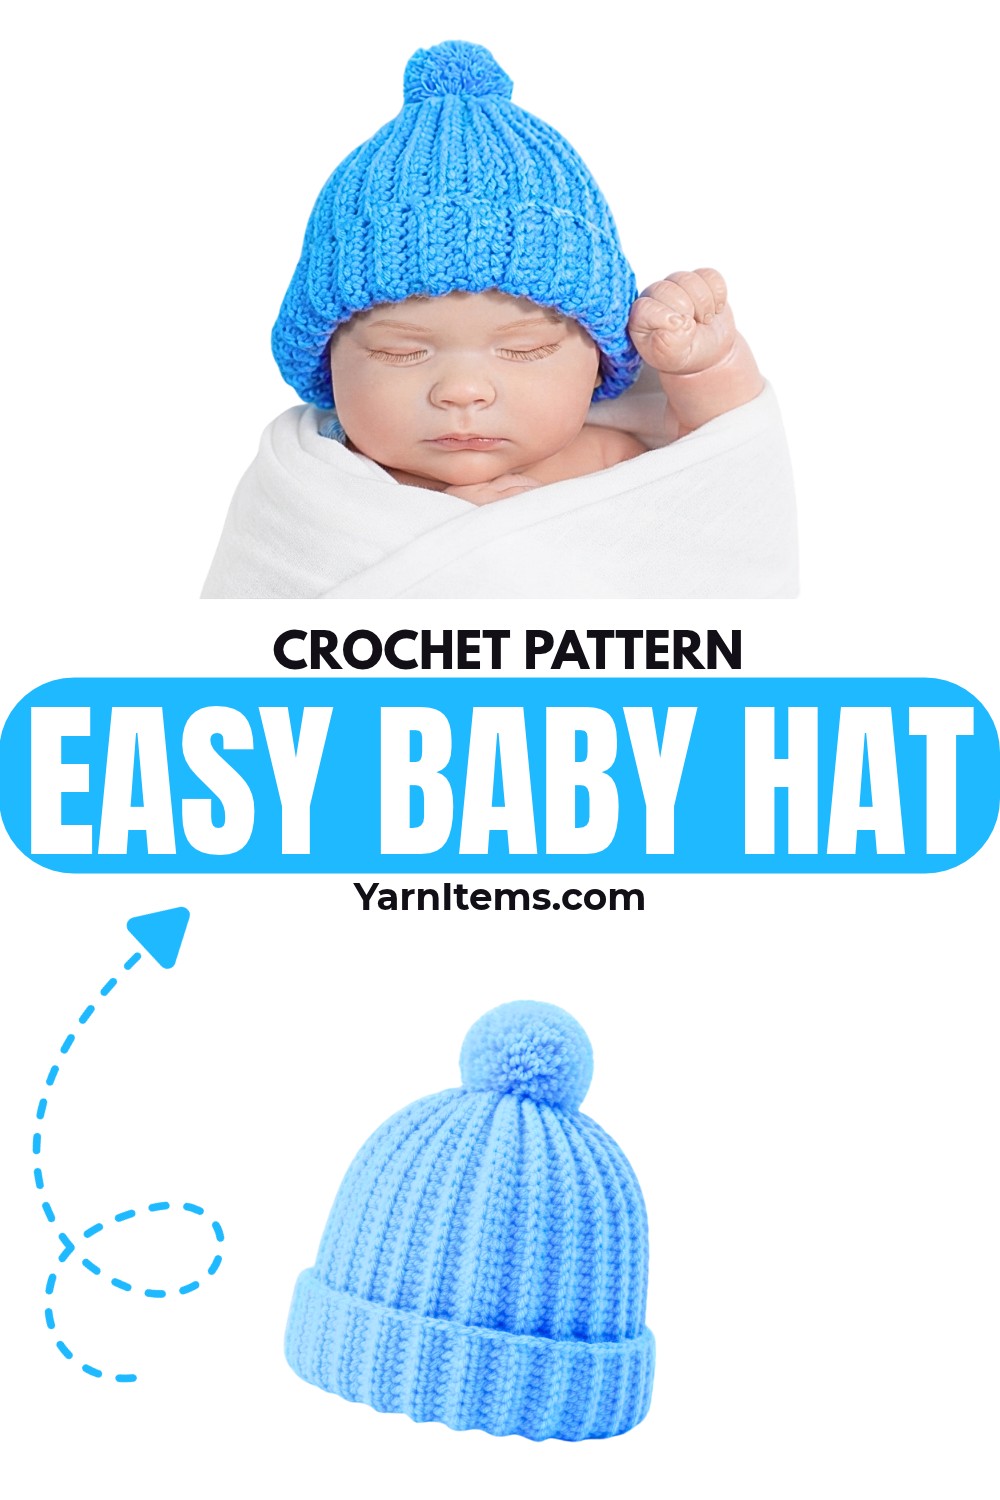
Nothing feels more rewarding than turning a simple rectangle into an adorable baby hat with a neat, polished shape. This tutorial explains the materials, stitch pattern, sizing details, and finishing steps in a clear and natural order. You’ll also find helpful ideas for customizing the item with different colors or decorative accents to suit any style. The result is a cozy handmade crochet piece that is perfect for gifting or adding to a little one’s wardrobe.
Credit Emma Crochet for Baby
Materials & Tools Needed
- Yarn: Milk Cotton yarn, size Fingering weight
- Crochet Hook: Size 4.5 mm (No. 7.5)
- Stitching Needle: For sewing and weaving in ends
- Cardboard (1.97 inches wide): For making the pom-pom
- Scissors
Choosing the Best Yarn for Baby Hats
When creating a baby hat, selecting the right yarn is crucial to ensuring both comfort and practicality. Here are the key factors to consider:
- Prioritize Softness
Babies have incredibly delicate skin, making softness a top priority when choosing yarn. A soft yarn ensures comfort and prevents irritation, allowing babies to wear their hats for longer without discomfort or redness. - Choose Breathable Fibers
To keep the hat comfortable and avoid overheating, opt for yarn made from breathable fibers. Milk cotton, cotton, bamboo blends, and soft acrylic yarns are excellent choices as they promote airflow while being gentle on the skin. - Select the Right Yarn Weight
Fingering-weight or lightweight yarn is ideal for baby hats. These weights create a soft and flexible fabric that conforms to a baby’s head comfortably without being too bulky or heavy. - Avoid Rough or Itchy Yarns
Steer clear of scratchy or textured fibers that may irritate a baby’s sensitive skin. Materials such as wool or yarn blends with rough textures should be avoided, especially for newborns and young babies. - Look for Easy-Care Yarn
Babies often require frequent outfit changes, so choosing machine-washable or easy-to-clean yarn will make life much easier for parents. Avoid yarns that require special care like hand washing or dry cleaning. - Pick Suitable Colors
The choice of colors can enhance the hat’s appeal. Soft pastels and neutral tones are classic options for baby items, while bright shades can add a playful touch. You can even choose colors based on personal preferences, gender-neutral themes, or the occasion (e.g., seasonal or holiday colors).
Pattern Notes
- The hat is worked as a rectangular panel using single crochets and slip stitches, which are later sewn together to form the completed hat.
- All stitches are worked through the back loops only unless stated otherwise.
- The rectangular panel is gathered at one end to create the crown of the hat.
- A pom-pom is added for decoration, but this can be omitted or customized as desired.
Finished Size & Customization Ideas
- Finished Size: Fits head circumference of 12–14 inches (ideal for 0–3 months).
- Customization Ideas:
- Add stripes by changing yarn colors after every few rows.
- Use a fluffier or textured yarn for a cozy winter hat.
- Replace the pom-pom with a crocheted flower or bow for a personalized touch.
Pattern Abbreviations & Terminology
- ch: Chain
- sc: Single Crochet
- sl st: Slip Stitch
- (…): Instructions within parentheses are repeated as specified.
- BL: Back Loop (e.g., “sc BL” means single crochet through back loop only)
This pattern uses US crochet terminology.
Step-by-Step Crochet Instructions
The hat is worked in a series of rows, which form a rectangular panel folded to make the hat’s shape.
1. Foundation Chains (Round 1)
- Start with a slip knot.
- Chain 36 foundation chains.
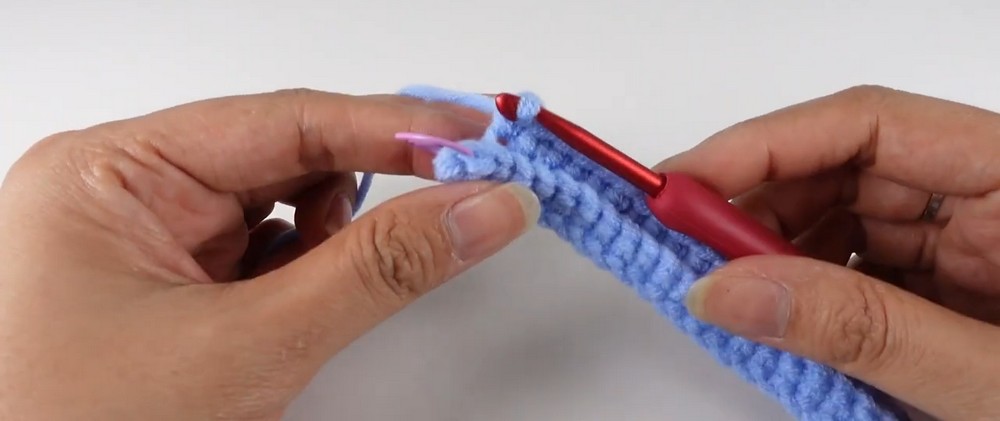
2. Row 2
- Skip 1 stitch and start in the second chain from the hook.
- Work 28 single crochets (sc) through the back loop only (BL) across the row.
- Work 7 slip stitches (sl st) into the remaining stitches.
- Chain 1, turn your work.
3. Row 3
- Starting from the first stitch, work 7 slip stitches through the back loops.
- Then, work 28 single crochets through the back loops for the remaining row.
- Chain 1, turn your work.
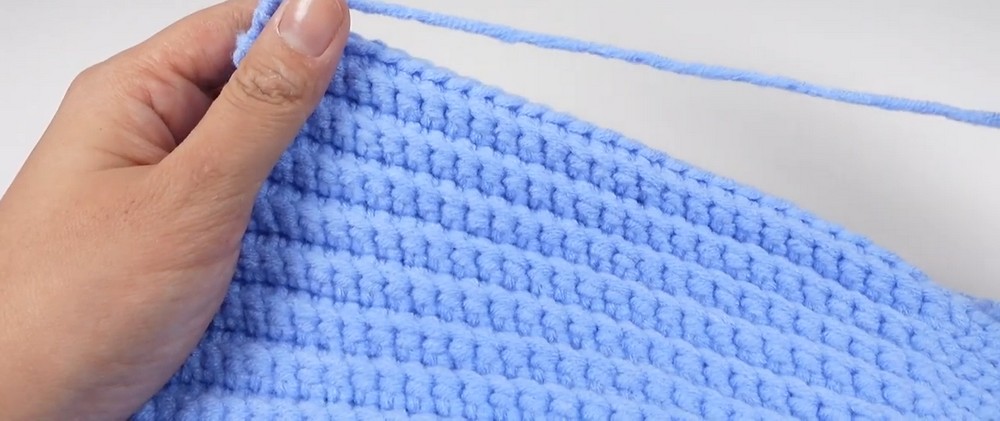
4. Row 4
- Work 28 single crochets through the back loops.
- Work 7 slip stitches through the back loops for the last section of the row.
- Chain 1, turn your work.
5. Rows 5–66
- Repeat Row 3 for odd rows and Row 4 for even rows.
- Continue this pattern until you reach 66 total rows, or until the length of the rectangular panel matches the circumference of the baby’s head.
6. Finishing the Rectangle
- Once you finish the last row, chain 1 and fasten off, leaving a long yarn tail for sewing.
- Use the yarn needle to sew the two short ends of the rectangle together, matching stitches one-to-one.
- After sewing, weave in any loose ends.
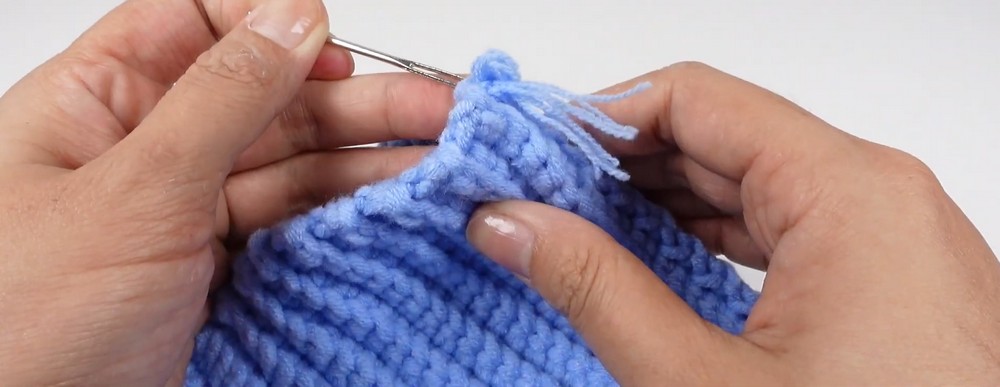
7. Shaping the Crown
- Use the remaining long tail of yarn and thread it through the top edge of the rectangle using the stitching needle.
- Pull the thread tightly to gather the top of the hat and close it completely.
- Secure the yarn by tying a knot and weaving in any loose ends.
8. Making the Pom-Pom
- Take a piece of cardboard about 1.97 inches wide.
- Wind the yarn around the cardboard until you achieve the desired thickness.
- Slip the wound yarn off the cardboard carefully and tie a piece of yarn tightly around the center.
- Cut the loops on both ends and trim the pom-pom to your preferred size and shape.
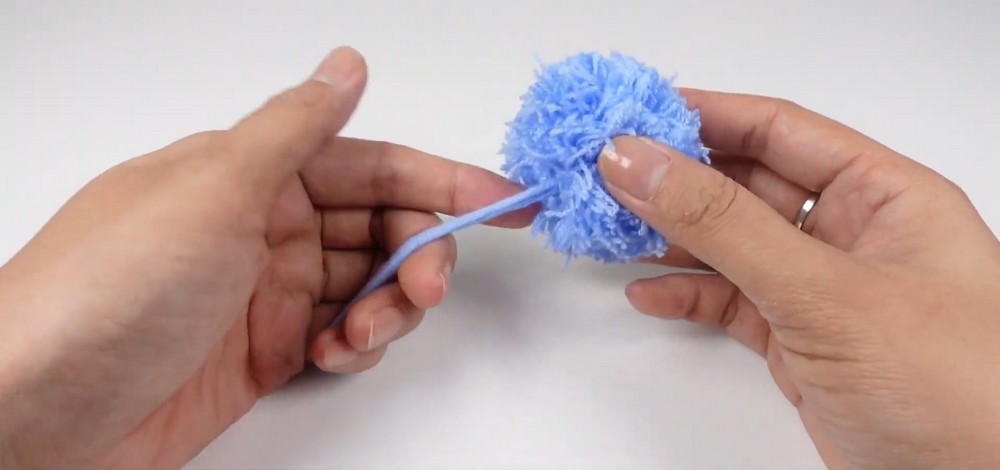
9. Attaching the Pom-Pom
- Sew the pom-pom to the top of the hat using the stitching needle and a piece of yarn.
- Secure it tightly, tie a few knots, and weave in the ends.
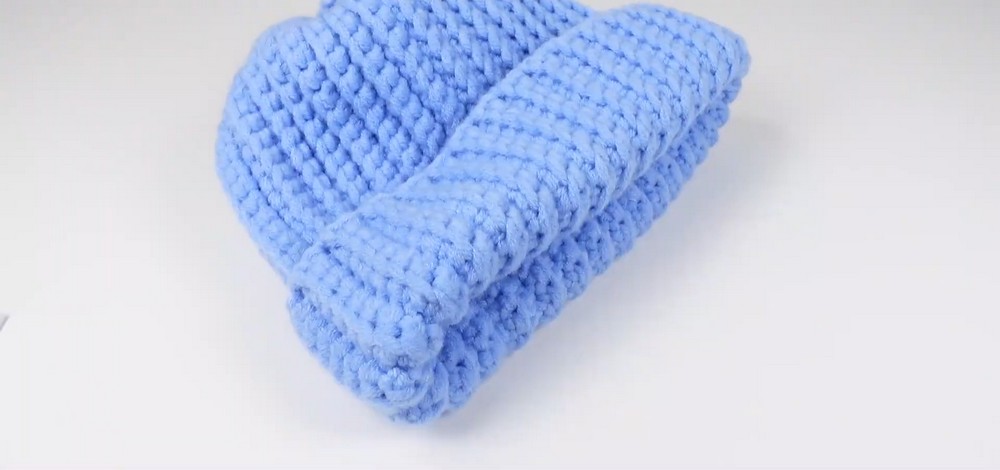
10. Final Touches
- Double-check the hat for any loose ends and weave them in securely.
- The baby hat is now finished and ready to wear!
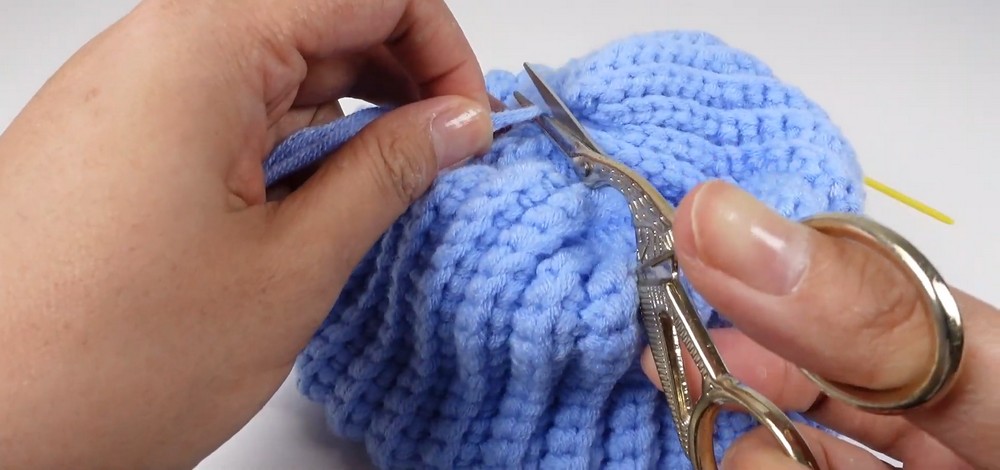
Tips for Success
- If you’re a beginner, practice working in the back loops only before starting the hat. It’s essential to achieve the textured look of the design.
- Make sure the slip stitches are not too tight, as they will need to stretch when worn.
Common Crochet Mistakes and How to Avoid Them
Crocheting baby hats is fun, but some common mistakes can affect the final result. Here’s how to avoid them:
- Making Slip Stitches Too Tight
Tight slip stitches reduce the stretch of the hat, which can make it uncomfortable for babies. To prevent this, keep a consistent, relaxed tension when crocheting slip stitches. - Missing the Back Loops
Many hat designs require working in the back loops to create a ribbed texture. Skipping the back loops can alter the look and flexibility of the fabric, so double-check each stitch. - Incorrect Stitch Count
Forgetting to count your stitches at the end of each row can lead to a misshapen hat. Always keep track of your stitch count to maintain the intended shape and size. - Uneven Yarn Tension
Inconsistent tension can result in a hat that doesn’t fit properly. Practice keeping even tension while crocheting, and take breaks if needed to maintain control. - Sewing the Seam Unevenly
When sewing the edges of the hat, poorly matched seams can result in a crooked or lumpy finish. Carefully align the edges before sewing and ensure the stitches are evenly spaced. - Not Gathering the Crown Securely
The top of the hat (the crown) should be pulled tightly to avoid leaving any gaps. Use a strong and secure stitch to gather the crown and close it neatly. - Skipping Size Checks
Periodically measure the rectangular piece of fabric to ensure it meets the required dimensions for the baby’s head. This will help ensure the hat fits comfortably.
Easy Ways to Personalize the Hat
Personalizing a baby hat adds a special touch and makes your creation truly unique. Here are some fun and simple ideas to customize your project:
- Experiment with Color Combinations
Use solid colors, stripes, two-tone patterns, or gradual ombré effects to create a hat with flair and personality. - Add Crochet Embellishments
Incorporate small decorations like crochet flowers, bows, hearts, stars, or cute animal ears to make the hat extra adorable. - Choose a Different Pom-Pom Style
Finish the top of the hat with a pom-pom that stands out, such as an oversized, multicolored, or faux fur pom-pom, depending on the desired look. - Create a Folded Brim
Adding a folded brim not only enhances the aesthetic of the hat but also provides extra warmth and a classic, snug fit. - Include Simple Embroidery
Personalize the hat by stitching on initials, tiny stars, hearts, or other small and delicate decorative designs. - Coordinate with Matching Baby Accessories
Make a coordinated set by matching the colors and design of the baby hat to booties, mittens, or even a baby blanket. - Use Seasonal Color Themes
Choose colors that reflect the season or an upcoming celebration. Pastels can work well for spring, warm hues for fall, or festive colors for holidays like Christmas or Easter.