Crochet Daisy Duke Shorts Tutorial – Easy, Stylish, Custom-Fit
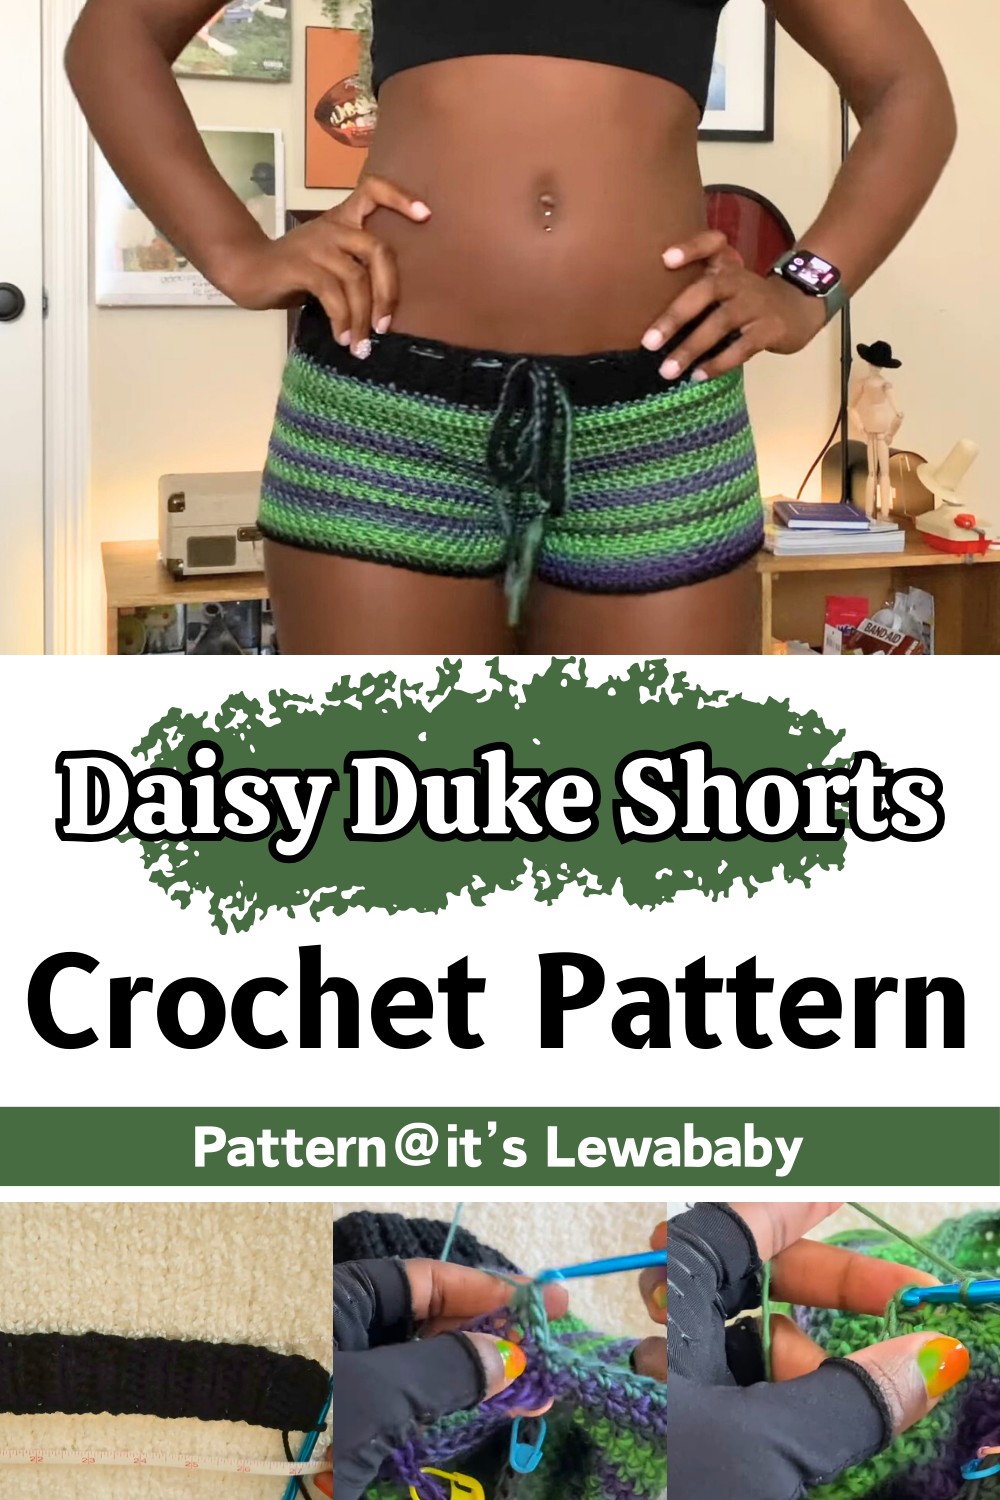
Crochet Daisy Duke shorts are stylish, high-waisted summer shorts with a stretchy ribbed waistband, flattering fit, and customizable length to suit your personal style.

Crochet Daisy Duke shorts are the perfect combination of fun and fashion. These trendy shorts are not only comfortable to wear but also a great way to express your creativity through crocheting. If you want them for a day at the beach, lounging at home, or pairing with a cute top for a casual outing, they are versatile and stylish.
Crochet Daisy Duke Shorts
This crochet Daisy Duke shorts pattern stands out because they’re as fun to make as they are to wear. The shorts’ design lets you adjust the length and fit to perfectly match your personal style, making them truly one-of-a-kind. The alternating colors give them a cheerful, eye-catching look, while the braided drawstring detail adds a practical yet playful touch. They’re lightweight, breathable, and ideal for warm weather, great for lounging, vacations, or casual outings.
Credit it’s Lewababy
Key construction + features
- Worked in worsted-weight acrylic yarn with a 5.5 mm hook
- Starts with a stretchy, ribbed waistband using foundation half double crochet (FHDC)
- Waist size is customized using your own measurements and row count
- Waistband is joined into a loop, then the hips/body are worked in the round with half double crochet
- Shorts are split into two leg openings using foundation half double crochet to form the crotch
- Legs are built up in half double crochet, then finished with a clean single crochet edging
- A two-strand braided-style drawstring is made separately and woven through the waistband
- Easy to color-block or use multiple colors; changes are done on the last pull-through of an HDC
The shorts begin with a neat, stretchy waistband that sets the tone for the whole pattern. Instead of chaining and then working into a long foundation chain, the tutorial uses foundation half-double crochet stitches to build the band from the start. Only six FHDC stitches are used for the height of the band, and then you create ribbing by working back and forth in half double crochet, mostly in the back loops only. This gives that classic elastic, ribbed look that hugs the waist comfortably. You keep repeating this ribbing sequence until the total number of rows matches your waist measurement formula (waist × 2, adjusted to an odd number), so the fit is tailored to your own body.
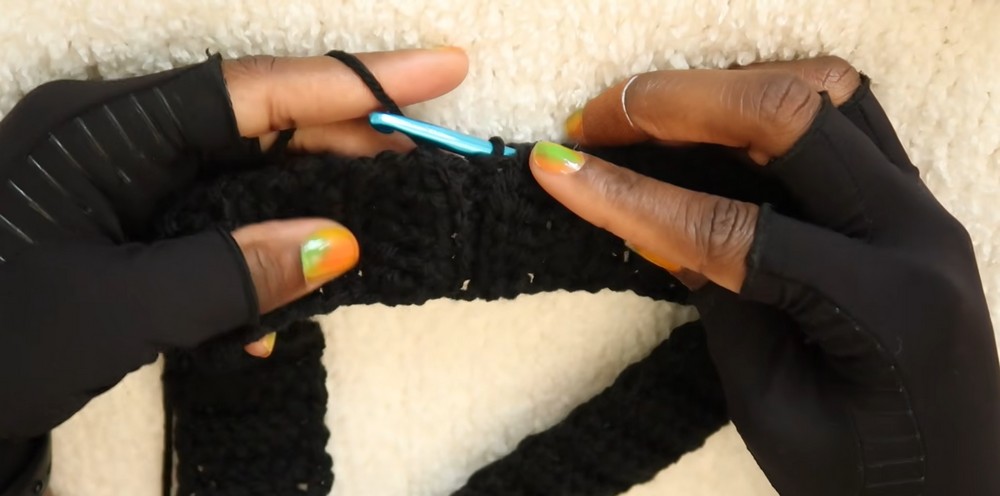
Once the ribbing is long enough, the ends of the band are joined together with slip stitches worked through the back loops of both edges. This creates a ring that becomes the waistband of your shorts. The seam is intentionally flipped to the inside so that the ridge of slip stitches is hidden on the wrong side. From here, you start building the hips: a new yarn color can be attached if you want contrast, or you can continue with the same yarn. Half double crochet stitches are worked around the side edges of the ribbing, paying attention to spacing so there are no gaps or bunching. The designer ends up with about twice as many stitches as ribbing rows, giving a relaxed, slightly loose fit around the hips and bum.
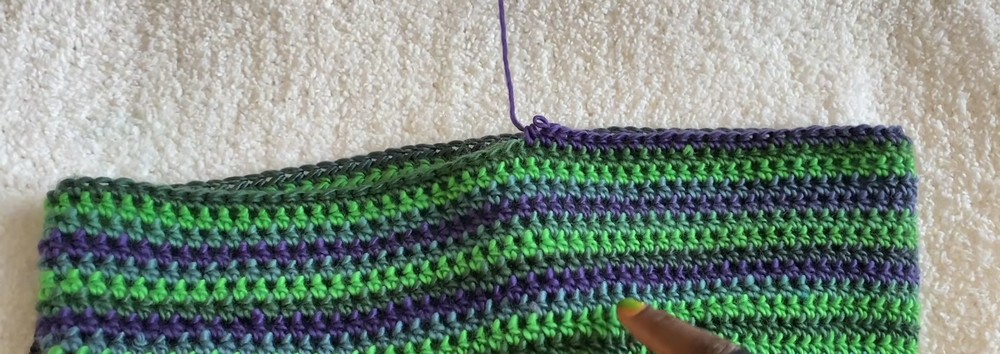
The body of the shorts is worked in the round entirely in half double crochet, without chaining at the start of each new round—just slip stitch to join, then continue. A stitch marker is used to keep track of how many rounds you’ve done. Around 14 rounds are worked to build up the rise, giving about 4″ of body plus the 2″ waistband for roughly 6″ total before shaping the legs. To create the crotch and split the piece into two leg openings, the halfway point of the round is carefully counted and marked. Then foundation half double crochet stitches are added between these marked points to connect the front and back, forming the crotch bridge. This section can be lengthened with more FHDC stitches for larger sizes or more coverage.
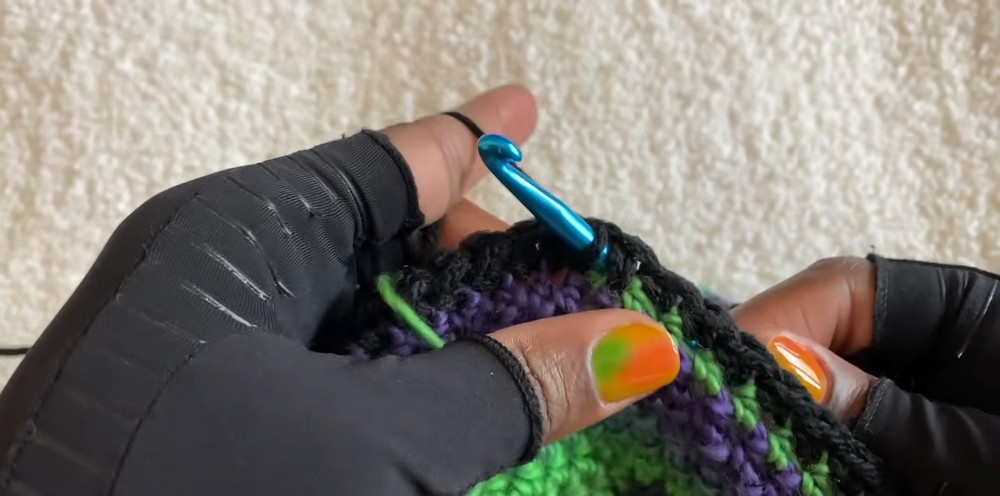
After the crotch is established, each leg is worked separately. You first complete one side by half double crocheting around the added crotch stitches and the existing body stitches, forming the left leg opening. This leg is built up in rounds of HDC—five rows of 62 stitches in the tutorial—each round joined with a slip stitch and started with a chain one. Once that side is done, the yarn is fastened off and reattached at the back of the other side to repeat the same process for the right leg. When both sides match, each leg is finished with a round of single crochet in the waistband color, creating a simple but polished trim that ties the whole look together.
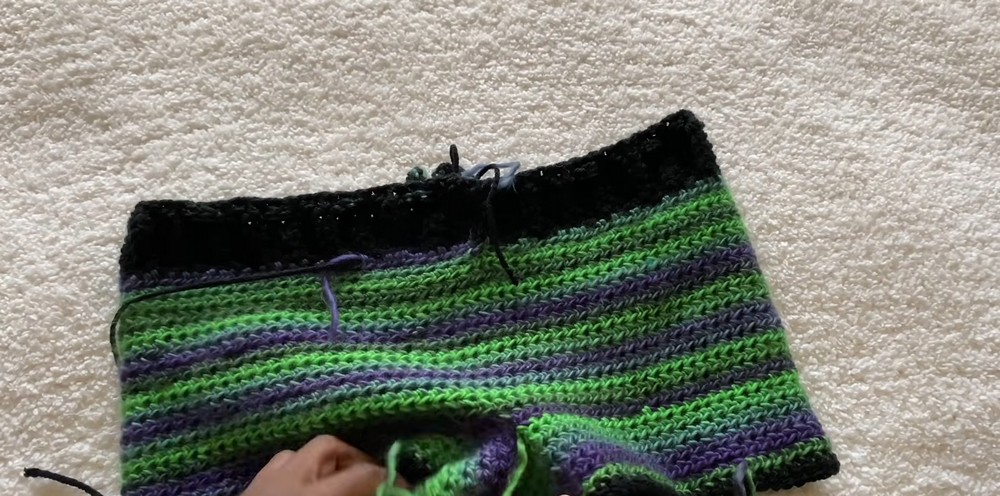
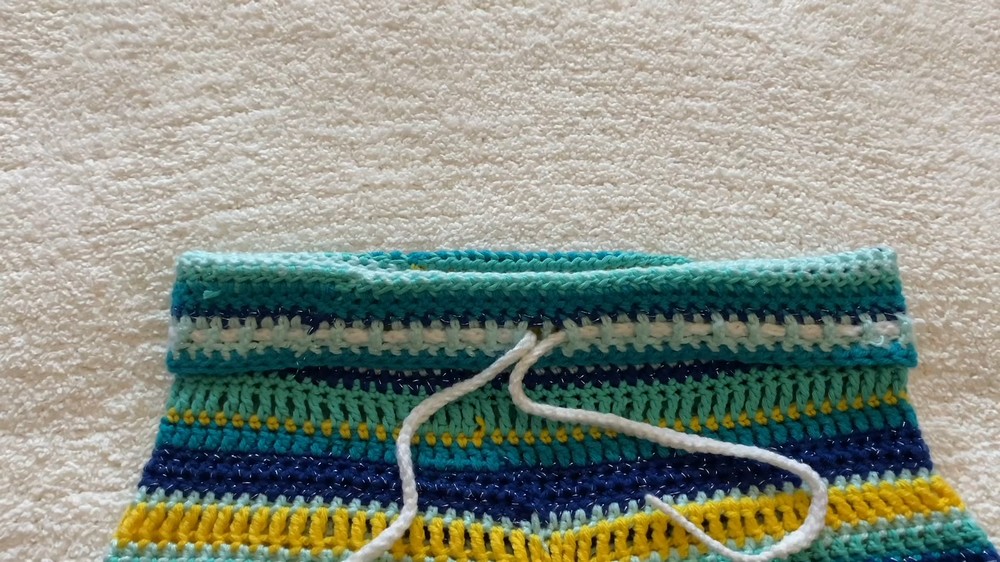
The final touch is the drawstring, which is made using two strands of yarn for a braided, rope-like effect. Instead of a basic chain or single crochet cord, the tutorial shows a back-and-forth motion where you go under one strand and wrap the other over the hook before pulling through both loops. Repeating this gives a thicker, more decorative cord than a plain chain—about 150 “chains” long for the sample. The ends are secured, and the drawstring is threaded through the ribbed waistband, usually passing through every two rows. After weaving it through, you flip everything to the right side, weave in the tails, trim the yarn, and the Daisy Duke shorts are ready to wear.
Video Tutorial
Materials and Key Pattern
Materials:
- 5.5 mm crochet hook
- Stitch markers
- Measuring tape
- Weight 4 acrylic yarn in preferred colors

Detailed Pattern
- Waistband:
- Make a slip knot and create six FHDC stitches.
- Row 1: Chain 1, turn, place an HDC in the first stitch.
- Next 4 stitches: HDC in the BLO.
- Last stitch: Regular HDC.
- Repeat this sequence until the waistband measures twice the waist circumference plus one (for an odd total number). E.g., 27 * 2 + 1 = 55 rows.
- Connecting Waistband:
- Slip stitch the two ends together through the back loops.
- Turn the waistband inside out.
- Hips:
- Chain 1 and insert your hook into the sides of the pieces, creating HDC close enough to avoid gaps.
- Complete the first round with a slip stitch into the first HDC.
- Crochet 14 rows of HDC, using a stitch marker to track rounds.

- Splitting for Shorts:
- Mark the midpoint with stitch markers.
- Perform 10 FHDC at the midpoint to create the crotch.
- Slip stitch to connect the fronts and backs.
- Create 62 HDC around one side, repeat for five rows, and then finish the other side similarly.
- Finishing:
- Add single crochet (SC) row in the waistband’s color, linking both sides.
- For the drawstring: Create a slip knot with two strands of yarn, chain 150 to form a braid-like string, and thread through the waistband.
Troubleshooting and Suggestions
Common issues & tips
- Uneven waistband length: If your band isn’t matching your waist well, re-check the measurement and row count formula (waist × 2, then adjust to an odd number). The ribbing is stretchy, but it shouldn’t be overly tight or floppy.
- Holes when picking up stitches: When working HDC into the side of the ribbing, make sure you’re catching at least two strands of yarn each time. If you see gaps, add a stitch between larger spaces or tighten your tension slightly.
- Twisted waistband join: Before slip stitching the ribbing ends together, lay the strip flat and make sure it isn’t twisted. A twist will distort the entire body of the shorts.
- Uneven leg lengths: Count your rounds for both legs and keep a stitch marker handy. It’s easy to lose track once you’re working each side separately.
- Messy color changes: Always pull in the new color on the final yarn-over of the last HDC in the old color. Then crochet over the tails for a smoother transition and less weaving in.
Creative modifications
- Color blocking: Use one color for the waistband, another for the body, and a third for the leg trim. You can also change colors every few rounds on the hips for a striped look.
- Scrap yarn version: Follow the same construction but change colors frequently to use up leftover yarn, similar to the designer’s scrap shorts. Just keep all yarns the same weight for even fabric.
- Longer or shorter cut: Adjust the number of body rounds before splitting for the legs, and/or add more rounds to each leg to turn Daisy Dukes into mid-thigh or biker-style shorts.
- Different waistband height: Start with more or fewer foundation HDC stitches in the ribbing to make a wider, high-waisted band or a narrow, low-rise look.
- Embellishments: Add surface slip stitches along the side seams, embroider little daisies or motifs on the front, or attach small tassels to the drawstring ends for extra flair.