
Cozy Beanie Hat for Men – Crochet Pattern with Curled Edge
A classic winter crochet beanie never goes out of style, especially when every detail is made with care.
This cozy men’s beanie combines a clean dark gray color with a neatly curled edge for a timeless finish. The soft cotton yarn creates a comfortable piece that feels warm without being bulky. Its simple crochet design pairs effortlessly with casual and everyday winter outfits.
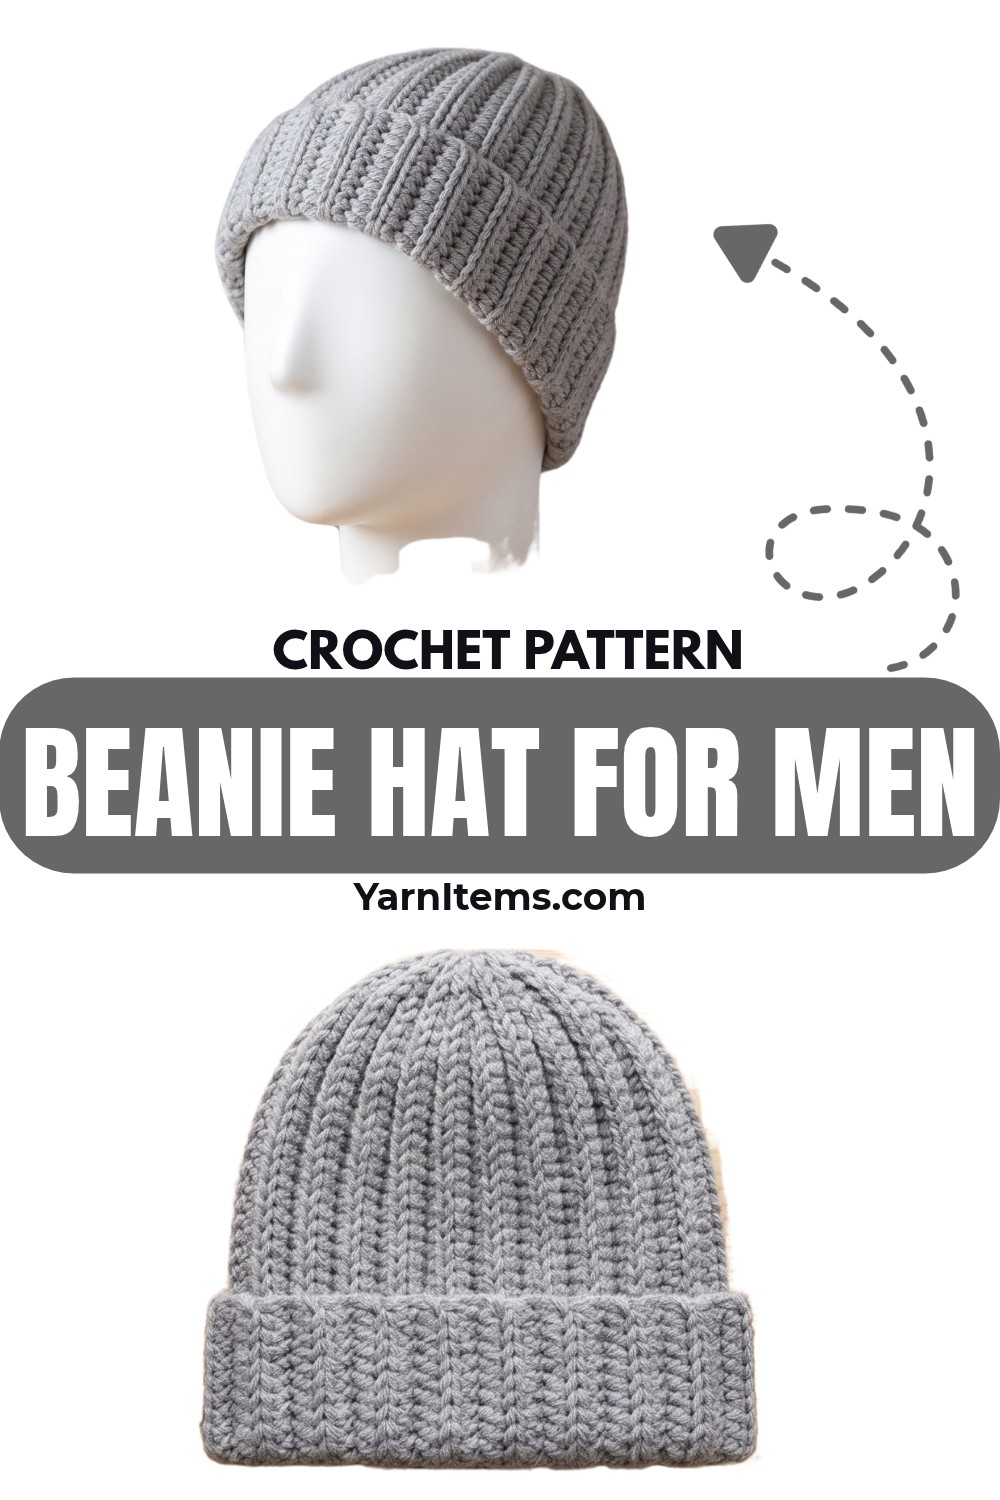
The beauty of this crochet beanie lies in its balance of comfort, style, and practicality. Designed to fit adult head sizes from 55–58 cm, it offers a snug and comfortable feel for daily wear. The stitch pattern uses easy techniques, making the finished piece enjoyable to create while producing a polished result. Whether made for a father, a friend, or yourself, this handmade crochet item is sure to become a favorite during the colder months.
Credit anxin_crochet
Materials & Tools
- Yarn: 1 ball of 8-strand “Lover Cotton” yarn (Dark Gray or preferred color; 1 ball is sufficient for an adult size).
- Crochet Hook: 4.5 mm crochet hook.
- Notions & Accessories:
- Locking stitch markers (2–3 markers recommended for marking row ends and transition points).
- Yarn/darning needle.
- Measuring tape or ruler.
- Scissors.
- Optional: Leather tag or pom-pom for customization.
Finished Size & Customization Ideas
- Unfolded Flat Height: 28 cm – 30 cm (approx. 11 – 12 inches).
- Head Circumference: Fits standard adult sizes (55 cm – 58 cm / 21.5 – 23 inches).
- Customization Options:
- Height: Adjust by adding or subtracting foundation chains (1–2 stitch increments).
- Width: Increase rows for larger head sizes (e.g., 58+ cm) or fewer rows (~55 cm) for a snug fit.
- Accents: Customize with a folded leather patch or pom-pom for unique flair.
Pattern Construction Notes
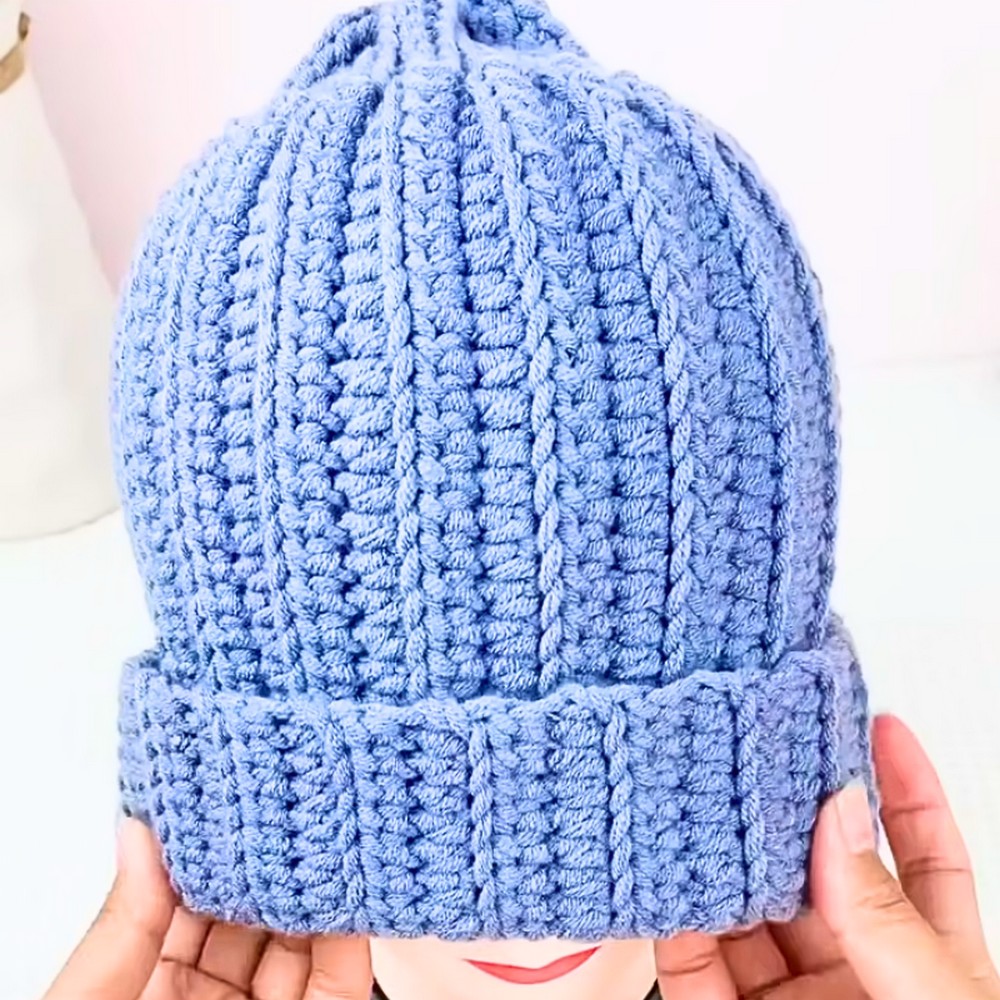
- Shape: This hat is worked as a vertical rectangle (top crown to bottom brim) in back-and-forth rows. Once complete, the rectangle is seamed along the side and the top is gathered tightly to form the crown.
- Texture & Tapering:
- Main Body: Worked in Half Double Crochet (HDC) using the Front Loop Only (FLO) for a textured rib effect.
- Crown Section: Tapers naturally with Slip Stitch (SL ST) using the Back Loop Only (BLO).
- Turning Chains: (Details cut off—please provide more if you’d like to expand here!)
Pattern Abbreviations & Terminology
-
CH: Chain
-
HDC: Half Double Crochet
-
SL ST: Slip Stitch
-
FLO: Front Loop Only (working only into the loop facing away from you on turned rows)
-
BLO: Back Loop Only (working only into the inner loop facing toward you on turned rows)
-
ST(S): Stitch(es)
Tips Before You Start
- Work Foundation Chain Loosely: Avoid tight chains to ensure the edge lays flat and stretches to your desired 28–30 cm length without curling or warping.
- Keep Slip Stitches Relaxed: Loose SL STs at the crown edge make it easier to work into them on the return rows.
- Use Stitch Markers:
- Place a locking stitch marker in the 1st stitch of each row to keep track of row ends.
- Mark transition points (e.g., the 7th stitch where HDC transitions into SL ST for the crown section).
Step-by-Step Crochet Instructions
Foundation Chain
- Create a Slip Knot:
- Use the center-pull thread from your yarn ball to create a slip knot on your hook.
- Chain 41 Loosely (or 42 if you tend to work tightly):
- This will ensure the edge lays flat and stretches without curling.
Measurement Check:
- Lay your chain flat without stretching; it should measure approximately 28–30 cm (11–12 inches) in length.
Row 1: Establish Main Body & Crown Taper
- Start in the 3rd Chain from the hook (the 2 skipped chains count as the turning chain):
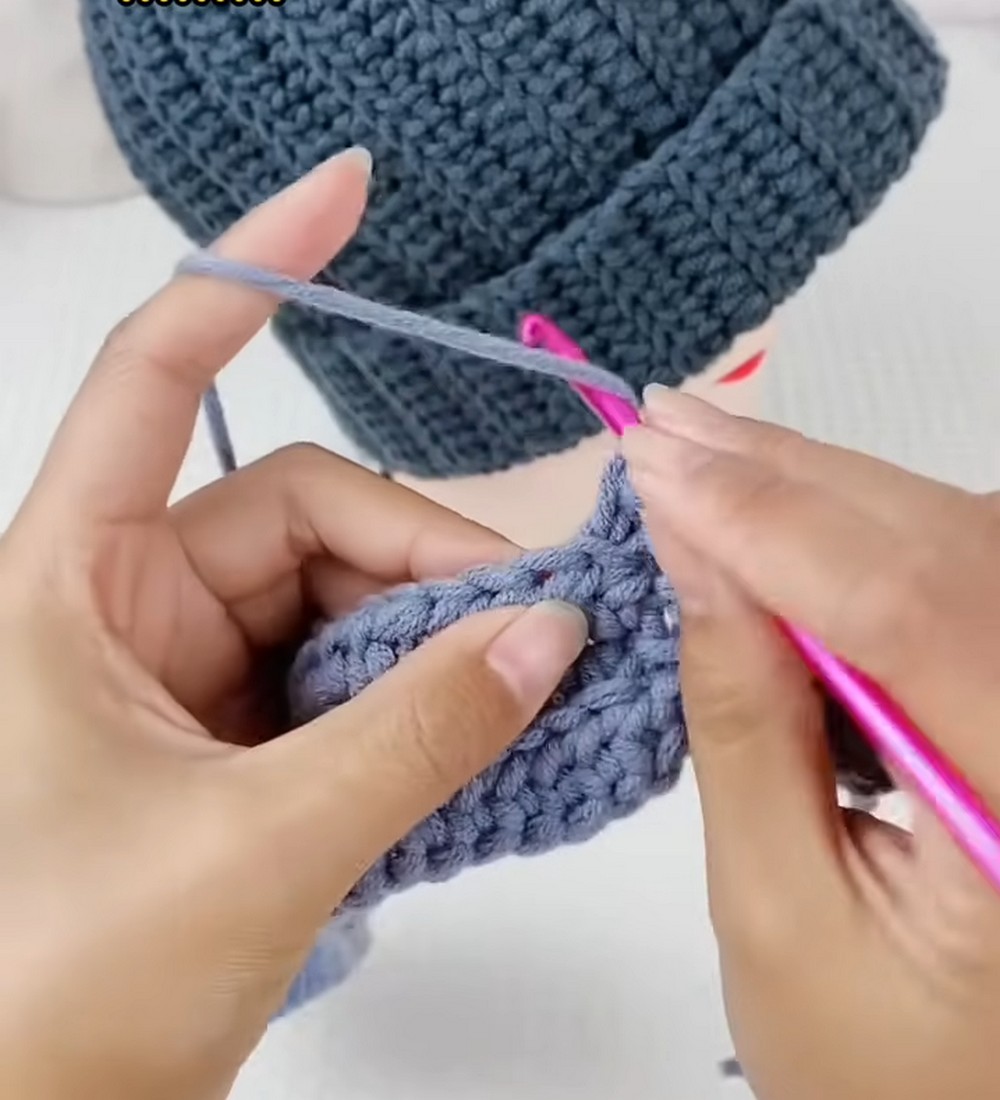
- Work 1 HDC in each of the next 34 chains (creating the main body of the beanie).
- Create the Crown Section:
- Work 1 SL ST loosely in each of the remaining 7 chains at the top end.
Stitch Count:
- You should have 41 stitches total: 34 HDC + 7 SL ST.
Measurement Check:
- Measure the height of Row 1 flat; it should range between 29–29.5 cm.
Row 2: Crown-to-Brim Return
- Create a Turning Chain:
- CH 1 (does not count as a stitch), then turn your work.
- Work the Crown Section (First 7 Stitches):
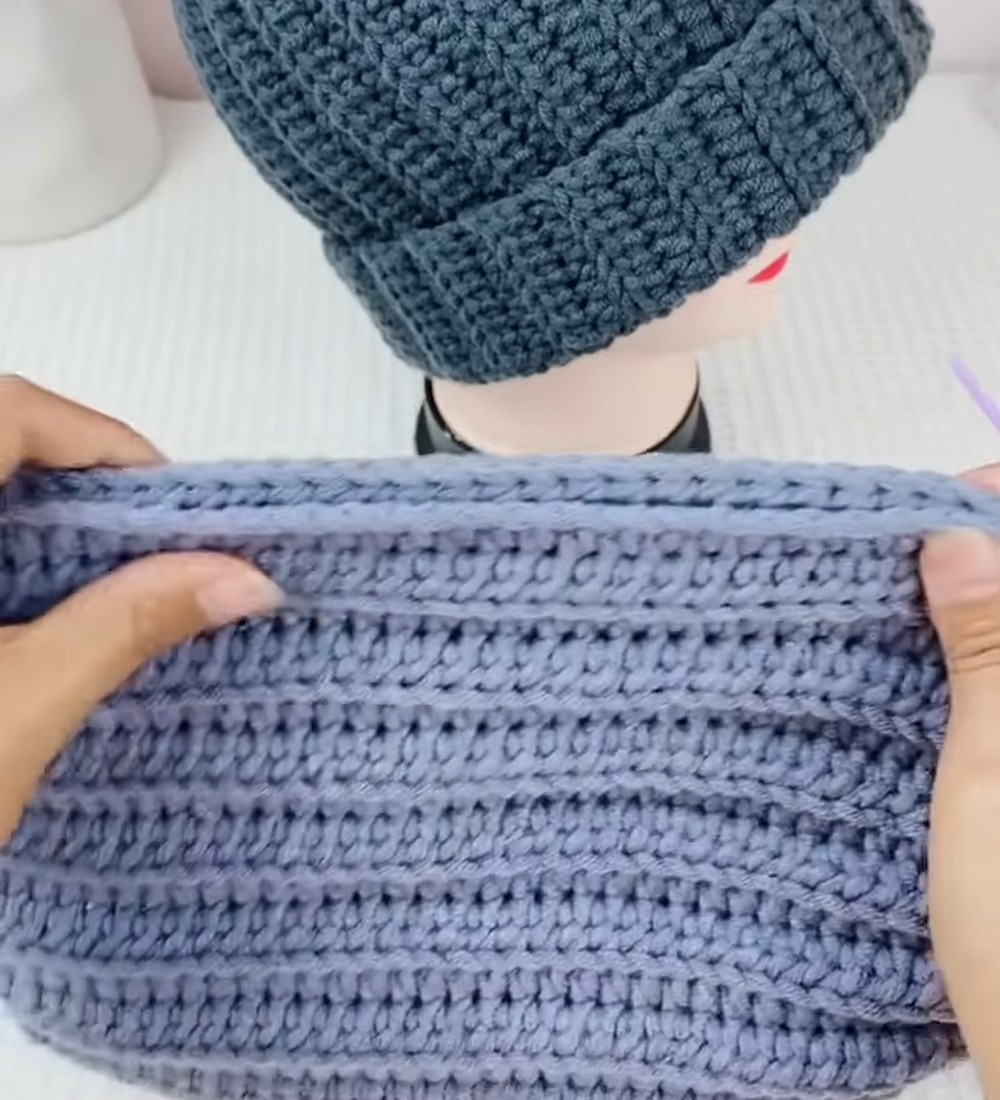
- Using the Back Loop Only (BLO), work 1 SL ST in each of the first 7 stitches.
- Place a locking stitch marker in the 1st SL ST as a reference point.
- Work the Main Body (Remaining 34 Stitches):
- Using the Front Loop Only (FLO), work 1 HDC FLO into each of the remaining 34 stitches down to the brim.
- Place a locking stitch marker in the last HDC for easy row tracking.
- Turn to begin the next row.
Stitch Count:
- You should have 41 stitches total: 7 SL ST BLO + 34 HDC FLO.
Row 3: Brim-to-Crown Return
- Create a Turning Chain:
- CH 2 (does not count as a stitch), then turn your work.
- Work the Main Body (First 34 Stitches):
- Work 1 HDC FLO in each of the first 34 stitches.
- Work the Crown Section (Last 7 Stitches):
- Work 1 SL ST BLO in each of the final 7 stitches at the crown edge.
- Turn to start the next row.
Stitch Count:
- You should have 41 stitches total: 34 HDC FLO + 7 SL ST BLO.
Repeat Rows
- Repeat Rows 2 and 3 alternately until the width of the ribbed fabric (laid flat) measures 55–58 cm (or to fit your intended head circumference).
- Ensure you finish on an alternating row so the edges align evenly for seaming.
Final Assembly
Step 1: Seaming the Side Edges
- Fold the Fabric:
- Fold the rectangle in half, aligning Row 1 (foundation edge) with the final row, with right sides facing each other.
- Use a Darning Needle:
- Thread a long tail of yarn and align the stitches of both edges.
- Seam Stitch-by-Stitch:
- Working from the bottom brim to the crown, pass the darning needle through the outer loops of each corresponding stitch to create a flat, invisible vertical seam.
- Tie off securely when you reach the crown.
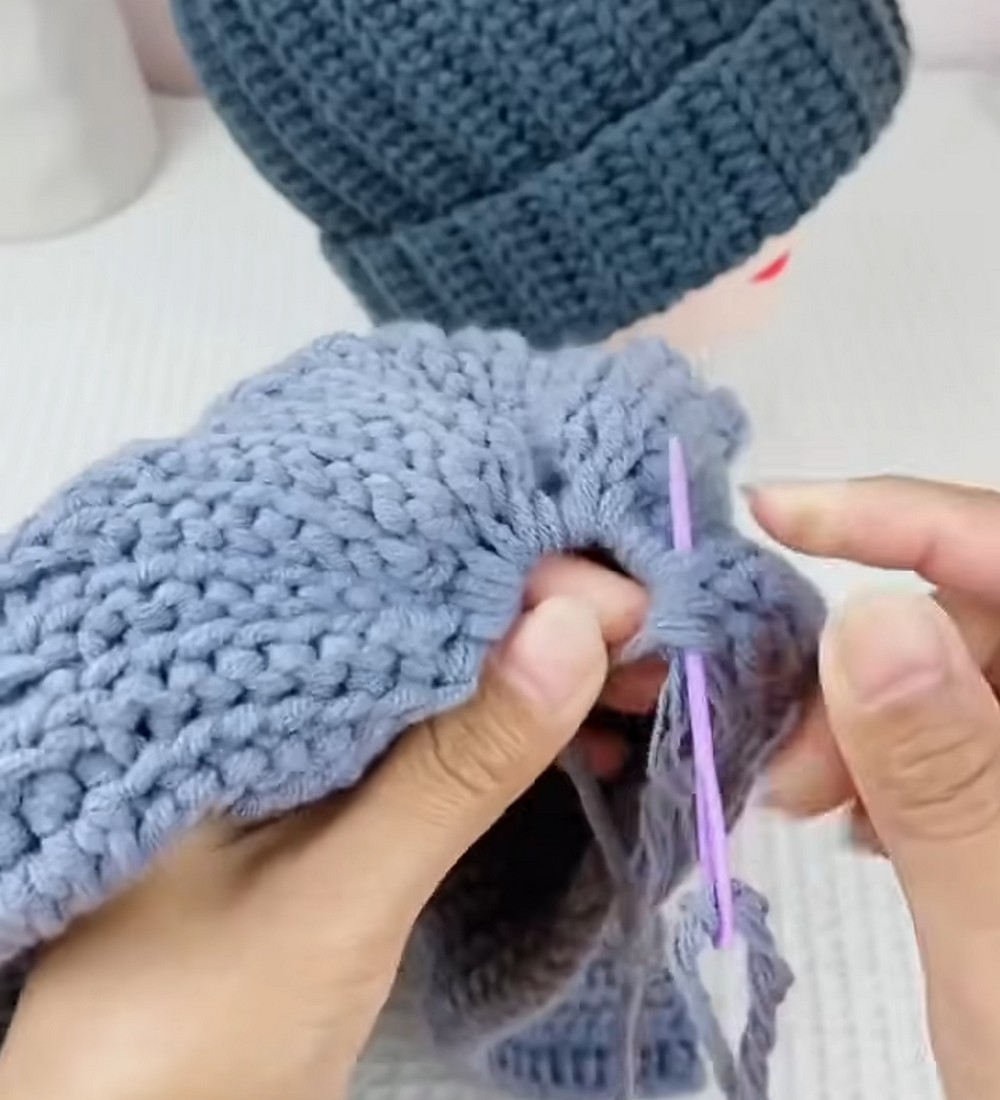
Step 2: Closing the Top Crown
- Gather the Crown Opening:
- Using the remaining tail of yarn, weave the needle under the outer edge stitches of the slip stitch section around the top of the hat’s crown.
- Pull Tight:
- Pull the yarn tightly, gathering the stitches into a firm circular closure.
- Secure the Gather:
- Tie a secure double knot on the inside of the hat to lock the gathering in place.
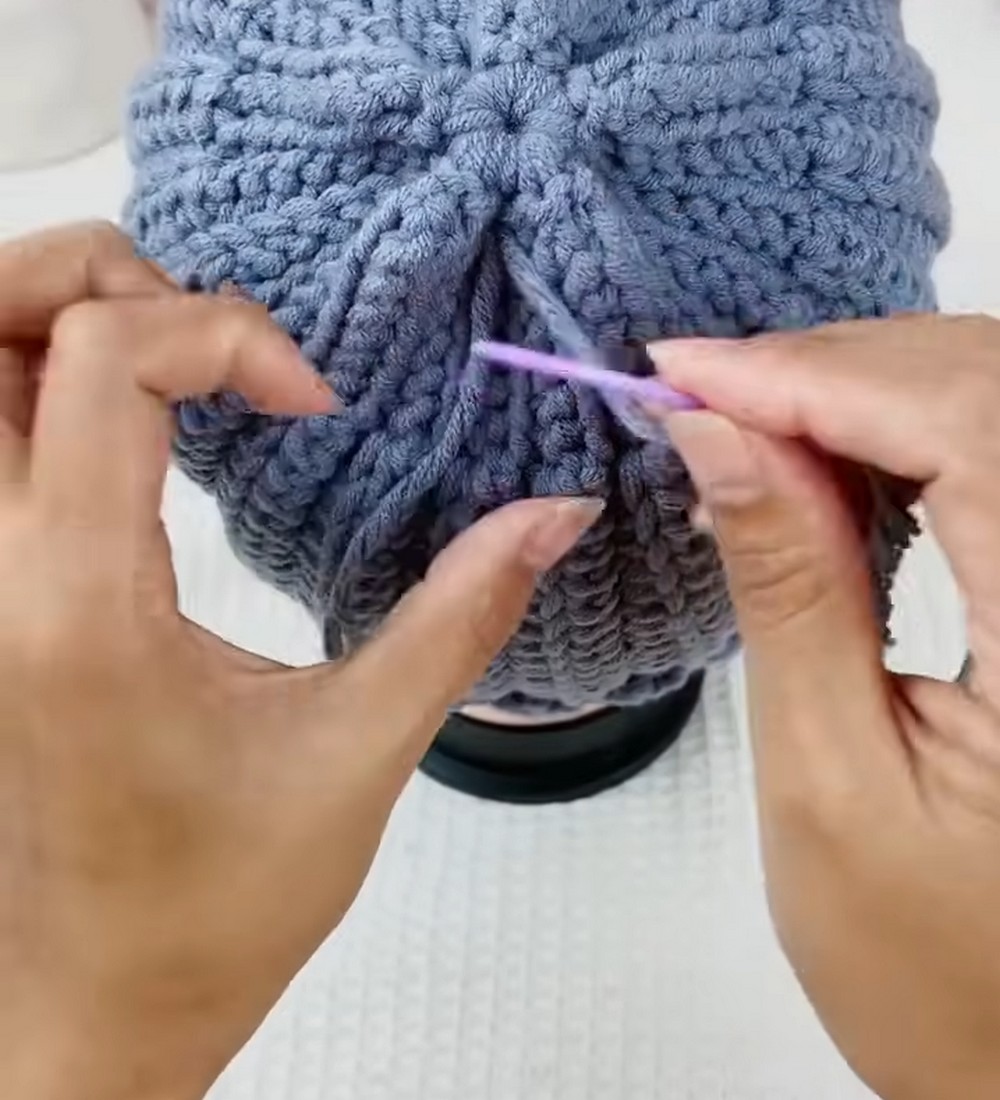
Step 3: Shaping the Crown Folds (“Flower” Structure)
- Pinching the Crown Folds:
- On the gathered crown, use your fingers to shape 5–6 natural folds (“petals” or pleats) for a tailored finish.
- Anchor the Folds:
- Thread the yarn through each fold from the inside to the outside, pulling tight to secure them evenly.
- Tie Off:
- Secure the folds with a tight knot on the inside of the hat, then weave in all loose ends.
Step 4: Finishing Touches
- Turn Right-Side Out:
- Flip the beanie so the seam is hidden on the inside.
- Fold the Brim:
- Roll the bottom edge upwards by 5–7 cm to create a cozy, folded cuff brim.
- Optional Accents:
- Sew a leather label or attach a pom-pom to the top for extra flair.
Conclusion
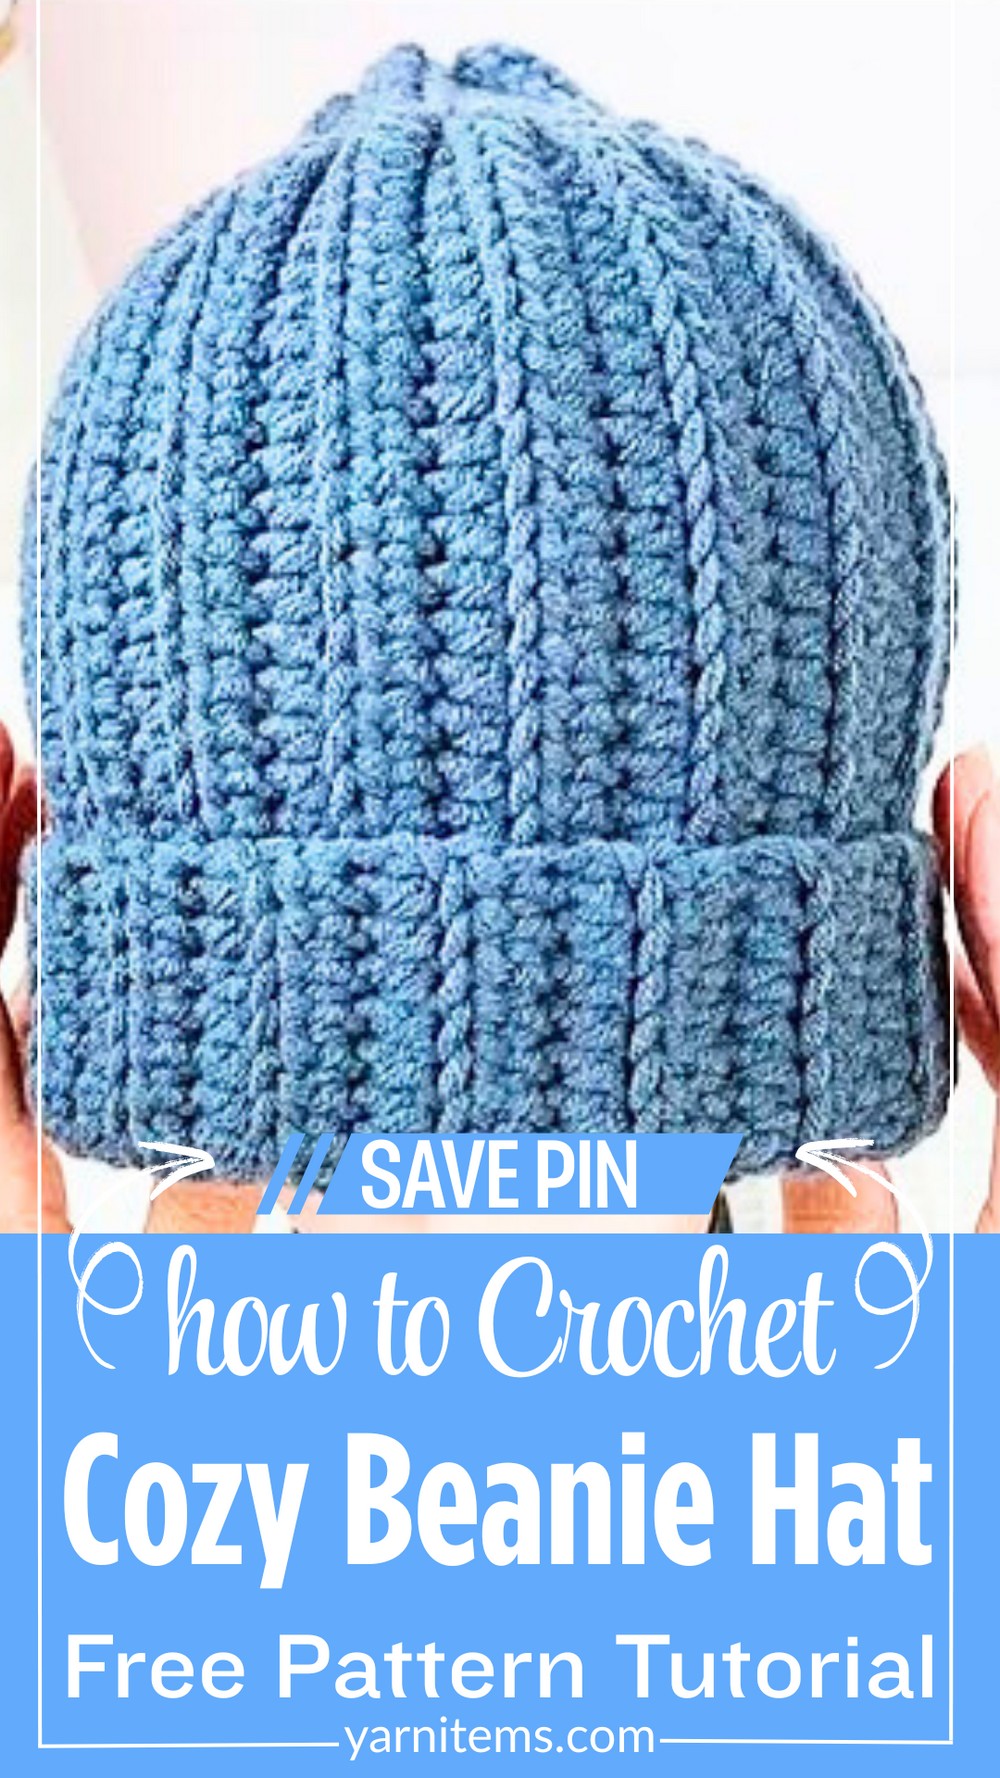
Your Cozy Beanie Hat for Men is now complete! This classic ribbed beanie provides warmth, elasticity, and a modern tailored crown.


One Comment