Free Crochet Reindeer Bookmark Pattern For Holiday
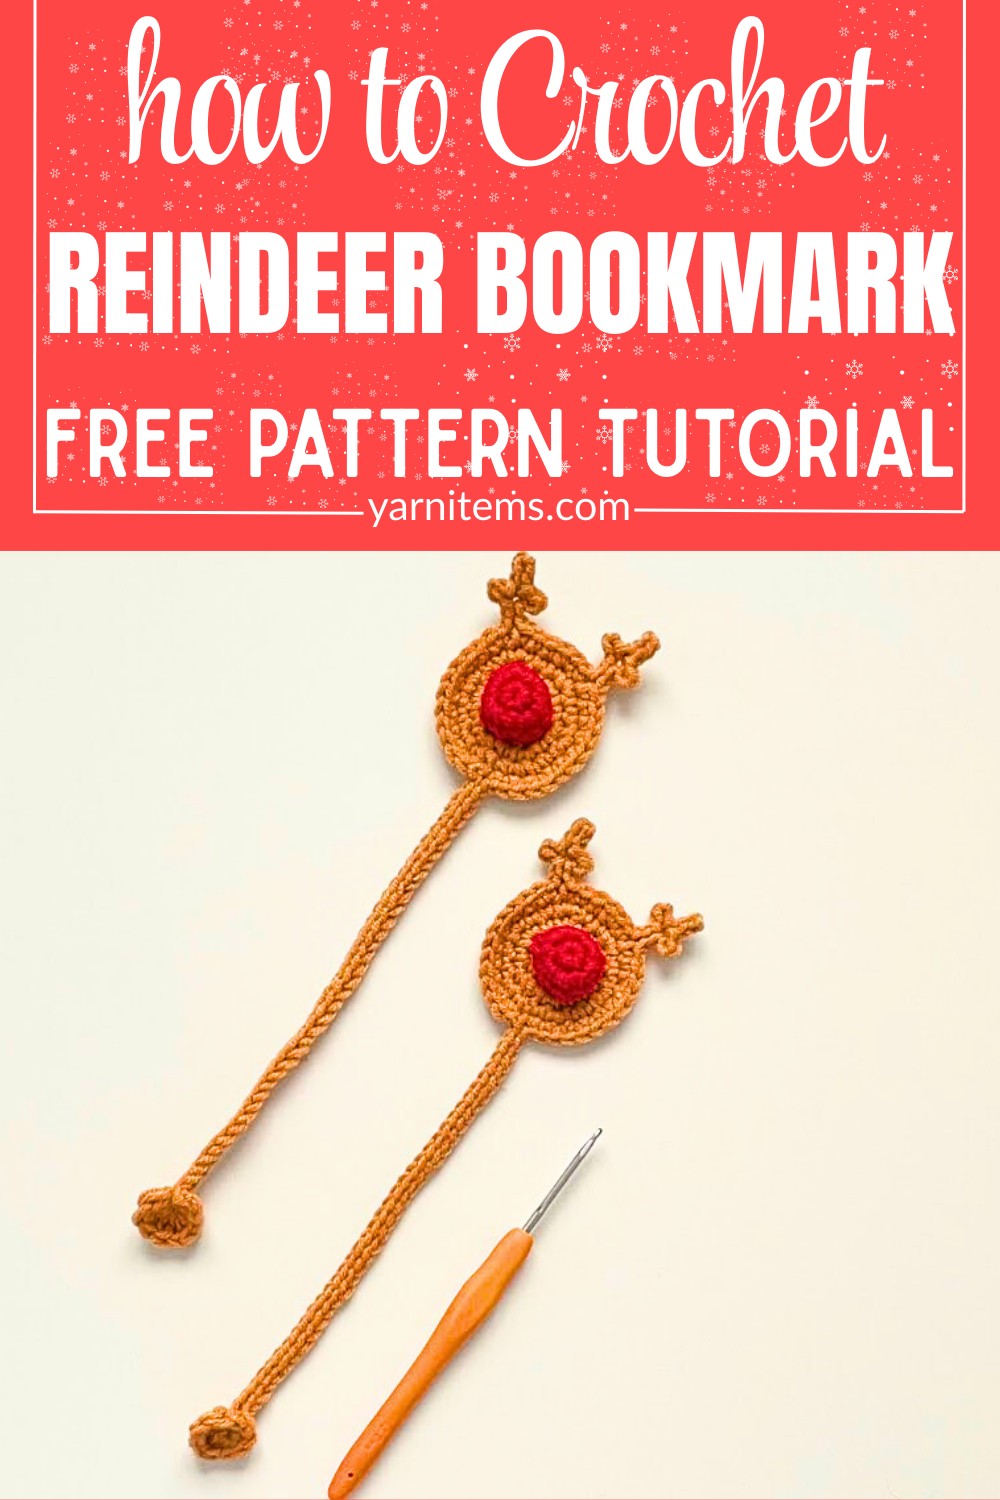
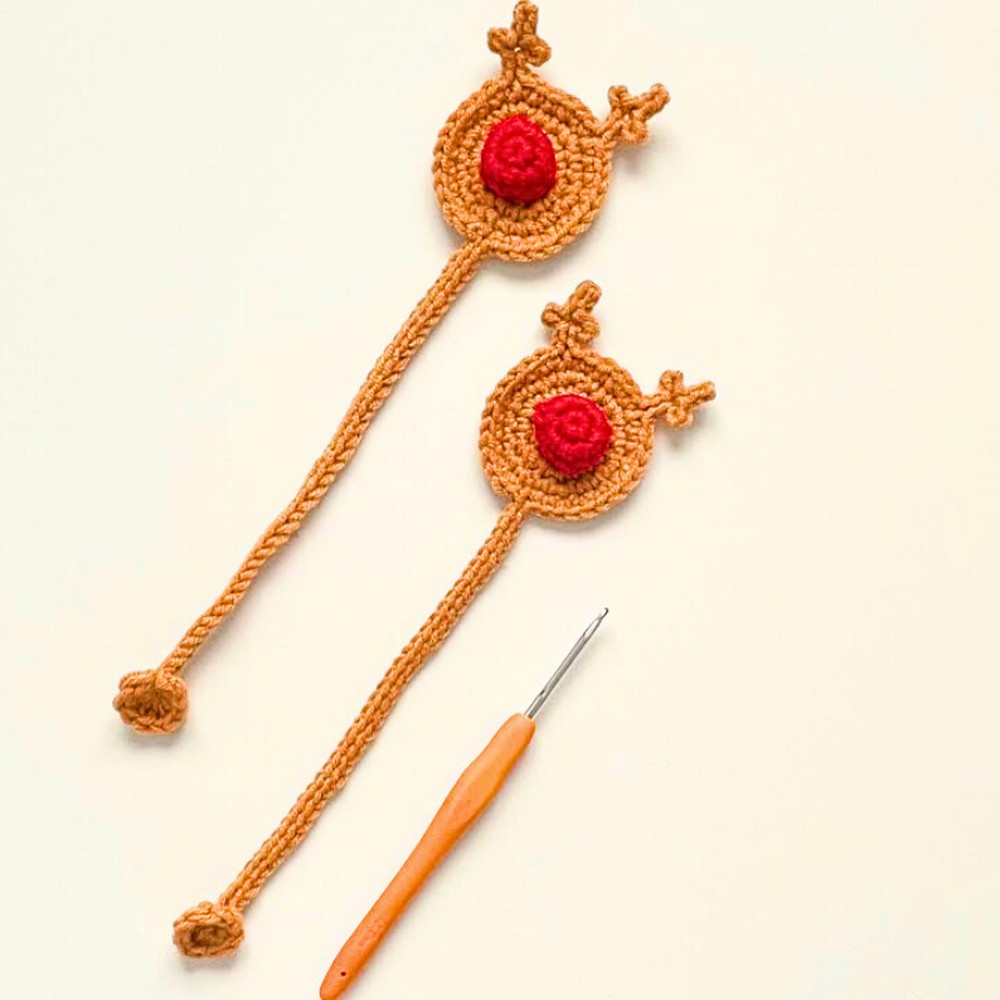
Bring a little Christmas magic to your reading time with this adorable crochet reindeer bookmark. Featuring tiny antlers, cute ears, and a bright red nose, this festive design is both decorative and useful.
It slips neatly between the pages of your favorite book, making it a fun holiday accessory for yourself. Or a thoughtful handmade gift for friends, teachers, and fellow book lovers. It’s a small crochet piece that captures the warmth and joy of the season.
Crochet Reindeer Bookmark Pattern
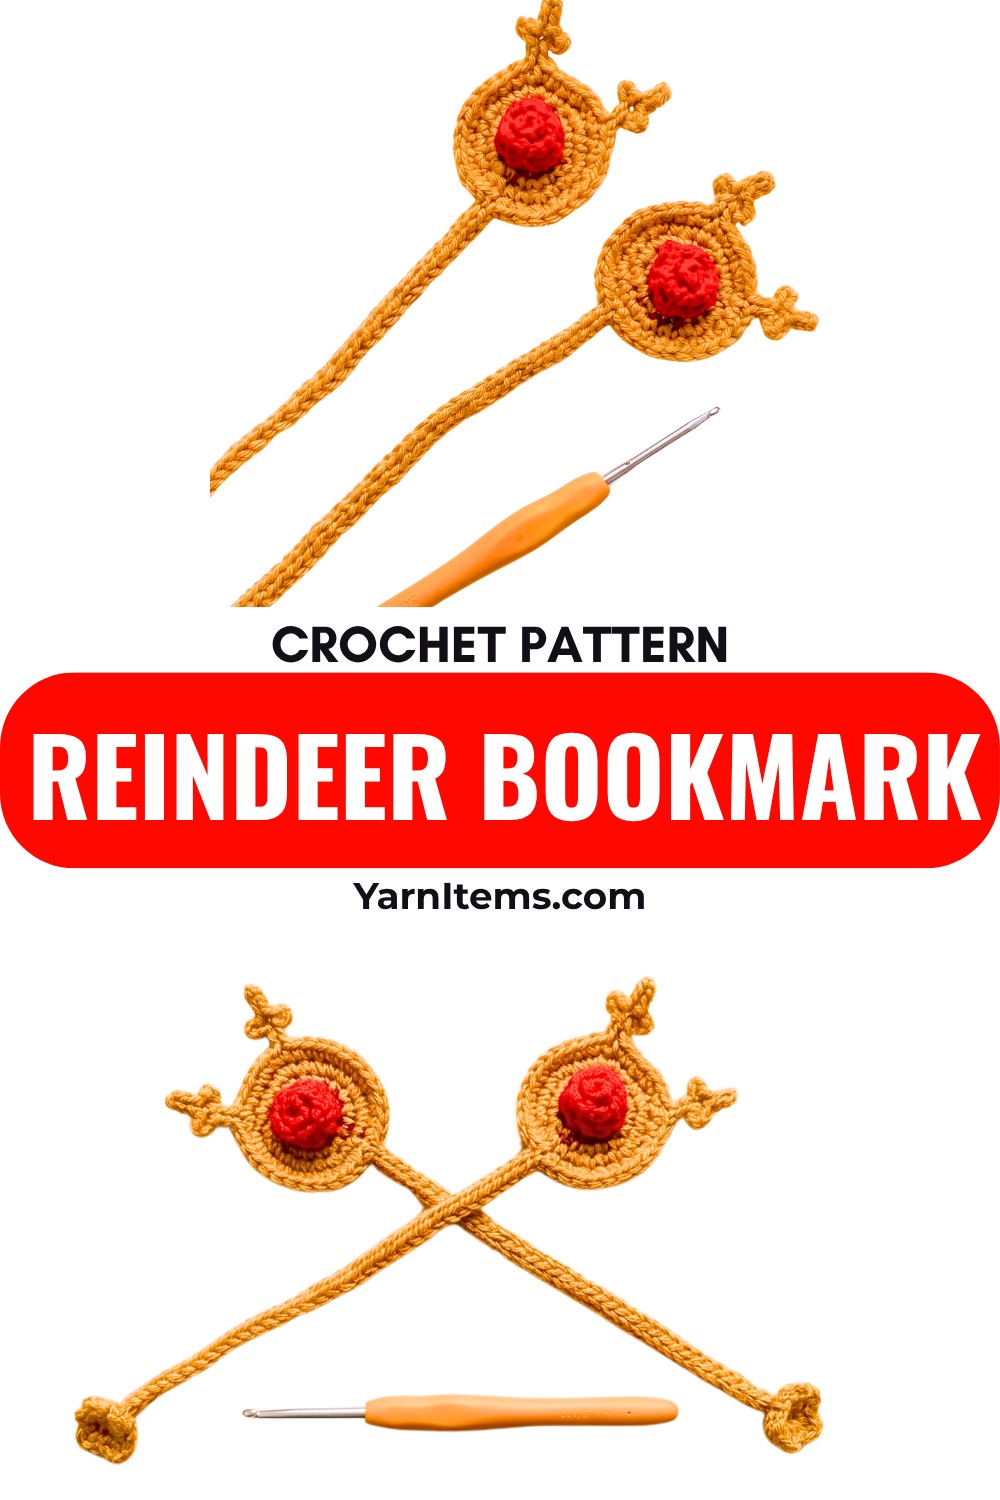
This beginner-friendly pattern comes together with basic crochet stitches and only a small amount of yarn. You’ll crochet the reindeer face first, then attach the long bookmark strip for a neat finish. It’s a relaxing crochet piece that’s quick to complete, making it perfect for holiday crafting sessions. Before you know it, you’ll have a cheerful reindeer ready to keep your place in every Christmas story.
Credit Anutha – The Crochet World
Materials & Tools Needed
- Yarn: 100% milk cotton yarn (or any 100% cotton yarn)
- Hook: 3 mm crochet hook
- Needle: For finishing and attaching the nose
- Scissors: For cutting yarn ends
Finished Size & Customization Ideas
- Finished Size: Approximate size depends on your yarn and hook combination.
- Customization:
- You can change the strap length by adjusting the chain count during the strap step.
- Use different colors for the reindeer’s nose (e.g., red for a festive Rudolph look or black/brown for a classic design).
Pattern Abbreviations & Terminology
- ch: Chain
- sc: Single Crochet
- sl st: Slip Stitch
- st(s): Stitch(es)
- dec: Decrease
- magic circle: Magic ring to start your project
- yo: Yarn over
Note: The pattern follows U.S. crochet terminology.
Step-by-Step Detailed Crochet Instructions
Reindeer Head Component
Round 1:
- Begin with a magic circle:
- Wrap yarn around fingers and create the base for the circle.
- Chain 1 to secure (this ch 1 does not count as a st).
- Crochet 6 sc into the magic circle.
- Pull the loose end tight to close the circle.
- Join with a sl st into the first sc.
Round 2:
- Ch 1 to start.
- In the first stitch, crochet 2 sc. Repeat into every stitch around (increase).
- At the end of Round 2, you should have 12 sc.
- Finish with a sl st into the first sc.
Round 3:
- Ch 1 to start.
- Begin the round with 1 sc in the first stitch, then 2 sc in the next.
- Continue the pattern: 1 sc, 2 sc into each stitch around.
- End with 18 sc total.
- Finish with a sl st into the first sc.
Round 4:
- Ch 1 to start.
- Work this pattern: [1 sc, 1 sc, 2 sc] into stitches around.
- Continue repeating the sequence: 2 sc, 1 sc, 1 sc.
- By the end of the round, you’ll finish with 24 sc.
- Join with a sl st, then fasten off to complete the head.
Bookmark Strap
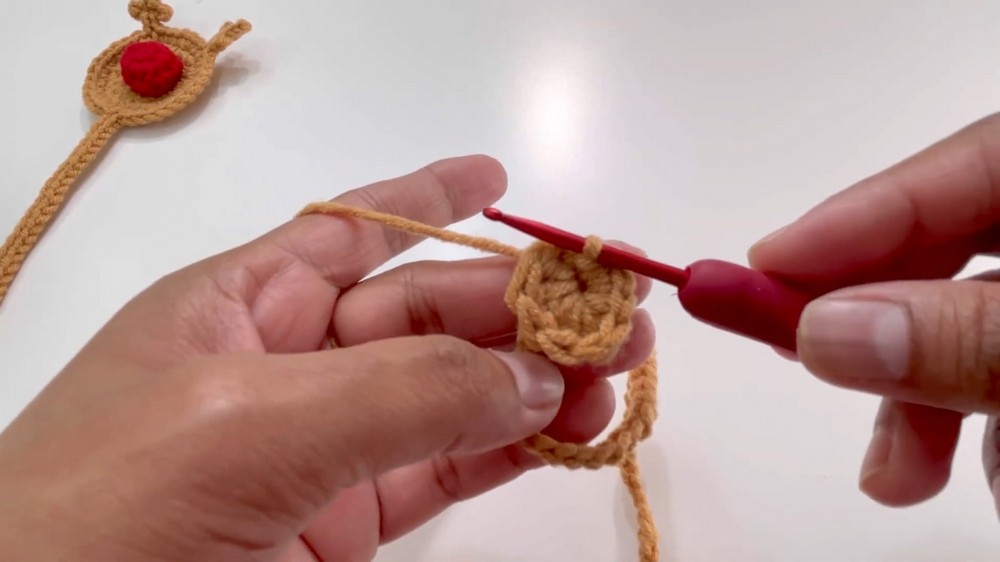
Creating the Strap:
- Attach yarn to any stitch on the head.
- Ch 40 (or more/less depending on your desired length for the bookmark strap).
Second Row:
- Skip the first chain and insert the hook into the second chain.
- Work the following stitches in this sequence:
- 2 sc into the second chain.
- 1 half double crochet (hdc).
- 2 double crochet (dc).
- 2 dc into the same chain.
- Turn the strap slightly and repeat the same sequence:
- 2 dc, 1 hdc, 2 sc.
- Add sl st, and finish off.
Slip Stitch Row:
- Working along the back of the chain strap:
- Insert hook into the back loop of the chain.
- Create sl st into each chain (total: 38 slip stitches).
- Fasten off the strap.
Adding the Nose
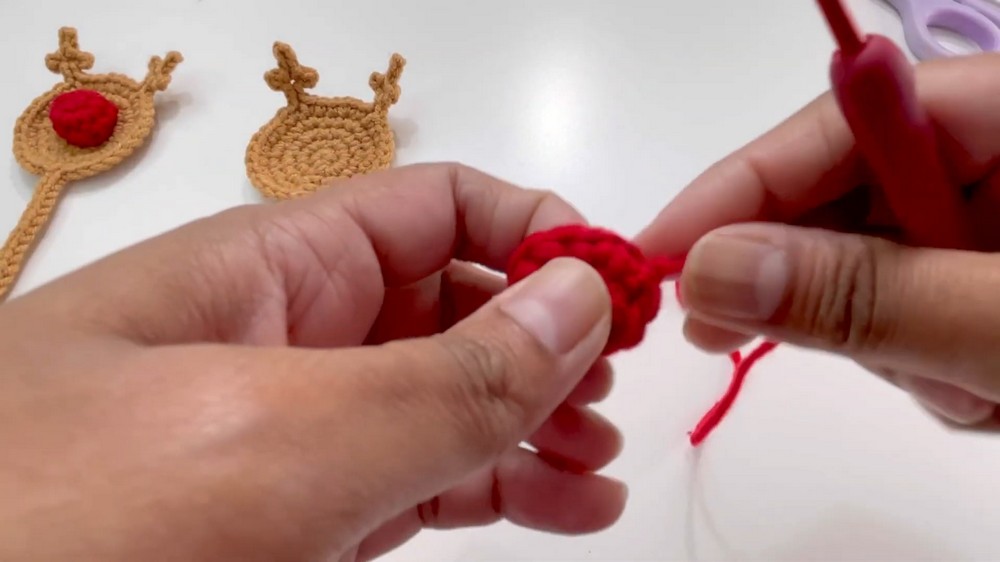
Round 1:
- Using red yarn, begin with a magic circle.
- Ch 1.
- Work 6 sc into the circle.
- Pull to close the circle and secure it.
Round 2:
- Ch 1.
- Work 2 sc into each stitch around.
- At the end of Round 2, you should have 12 sc.
Round 3:
- Begin by decreasing:
- Work 1 sc into each of the first two sts.
- Dec: Insert hook into the front loop of the next two stitches, yarn over and pull through all three loops.
- Repeat the pattern of 2 sc, dec around the circle.
- You should end up with 9 sc.
- Fasten off, leaving a long tail to sew the nose onto the reindeer’s head.
Attaching the Nose
- Position the nose on Round 2 of the reindeer head.
- Use the tail and a needle to sew around the edge of the nose:
- Ensure stitches are clean and tight.
- Hide the tail inside the nose once finished.
Creating Horns
- On stitch 12, ch 5:
- Work sl st into the 2nd chain.
- Continue sl st into the next chain.
- Ch 3, turn, and repeat the stitch pattern for the horns.
- Repeat horn creation on stitch 18.
Finishing the Bookmark
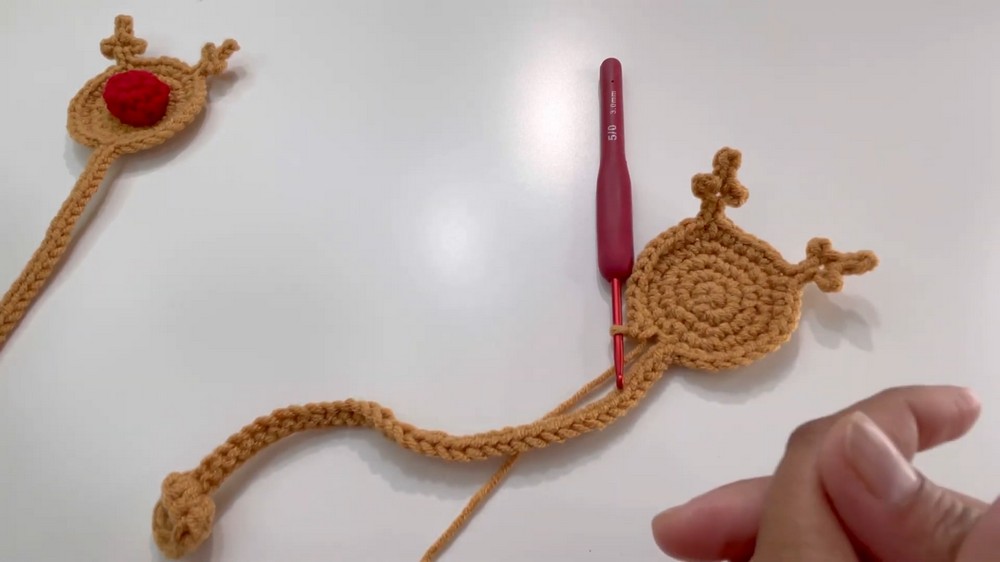
- Tightly weave in all loose ends from each component (strap, horns, and nose).
- Inspect the bookmark for any unevenness or loose tails.