How to Crochet a Cozy and Stylish Winter Beanie
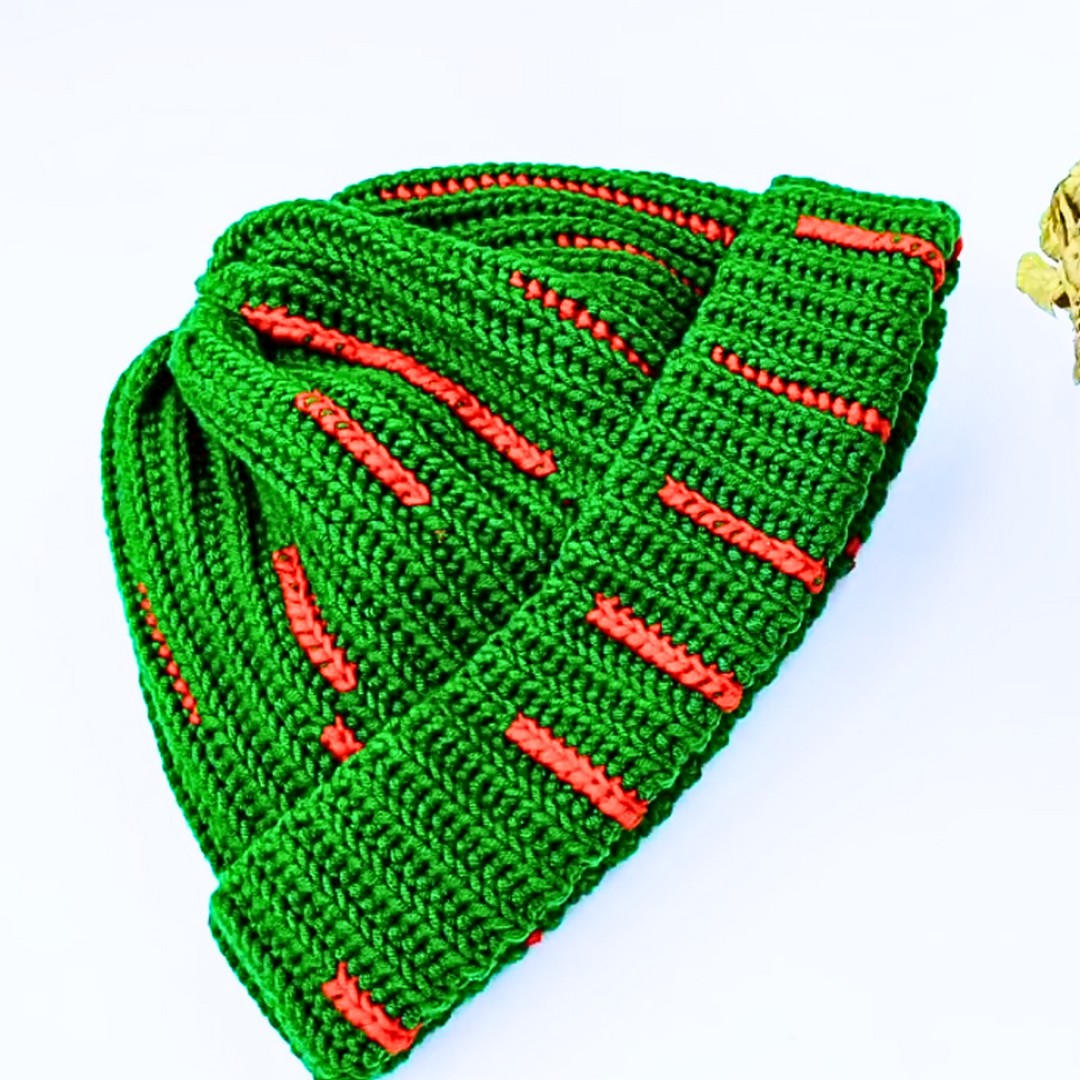
A great winter beanie does more than keep out the cold; it becomes the piece you reach for every time you head outside. This crochet winter beanie has a clean, textured look that feels classic season after season.
Making it easy to wear with everything from casual sweaters to heavy winter coats. Keep reading to see how a few simple crochet stitches come together to create a hat you’ll enjoy making and wearing.
Crochet a Winter Beanie Hat
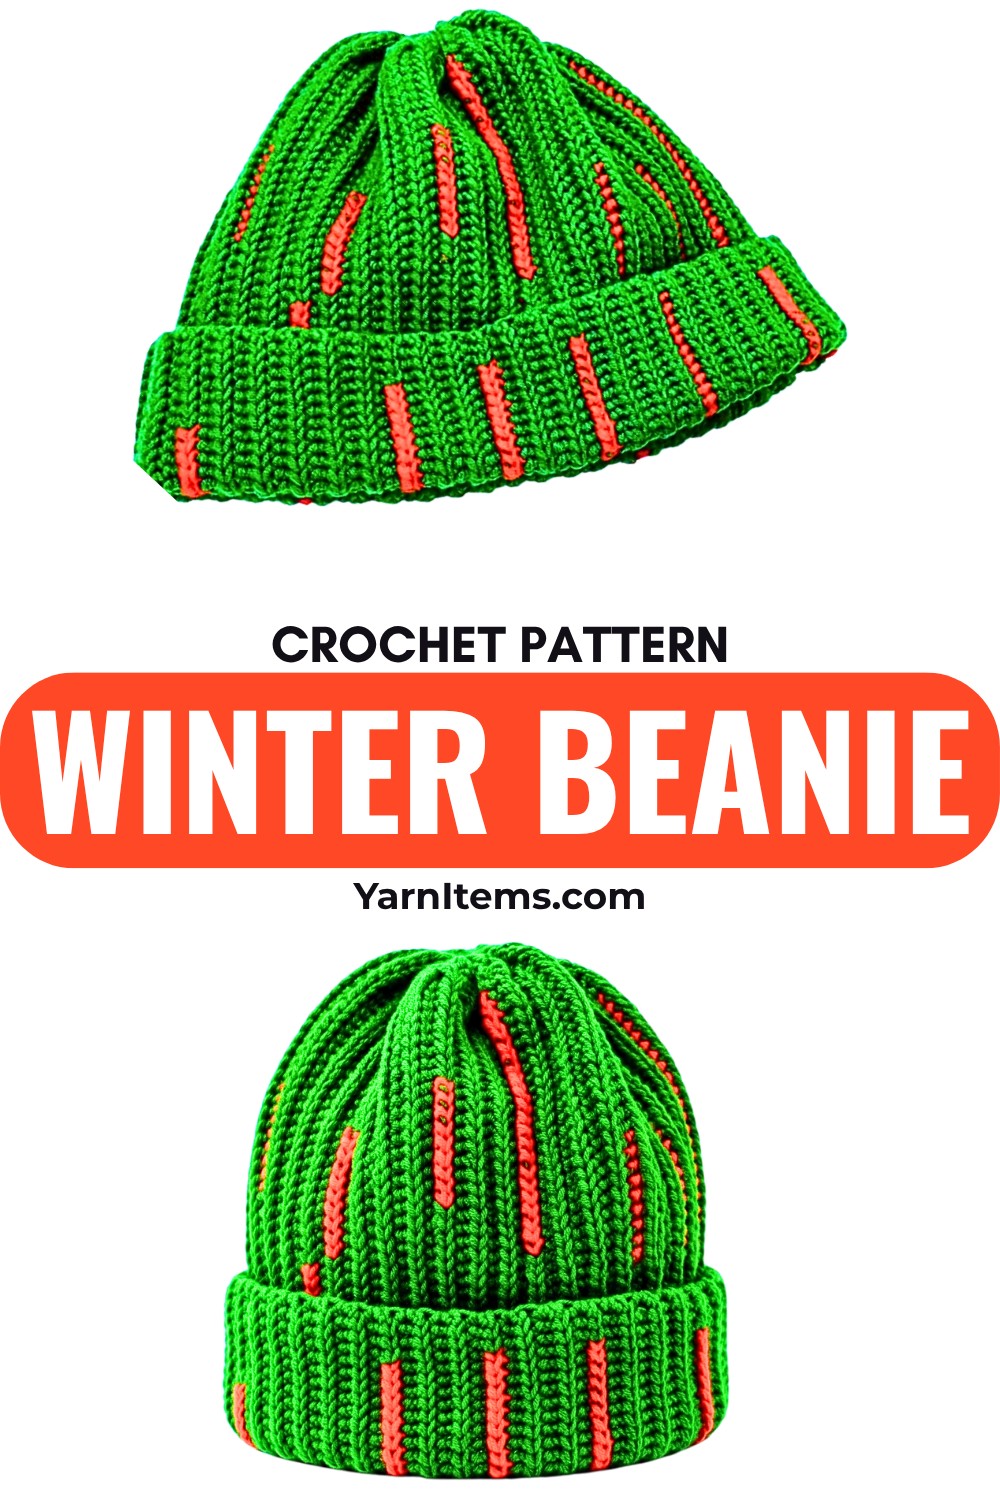
This crochet pattern focuses on comfort, shape, and everyday wear without making the process feel complicated. The step-by-step instructions guide you through building a warm, well-fitting beanie with a texture that stands out beautifully. By the end, you’ll have a practical handmade accessory that’s ready for frosty mornings, weekend outings, or a thoughtful handmade crochet gift.
Credit Molina DIY
Materials
- Yarn: Medium Weight (4) yarn, such as worsted or 5-ply milk cotton.
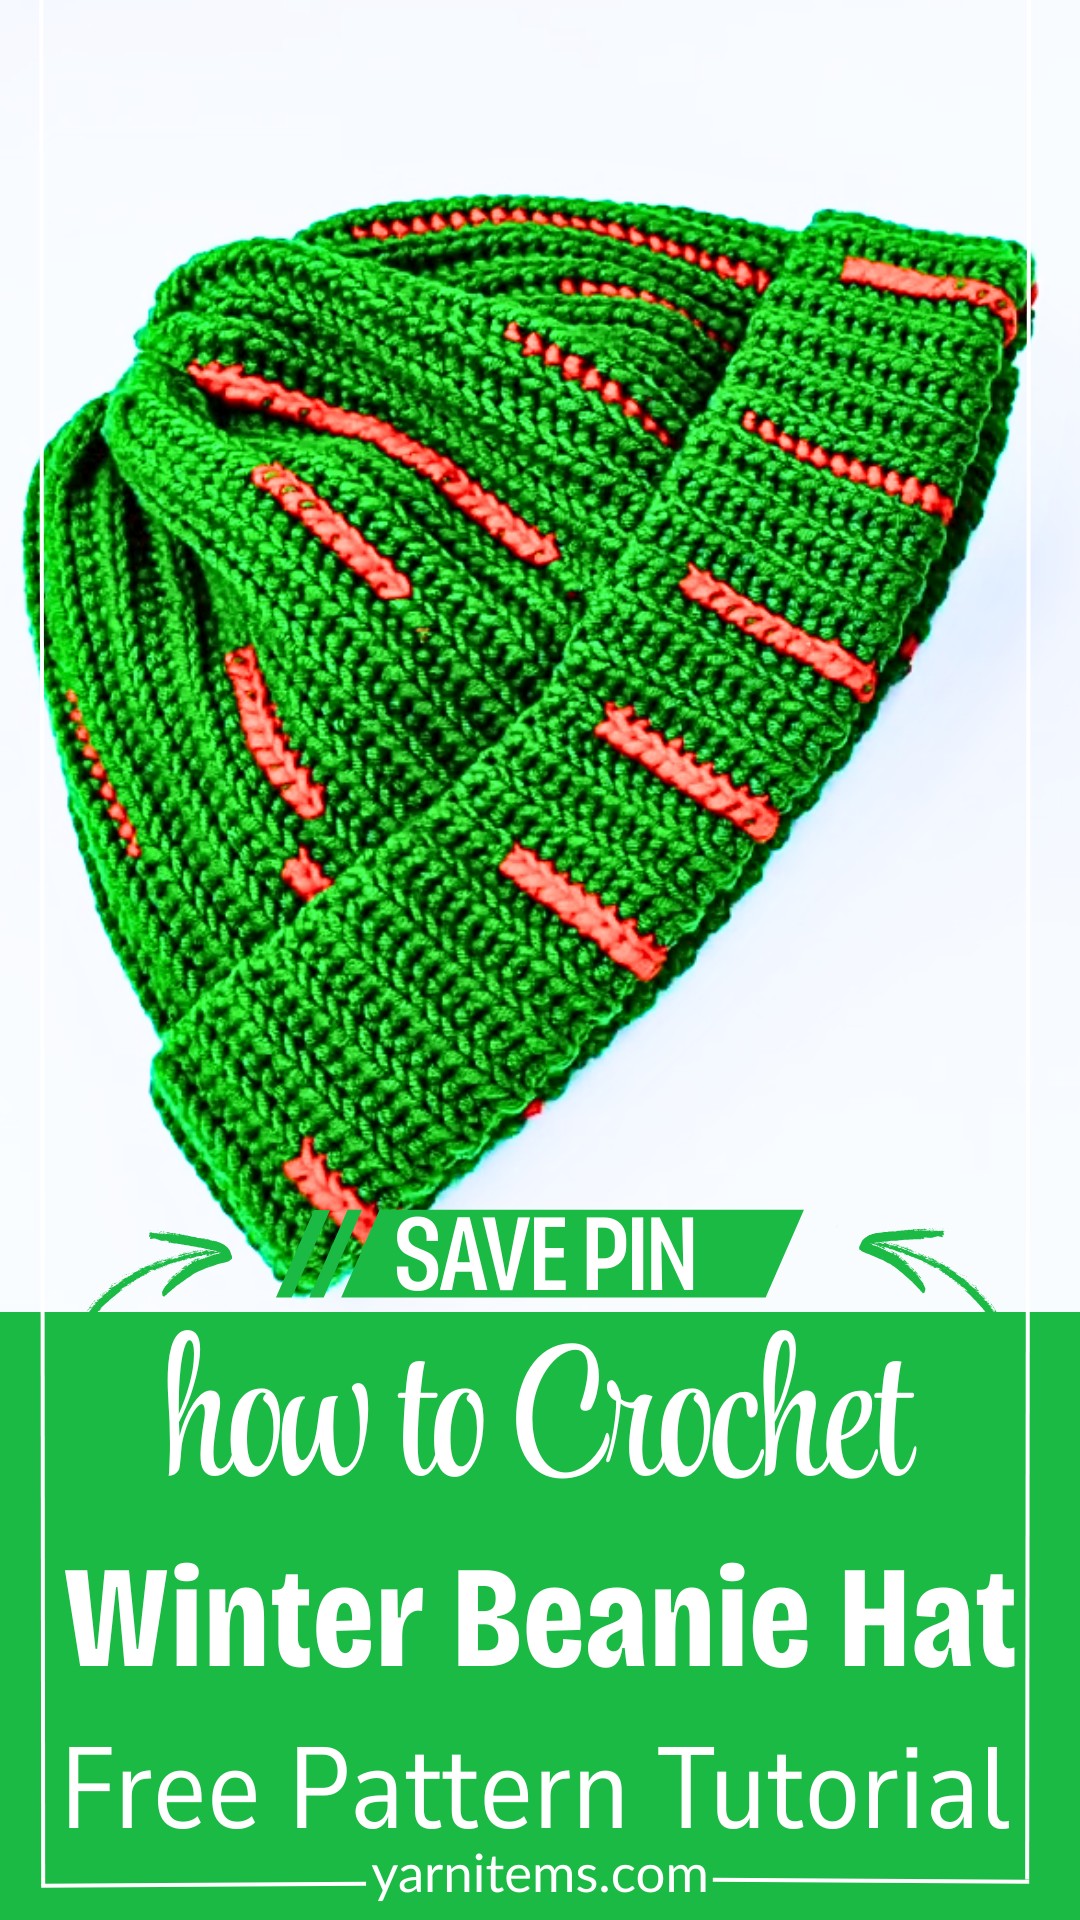
- Festive Option: Use forest green for the main body and red for stripes to create a Christmas theme.
- Hooks:
- 4.0 mm (G/6) or 5.0 mm (H/8), depending on your tension.
- Darning Needle: For sewing and weaving in ends.
- Scissors
- Measuring Tape
Finished Dimensions
- Height (flat): ~27 cm (10.6 inches), perfect for a 2-inch brim.
- Width (flat and unstretched): ~24 cm (9.5 inches), after completing 90 rows.
- Custom Sizing:
- To change height, adjust the starting chain length.
- To change width, add or subtract rows (head circumference minus 1–2 inches for a snug fit).
Pattern Abbreviations
-
Ch: Chain
-
St / Sts: Stitch / Stitches
-
Sl St: Slip Stitch
-
HDSS: Half Double Crochet Slip Stitch (Yarn over, insert hook, yarn over, pull up a loop, and immediately draw that loop through the remaining two loops on your hook).
-
BLO: Back Loop Only
-
TYW: Turn Your Work
Step-by-Step Instructions
1. Foundation Chain
- Make a Slip Knot and chain 60. This is the starting height of your beanie, including the brim.
2. Row 1: Establishing the Base
- Skip the first chain from the hook.
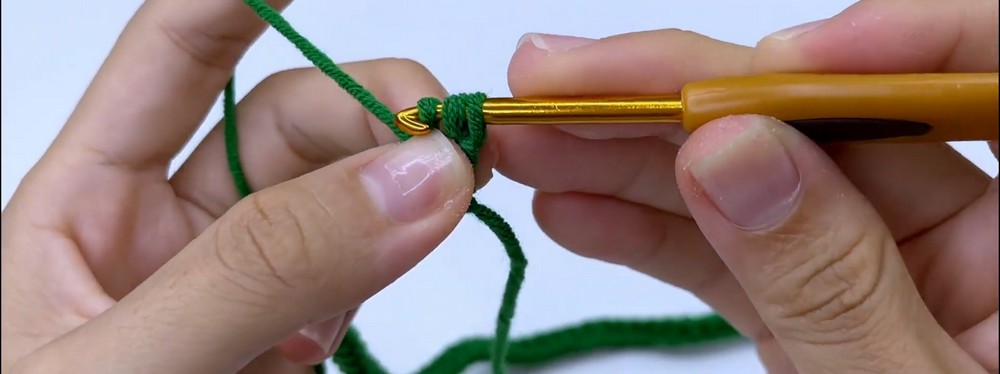
- Work 1 HDSS into each chain across (59 stitches total).
- Tip: Yarn Over (YO), insert your hook, YO and draw up a loop, then immediately pull through all loops on your hook.
3. Row 2: Ribbing with BLO
- Ch 1, then turn your work (TYW).
- Work 1 HDSS into the Back Loop Only (BLO) of every stitch across (59 sts).
4. Rows 3–90: Build the Beanie Body
- Repeat Row 2 (Ch 1, TYW, HDSS in BLO) until you have 90 rows, or until your panel fits snugly around your head.
Optional: Adding Stripes
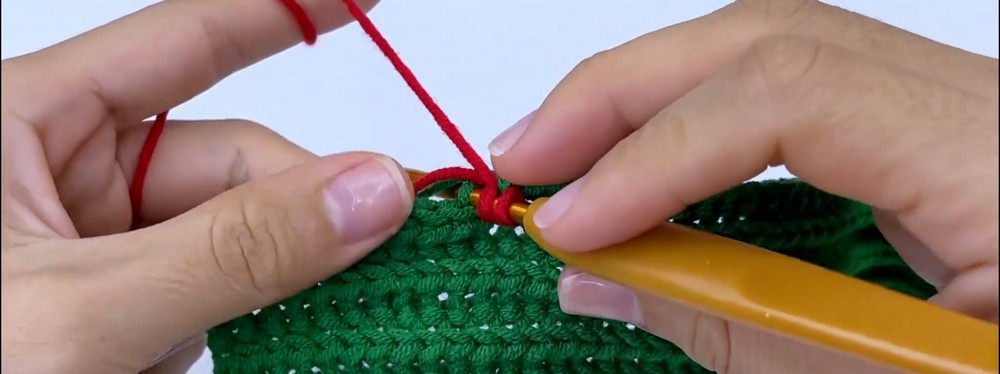
- To add festive stripes, switch to a contrasting color (e.g., red) at the end of any row, crochet a few rows, then switch back to the main color.
5. Seaming the Beanie
- Fold your ribbed panel in half to align the first and last rows.
- Join the sides by working Slip Stitches (Sl St) across through both layers (59 sts).
- Cut the yarn, leaving a 12–15 inch tail.
6. Closing the Top
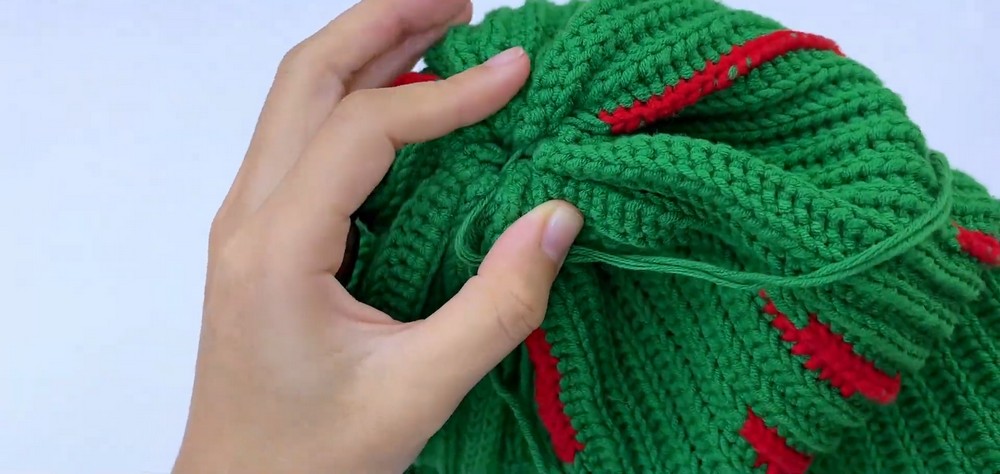
- Thread the long yarn tail onto your darning needle.
- Weave the needle in and out through the stitches around the top edge of the beanie.
- Once woven, pull tightly to gather the top.
- Knot securely, weave in remaining ends, and turn the beanie right-side out.
Finishing Touches
- Add flair by attaching a faux-fur pom-pom or a handmade yarn pom-pom to the top.
Pro Tips
- Track your stitch count to avoid losing edge stitches!
- If unsure about sizing, check as you go by wrapping the panel around your head.